
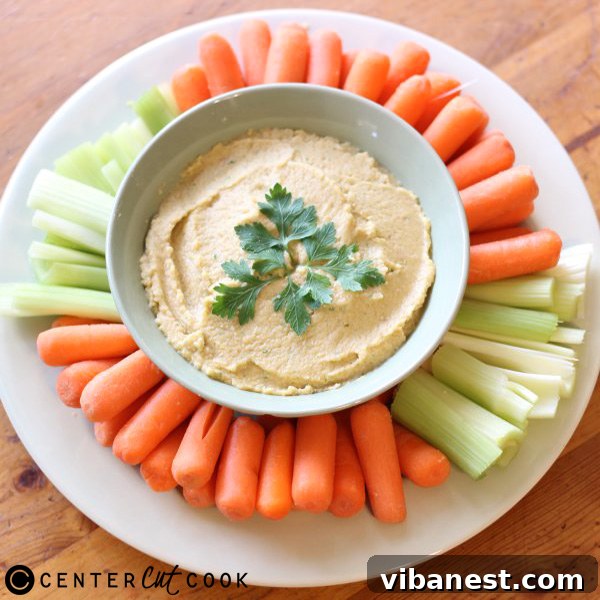

The Ultimate Tahini-Free Hummus Recipe: Creamy, Flavorful, and Effortlessly Easy
Discover the secret to making an incredibly simple, delightfully easy, and surprisingly budget-friendly hummus right in your own kitchen. While traditional hummus recipes often feature tahini, a sesame paste that can sometimes impart a bitter taste or be costly, this innovative recipe offers a fantastic alternative. By forgoing tahini and instead amplifying the vibrant flavors of garlic and lemon, we’ve crafted a hummus that delivers an unforgettable taste experience. For those who, like us, find traditional tahini less appealing, prepare for love at first bite!
Hummus, a beloved Middle Eastern dip, has garnered global popularity for its creamy texture, savory profile, and remarkable versatility. But what if you could create a version that not only rivals store-bought options but also sidesteps common culinary preferences or dietary restrictions? This recipe does just that. It’s a testament to the idea that sometimes, less is more, especially when you’re focusing on elevating core ingredients to their maximum potential.
Why Choose Tahini-Free Hummus?
Many traditional hummus recipes heavily rely on tahini for its distinct nutty flavor and creamy consistency. However, tahini can be an acquired taste for some, with its robust, sometimes bitter notes. It also tends to be one of the more expensive ingredients in a hummus recipe, and for those with sesame allergies, it’s a complete no-go. Our tahini-free approach addresses these concerns directly. By emphasizing fresh lemon juice and pungent garlic, we not only achieve a perfectly balanced flavor but also maintain that desired creaminess without the added cost or potential bitterness of sesame paste. This makes it an ideal choice for families, budget-conscious cooks, or anyone looking for a lighter, brighter take on this classic dip.
The Health Benefits of Homemade Hummus
Beyond its incredible taste and simplicity, homemade hummus offers a wealth of nutritional advantages. Chickpeas, the star ingredient, are an excellent source of plant-based protein and dietary fiber. This combination not only helps you feel full and satisfied, aiding in weight management, but also promotes healthy digestion and helps stabilize blood sugar levels. Furthermore, the olive oil contributes healthy monounsaturated fats, which are known to support heart health. Lemon provides a boost of Vitamin C, and garlic is renowned for its immune-boosting and anti-inflammatory properties. By making your own hummus, you control the ingredients, avoiding unwanted preservatives, excessive sodium, or artificial additives often found in store-bought versions. It’s a wholesome, nutrient-dense addition to almost any meal.
Incredibly Versatile: More Than Just a Dip
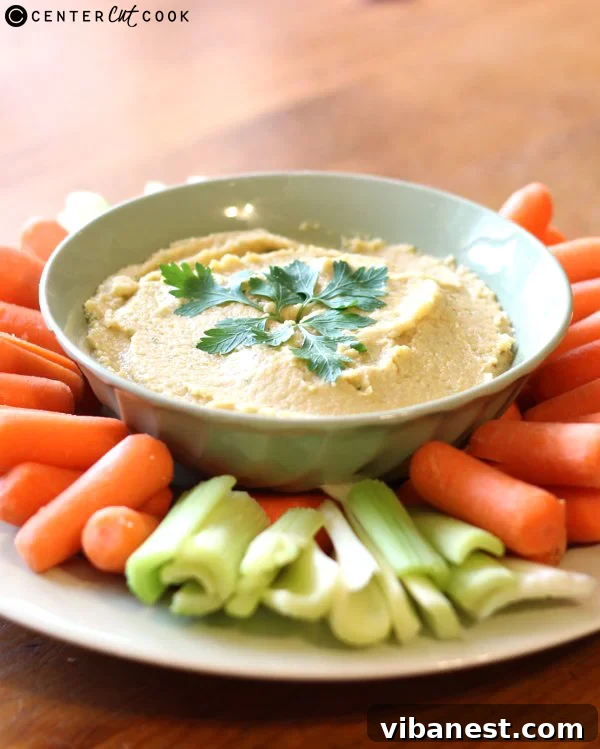
One of the greatest attributes of this tahini-free hummus is its exceptional versatility. While it shines as a classic dip alongside fresh pita bread, crunchy vegetable sticks, or crispy tortilla chips, its utility extends far beyond the appetizer tray. Imagine it as a rich, creamy spread for your sandwiches and wraps, instantly elevating your lunch to a gourmet experience. Use it as a delightful topping for baked potatoes, grilled chicken, or even scrambled eggs for a savory twist. For a quick and healthy meal, swirl a dollop into your favorite salads or grain bowls, transforming them into a satisfying and flavorful feast. You can even thin it slightly with a touch of water or chickpea liquid to create a unique and healthy salad dressing. Its creamy, savory deliciousness will fill you up and satisfy your cravings, without weighing down your body or your wallet.
Tips for Making the Perfect Tahini-Free Hummus
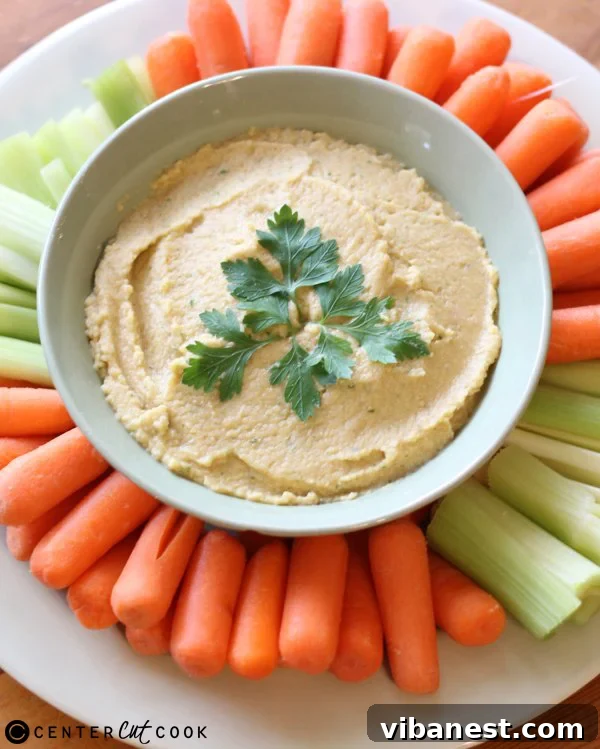
Achieving that coveted silky-smooth texture and vibrant flavor is simpler than you think. Here are a few tips to ensure your homemade hummus turns out perfectly every time:
- Rinse Your Chickpeas Thoroughly: Draining and rinsing canned chickpeas removes excess sodium and any canning liquid, which can affect the final taste.
- Peel Garlic Carefully: Fresh garlic is key for this recipe’s bold flavor. Ensure you peel and roughly chop your garlic cloves before adding them to the food processor.
- Adjust Lemon to Taste: Lemon juice is a primary flavor enhancer here. Start with the recommended amount and then add more to your liking. Remember, you can always add more, but you can’t take it away!
- Scrape Down the Sides: During processing, ingredients tend to stick to the sides of the food processor bowl. Periodically stop and scrape down the sides to ensure everything is evenly pureed and incorporated.
- Achieving the Right Consistency: If your hummus is too thick, gradually add a tablespoon of cold water or the reserved chickpea liquid (aquafaba) until you reach your desired creaminess.
- Don’t Skimp on Olive Oil: A good quality extra virgin olive oil not only adds richness and flavor but also contributes to the smooth texture. A final drizzle before serving is highly recommended for both taste and presentation.
- Taste and Adjust: The beauty of homemade food is the ability to customize. After the initial blend, taste your hummus. Does it need more salt? More cumin? A hint more cayenne for a kick? Adjust seasonings as needed.
Flavor Variations to Explore
While this recipe provides a fantastic foundation, don’t hesitate to get creative! Here are a few ideas to customize your tahini-free hummus:
- Roasted Red Pepper Hummus: Add half a cup of jarred or freshly roasted red peppers for a sweet and smoky flavor.
- Spicy Sriracha Hummus: For an extra kick, mix in a teaspoon or two of sriracha or your favorite hot sauce.
- Sun-Dried Tomato Hummus: Incorporate a quarter cup of oil-packed sun-dried tomatoes (drained) for an intense, savory profile.
- Herbaceous Hummus: Experiment with other fresh herbs like cilantro, dill, or mint for different aromatic twists.
- Beet Hummus: Blend in a small cooked beet for a vibrant color and earthy sweetness.
The possibilities are endless, allowing you to tailor this versatile base to suit any palate or occasion.
INGREDIENTS
- 2 cans (15 oz each) cooked garbanzo beans (chickpeas), rinsed and drained
- 4-5 tbsp fresh lemon juice (from approximately 2 medium or 3 small lemons, adjust to taste)
- 2 tbsp extra virgin olive oil, plus more for drizzling
- 1 tsp sea salt, or to taste
- 1 tsp ground cumin
- 1/4-1/2 tsp cayenne pepper (depending on your preferred level of heat)
- 2 tbsp fresh parsley, chopped (plus extra for garnish)
- 2 cloves fresh garlic, peeled and roughly chopped
- Optional: 1-3 tbsp cold water or reserved chickpea liquid (aquafaba) for desired consistency
DIRECTIONS
- Combine all ingredients (chickpeas, lemon juice, olive oil, salt, cumin, cayenne pepper, fresh parsley, and garlic) in the bowl of a food processor.
- Process until completely smooth and creamy, scraping down the sides of the bowl as needed to ensure all ingredients are incorporated. If the mixture is too thick, add cold water or chickpea liquid one tablespoon at a time until the desired consistency is achieved.
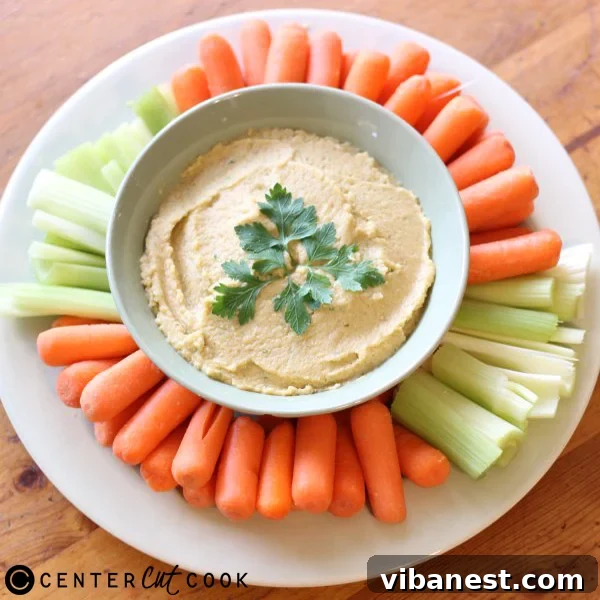
- Transfer the hummus to a serving bowl. Drizzle with a little extra virgin olive oil and garnish with additional fresh parsley before serving.
- Serve immediately with fresh vegetables (carrots, cucumber, bell peppers), pita bread, pita chips, or as a spread in sandwiches and wraps. Enjoy!
Storing Your Homemade Hummus
This garlic and lemon hummus stores beautifully, making it perfect for meal prep. Once prepared, transfer your hummus to an airtight container. For an extra layer of freshness, you can drizzle a thin layer of olive oil over the top before sealing. This acts as a barrier, preventing the hummus from drying out and helping to preserve its vibrant flavor. Stored properly in the refrigerator, it will maintain its delicious taste and texture for up to 5-7 days. It’s also freezer-friendly; simply place it in a freezer-safe container, leaving a little headspace, and it can be frozen for up to a month. Thaw in the refrigerator overnight before serving, and give it a good stir, perhaps with a touch more olive oil or lemon juice, to restore its creamy consistency.
Conclusion: Your New Go-To Hummus Recipe
Forget the myth that delicious hummus requires complicated ingredients or a lengthy process. This tahini-free hummus recipe is a game-changer, proving that simplicity can lead to extraordinary flavor. With its bright lemon notes, bold garlic kick, and velvety smooth texture, it’s a wholesome, satisfying, and incredibly easy-to-make dip that will quickly become a staple in your kitchen. Whether you’re a seasoned chef or a culinary novice, this recipe empowers you to create a homemade delight that’s superior to anything you’d buy at the store. So, gather your ingredients, fire up your food processor, and prepare to enjoy the best tahini-free hummus you’ve ever tasted. It’s time to elevate your snacking and mealtime experiences with this irresistible creation!