
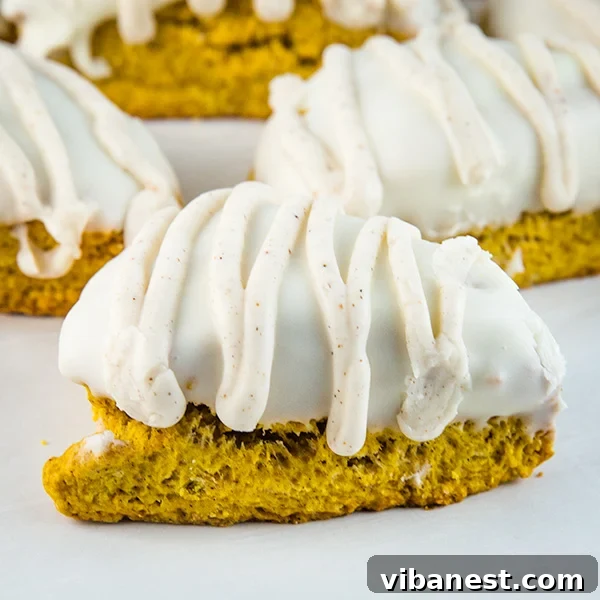
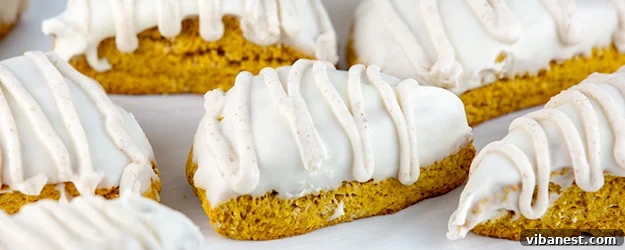
As autumn leaves begin to fall and a crisp coolness fills the air, there’s an undeniable craving for the comforting flavors of fall. While Starbucks is famously celebrated for its iconic Pumpkin Spice Latte, a true connoisseur of seasonal treats knows that their Pumpkin Scone holds an equally special place in the hearts of many. Today, we’re thrilled to unveil our meticulously crafted version of this beloved treat: a Starbucks Pumpkin Scone Copycat recipe that promises to bring the warmth and delight of your favorite coffee shop right into your kitchen.
The feedback on our previous Starbucks-inspired creations, such as the widely adored Starbucks Caramel Frappuccino Copycat and the delightfully tangy Starbucks Lemon Loaf Copycat recipes, has been overwhelmingly positive. It’s clear that the joy of recreating these cherished flavors at home is a shared passion. So, it was only a matter of time before we tackled my personal fall obsession: the irresistible Pumpkin Scone. Prepare yourself for a baking adventure that will fill your home with the intoxicating aroma of pumpkin and warm spices!
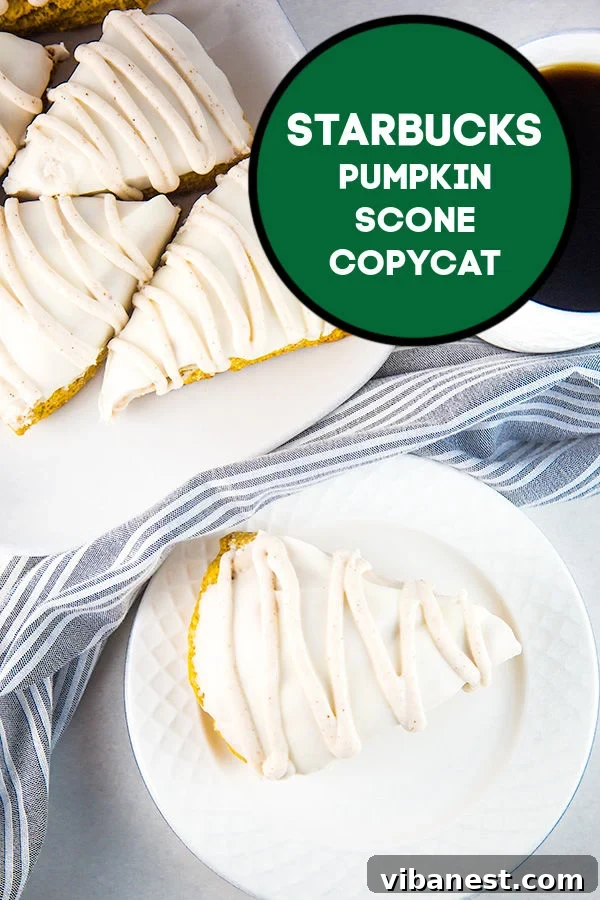
For many, the arrival of autumn at Starbucks, marked by the return of the Pumpkin Spice Latte and a delicious array of fall baked goods, signals the start of a cherished tradition. For me, it means indulging in a rich, flavorful Pumpkin Scone without a second thought. It’s more than just a treat; it’s a quintessential part of the fall experience, a delightful ritual I look forward to every year. And as a quick heads-up: I’m currently hard at work perfecting a Pumpkin Cream Cold Brew copycat recipe, because that drink is simply fantastic and has quickly become another top favorite from the Starbucks menu!
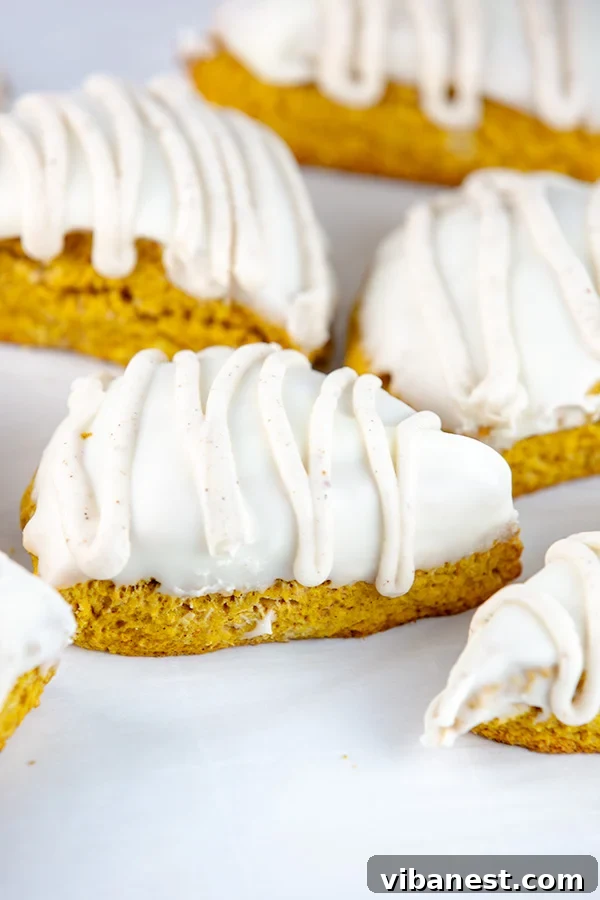
What Exactly is a Scone? The Essence of This Delightful Pastry
At its core, a scone is a traditional British or Scottish quick bread, often lightly sweetened, dense, and celebrated for its tender, slightly crumbly texture. While traditional scones are typically served with clotted cream and jam, American variations, like those found at Starbucks, often incorporate richer ingredients and a sweeter profile. Our Pumpkin Scone copycat perfectly captures this Americanized approach. The signature double glaze isn’t just an addition; it’s a critical component, elevating the scone from merely delicious to utterly irresistible, adding a layer of sweetness and spice that makes it truly exceptional and well worth every effort.
Mastering the Art of Homemade Scones: Essential Baking Tips
Crafting the perfect scone, especially one that rivals Starbucks’, is a rewarding experience. The process requires a few basic baking staples but relies heavily on technique. You’ll need pantry essentials like all-purpose flour, granulated sugar, fresh eggs, and a reliable leavening agent like baking powder to achieve that characteristic lift and tender crumb. A critical ingredient for this recipe is pure pumpkin puree—not pumpkin pie mix. These are distinctly different products; pumpkin puree is simply cooked, mashed pumpkin, while pumpkin pie mix already contains spices and sweeteners. For our copycat, we want control over our flavor profile, which means adding our own blend of warm fall spices: cinnamon, nutmeg, allspice, ginger, and cloves. And, as with many great pastries, the secret to a flaky, tender scone lies in using very cold, unsalted butter.
Key Steps to Perfect Scone Dough:
- Cold Butter is Crucial: Ensure your butter is straight from the refrigerator and cut into small cubes. This prevents it from melting too quickly into the flour, creating pockets of steam during baking that result in a light, flaky texture.
- Don’t Overwork the Dough: Gentle handling is key. Overmixing can develop the gluten in the flour too much, leading to tough scones. Mix just until the ingredients are combined and the dough barely comes together.
- The Classic Cut: After forming the dough into a round, the traditional method is to cut it into 8 triangular wedges. This iconic shape ensures even baking and gives them that familiar bakery look.
Once your beautifully shaped scones are on the baking sheet, they bake until they’re lightly golden, a little puffy, and firm to the touch. This recipe is designed to yield 8 perfectly portioned, delightful pumpkin scones, ideal for sharing or savoring yourself.
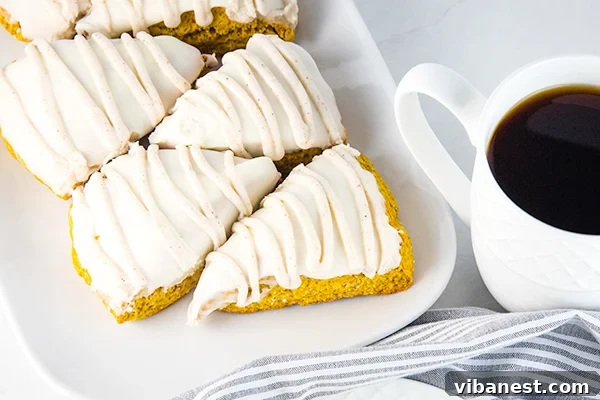
The Signature Double Glaze: Elevating Your Pumpkin Scone Experience
While many traditional scones skip the glaze, the truth is, the distinctive double glaze is what truly sets the Starbucks Pumpkin Scone apart and makes this copycat recipe sing. It’s one of the first things that captivated me about these scones when I first tried them years ago, and it’s non-negotiable for achieving that authentic taste and visual appeal. This isn’t just any glaze; it’s a two-part marvel that adds depth and an extra layer of pumpkin spice goodness.
Crafting the Perfect Glaze:
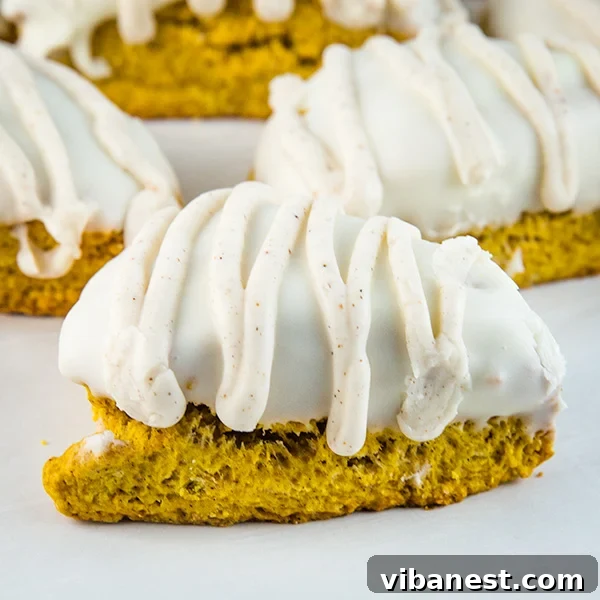
The base glaze requires only a few simple ingredients: powdered sugar for that smooth, melt-in-your-mouth texture, and a touch of heavy whipping cream to achieve the perfect consistency. The magic happens when you divide this plain glaze. One half remains untouched, providing a smooth, sweet foundation. To the other half, we infuse a blend of warm cinnamon, cloves, and nutmeg, creating a spiced glaze that perfectly complements the pumpkin scone underneath. This spiced drizzle is not just for decoration; it reinforces the fall flavor profile, making each bite an exquisite blend of sweet and spicy.
The application of this double glaze is key to recreating the Starbucks look and taste. First, a generous dip into the plain white glaze covers the entire top of the cooled scone, creating a sweet, even coating. Once this layer begins to set, the spiced glaze is artfully drizzled over the top, often in a zigzag pattern, adding visual appeal and an extra kick of those cherished autumn spices. It’s this intricate finishing touch that truly defines the Starbucks Pumpkin Scone, and it’s surprisingly easy to replicate at home.
Storing Your Homemade Pumpkin Scones: Keeping Them Fresh
To be completely honest, the absolute best way to enjoy these delightful Pumpkin Scones is fresh out of the oven, perhaps still a little warm, paired with your favorite coffee or tea. That first bite, when the scone is at its peak tenderness and the glaze is perfectly set, is an unparalleled experience. However, if you find yourself with leftovers (though I doubt you will!), these scones can be stored in an airtight container at room temperature for approximately two days. Beyond that, their delicate texture begins to change. The good news is, they’re so delicious, they rarely last long enough for storage to become a concern! For optimal freshness, consider freezing unbaked scones and baking them as needed, or gently warming previously baked scones for a few minutes in a low oven to revive their tender crumb.
Why Bake Your Own Starbucks Pumpkin Scones?
Beyond the sheer joy of baking, there are several compelling reasons to try this copycat recipe. The cost of a daily Starbucks latte and scone can quickly add up, making homemade versions a fantastic budget-friendly alternative. Moreover, baking at home allows you to control the quality of your ingredients, adjust sweetness levels to your preference, and truly savor the process from start to finish. There’s an immense satisfaction in pulling a batch of perfectly baked, beautifully glazed pumpkin scones from your own oven. I genuinely hope you find as much pleasure and deliciousness in this homemade pumpkin scone recipe as we do. Happy Fall, and happy baking!
SCONE INGREDIENTS
- 1/2 cup pure pumpkin puree (ensure it’s not pumpkin pie mix)
- 1 large egg, preferably at room temperature
- 1/4 cup heavy whipping cream
- 2 cups all-purpose flour, plus extra for dusting
- 1/3 cup granulated sugar
- 1 tablespoon baking powder
- 1/4 teaspoon salt
- 1 teaspoon ground cinnamon
- 1/2 teaspoon ground nutmeg
- 1/4 teaspoon ground allspice
- 1/4 teaspoon ground ginger
- 1/4 teaspoon ground cloves
- 1/3 cup unsalted butter, very cold and cut into small cubes
GLAZE INGREDIENTS
- 2 cups powdered sugar, sifted for smoothness
- 2-3 tablespoons heavy whipping cream, adjust as needed for consistency
- 2 dashes ground cinnamon
- 1 dash ground cloves
- 1 dash ground nutmeg
SCONE DIRECTIONS
- Preheat your oven to 375 degrees F (190 degrees C). Line a large baking sheet with parchment paper to prevent sticking and for easy cleanup.
- In a medium-sized bowl, combine the pumpkin puree, the large egg, and the heavy whipping cream. Use a fork or whisk to mix these wet ingredients until they are thoroughly combined and smooth. Set aside.
- In a separate, larger bowl, whisk together the dry ingredients: all-purpose flour, granulated sugar, baking powder, salt, ground cinnamon, nutmeg, allspice, ground ginger, and ground cloves. Ensure all spices are evenly distributed.
- Add the cold, cubed butter to the flour mixture. Using your fingertips or a pastry blender, work the butter into the flour until the mixture resembles coarse crumbs with some pea-sized pieces of butter still visible. The key here is to keep the butter as cold as possible.
- Create a well in the center of the flour and butter mixture. Pour the pumpkin mixture from the medium bowl into the well.
- Using a rubber spatula, gently fold the wet and dry ingredients together until they are just moistened. The dough will look shaggy and may not be fully combined – this is desired. Avoid overmixing.
- Lightly flour a clean work surface. Turn the dough out onto the floured surface. Gently bring the dough together, folding it a few times until almost all the flour is incorporated and the dough forms a cohesive ball. Do not knead vigorously.
- Carefully pat the dough into a round shape, about 2 inches thick. Using a sharp knife or a bench scraper, cut the round into 8 equal triangular pieces.
- Carefully transfer the triangular scones to the prepared baking sheet, spacing them evenly.
- Bake for 20-22 minutes, or until the scones are lightly golden brown, slightly puffy, and firm to the touch. Keep an eye on them; if they begin to brown too quickly, remove them promptly to prevent over-baking.
- Allow the baked scones to cool on the baking sheet for about 5 minutes before carefully transferring them to a wire rack to cool completely before glazing.
GLAZE DIRECTIONS
- In a medium bowl, add the powdered sugar. Gradually add the heavy whipping cream, one tablespoon at a time, whisking continuously until a thick, smooth, and pourable glaze forms. You may not need all 3 tablespoons of cream; adjust to reach desired consistency.
- Divide the prepared glaze evenly into two separate bowls. Set one bowl aside; this will be your plain white glaze.
- To the second bowl of glaze, add the ground cinnamon, ground cloves, and ground nutmeg. Whisk well to thoroughly combine all the spices. This will be your spiced glaze.
- Once the scones have completely cooled, take each scone and dip its top upside down into the plain white glaze, ensuring the entire top surface is coated.
- Carefully place the glazed scones back onto the wire rack, allowing the white glaze to set for about 5-10 minutes.
- Transfer the spiced glaze into a piping bag or a small Ziploc bag. Snip off a tiny corner of the bag to create a small opening.
- Pipe a zigzag pattern or parallel lines of the spiced glaze across the top of each white-glazed scone.
- Allow the glazed scones to sit for at least 15 minutes, or until both glazes have fully hardened before serving. This will prevent stickiness and ensure a beautiful presentation.
- For the absolute best results, enjoy these homemade Starbucks Pumpkin Scones immediately. Leftovers can be stored in an airtight container for up to two days.
Recipe credit
Brittany Jenkins