
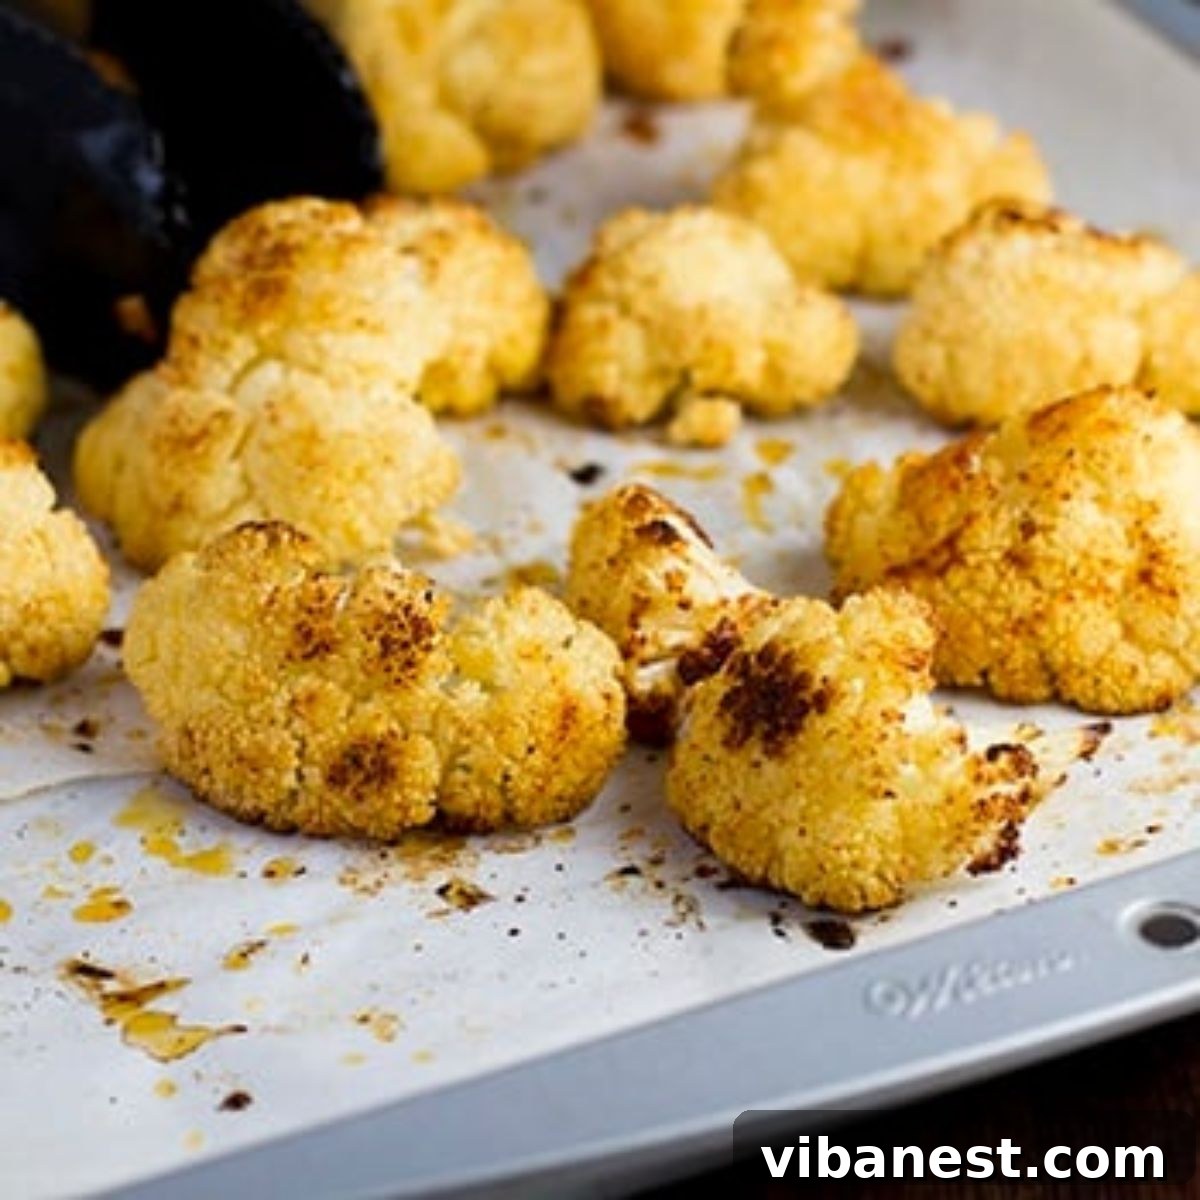
Roasted cauliflower is a culinary marvel, undergoing a magical transformation in the oven that unlocks an unbelievably savory, slightly sweet flavor with irresistibly crispy edges. For many, including us, this simple preparation turns a humble vegetable into something so addictive it earns the delightful nickname “cauliflower popcorn.” This isn’t just a recipe; it’s an experience that will redefine your perception of vegetables and quickly become a staple in your kitchen.
There’s an undeniable allure to roasted vegetables. The high heat of the oven coaxes out natural sugars, caramelizing them to create a depth of flavor that raw or steamed vegetables simply can’t match. Even the most ardent vegetable skeptics often find themselves won over by the rich, earthy, and utterly delicious notes that emerge during roasting. This principle holds especially true for our star today: roasted cauliflower. What starts as a firm, mild florets becomes a tender-crisp sensation, perfect as a side dish, a healthy snack, or even a star ingredient in its own right.
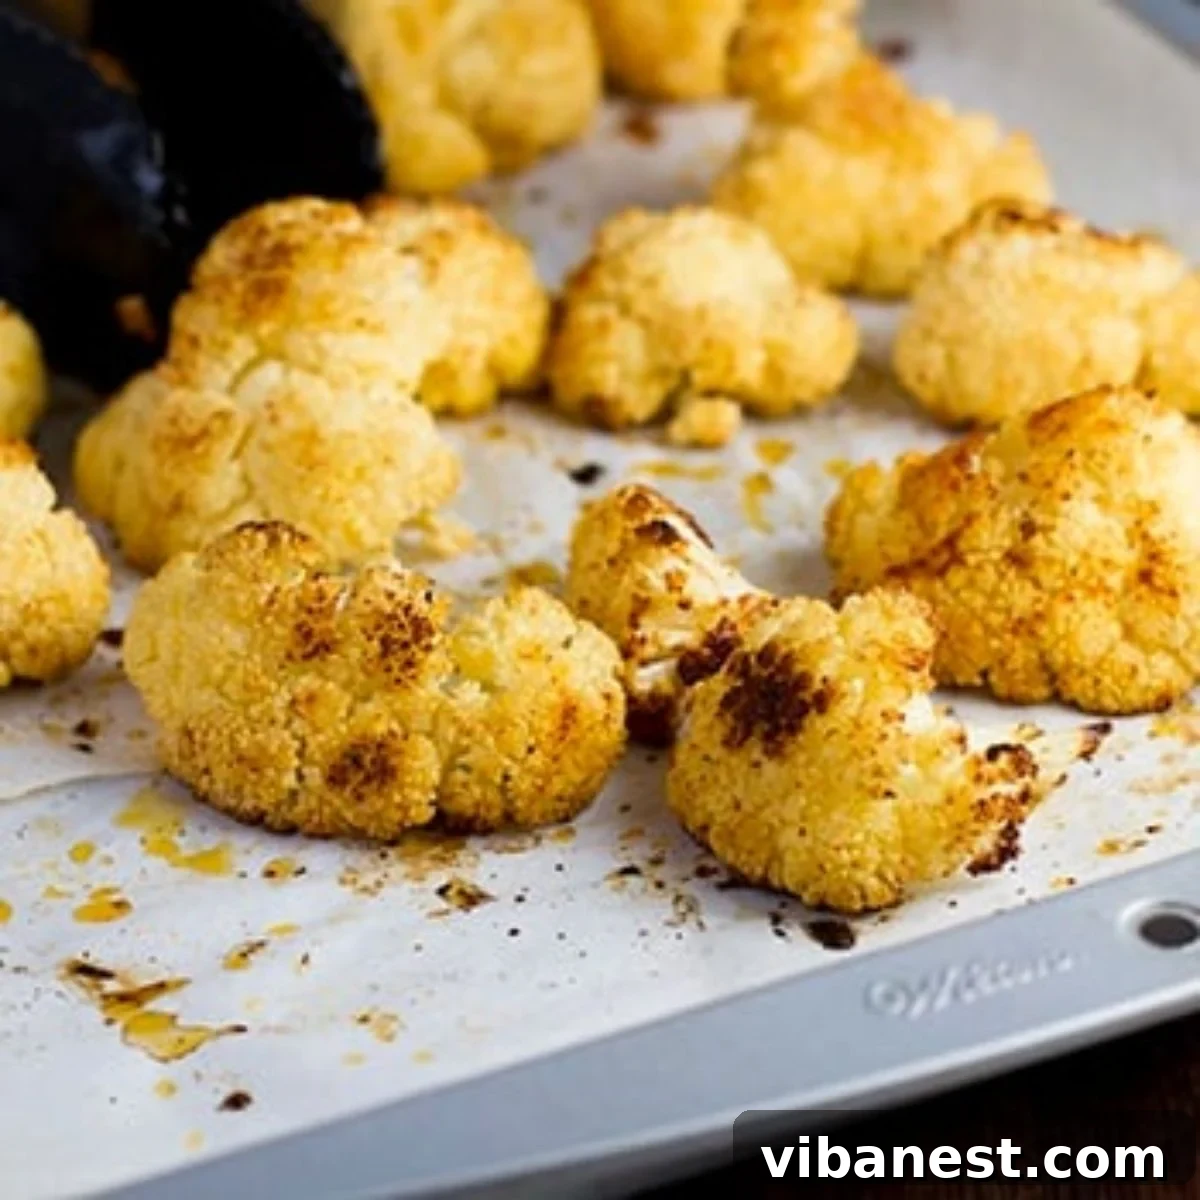
Loved this recipe? Pin it now to save it for later and share with friends!
Pin It Now
Cauliflower was, in fact, one of the very first vegetables I ever experimented with roasting, and it was love at first bite. The transformation is profound: from a somewhat bland and unassuming vegetable, it emerges from the oven bursting with flavor, boasting a delightful texture that’s simultaneously tender and delightfully crunchy. It’s this incredible metamorphosis that makes roasted cauliflower such a versatile and appealing option for any meal, instantly elevating a simple side into a crave-worthy dish.
Why Roast Cauliflower? The Magic Unveiled
Beyond the simple act of cooking, roasting vegetables like cauliflower unlocks a spectrum of benefits and flavors. The high, dry heat of the oven promotes what’s known as the Maillard reaction, a complex chemical process that creates hundreds of new flavor compounds and gives food that irresistible browned crust. This is where the magic truly happens, turning the mild bitterness of raw cauliflower into a sweet, nutty, and profoundly umami experience.
- Unforgettable Flavor: Roasting brings out the natural sweetness in cauliflower, creating a deeply savory and slightly caramelized taste that’s far superior to boiling or steaming.
- Irresistible Texture: The exterior becomes beautifully crisp and golden, while the interior remains wonderfully tender. This textural contrast is incredibly satisfying.
- Simple Preparation: With just a few basic ingredients – cauliflower, olive oil, and seasonings – you can create a dish that feels gourmet with minimal effort.
- Versatility: Roasted cauliflower is not just a side. It can be a healthy snack, an addition to salads, bowls, tacos, or even blended into creamy soups.
- Nutritional Boost: Retains more nutrients compared to boiling, offering a healthy dose of fiber, Vitamin C, Vitamin K, and other essential minerals.
The Nutritional Powerhouse of Cauliflower
Cauliflower isn’t just delicious; it’s also incredibly good for you. This cruciferous vegetable is packed with an impressive array of vitamins, minerals, and powerful plant compounds. It’s an excellent source of Vitamin C, a potent antioxidant, and Vitamin K, which is essential for blood clotting and bone health. Furthermore, cauliflower is rich in fiber, which aids in digestion and promotes gut health, and it contains various B vitamins that play crucial roles in energy metabolism.
Beyond its vitamin and mineral content, cauliflower is renowned for its unique compounds like glucosinolates and isothiocyanates, which have been studied for their potential anti-inflammatory and cancer-fighting properties. Incorporating roasted cauliflower into your diet is a flavorful way to boost your nutrient intake and support overall well-being. It’s low in calories, low in carbohydrates (making it a popular choice for keto and low-carb diets), and versatile enough to be enjoyed in countless healthy meals.
Recommended Kitchen Tools for Perfect Roasting
Enhance your roasting experience with these essential kitchen items that make preparation and cooking a breeze.
Olive Oil Bottle SetStylish and practical for drizzling oils and vinegars.
Selecting and Preparing Your Cauliflower for Roasting
The journey to perfect roasted cauliflower begins with choosing the right head and preparing it properly. Quality ingredients are the foundation of any delicious dish.
Choosing a Fresh Head:
When you’re at the grocery store or farmer’s market, look for a head of cauliflower that is bright white or creamy white. Avoid any heads with brown spots, yellowing, or dark blemishes, as these indicate it’s past its prime. The florets should be tightly packed and firm, not loose or crumbly. Check the leaves around the head – they should be fresh, vibrant green, and crisp, which signals a healthy and recently harvested vegetable.
Cleaning Your Cauliflower:
Before cutting, give your cauliflower a thorough rinse under cold running water. It’s important to clean the entire head, paying special attention to the crevices between the florets where dirt or small insects might hide. You can also submerge the head in a bowl of cold water for a few minutes with a splash of vinegar to help dislodge any hidden debris, then rinse again.
Cutting into Florets:
Proper cutting is crucial for even roasting. Begin by removing the outer green leaves and trimming the stem flush with the base of the florets. You can either cut the cauliflower into florets using a knife or gently break them apart with your hands. The goal is to create bite-sized pieces that are roughly uniform in size. If some florets are much larger than others, they will cook unevenly, leading to some pieces being burnt while others are still undercooked. Aim for pieces about 1 to 1.5 inches in size. Remember that cauliflower shrinks slightly during roasting, so don’t cut them too small, or they might become overly crispy or burn.
The Art of Perfectly Roasted Cauliflower: A Step-by-Step Guide
Achieving that coveted golden-brown, tender-crisp roasted cauliflower isn’t complicated, but it does benefit from a few key techniques. Here’s how to get it right every time:
- Preheat Your Oven to 450°F (232°C): This high temperature is absolutely essential for roasting. It creates a hot environment that quickly caramelizes the exterior of the cauliflower, resulting in those desired crispy edges and deep flavor. Don’t put the cauliflower in a cold oven and wait for it to heat up; preheating ensures instant searing.
- Prepare Your Baking Sheet: Line a large, rimmed baking sheet with parchment paper. This prevents sticking and makes cleanup incredibly easy. A rimmed sheet is important to keep the florets contained.
- Season Liberally: Place your prepared cauliflower florets on the lined baking sheet. Drizzle generously with olive oil – enough to lightly coat all the pieces without drowning them. Then, sprinkle with kosher salt and your chosen seasonings. Toss everything together directly on the baking sheet with your hands to ensure every floret is evenly coated. Spreading the cauliflower in a single layer, without overcrowding, is crucial for proper roasting. If the pan is too crowded, the cauliflower will steam instead of roast, leading to soggy results. Use two baking sheets if necessary.
- The Covered Roast (15 minutes): Cover the baking sheet tightly with aluminum foil. Place it in the preheated oven and bake for 15 minutes. This initial covered period acts like a mini-steam, helping the cauliflower become tender from the inside out while preventing it from burning prematurely on the outside. It ensures a consistent, soft interior before the crisping process begins.
- The Uncovered Crisp (35-40 minutes): After 15 minutes, carefully remove the foil. Return the uncovered baking sheet to the oven and continue roasting for another 35-40 minutes. During this stage, the moisture escapes, and the high heat allows the cauliflower to turn gloriously golden brown and crispy around the edges. For even browning, flip the florets halfway through this uncovered roasting period (around the 20-minute mark). You’ll know it’s done when the edges are deeply golden and slightly charred, and the cauliflower is tender when pierced with a fork.
- Adjust Seasonings and Serve: Once removed from the oven, taste a piece. You might want to add a final sprinkle of salt or a fresh dash of your favorite herb or spice to brighten the flavors. Serve immediately and enjoy the “popcorn” experience!
Mastering Flavors: Endless Seasoning Variations
While a simple combination of olive oil, salt, and pepper is always delicious, one of the joys of roasted cauliflower is how wonderfully it adapts to different flavor profiles. Don’t be afraid to experiment and find your favorite!
- Classic & Simple: Just olive oil, kosher salt, and freshly ground black pepper. Let the natural flavor of the cauliflower shine.
- Smoky & Spicy: As the original article suggests, ancho chili powder and garlic powder are excellent. You can also add a pinch of smoked paprika for an extra layer of depth, or a dash of cayenne pepper for more heat.
- Garlic & Herb: Combine garlic powder (or minced fresh garlic added halfway through the uncovered stage to prevent burning), dried oregano, thyme, rosemary, or an Italian seasoning blend. Finish with fresh parsley after roasting.
- Cheesy & Umami: Toss with grated Parmesan cheese during the last 10-15 minutes of roasting for a crispy, savory crust. Nutritional yeast is a great dairy-free alternative for a cheesy flavor.
- Mediterranean Flair: Use olive oil, dried oregano, a pinch of red pepper flakes, and a squeeze of lemon juice after roasting. Feta cheese can be crumbled over it upon serving.
- Asian Inspired: A drizzle of sesame oil, a dash of soy sauce (or tamari for gluten-free), and a sprinkle of ginger powder. Top with sesame seeds and chopped green onions after roasting.
- Curry Kick: While the original author wasn’t a fan, many love roasted cauliflower with curry powder, turmeric, and a touch of cumin. It creates a vibrant, aromatic dish.
- Lemon Pepper: A bright and zesty option using lemon pepper seasoning, garlic powder, and a final squeeze of fresh lemon.
The key is to start with a good base of olive oil and salt, then build your desired flavor layers. Don’t overload it; sometimes less is more. Taste and adjust as you go!
Serving Suggestions: Versatility on a Plate
Roasted cauliflower is incredibly versatile and can be enjoyed in a myriad of ways. Its satisfying crunch and rich flavor make it a perfect addition to almost any meal.
- Delightful Side Dish: The most common way to enjoy it! It pairs beautifully with grilled chicken, roasted fish, steaks, or any main course.
- Crunchy Appetizer or Snack: Serve it on its own with a dipping sauce like tahini dressing, a creamy yogurt dip, or even ketchup for a “popcorn” experience.
- Salad Enhancer: Add cooled roasted florets to your favorite green salads for extra texture, flavor, and a nutritional boost.
- Grain Bowl Topper: A fantastic addition to healthy grain bowls with quinoa, rice, beans, and other vegetables.
- Taco or Wrap Filling: Seasoned roasted cauliflower can be a delicious vegetarian filling for tacos, burritos, or wraps, especially with a creamy sauce.
- Base for Main Dishes: Puree roasted cauliflower with a little broth to create a creamy, low-carb sauce for pasta or as a lighter alternative to mashed potatoes.
Remember, the beauty of oven-roasted cauliflower lies in its freshness, proper preparation, and your willingness to experiment with seasonings. Adjust the size of your florets based on how you plan to use them and savor the golden-brown goodness you’ve created from your own kitchen. Happy roasting!
Storing and Reheating Leftovers: Maintaining the Crunch
While roasted cauliflower is best enjoyed fresh from the oven, leftovers can be stored and reheated. To maintain its delightful texture, proper storage and reheating methods are key.
Store any leftover roasted cauliflower in an airtight container in the refrigerator for up to three days. Beyond that, the texture might begin to degrade. When it comes to reheating, avoid the microwave if you want to preserve any crispiness, as it tends to make vegetables soft and watery.
For best results, reheat your cauliflower in an air fryer or in the oven. Preheat your air fryer to 350°F (175°C) and cook for 5-8 minutes, shaking the basket halfway through, until heated through and re-crisped. If using an oven, preheat to 375°F (190°C), spread the cauliflower on a baking sheet, and roast for 10-15 minutes, or until warmed through and the edges are crisp once more. Always use your best judgment when it comes to reheating and consuming leftovers to ensure food safety.
Roasted Cauliflower “Popcorn” Recipe

Roasted Cauliflower “Popcorn”
Something special happens when you roast cauliflower – it almost tastes like popcorn! This is my absolute favorite way to prepare cauliflower and one of my favorite veggie recipes of all time!
5 minutes
55 minutes
Ingredients
- 1 large head of cauliflower (about two pounds, cut into large chunks)
- 2 tbsp olive oil
- 1/4-1/2 tsp kosher salt (or to taste)
- 1/4-1/2 tsp chili powder (optional, or adjust to preference)
- 1/8 tsp garlic powder (optional, or adjust to preference)
- Optional: Other seasonings such as smoked paprika, dried oregano, or a pinch of cayenne.
Instructions
- Preheat your oven to 450 degrees Fahrenheit (232°C). Line a large, rimmed baking sheet with parchment paper for easy cleanup.
- Wash the cauliflower thoroughly and cut it into fairly large, bite-sized chunks (approximately 1 to 1.5 inches). Remember, it shrinks as it roasts, so avoid making the pieces too small. Ensure they are uniform in size for even cooking.
- Place the cut cauliflower on the prepared baking sheet. Drizzle with olive oil, then sprinkle generously with kosher salt, chili powder, and garlic powder (or any other seasonings of your choice). Toss everything directly on the baking sheet to ensure all florets are evenly coated. Spread the cauliflower in a single layer without overcrowding the pan; use a second sheet if needed.
- Cover the baking sheet tightly with aluminum foil. Bake in the preheated oven for 15 minutes. This initial covered roasting helps tenderize the cauliflower from within and prevents it from burning too quickly.
- Remove the baking sheet from the oven and carefully remove the foil. Return the uncovered cauliflower to the oven and continue roasting for another 35-40 minutes, or until the cauliflower turns deeply golden brown, with some crispy, slightly charred edges. For optimal browning, flip the florets halfway through this uncovered stage.
- Once roasted to your desired crispness and color, remove from the oven. Taste a piece and adjust seasonings as needed; you may find it benefits from a final sprinkle of salt or a fresh herb garnish. Serve hot and enjoy!
Other Delicious & Easy Vegetable Side Dishes
If you’ve enjoyed this simple yet flavorful roasted cauliflower recipe, you’ll love exploring other ways to bring vibrant vegetables to your table. Here are a few more easy-to-make side dishes that are sure to impress:
- Oven Roasted Baby Carrots
- Crispy Parmesan Roasted Potatoes
- Pan Roasted Green Beans with Garlic Sauce
We love hearing from you! If you make this roasted cauliflower recipe or any of our other delicious creations, please take a moment to leave a comment below and let us know what you think. Your feedback is invaluable!

Recipe adapted from Summer Tomato