
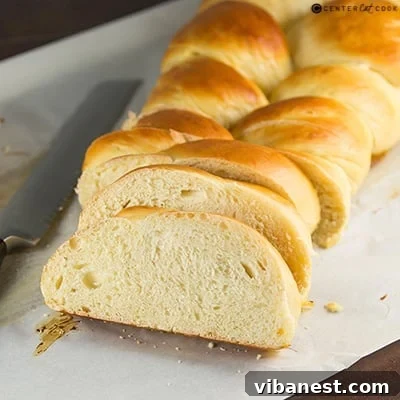
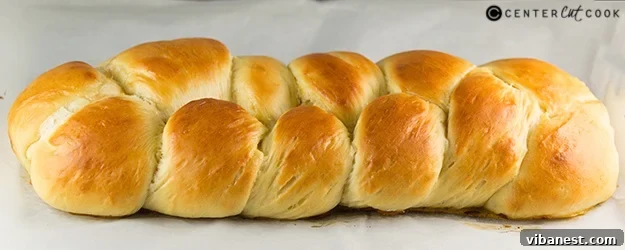
Mastering Homemade Challah: A Journey from Baking Fear to Golden Perfection
There’s a unique satisfaction that comes with baking, a transformative magic that turns simple ingredients into something truly special. Yet, among all the culinary arts, making fresh, kneaded bread has always been a particular source of anxiety for me. I’m not referring to the forgiving simplicity of quick breads like banana bread or muffins, which require minimal fuss. My apprehension stems from the delicate dance of yeast, the precise hydration, and the laborious, yet crucial, act of kneading. This is why, despite my deep love for the comforting aroma of fresh bread filling my home, homemade yeast bread rarely graces our table more than a few times a year. It’s a process that, frankly, stresses me out.
The intimidation is real. Will the dough activate properly and rise to its full potential? Will the crust develop that perfect golden hue without burning? Will the interior be light and airy, or dense and doughy? These are the questions that typically hold me back. However, a recent spark of inspiration, coupled with a newfound determination to conquer my baking fears, led me to a delicious challenge: Challah bread. This exquisite, braided loaf was something I had never attempted before, making the prospect even more daunting, but also incredibly exciting.
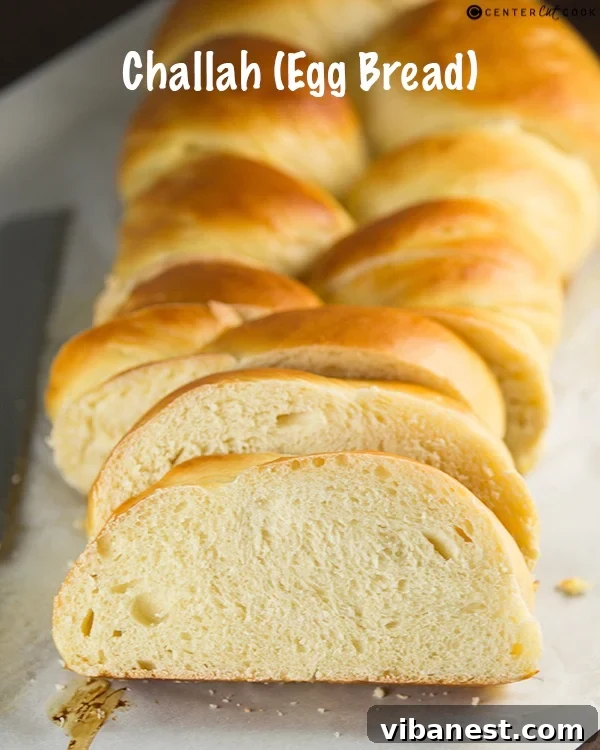
The Unexpected Inspiration Behind My Challah Adventure
This journey into Challah baking wasn’t entirely spontaneous. The catalyst arrived in the form of a casual conversation with my dear friend, Lisa (a huge thank you to her!). She recounted making the most incredible French toast using egg bread sourced from a local bakery. Now, I had never considered using egg bread for French toast, but her enthusiastic description immediately piqued my interest. The thought of thick slices of rich, tender egg bread soaking up a custardy batter, then griddled to golden perfection, was simply irresistible. The usual store-bought white bread or even brioche often falls short in terms of texture and flavor, but egg bread promised a whole new level of decadence.
Instead of making a quick trip to the bakery, a bolder idea took root: why not try making this “egg bread” at home? A quick search revealed that “egg bread” is simply another name for Challah, a bread steeped in tradition and renowned for its distinctive richness and beautiful braided form. And just like that, what started as a craving for superior French toast transformed into an ambitious baking project. The adventure of crafting my very first Challah loaf began, promising not just a delicious outcome, but also a valuable lesson in conquering culinary apprehension.
What Exactly is Challah? A Brief Culinary and Cultural Dive
For those unfamiliar with this delightful bread, a quick lesson feels necessary. Challah (pronounced KHAH-luh) is a special braided bread, traditionally consumed by Jewish communities on the Sabbath and holidays. Its signature golden hue and rich flavor come from its generous inclusion of eggs, which is precisely why it’s often affectionately nicknamed “egg bread.”
The Significance of Challah
Beyond its ingredients, Challah holds deep cultural and symbolic meaning. On Shabbat, two loaves are typically placed on the table, representing the double portion of manna that fell in the desert on Fridays, before the Sabbath. The intricate braids themselves are thought to symbolize love, unity, or even the intertwining of spiritual and material blessings. While often seen in a classic elongated, braided loaf, Challah can also be formed into round braids, particularly for Rosh Hashanah (the Jewish New Year), symbolizing continuity and a sweet year to come. Variations are common, with some recipes incorporating raisins for a touch of sweetness, while others might feature a sprinkle of poppy or sesame seeds on top for added texture and visual appeal. Regardless of its form or adornments, one thing remains universally true: Challah is incredibly, undeniably tasty. Seriously, it’s darn tasty, I tell you.
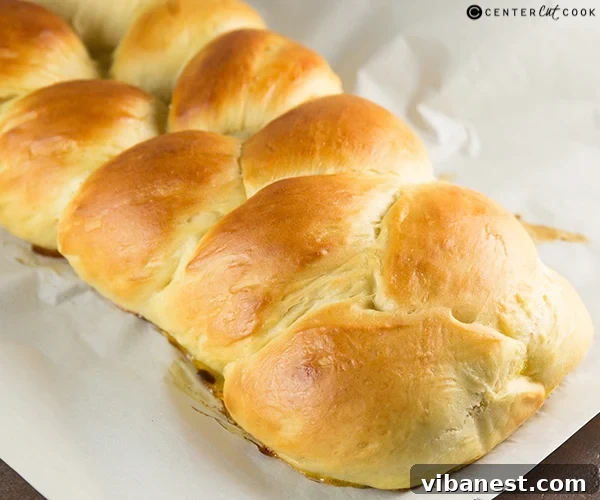
My First Foray into Braiding: Keeping it Simple
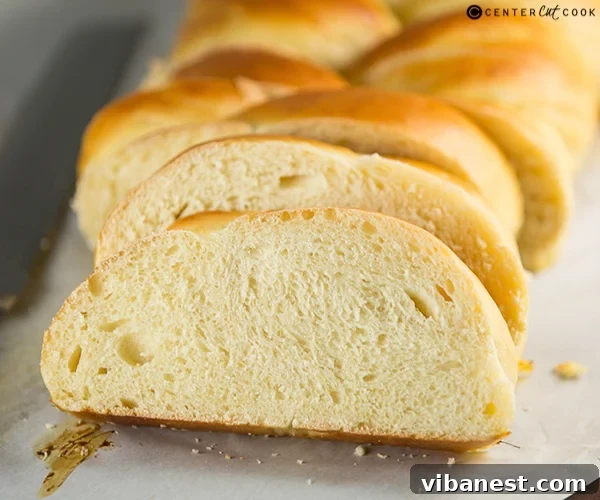
Now, I’ll be the first to admit that my inaugural Challah loaf is far from a masterpiece. In the grand spectrum of Challah artistry, where some bakers create stunning, intricate loaves with six, eight, or even twelve strands braided together, mine would probably land somewhere at the bottom in terms of aesthetic grandeur. The truly elaborate Challah braids are works of art, almost too beautiful to eat!
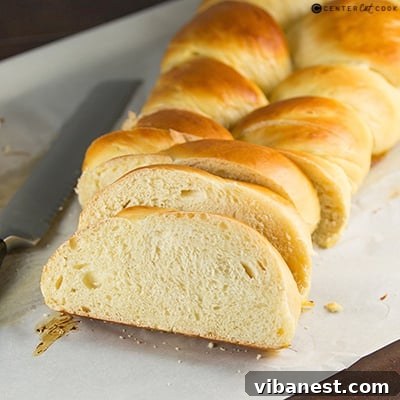
However, for a first-timer like myself, simplicity was key. I opted for a straightforward three-strand braid, which, much to my relief, turned out to be incredibly easy-peasy lemon-squeezy. It’s much like braiding hair, a rhythmic movement of bringing one strand over the middle, then the next. The beauty of the three-strand braid lies in its classic elegance and accessibility for beginners, allowing you to focus on the dough and the baking process without getting tangled in complex plaiting techniques. The result, though not a showstopper, was undeniably charming and perfectly functional.
Beyond the Bake: Exciting Plans for My Homemade Challah
With my beautiful, if imperfect, Challah now baked and cooled, my mind immediately leaps to the next culinary adventure. Can you just imagine what recipe might be gracing CenterCutCook next? Having a fresh, homemade Challah loaf on hand, especially day-old Challah, is an absolute dream for Saturday morning breakfast.
The possibilities are endless and deliciously tempting. Will I stick to a classic, perfectly golden French toast, allowing the rich flavor of the Challah to shine through? Or perhaps I’ll get a little more adventurous, diving into the world of stuffed French toast, filled with cream cheese and berries, or even a decadent French toast casserole for an indulgent brunch spread. Oh, the delicious options! Stay tuned, because this Challah is destined for greatness, and I can’t wait to share the next chapter of its journey with you.
P.S. This particular recipe yields one super delicious loaf of Challah. However, after experiencing the effort involved (which, I assure you, is completely worth it!), my plan for next time is definitely to double the recipe. That way, I’ll get two magnificent loaves for essentially the same amount of effort. More Challah means more possibilities for enjoying this incredible bread, whether fresh, toasted, or transformed into an unforgettable breakfast!
Homemade Challah Bread Recipe
INGREDIENTS
- 1 1/4 cup warm water (around 105-115°F or 40-46°C)
- 1 packet (2 1/4 teaspoons) rapid rise yeast
- 1/4 cup honey (heaping), plus 1 tablespoon honey for an egg wash
- 2 tablespoons vegetable oil (or olive oil)
- 1 large egg, 3 large egg yolks (plus 1 additional egg for an egg wash)
- 1/2 tablespoon salt
- 4 cups all-purpose flour (plus more for kneading)
DIRECTIONS
- In a large mixing bowl (or the bowl of a stand mixer with a dough hook, or your food processor for initial mixing), pour in the warm water. Sprinkle the rapid rise yeast over the water and let it sit for 5-10 minutes until foamy, indicating the yeast is active.
- Once the yeast is bloomed, whisk in the heaping 1/4 cup of honey, 2 tablespoons of oil, 1 whole egg, and 3 egg yolks until well combined. Stir in the 1/2 tablespoon of salt.
- Begin adding the flour, one cup at a time, mixing thoroughly after each addition until incorporated. After you’ve added the fourth cup of flour, turn the dough out onto a lightly floured work surface. Begin kneading the dough with your hands. Continue to add small amounts of flour as needed, incorporating it into the dough as you knead, until the dough is no longer excessively sticky but still soft and pliable. Knead for about 8-10 minutes, or until the dough is smooth and elastic (it should pass the “windowpane test” where a small piece can be stretched thin enough to see light through it without tearing).
- Lightly grease a large bowl with oil. Place the dough in the bowl, turning it once to coat the top. Cover the bowl with a damp kitchen towel or plastic wrap. Allow the dough to rise in a warm, draft-free place for about 1.5 to 2 hours, or until it has doubled in size.
- After the first rise, gently transfer the dough to a lightly floured work surface. “Punch down” the dough (literally, gently punch the air out of it) to release the gases. Knead the bread for another 3-5 minutes to develop further structure and elasticity. This step helps create a finer crumb.
- Next, divide the dough into three equal sections (or six if you are attempting a more intricate six-strand braid, or even four for a four-strand braid). Use your hands to gently roll and stretch each section into a uniform 12-inch long strand, approximately 1.5 inches in diameter. Ensure the strands are roughly the same thickness for an even bake.
- Pinch the ends of the three strands together firmly at one end to anchor them. Begin braiding the dough, just as you would braid hair: take the leftmost piece, bring it over the middle piece, then take the rightmost piece and bring it over the new middle piece. Continue this pattern, keeping the braid relatively loose but uniform, until the entire loaf is braided. Pinch the bottom ends together to seal.
- Lightly grease a large rimmed baking sheet with butter or cooking spray, or line it with parchment paper. Carefully transfer the braided loaf onto the prepared pan.
- In a small bowl, whisk together the remaining one egg and 1 tablespoon of honey for an egg wash. Brush this mixture generously all over the surface of the braided bread. Cover the bread again with a damp towel or plastic wrap and let it rise for a second time, for about 45 minutes to 1 hour, or until noticeably puffy.
- While the Challah is completing its second rise, pre-heat your oven to 375 degrees F (190°C).
- Just before baking, brush the Challah one more time with the egg wash. This will ensure a beautiful, glossy, golden crust. Place the pan in the pre-heated oven and bake for 27-32 minutes. Keep a close eye on the bread during the last 10-15 minutes to prevent over-browning; you may need to loosely tent it with aluminum foil if it browns too quickly. The internal temperature of the Challah should register around 190-200 degrees F (88-93°C) when fully baked.
- Once baked, remove the Challah from the oven and transfer it to a wire rack to cool completely before slicing and serving. This allows the internal structure to set and prevents a gummy texture. Enjoy your magnificent homemade Challah!
Recipe adapted from
All Recipes