
Crispy Homemade Pita Chips: Your Ultimate Guide to a Perfect Snack
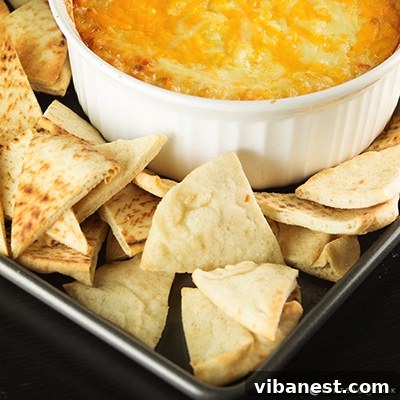
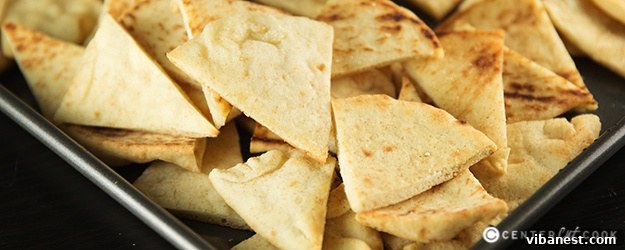
Forget store-bought! Learning how to make your own **homemade pita chips** is a game-changer for anyone who loves delicious, healthy, and incredibly easy snacks. These golden, perfectly seasoned pita chips are the quintessential dipper for a vast array of creamy, zesty, or savory concoctions, from a classic, silky hummus to a rich and decadent Vidalia onion dip. What’s even better? They’re often a healthier alternative to many other fried snack options, offering a satisfying crunch without the guilt. With minimal effort and just a few simple ingredients, you can have a fresh batch of these toasty, **crispy pita chips** ready to enjoy in less than 15 minutes!
Why Make Your Own Pita Chips? The Benefits of Homemade
There’s a special satisfaction that comes with creating snacks from scratch, and **homemade pita chips** are no exception. Beyond the sheer ease, there are several compelling reasons to whip up your own batch:
- Unbeatable Freshness: Store-bought chips can often taste stale or overly processed. Making them at home ensures you get the freshest, most vibrant flavor and a truly superior crunch.
- Customizable Flavors: This is where the real fun begins! You have complete control over the seasonings. Want a garlicky kick? A sprinkle of fiery chili? Or perhaps something sweet? The possibilities are endless, allowing you to tailor them perfectly to your palate or specific dip.
- Healthier Alternative: By baking your pita chips instead of frying, you significantly reduce the amount of unhealthy fats. You also control the quality of oil and the amount of salt, making them a more wholesome **healthy snack** option.
- Cost-Effective: A few inexpensive pita breads can yield a large batch of chips, often costing far less than their pre-packaged counterparts. This makes them an economical choice for entertaining or daily snacking.
- Quick & Easy: Seriously, this recipe is almost unbelievably simple. With a prep time of just 5 minutes and a bake time of 8-10 minutes, you can satisfy your snack cravings in under 15 minutes from start to finish.
Selecting and Preparing Your Pita Bread
The foundation of great pita chips starts with great pita bread. While you can certainly embark on the rewarding journey of making your own **homemade pita bread** from scratch, for convenience and speed, store-bought pita pockets work perfectly. Most major grocery stores carry pita bread, and you have a couple of places to check:
- The Bread Aisle: Often, pita bread can be found alongside other specialty breads, tortillas, and flatbreads.
- The Deli Section: Many stores, especially those with a dedicated bakery or deli, will stock fresh pita pockets near their hummus or other Mediterranean specialties. If you can’t find them immediately, don’t hesitate to ask a store employee!
Once you have your pita bread, the next step is to prepare it for cutting. For ideal chip size and even baking, you’ll want to cut each round pita pocket into 8 uniform pieces. The easiest and most efficient way to achieve this is to treat it like a pizza:
- Stack your pita breads (you can often stack a few at a time to speed up the process).
- Using a sharp knife or, even better, a pizza cutter, make a cut straight through the center of the stack.
- Rotate the stack 90 degrees and make another cut through the center, creating four equal quarters.
- Finally, cut each quarter in half diagonally, resulting in 8 perfect triangles from each pita bread. This method ensures each **pita chip** is roughly the same size, promoting consistent baking and a beautifully uniform presentation.
The Simple Art of Flavoring and Baking Pita Chips
The beauty of **baked pita chips** lies in their simplicity. Once your pita triangles are cut, the rest is incredibly straightforward. You’ll essentially be tossing them with a bit of healthy fat and your chosen seasonings before baking them to golden perfection. Here’s how to do it:
Step 1: The Essential Olive Oil Base
In a large bowl, combine your pita triangles with a generous drizzle of good quality extra virgin olive oil. Olive oil is crucial here not only for preventing the chips from drying out but also for helping the seasonings adhere and for contributing to that desirable golden-brown crispness. Toss them thoroughly, ensuring every piece is lightly coated. You want them glistening, not soaking wet.
Step 2: Elevating Flavor with Optional Seasonings
While a simple olive oil and salt combination is perfectly delicious, this is your chance to get creative and elevate your **homemade pita chips** with extra flavor. Some popular and highly recommended additions include:
- Minced Garlic: Freshly minced garlic adds an irresistible aromatic depth. If you’re a garlic lover, don’t skip this! Garlic powder can also be used for convenience.
- Sea Salt: A sprinkle of flaky sea salt not only enhances the overall taste but also adds a pleasant textural contrast. Adjust to your preference.
- Dried Herbs: Consider adding dried oregano, thyme, rosemary, or a mix of Italian herbs for a Mediterranean flair.
- Spices: A pinch of paprika, chili powder, or cumin can introduce a warm, smoky, or spicy note. For a Middle Eastern touch, try Za’atar seasoning.
- Cheese: A dusting of grated Parmesan cheese before baking can add a savory, umami-rich layer.
Toss all the ingredients together until the seasonings are evenly distributed. Remember, these additions are optional, but they can transform a simple chip into an extraordinary **flavorful snack**.
Step 3: Baking to Golden Perfection
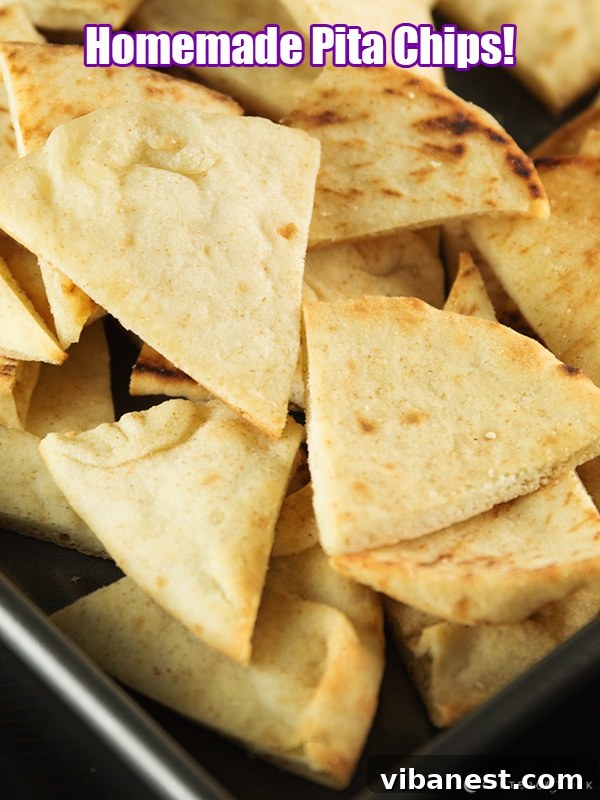
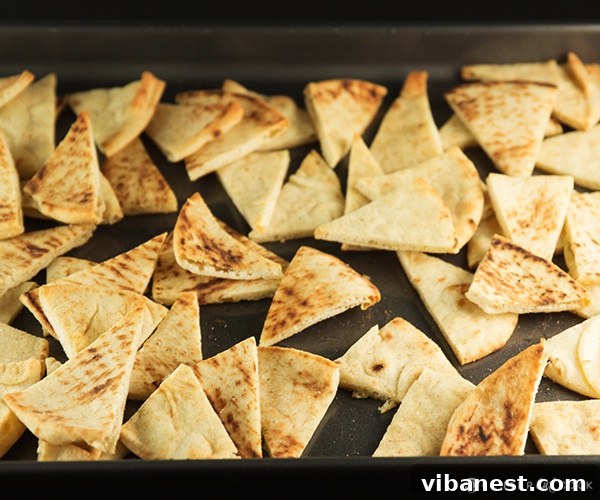
Arrange your seasoned pita triangles in a single layer on a baking sheet. Avoid overcrowding the pan, as this can lead to steaming rather than crisping. If necessary, use two baking sheets. Bake in a preheated oven at 400°F (200°C) for approximately 8-10 minutes. The exact baking time can vary slightly depending on your oven and the thickness of your pita bread. Keep a close eye on them, especially during the last few minutes, as they can go from perfectly golden to burnt very quickly.
You’ll know your **crispy pita chips** are ready when they turn a beautiful golden brown and feel firm and crunchy to the touch. Let them cool slightly on the baking sheet before transferring them to a serving dish. They will crisp up even more as they cool.
Endless Possibilities: Serving Your Homemade Pita Chips
The true magic of **homemade pita chips** lies in their incredible versatility. While they are famously known as the perfect partner for hummus, their mild yet satisfying flavor profile makes them suitable for a dizzying array of dips and culinary applications. Here are just a few ideas to get your inspiration flowing:
Classic Dip Pairings:
- Hummus: The undisputed champion! Whether it’s traditional chickpea hummus, red pepper hummus, or a spicy variant, pita chips are the ideal vehicle.
- Baba Ghanoush: The smoky, creamy eggplant dip finds its perfect match in the crunch of pita chips.
- Tzatziki: The cool, refreshing cucumber and yogurt dip provides a delightful contrast to the warm, crispy chips.
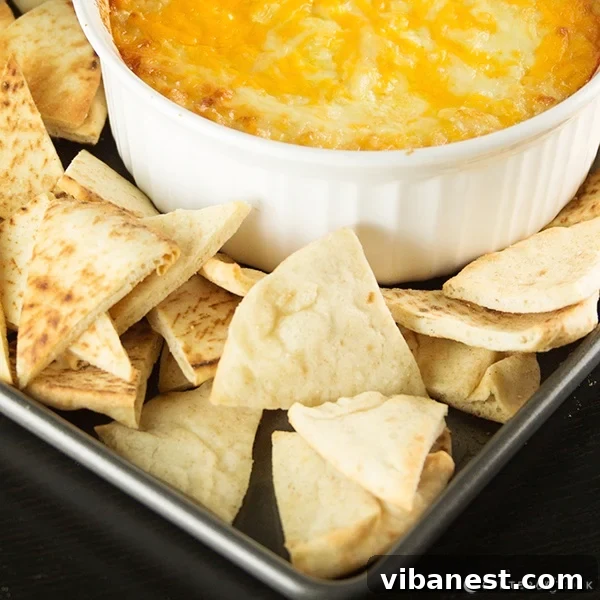
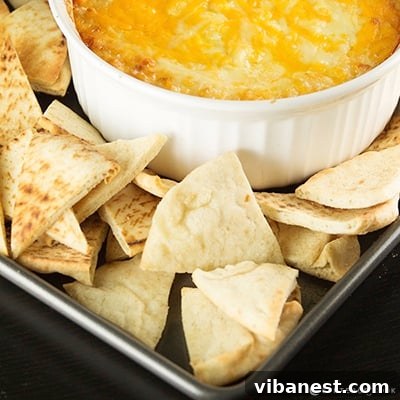
- Spinach Artichoke Dip: A warm, cheesy, and utterly addictive dip that begs for a sturdy dipper like a pita chip.
- Guacamole: A fresh and vibrant option, especially if you’ve seasoned your chips with a hint of cumin or chili powder.
- Salsa: From mild to fiery, salsa offers a juicy, flavorful counterpoint.
- Cream Cheese Dips: Any savory cream cheese-based dip, perhaps with herbs or smoked salmon, will be heavenly.
- French Onion Dip: The classic party favorite, elevated by the homemade touch of your pita chips.
Beyond Dips: Creative Uses for Pita Chips:
- Salad Topping: Crush them lightly and sprinkle over salads for a delightful crunch instead of traditional croutons.
- Soup Garnish: Add a few whole or broken chips to a bowl of tomato soup, lentil soup, or any creamy soup for added texture.
- Cheese Boards: A rustic yet elegant addition to any cheese and charcuterie board.
- Nachos (Pita-chos!): Layer them with your favorite nacho toppings for a unique twist on the classic.
- Snack on Their Own: With good seasoning, these chips are wonderfully addictive straight from the baking sheet!
No matter how you choose to enjoy them, these **easy homemade pita chips** are sure to become a staple in your kitchen. Their ability to transform a simple meal or snack into a gourmet experience is truly remarkable.
Variations to Explore: Unlock New Flavors
One of the most exciting aspects of making **homemade pita chips** is the freedom to experiment with an endless array of flavor combinations. Don’t limit yourself to just garlic and salt; let your culinary imagination run wild!
Savory Spice Blends:
- Mediterranean Herb: A mix of dried oregano, thyme, marjoram, and a touch of rosemary for an authentic regional taste.
- Spicy Kick: Add cayenne pepper, red pepper flakes, or a dash of hot paprika for those who love a bit of heat.
- Smoky Paprika: Smoked paprika adds a beautiful color and a rich, smoky depth.
- Garlic Parmesan: After tossing with olive oil, sprinkle generously with garlic powder (or fresh minced garlic) and finely grated Parmesan cheese before baking.
- Za’atar Seasoned: A popular Middle Eastern blend of thyme, sumac, and sesame seeds. It’s incredibly aromatic and delicious.
- Ranch Flavored: A simple sprinkle of store-bought ranch seasoning mix can give you that classic tangy, herby flavor.
Sweet Pita Chips: A Delightful Dessert Option
Who says pita chips can only be savory? Transform them into a sweet treat perfect for dipping into fruit salsas, yogurt dips, or even chocolate fondue!
- Instead of savory seasonings, toss pita triangles with melted butter or a neutral oil.
- Sprinkle generously with a mixture of cinnamon and sugar. You can also add a pinch of nutmeg or cardamom for extra warmth.
- Bake as directed until golden and crispy.
- Serve warm with a scoop of vanilla ice cream, fruit compote, or a sweetened cream cheese dip.
Experimenting with these **pita chip flavors** allows you to customize your snack for any occasion or craving, ensuring that your homemade chips are always a hit.
Storage Tips for Maximum Freshness
While **homemade pita chips** are best enjoyed fresh from the oven, you can certainly make them ahead of time. To maintain their delicious crispiness, proper storage is key:
- Ensure the chips have cooled completely before storing. Any residual warmth can create condensation, making them soggy.
- Store them in an airtight container at room temperature. A cookie jar, a plastic food storage container, or a resealable bag works well.
- Avoid refrigeration, as this can also lead to a loss of crispness.
- Properly stored, **crispy pita chips** will remain fresh and crunchy for up to 3-5 days. If they lose a bit of their crispness, you can often revive them by placing them back in a preheated oven (around 300°F or 150°C) for a few minutes until re-crisped.
Ready to make your own batch? Here’s the simple recipe to guide you!
Homemade Crispy Pita Chips Recipe
- Yields: Approximately 80 chips (from 10 pita breads)
- Cuisine: Mediterranean, Snack
- Diet: Vegetarian, Vegan (if no cheese added)
INGREDIENTS
- 10 pita bread pockets, preferably thinner style, cut into 8 triangles each (cut them like you are slicing a pizza)
- 1/3 cup extra virgin olive oil
- 1/2 teaspoon sea salt (or to taste) – *optional, but highly recommended*
- 2 cloves of fresh garlic, finely minced (or 1/2 teaspoon garlic powder) – *optional*
- Additional seasonings of choice (e.g., dried oregano, paprika, Za’atar, etc.) – *optional*
DIRECTIONS
- Preheat Oven: Preheat your oven to 400 degrees Fahrenheit (200 degrees Celsius). Line a large baking sheet (or two, if needed) with parchment paper for easy cleanup.
- Prepare Pita Bread: Take your pita bread pockets and cut each one into 8 equal triangles. The simplest way is to stack a few pitas and use a pizza cutter, slicing them like you would a pizza. This ensures uniform size for even baking.
- Season Pita: In a large mixing bowl, combine the cut pita triangles with the extra virgin olive oil. Toss well until all pieces are lightly and evenly coated.
- Add Flavor (Optional): If desired, sprinkle the pita triangles with sea salt, finely minced garlic (or garlic powder), and any other chosen seasonings (like dried oregano or paprika). Toss again to ensure even distribution of flavors.
- Arrange on Baking Sheet: Spread the seasoned pita triangles in a single layer on your prepared baking sheet(s). Make sure not to overcrowd the pan, as this helps them crisp up rather than steam.
- Bake to Crispness: Bake for approximately 8-10 minutes, or until the pita chips are golden brown, fragrant, and wonderfully crispy. Keep a close watch, as baking times can vary and they can burn quickly.
- Cool and Serve: Remove from the oven and let them cool on the baking sheet for a few minutes. They will continue to crisp up as they cool.
- Enjoy: Serve your delicious **homemade pita chips** immediately with your favorite dips like hummus, baba ghanoush, tzatziki, or enjoy them as a stand-alone **healthy snack**!
Recipe inspiration and original source from
CenterCutCook