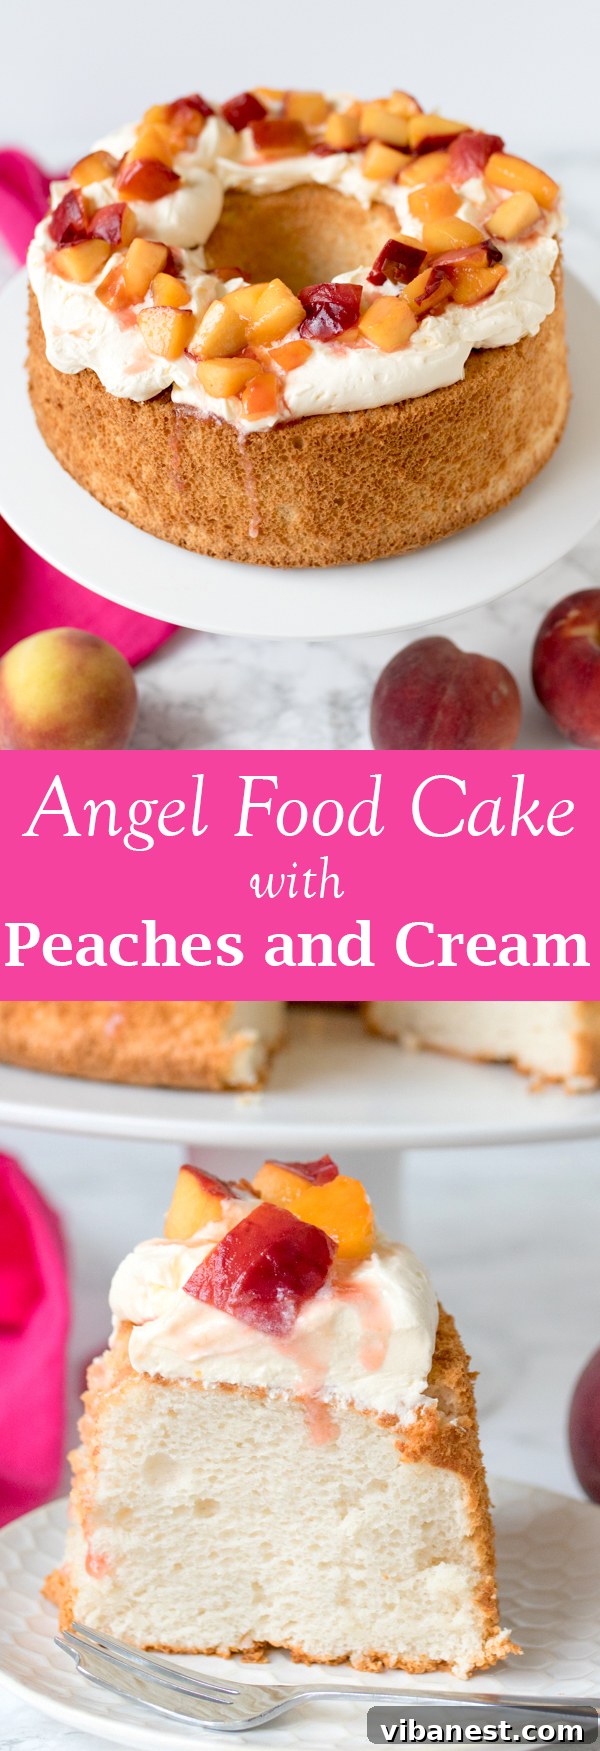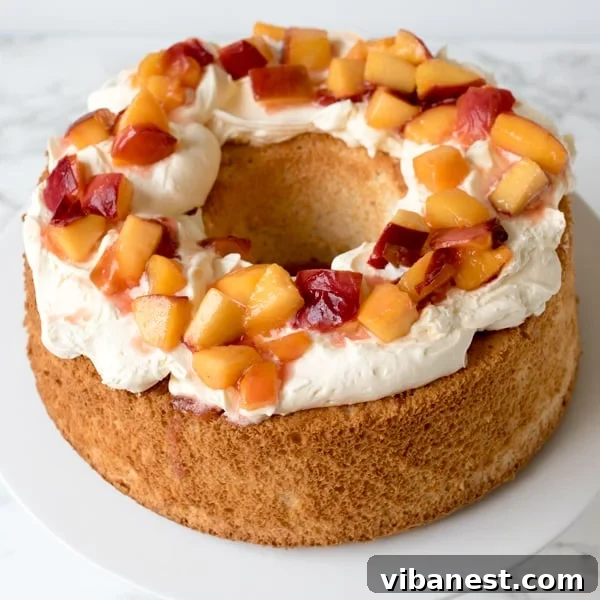
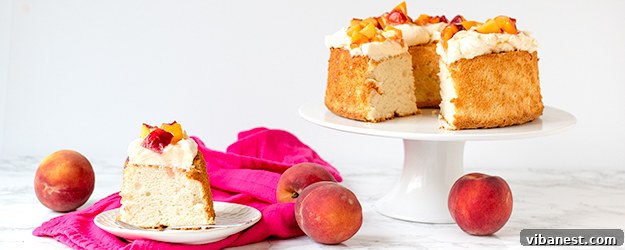
Experience Heavenly Delight: The Ultimate Homemade Angel Food Cake with Poached Peaches and Cream
There are few desserts that capture the essence of pure, unadulterated lightness quite like an Angel Food Cake. This ethereal creation, born from humble egg whites, transforms into a cloud-like confection that melts in your mouth. Forget dense, heavy cakes; Angel Food Cake promises a whisper-soft texture and a delicate sweetness that is simply irresistible. Perfect for any gathering, a light summer luncheon, or a comforting treat on a cozy evening, this cake is a testament to the magic of simple ingredients. And when paired with succulent, lightly poached peaches and a generous dollop of freshly whipped cream, you unlock a dessert experience that is truly divine. This comprehensive guide will walk you through crafting the perfect homemade Angel Food Cake, adapted from the renowned Alton Brown’s method, ensuring a flawless result every time.
Why Homemade Angel Food Cake is Superior to a Mix
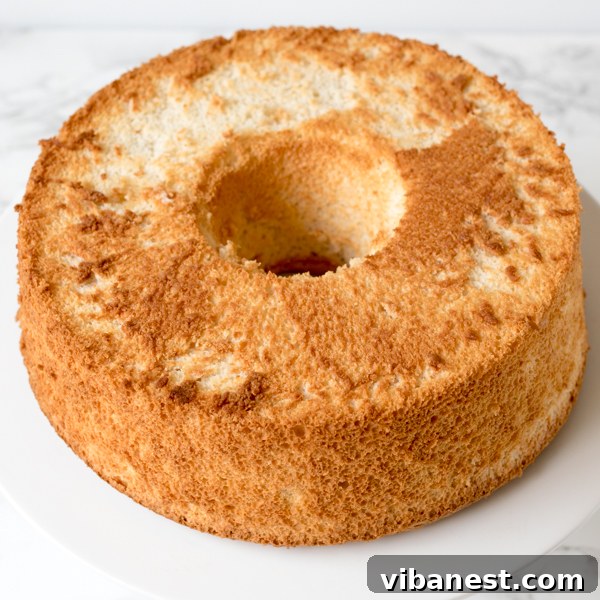
While store-bought mixes offer convenience, nothing truly compares to the rich flavor and sublime texture of a homemade Angel Food Cake. The process of whipping egg whites to perfection, carefully folding in the dry ingredients, and achieving that signature airy crumb is a rewarding culinary journey. Our adaptation enhances the classic recipe with a hint of almond extract, elevating its fragrant appeal. This subtle addition transforms the cake from merely good to truly unforgettable, allowing it to shine brilliantly on its own or serve as the ideal canvas for your favorite toppings. Once you experience the difference of a cake baked from scratch, you’ll understand why it’s worth every moment in the kitchen, providing a fresh, pure taste that commercial mixes simply can’t replicate.
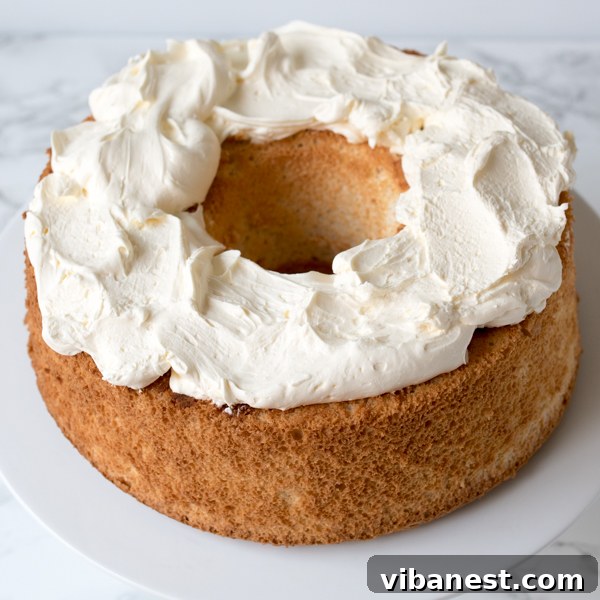
The Perfect Pairing: Sweet Poached Peaches and Whipped Cream
To truly elevate this already exquisite cake, we’ve developed a simple yet sensational topping: lightly poached peaches. This method allows even slightly firm or under-ripened peaches to reach their full potential, becoming incredibly tender and infused with flavor. Simmered gently in a touch of brown sugar and amaretto (or water with an extra drop of almond extract for an alcohol-free alternative), the peaches release their natural sweetness and develop a rich, complex taste. The poaching process tenderizes the fruit while concentrating its peachy essence, making them a perfect counterpoint to the cake’s delicate structure. Pile these warm, fragrant peaches generously atop slices of the cooled Angel Food Cake, crown with clouds of freshly whipped heavy cream, and you’ll have a summer dessert masterpiece that’s both elegant and utterly comforting. It’s a symphony of textures and flavors that embodies the joy of seasonal eating and creates a truly memorable experience.
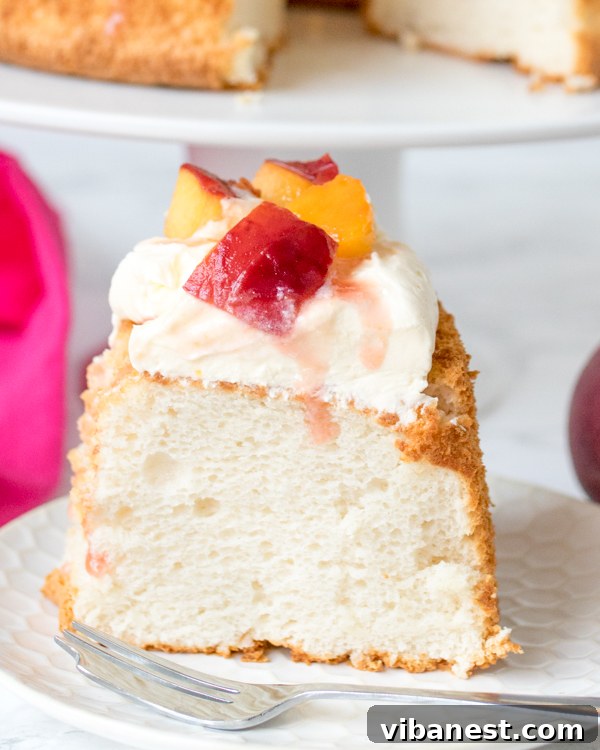
Mastering Your Angel Food Cake: Expert Baking Tips for Success
Baking an Angel Food Cake is more of an art than a science, but with these crucial tips, you’ll achieve perfection every single time. Understanding the nuances of this unique cake will ensure your efforts result in a towering, light, and airy creation, making you confident in your baking skills.
-
The Egg White Foundation: Quantity and Temperature are Key
Angel Food Cake is a celebration of egg whites, often requiring a dozen or more. For convenience and economy, especially if you’re not planning to use a surplus of yolks (for custards, hollandaise, or crème brûlée), consider purchasing a carton of liquid egg whites. If using fresh eggs, ensure they are at room temperature as they will whip to a higher volume and create a more stable meringue. Most importantly, be meticulous about separating yolks from whites; even a tiny speck of yolk fat can prevent your whites from whipping properly, leading to a flat, dense cake. Start with clean, dry bowls and utensils to avoid any fat contamination, as any grease can hinder the whites from reaching their full potential.
-
The Inversion Imperative: Why Cooling Upside Down is Non-Negotiable
This is perhaps the most critical step for achieving that signature lofty texture. Immediately after removing the cake from the oven, you must invert the pan onto a cooling rack or a sturdy bottle (if your pan has feet). This prevents the warm, delicate cake from collapsing under its own weight as it cools. The steam and heat within the cake need to dissipate gradually, and cooling upside down allows gravity to work in your favor, gently stretching the cake as it sets. This crucial process locks in the airy structure, resulting in that incredibly light, springy, and tall crumb that is characteristic of a perfect Angel Food Cake. Resist the urge to cool it right-side up!
-
Choosing the Right Vessel: The Indispensable Angel Food Cake Pan
Do not underestimate the importance of using a dedicated angel food cake pan. These pans are specifically designed with a removable bottom and, crucially, are not greased. Angel food cake batter needs to “climb” and cling to the sides of the pan as it bakes, which creates its characteristic height and open texture. Bundt pans or other non-stick cake tins will not allow the cake to adhere, causing it to slip down the sides and collapse. The flat top and straight sides of an angel food pan also make it incredibly easy to remove the cooled cake by carefully running a thin, flexible knife along the edges, leaving that beautiful, slightly rough, classic edge that adds to its rustic charm.
-
The Power of Sifting: Achieving the Lightest Crumb
Cake flour is ideal for angel food cake because of its lower protein content, which contributes to a more tender and delicate crumb. Whether using cake flour or a homemade substitute (all-purpose flour minus 2 tbsp, replaced with 2 tbsp cornstarch), sifting it multiple times is vital. This process aerates the flour, removes any lumps, and ensures it integrates smoothly and evenly into the delicate egg white meringue without deflating the precious air you’ve whipped into it. Don’t skip this step for the best results; it’s a small effort that yields significant improvements in texture.
-
The Art of Gentle Folding: Preserving Airiness
Once your egg whites are perfectly whipped, the flour mixture must be folded in with a delicate touch. This isn’t mixing; it’s a careful incorporation technique designed to preserve as much air as possible in the meringue. Add the flour mixture in small batches, sprinkling lightly over the whites. Use a large rubber spatula to cut down through the center of the mixture, sweep the spatula across the bottom of the bowl, and then fold the mixture up and over, rotating the bowl slightly with each fold. Overmixing will deflate the egg whites, leading to a tough, dense cake. Under-mixing will leave pockets of unmixed flour. Practice patience and a light hand for an evenly textured, airy cake.
-
Never Grease the Pan: A Golden Rule for Angel Food Cake
Unlike almost any other cake, an angel food cake pan should never, ever be greased. The batter needs to cling to the sides of the pan as it bakes to provide the necessary support for it to rise to its full, impressive height. A greased pan will cause the cake to slip and slide down the sides after rising, resulting in a significantly shorter, denser, and less “angelic” cake. Trust the process and leave your pan ungreased!
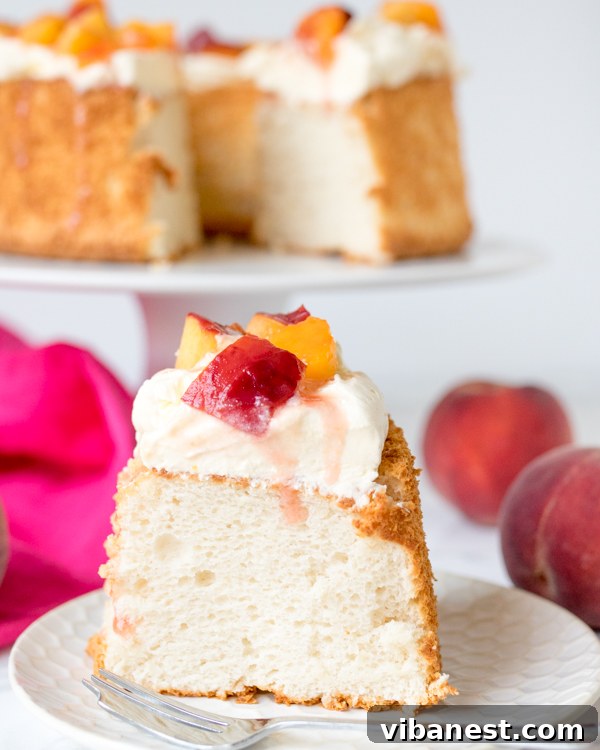
Fluffy Angel Food Cake with Poached Peaches & Cream Recipe
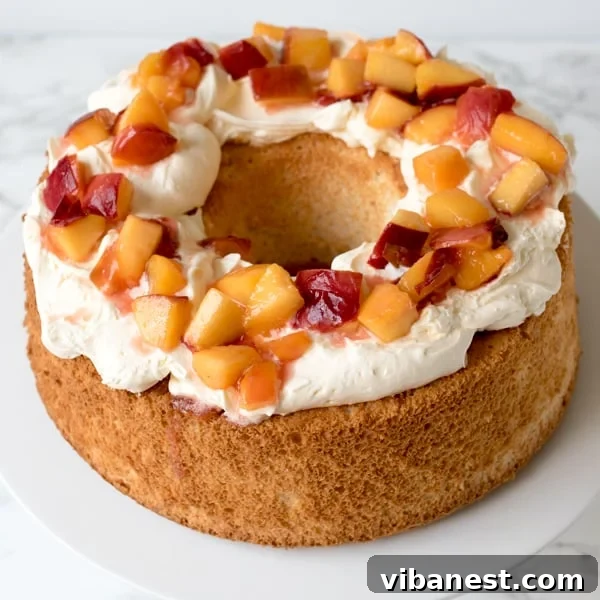
INGREDIENTS FOR THE CAKE
- 1 ¾ cups caster or superfine granulated sugar: Essential for both sweetness and structure. Superfine sugar dissolves easily into the egg whites, contributing to a smoother, more stable meringue.
- ¼ teaspoon salt: A pinch of salt balances the sweetness and enhances the overall flavor profile of the cake.
- 1 cup cake flour, sifted: The low protein content of cake flour ensures a tender, delicate crumb. If unavailable, create your own by removing 2 tablespoons from 1 cup of all-purpose flour and replacing it with 2 tablespoons of cornstarch, then sift thoroughly.
- 12 large egg whites: The star of the show! These provide the structure and volume for the cake. Ensure they are at room temperature for optimal whipping.
- ⅓ cup warm water: Helps in creating a more stable meringue and aids in dissolving the sugar.
- 1 teaspoon almond extract: Adds a beautiful, subtle nutty aroma and flavor that perfectly complements the cake’s sweetness. Feel free to adjust to your preference or substitute with vanilla extract.
- 2 teaspoons cream of tartar: A crucial stabilizing agent for egg whites. It helps the whites whip up faster, achieve greater volume, and prevents them from collapsing, ensuring a lofty and airy cake.
INGREDIENTS FOR THE PEACH TOPPING & CREAM
- 3 large peaches, chopped into chunks: Fresh, ripe (or even slightly firm) peaches are ideal. Choose yellow or white varieties for different flavor nuances.
- 2 tablespoons light brown sugar: Adds a touch of caramel sweetness and depth to the poached peaches.
- 2 tablespoons amaretto: Infuses the peaches with a delightful almond liqueur flavor, enhancing the almond notes in the cake. For an alcohol-free option, replace with water and an extra 2 drops of almond extract.
- 2 cups heavy cream, whipped to soft peaks: A luxurious and indispensable topping. Ensure the cream is very cold before whipping for the best results.
DIRECTIONS
- Prepare Your Oven and Dry Ingredients: Preheat your oven to 350°F (175°C). In a medium bowl, combine half of the caster or superfine sugar (about ⅞ cup) with the salt and the sifted cake flour. Whisk these dry ingredients together thoroughly, then set aside. This pre-mixing ensures even distribution of flour and sugar, preventing dense pockets in the final cake.
- Begin Whipping the Egg Whites: In the clean, grease-free bowl of a stand mixer fitted with the whisk attachment, add the 12 egg whites, ⅓ cup warm water, 1 teaspoon almond extract, and 2 teaspoons cream of tartar. Begin whisking on a low speed for about 30 seconds to just combine the ingredients.
- Create the Meringue: Increase the mixer speed to medium-high. While the mixer is running, slowly and gradually pour in the remaining half of the sugar (the other ⅞ cup). Continue whisking, patiently, for approximately 6-8 minutes. The goal is to reach the “medium peaks” stage. This means the meringue should hold soft, distinct peaks when the whisk is lifted, but the tip of the peak should gently curl over. The mixture should appear glossy and smooth, not stiff and dry. Do not over-whisk, as this can make the meringue brittle and difficult to fold.
- Gently Fold in the Dry Mixture: This step requires a delicate touch. Remove the bowl from the stand mixer. Sprinkle a light, even coating of the reserved flour and sugar mixture over the surface of the whisked egg whites. Using a large rubber spatula, carefully fold the dry ingredients into the meringue. To do this, cut down through the center of the mixture, sweep the spatula across the bottom of the bowl, and then fold the mixture up and over. Rotate the bowl slightly with each fold. Continue adding the flour mixture in small increments – a light dusting at a time – and folding gently until all of the dry ingredients are fully incorporated. Avoid pouring in too much flour at once, as this will make folding difficult and can deflate the meringue. If you encounter any small pockets of flour, gently break them up with your spatula as you fold. The key is to be thorough yet gentle, preserving as much air as possible.
- Bake to Golden Perfection: Carefully spoon the delicate cake batter into an ungreased 9.5-inch angel food cake pan. Use your spatula to gently level the top surface. Do not bang the pan on the counter, as this can release air. Place the pan into the preheated oven and bake for 35 to 40 minutes, or until the top is golden brown and springs back lightly when touched. A wooden skewer or toothpick inserted into the center of the cake should come out clean.
- The Critical Cooling Stage: Immediately upon removing the cake from the oven, invert the cake pan. If your pan has “feet,” rest it on these. If not, carefully invert it over the neck of a sturdy bottle (like a glass soda bottle) or place the center tube over a funnel. Allow the cake to cool completely upside down for at least 1.5 to 2 hours, or until it is entirely cool to the touch. This crucial step prevents the cake from collapsing and ensures its signature airy texture.
- Prepare the Poached Peaches: While your cake is cooling, prepare the delightful peach topping. Place the chopped peach chunks into a small saucepan. Add the 2 tablespoons of light brown sugar and 2 tablespoons of amaretto (or water plus almond extract). Heat over a medium heat, stirring gently a couple of times, for about 5 to 7 minutes. You want the peaches to just soften, retaining a slight bite, but not turn to mush. Once softened, remove from the heat and allow the peaches to cool completely. This allows the flavors to meld beautifully.
- Release and Serve: Once the cake is fully cooled, carefully remove it from the pan. Use a thin, flexible knife or an offset spatula to gently loosen the cake from the outer edge of the pan and around the center tube. Invert the cake onto a serving plate, so the flat, smooth bottom becomes the top.
- Assemble and Enjoy: Just before serving, generously spoon fluffy whipped cream over the top of the cake. Then, artfully spoon the cooled, poached peaches (and any accompanying syrup) over the cream. Slice and serve immediately to savor the incredible combination of light cake, sweet peaches, and rich cream.
- Storage Tips: Any leftover Angel Food Cake can be covered tightly with plastic wrap and stored in the refrigerator for up to a day. The cake’s inherently low-fat content means it remains wonderfully light and soft, even when chilled, making it perfect for straight-from-the-fridge enjoyment.
Serving Suggestions and Variations for Your Angel Food Cake
While poached peaches and cream offer a classic and irresistible pairing, Angel Food Cake is incredibly versatile and serves as a magnificent base for countless other toppings. Consider enhancing your cake with a vibrant array of fresh berries like strawberries, blueberries, or raspberries for a burst of tart sweetness. A tangy lemon curd or a rich lime zest could provide a refreshing, zesty kick, perfect for warmer months. For understated elegance, a simple dusting of powdered sugar is always a beautiful choice. If you’re leaning towards a more decadent treat, a drizzle of warm chocolate sauce, a dollop of caramel, or a scoop of premium vanilla bean ice cream could transform this light cake. For a truly seasonal twist beyond peaches, experiment with other gently poached fruits such as cherries, plums, or even a mixed berry compote. This cake is an ideal canvas for culinary creativity, making it perfect for any occasion, from casual family dinners to sophisticated celebrations and holiday tables.
Why Angel Food Cake Remains a Timeless Classic
Angel Food Cake holds a special place in the hearts of dessert lovers worldwide, and for good reason. Its origins date back to the late 19th century in America, quickly gaining popularity for its unique texture and delicate flavor. It’s often seen as a healthier alternative to many richer, butter-laden cakes, being fat-free (aside from any toppings) and relatively low in calories, making it a wonderful guilt-free indulgence. The elegance of its pristine white presentation, the subtle aroma of almond or vanilla, and the sheer joy of biting into its cloud-like crumb ensure that Angel Food Cake will continue to be cherished for generations to come. It’s not just a cake; it’s an experience – a moment of pure, lighthearted bliss that can brighten any day or complete any meal with grace and deliciousness.
Recipe adapted from
Alton Brown’s Angel Food Cake Recipe