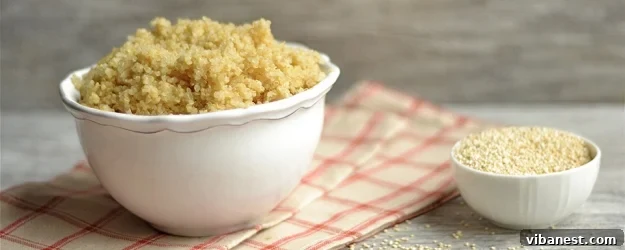
Unlock the Secret to Perfect Quinoa: Your Simple, Fool-Proof Guide to Fluffy, Flavorful Grains Every Time!
Imagine a culinary staple so versatile, nutritious, and easy to prepare that it seamlessly integrates into any meal. Quinoa is precisely that, and mastering its preparation is simpler than you think. Often hailed as a “superfood,” this ancient grain (technically a seed) is packed with protein, fiber, essential amino acids, and vital minerals, making it a powerhouse addition to a healthy diet. Whether you’re a seasoned chef or a kitchen novice, this guide will equip you with the knowledge to cook quinoa flawlessly, ensuring it’s always light, fluffy, and never bitter or mushy.
I always have a container of perfectly cooked quinoa ready in my fridge. It’s an incredible replacement for rice, a fantastic way to boost the protein and fiber content of a vibrant salad, or a hearty addition to a comforting soup. Its adaptability truly makes it a must-have in every pantry. While some people claim they aren’t fond of its taste, I promise you that when cooked correctly and incorporated into the right recipes, quinoa can be incredibly delicious and will elevate your meals significantly!
I love quinoa so much that it’s a staple in my daily diet. Eating it plain, much like plain rice, isn’t always exciting. The magic happens when you infuse it with flavor, transforming it from a simple component into a delightful enhancer of your meal. For lunch, I often add it to my salads, making them far more substantial and satisfying. It also shines in a dynamic taco bowl, layered with fresh, zesty fixings, or as a base for a flavorful curry. The possibilities are endless!
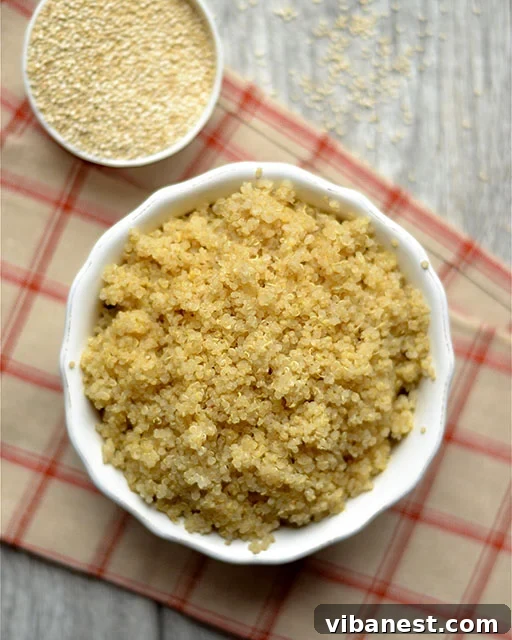
Pin this now to save it for later
Pin It Now
What Exactly Is Quinoa? The “Mother Grain” Unveiled
Often referred to as a grain, quinoa (pronounced keen-wah) is technically a seed from the chenopodium quinoa plant. It’s categorized as a pseudocereal, meaning it’s cooked and eaten like a cereal grain but doesn’t come from grass. Native to the Andean region of South America, quinoa was a sacred crop for the Incas, who called it “chisaya mama” or the “mother grain.”
What makes quinoa so remarkable is its exceptional nutritional profile. It’s one of the few plant-based foods considered a complete protein, meaning it contains all nine essential amino acids our bodies can’t produce. Beyond protein, quinoa is an excellent source of dietary fiber, magnesium, B vitamins, iron, potassium, calcium, phosphorus, vitamin E, and a variety of beneficial antioxidants. It’s also naturally gluten-free, making it an ideal choice for those with celiac disease or gluten sensitivity.
You can typically find quinoa at your local grocery store alongside rice, couscous, and other grains, or in the health food aisle. While white quinoa is the most common, you might also discover red and black varieties, each offering a slightly different texture and nutty flavor. This method for how to cook quinoa will give you perfect, fluffy results every single time, regardless of the variety!
Why Quinoa? Benefits Beyond the Plate
Incorporating quinoa into your diet offers a plethora of health advantages:
- Complete Protein Powerhouse: As mentioned, it provides all nine essential amino acids, crucial for muscle repair, growth, and overall bodily functions. This makes it particularly valuable for vegetarians and vegans.
- Rich in Fiber: Both soluble and insoluble fiber are abundant in quinoa. Fiber aids digestion, promotes satiety (keeping you full longer), helps regulate blood sugar levels, and can contribute to lower cholesterol.
- Abundant in Minerals: Quinoa is packed with magnesium, manganese, phosphorus, folate, copper, iron, and zinc. These minerals play critical roles in bone health, energy production, immune function, and more.
- Gluten-Free: A fantastic, nutrient-dense alternative for individuals who need to avoid gluten.
- Antioxidant Rich: It contains powerful antioxidants, including quercetin and kaempferol, which help combat oxidative stress and may reduce the risk of chronic diseases.
- Supports Weight Management: The high fiber and protein content contribute to feelings of fullness, potentially reducing overall calorie intake.
Cooking Quinoa: The Golden Ratio & Flavor Boosts
The secret to delicious quinoa lies not just in the cooking method but also in the liquid you use. Can you flavor quinoa in a simple way? Absolutely! The easiest and most effective way to infuse it with richer, earthier notes is by cooking it with vegetable or chicken broth instead of plain water. This simple swap makes a world of difference.
The golden ratio for cooking quinoa is 2 parts liquid to 1 part quinoa. So, if you’re cooking 1 cup of dry quinoa, you’ll need 2 cups of broth. I find that 1 cup of dry quinoa (yielding about 3 cups cooked) is usually enough to last me all week for various meals. Feel free to double or even triple the recipe if you have ambitious plans to incorporate it into larger dishes or for extensive meal prepping. Just a quick note of caution when adding cooked quinoa to hot soups: it’s best to ensure your quinoa is cold and fully cooked before introducing it to a simmering pot. Adding hot, freshly cooked quinoa can cause it to expand excessively and become too mushy.
Beyond broth, you can experiment with other flavorings. A pinch of salt and a drizzle of olive oil in plain water can enhance its natural taste. For a Middle Eastern twist, add a bay leaf and a few cardamom pods. For an Asian flair, a splash of soy sauce or ginger can be introduced during the cooking process. The key is to think of the cooking liquid as an opportunity to build a flavor foundation.
Getting Started: Essential Supplies for Perfect Quinoa
Before you begin, gather these simple tools:
- A small to medium-sized saucepan with a tight-fitting lid.
- A fine-mesh strainer (crucial for rinsing).
And, of course, about 20 minutes of your time. This makes it an ideal candidate for weekend meal prep, setting you up for quick and easy healthy meals throughout the busy week!
The Crucial Step: Rinsing Quinoa
One of the most common reasons people dislike quinoa is its natural bitter taste. This bitterness comes from saponins, a natural, soap-like coating on the quinoa seeds that protects them from birds and insects. While most commercially packaged quinoa is pre-rinsed, an extra rinse at home is highly recommended to ensure all traces of saponin are removed.
Rinsing is easiest to do in a fine-mesh strainer under cold running water. Simply place your dry quinoa in the strainer and rinse thoroughly for at least 30-60 seconds, or until the water runs clear. You might notice a slight foam initially – that’s the saponin! Swirl the quinoa with your hand or a spoon to ensure all seeds are adequately washed. Properly rinsing your quinoa is the key to unlocking its mild, nutty flavor.
How to Make Quinoa: Step-by-Step on the Stovetop
Here’s a detailed overview of how to cook perfect, fluffy quinoa on your stovetop. For precise measurements, please refer to the recipe card below.
- Rinse Your Quinoa: As discussed, place the dry quinoa in a fine-mesh strainer and rinse under cold running water for at least 30-60 seconds, or until the water runs clear. This step is non-negotiable for delicious, bitterness-free quinoa.
- Combine and Bring to a Boil: In a small to medium-sized saucepan, combine the rinsed quinoa with your chosen liquid (broth for flavor, or water for a neutral base). Use the 2:1 ratio (2 cups liquid for every 1 cup of dry quinoa). Bring the mixture to a rolling boil over medium-high heat.
- Reduce Heat and Simmer: Once boiling, immediately reduce the heat to the lowest setting. Cover the saucepan tightly with its lid. It’s crucial to maintain a gentle simmer to allow the quinoa to absorb the liquid evenly without burning.
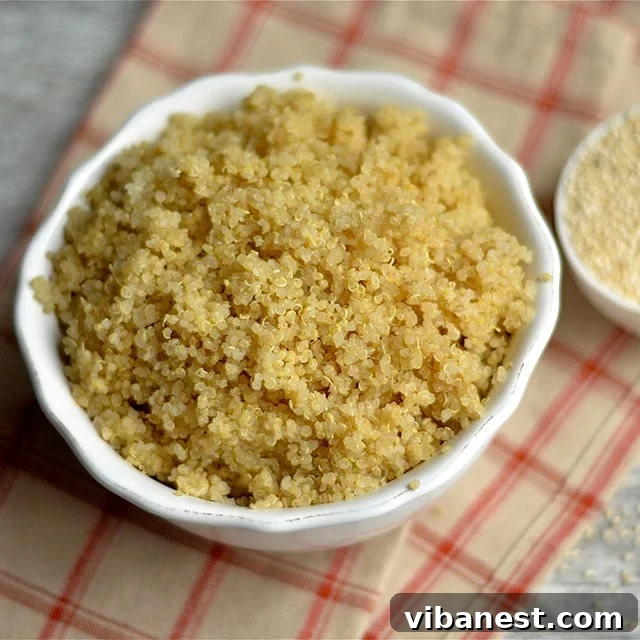
- Cook Until Liquid is Absorbed: Let it cook for approximately 15 minutes. Cooking time can vary slightly depending on your stovetop and the pot used. The quinoa is done when all the liquid has been absorbed, and you can see small, translucent “tails” (the germ of the seed) spiraling out from each grain.
- Rest and Fluff: Once cooked, remove the pan from the heat, but keep the lid on. Let the quinoa stand undisturbed for 5-10 minutes. This resting period allows the quinoa to steam in its own residual heat, resulting in perfectly separate and fluffy grains. After resting, remove the lid and gently fluff the quinoa with a fork before serving.
Troubleshooting Common Quinoa Problems
- Mushy Quinoa: This usually happens if you use too much liquid or cook it at too high a heat. Stick to the 2:1 ratio and keep the heat on low during simmering. Over-stirring during cooking can also break down the grains.
- Hard or Crunchy Quinoa: Not enough liquid or not enough cooking time. Ensure your lid is tight-fitting to prevent steam escape, and don’t rush the simmering process. If it’s still hard after 15 minutes and the liquid is gone, add a tablespoon or two of hot water, cover, and cook for another 2-3 minutes.
- Bitter Taste: Almost always due to insufficient rinsing. Make sure you rinse thoroughly under cold water until it runs clear.
- Sticking to the Bottom: This can occur if the heat is too high or if you don’t have enough liquid. A heavy-bottomed saucepan can also help distribute heat more evenly.
Frequently Asked Questions About Cooking Quinoa
Yes, absolutely! The best ratio remains consistent: two parts liquid to one part quinoa. So, if you wish to double the recipe, use 4 cups of broth (or water) and 2 cups of dry quinoa. This method scales up beautifully for larger batches.
It is highly beneficial to rinse quinoa before cooking. This removes saponins, the natural coating that gives quinoa a bitter, soapy taste. While some brands are pre-rinsed, an extra rinse under cold running water for 30-60 seconds in a fine-mesh strainer ensures the best flavor. Soaking is not strictly necessary but can further reduce cooking time and enhance nutrient absorption, though rinsing is usually sufficient for taste.
Yes! Quinoa is naturally gluten-free, making it an excellent and safe choice for individuals with celiac disease, gluten sensitivity, or those following a gluten-free diet.
Yes, you can! The same 2:1 liquid-to-quinoa ratio applies. Simply combine the rinsed quinoa and liquid in your rice cooker and follow its standard cooking cycle for white rice. It usually yields perfect results with minimal effort.
Quinoa is cooked when all the liquid has been absorbed and the grains appear translucent. You’ll also notice a tiny, white spiral “tail” unfurling from each grain. This is the germ, and its appearance indicates the quinoa is ready to be fluffed.
Storing and Reheating Leftovers: Your Meal Prep Ally
Cooked quinoa is a meal prep dream! It stores beautifully, making it simple to prepare a large batch at the start of the week. Transfer cooled, cooked quinoa to an airtight container and store it in the fridge for up to one week. It maintains its texture and freshness wonderfully.
When it comes to reheating, you have options. You can gently warm it in the microwave with a splash of water or broth to rehydrate it slightly, or reheat it on the stovetop over low heat. Alternatively, it’s fantastic enjoyed cold directly from the fridge, especially in salads or as part of a grain bowl. Its versatility makes it an indispensable component of efficient and healthy meal planning.
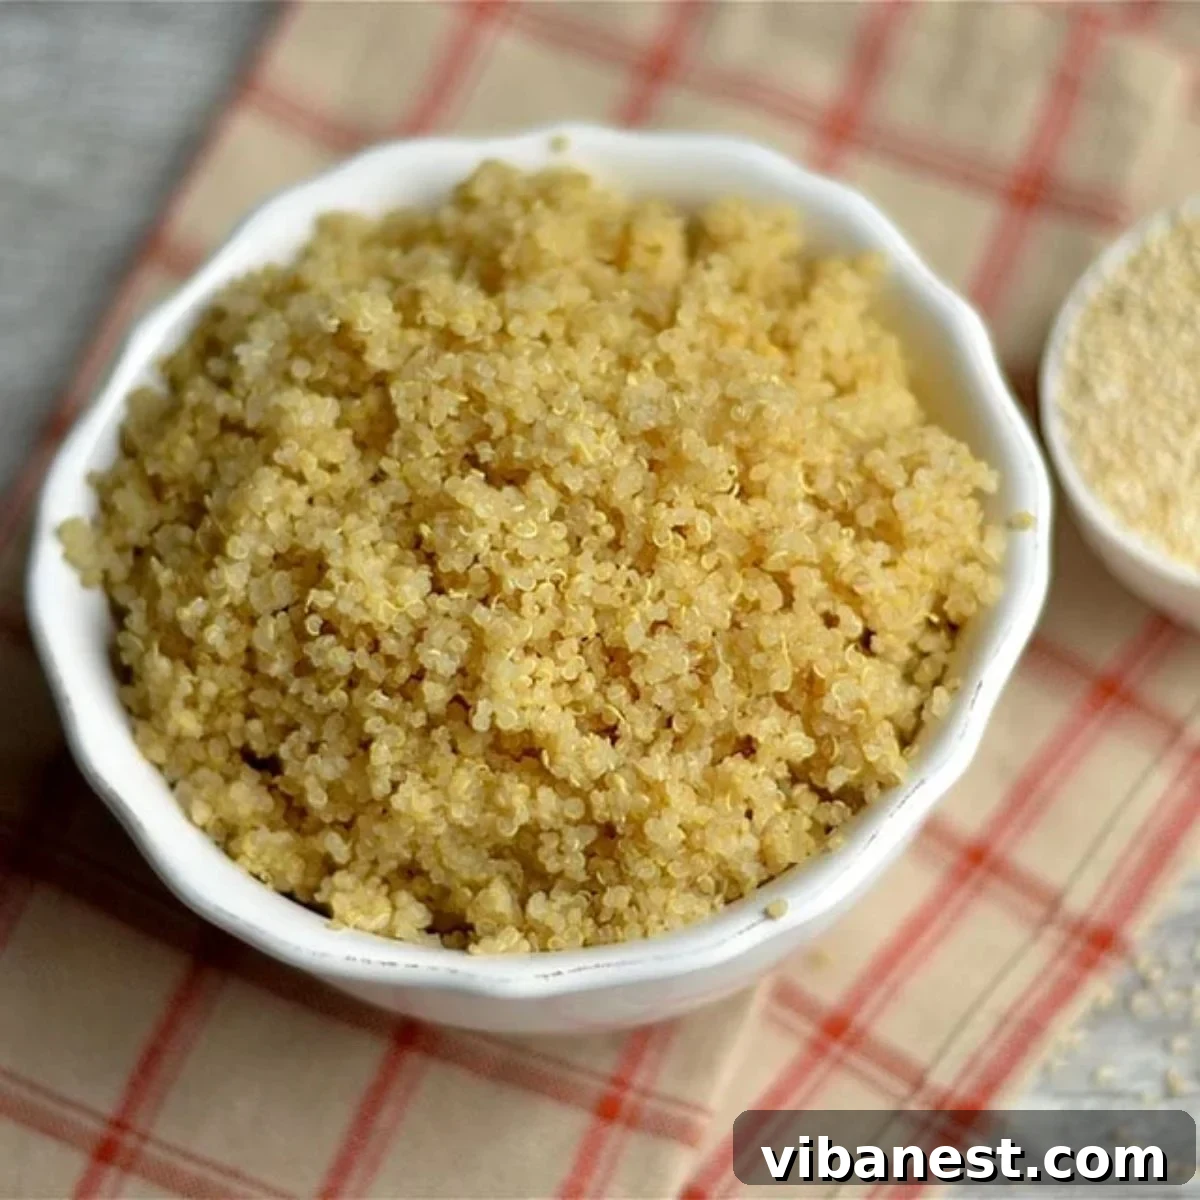
How to Use Quinoa: Endless Culinary Creativity
Once you have a batch of perfectly cooked quinoa, your culinary adventures are just beginning! This versatile “grain” can be incorporated into countless dishes, from breakfast to dinner and everything in between. Here are some of my favorite ways to enjoy it, inspiring you to explore its full potential:
- Hearty Breakfast Bowls: Combine cooked quinoa with fruit, nuts, seeds, and a drizzle of honey or maple syrup for a protein-packed start to your day.
- Vibrant Salads: Add a scoop to any green salad to make it more filling and nutritious. Try it in a Southwest Quinoa Salad with black beans, corn, and avocado.
- Comforting Soups and Stews: Stir it into brothy soups like Chicken and Quinoa Soup to add substance and absorb flavors. Just remember to add it cold to avoid mushiness.
- Main Dish Bases: Serve it as a healthy alternative to rice or pasta alongside your favorite stir-fries, curries like this Chicken Quinoa Curry, or roasted vegetables.
- Stuffed Vegetables: Use it as a filling for bell peppers, zucchini, or even mushrooms, often mixed with herbs, spices, and other vegetables.
- Veggie Burgers and Meatballs: Its texture makes it an excellent binder and base for homemade vegetarian burgers or “meatballs.”
- Breakfast Muffins and Egg Dishes: Incorporate it into baked goods like these Broccoli and Quinoa Egg Muffins for added fiber and protein.
- Side Dish Extraordinaire: Simply serve it as a standalone side dish, perhaps flavored with fresh herbs, lemon juice, or a touch of garlic.
The mild, nutty flavor of quinoa acts as a fantastic canvas, ready to absorb the flavors of whatever you pair it with. Experiment, get creative, and discover your own favorite quinoa creations!
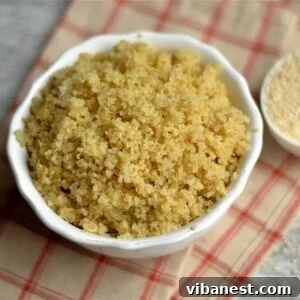
How to Make Quinoa
20
3 cups cooked quinoa
Ingredients
- 1 cup dry, uncooked quinoa (rinsed)
- 2 cups chicken or vegetable broth (or water)
Instructions
-
First, rinse your dry quinoa thoroughly under cold running water using a fine-mesh strainer for at least 30-60 seconds, until the water runs clear.
-
In a small saucepan with a tight-fitting lid, combine the rinsed quinoa and 2 cups of chicken or vegetable broth (or water). Bring the mixture to a rolling boil over medium-high heat.
-
Once boiling, immediately reduce the heat to the lowest setting and cover the saucepan tightly with the lid. Let it simmer gently for approximately 15 minutes, or until all the liquid has been absorbed and the quinoa appears translucent with visible “tails” (the germ).
-
Remove the pan from the heat, but keep the lid on. Allow the quinoa to stand undisturbed for another 5-10 minutes. This crucial resting period ensures the grains become perfectly fluffy and separate.
-
Finally, remove the lid and gently fluff the cooked quinoa with a fork before serving warm.
-
Store any leftover cooked quinoa in an airtight container in the fridge for up to one week.
If you make this simple recipe for how to make quinoa or any of my other recipes, please leave a comment and let me know what you think. I love hearing from you! Happy cooking!