
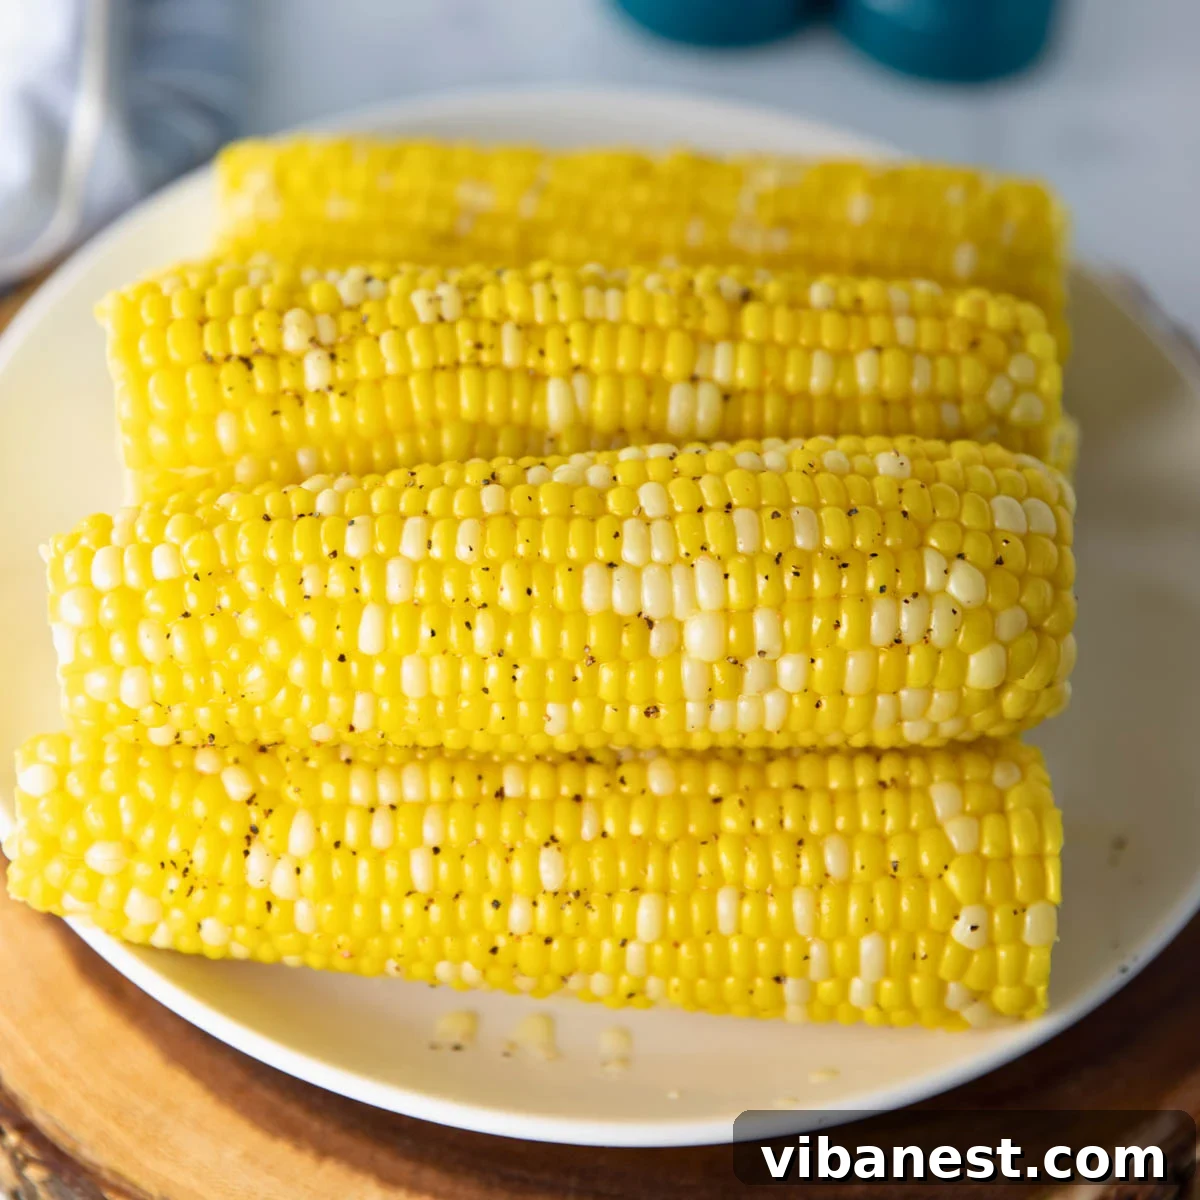
Experience the quintessential taste of summer with this recipe for the Best Boiled Corn on the Cob! Featuring incredibly fresh sweet corn, cooked to tender perfection, then generously brushed with melted butter and seasoned simply with a sprinkle of salt and freshly ground black pepper. This classic approach truly highlights the corn’s natural sweetness, making it an irresistible side dish for any warm-weather meal.
Few culinary delights capture the essence of summer quite like a perfectly cooked ear of corn on the cob. It evokes memories of backyard barbecues, family gatherings, and lazy afternoons. This recipe is a celebration of simplicity, focusing on methods that bring out the best in fresh sweet corn without overwhelming its inherent deliciousness. Growing up in the Midwest, where cornfields stretched as far as the eye could see, fresh sweet corn was a non-negotiable staple of late summer dinners. The annual arrival of sweet corn at local farm stands was always a highly anticipated event, a true signal that summer was in full swing. While corn on the cob offers endless possibilities for creative seasoning and cooking methods, there’s an undeniable magic in the traditional preparation: just sweet corn, a generous slather of butter, and a touch of salt and pepper. This timeless boiled corn on the cob recipe guarantees a juicy, flavorful outcome every time, proving that sometimes, the simplest recipes are indeed the best. Get ready to enjoy the ultimate corn on the cob experience!
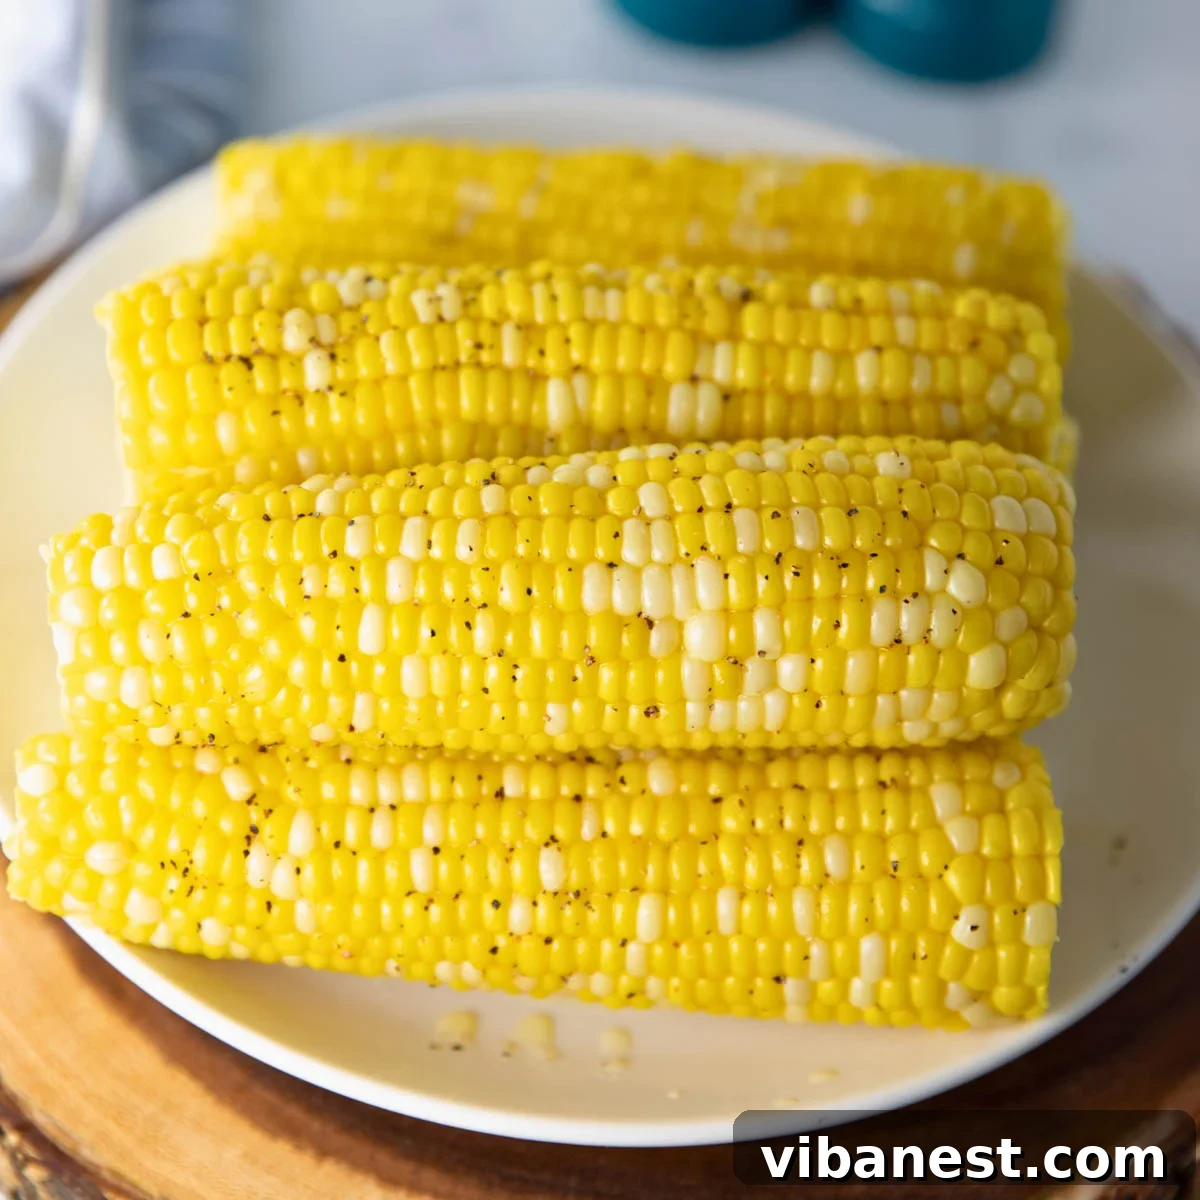
📌
Pin this now to save it for later
Pin It Now
The Ultimate Guide: How to Boil Corn on the Cob Perfectly Every Time
While various methods exist for cooking corn on the cob, boiling on the stovetop remains my absolute favorite for achieving that perfectly tender, juicy texture. This technique locks in the corn’s natural sweetness and produces a consistent result, making it a go-to for many home cooks. Here’s a detailed overview of the best way to boil corn on the cob, ensuring a flawless outcome from selection to serving.
- Source the Freshest Sweet Corn: The secret to truly amazing corn on the cob begins with its freshness. Whenever possible, purchase locally grown sweet corn. Look for ears with bright green husks that are tightly wrapped, and silks that are slightly damp and sticky. A firm, plump kernel feel when gently squeezed is also a good indicator of peak freshness. The sooner you cook it after picking, the sweeter it will be, as the sugars in corn begin converting to starch shortly after harvest.
- Prepare Your Pot: Select a large stockpot or Dutch oven. Fill it generously with water, ensuring there’s enough room to fully submerge all the corn cobs you plan to cook. Bring this water to a rolling boil over high heat. Covering the pot can help the water come to a boil faster, saving energy and time.
- Husk and Silk the Corn with Ease: Before cooking, the corn needs a little prep. First, cut off the tougher stem end of each ear. Then, grab the green outer leaves (husks) and peel them back towards the base of the cob. Once the husks are mostly removed, you’ll encounter the thin, thread-like strands known as silk. These can sometimes be stubborn. For easy removal, I find that a clean vegetable brush works wonders, gently sweeping away the clinging silk. Alternatively, you can use your hands, rubbing them firmly but gently down the cob, or even a damp paper towel to help gather and pull off the silks. Ensure all silk is removed for the best eating experience.
- Enhance Sweetness with a Touch of Sugar (Optional but Recommended): For an extra layer of sweetness that truly elevates the corn’s flavor, I highly recommend adding about 1 tablespoon of granulated sugar to the boiling water just before adding the corn. This simple step helps to amplify the corn’s inherent sugary notes, making each bite even more delightful. While optional, it’s a trick many seasoned cooks use to make their sweet corn truly shine.
- Boil to Tender Perfection: Once the water is at a vigorous boil, carefully add the prepared corn cobs to the pot. Reduce the heat slightly to maintain a gentle boil. Resist the urge to overcook! Sweet corn cooks relatively quickly. Boil for just 4-6 minutes, or until the kernels appear plump and tender-crisp. You can test for tenderness by carefully removing one ear and piercing a kernel with a fork; it should offer slight resistance but yield easily.
- Careful Removal and Cooling: Using sturdy tongs, carefully remove each ear of corn from the boiling water. Place them on a serving platter or a clean surface. Allow the corn to cool for a few minutes. This prevents you from burning your hands and allows the butter to melt perfectly without immediately running off the super-hot surface.
- Butter and Season Generously: This is where the magic truly happens! While the corn is still warm, generously brush each cob with softened or melted butter. The heat of the corn will melt the butter beautifully, allowing it to coat every kernel. Finish by sprinkling with a good pinch of salt and freshly cracked black pepper. For the best flavor, use high-quality butter and consider a coarse salt like sea salt or Himalayan pink salt, which provides a satisfying textural crunch.
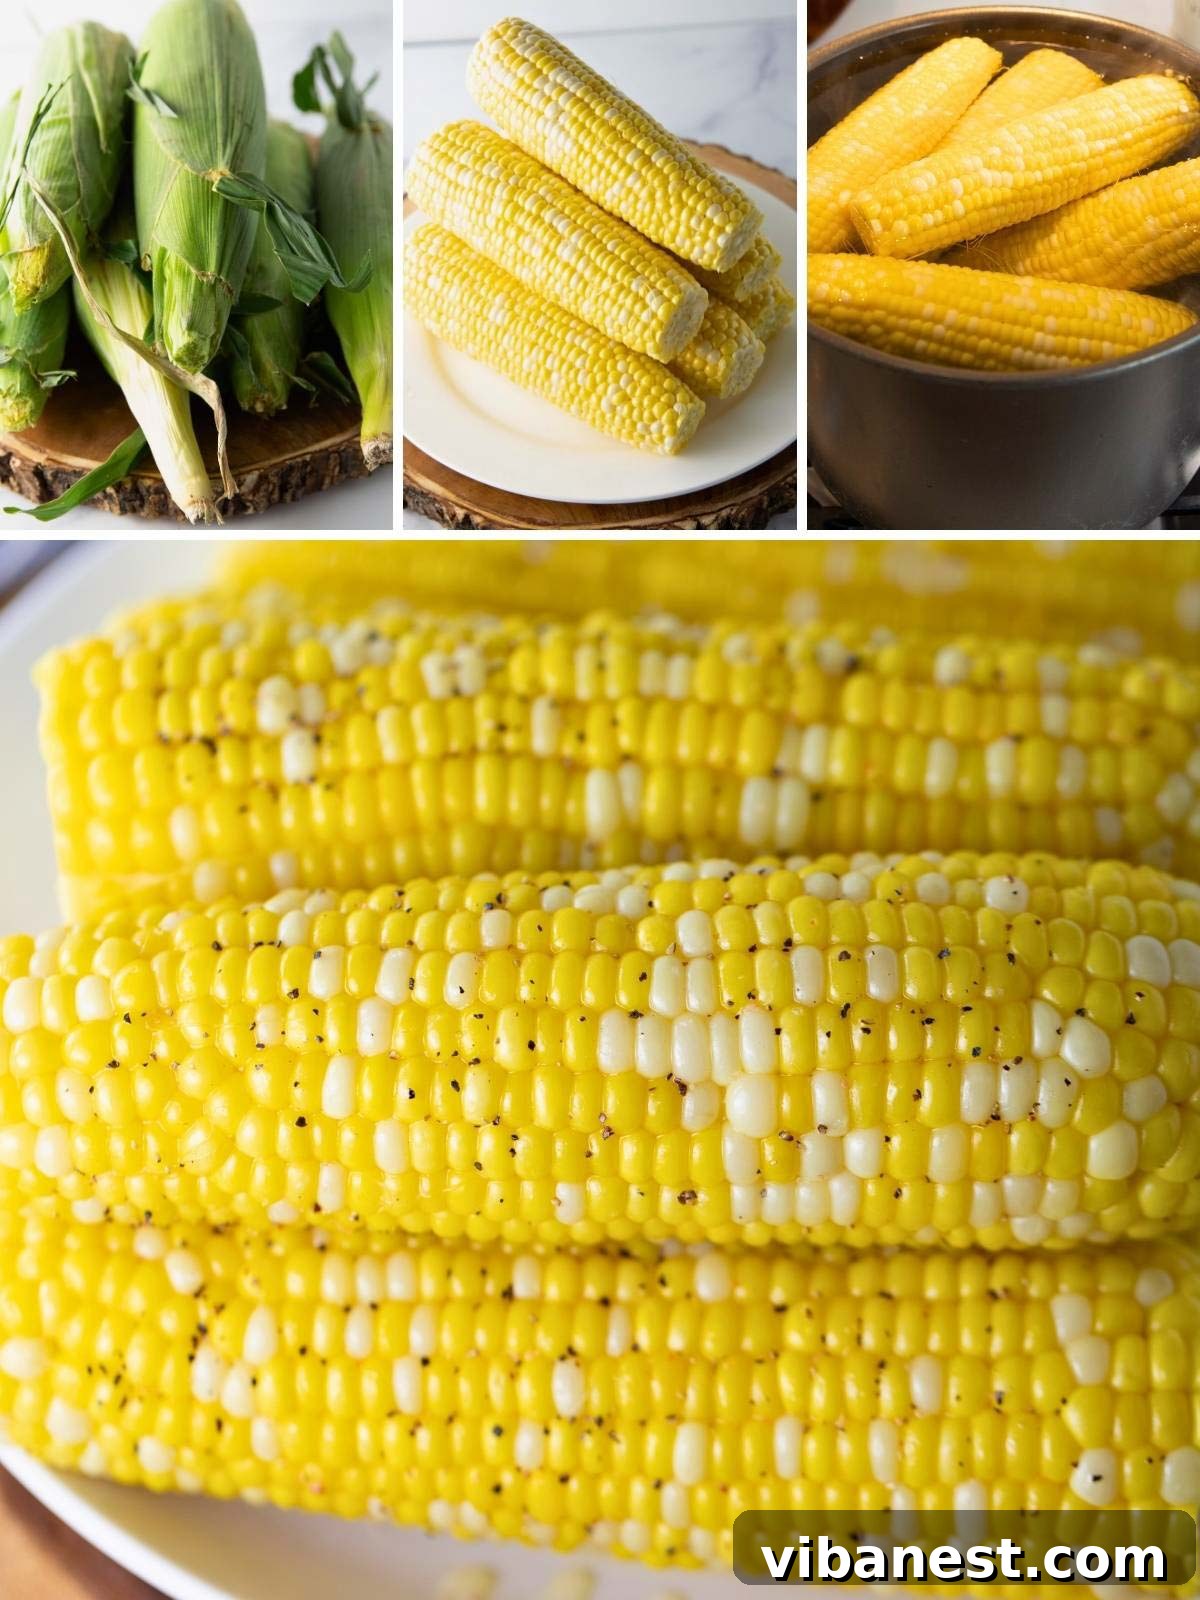
Unearthing Corn’s Secrets: Fun Facts & Nutritional Benefits
Corn on the cob isn’t just a delicious summer treat; it’s also a fascinating vegetable with a rich history and impressive nutritional profile. Here are some fun facts and health benefits that might surprise you:
- A Strand for Every Kernel: Did you know that each individual kernel of corn on a cob is connected to its very own silk strand? This intricate connection ensures that every single kernel is pollinated and able to grow. It’s a marvel of nature and explains why removing all those silks can sometimes be a tedious task!
- Diversity in Color and Flavor: While yellow sweet corn is the most common variety, there are several other delicious types. You’ll often find white sweet corn, which tends to be slightly milder and creamier, and bi-color corn (often a mix of yellow and white kernels), which offers a delightful balance of both. Each variety brings its own subtle nuances in flavor and texture.
- Nutritional Powerhouse: Sweet corn is much more than just a tasty snack; it’s packed with essential nutrients. It’s an excellent source of dietary fiber, which aids digestion and promotes gut health. Furthermore, corn provides a good amount of B vitamins (like folate, thiamine, and niacin), crucial for energy metabolism and cell function. It’s also rich in vital minerals such as magnesium, phosphorus, and potassium, all of which play key roles in maintaining overall body health, from bone strength to nerve function.
- Ancient Grain: Corn, or maize, is one of the oldest cultivated crops in the world, with its origins tracing back to ancient Mesoamerica over 9,000 years ago. It has been a staple food for countless civilizations and continues to be a cornerstone of global agriculture today.
- Technically a Fruit! From a botanical perspective, a corn kernel is actually considered a fruit (specifically, a caryopsis), as it develops from the flower’s ovary and contains a single seed. However, in culinary terms, it’s typically treated as a vegetable or grain.
Elevate Your Experience: Buttering and Seasoning Corn on the Cob
While the simple pairing of butter, salt, and pepper is a time-honored classic, the way you apply them can significantly enhance your corn-eating experience. Here are a couple of popular methods for buttering and seasoning your freshly boiled corn, along with recommendations for the best flavor combinations.
- The Rolling Method with Cold Butter: For a hands-on, interactive approach, take a stick of cold butter straight from the refrigerator. As soon as the hot corn is removed from the pot, roll the warm cob vigorously over the stick of butter. The residual heat from the corn will melt a thin, even layer of butter onto every kernel, creating a rich, glossy coating. This method is particularly satisfying and ensures a thorough distribution of butter.
- The Classic Melted Butter Approach: If you prefer a more controlled application or want to infuse your butter with additional flavors, melting is the way to go. Melt your butter in a small saucepan over low heat or briefly in the microwave. Once melted, use a pastry brush to generously slather the warm, liquid butter over the entire surface of the corn. This method allows for easy, even coverage and is perfect if you’re serving a crowd.
- Seasoning Recommendations: The right seasoning can truly make your corn sing.
- Salt: For optimal flavor and texture, I highly recommend using a coarse salt, such as sea salt or Himalayan pink salt. The larger crystals provide a delightful textural contrast and a burst of salty flavor that perfectly complements the corn’s sweetness. Sprinkle it evenly over the buttered cob.
- Black Pepper: Freshly cracked black pepper adds a subtle warmth and aromatic complexity. A pepper grinder is your best friend here, delivering a much more vibrant flavor than pre-ground pepper.
- Beyond the Basics: Don’t be afraid to experiment! A sprinkle of smoked paprika can add depth, a dash of garlic powder can introduce savory notes, or a squeeze of fresh lime juice can brighten the entire dish.
Master Corn Storage: Keeping Your Cobs Fresh and Flavorful
You’ve just returned from the local farmers’ market, bags brimming with the freshest sweet corn. Now the crucial question arises: how do you keep this golden bounty at its peak for as long as possible? Proper storage is key to preserving its succulence and flavor. Here are essential tips for storing corn on the cob in your refrigerator:
- Start with Peak Freshness: The longevity of your corn starts at the point of purchase. Always select ears that exhibit signs of optimum freshness. Look for husks that are vibrant green, tightly wrapped around the cob, and free from brown spots or dryness. The silk should be slightly sticky and light brown, not dry or black. A heavy, firm cob usually indicates juicy kernels.
- Keep the Husks On: This is perhaps the most important tip for short-term refrigeration. The natural husks act as a protective barrier, essentially a built-in wrapper, that helps the corn retain its vital moisture and prevents the kernels from drying out. Removing the husks prematurely exposes the kernels to air, accelerating the conversion of sugars to starch and reducing sweetness.
- Ensure an Airtight Environment: While the husks offer good protection, an additional layer of defense against dehydration is beneficial. Once you’ve selected your corn and confirmed its husks are intact, place the entire ears (husks and all) into an airtight container or a tightly sealed plastic bag. This minimizes air exposure, further locking in moisture and freshness within your refrigerator’s dry environment.
When stored correctly, fresh corn on the cob can be kept in the refrigerator for approximately 1-2 weeks. However, for the absolute best taste and texture, aim to consume it within 3-5 days of purchase, as its natural sugars begin to convert to starch over time, subtly diminishing its famous sweetness.
Preserving Summer’s Bounty: How to Freeze Corn on the Cob for Year-Round Enjoyment
Don’t let the end of corn season mark the end of your enjoyment! Freezing corn on the cob is a fantastic way to preserve its sweet, tender flavor for months, allowing you to savor a taste of summer even in the depths of winter. Many people are surprised to learn that you can even freeze corn with the husks on, simplifying the process. Here’s a comprehensive guide to successfully freezing corn on the cob:
- Begin with Optimal Freshness: As with all preservation methods, the quality of your frozen corn directly depends on its initial freshness. Choose corn at its absolute peak, characterized by bright green, tightly wrapped husks and plump, firm kernels. Freezing less-than-fresh corn will only yield less-than-ideal results later.
- Preparation for Freezing (Husks On Method): For a simple approach, you can leave the husks on! This method acts as a natural protective layer in the freezer. Trim the ends of the cobs if necessary to ensure they fit comfortably into your chosen airtight freezer containers or heavy-duty freezer bags. This makes storage more efficient.
- The Crucial Step: Blanching: Blanching is a non-negotiable step when freezing vegetables, as it stops enzyme action that can lead to loss of flavor, color, and texture over time.
- Bring a large pot of water to a rolling boil.
- Carefully add the husked or unhusked corn cobs to the boiling water. If freezing with husks on, boil for 4-6 minutes. If you’ve husked the corn, boil for about 7-11 minutes, depending on the size of the cob.
- While the corn boils, prepare a large bowl filled with ice water. This “ice bath” is essential for rapidly stopping the cooking process.
- Once blanched, use tongs to quickly transfer the corn from the boiling water directly into the ice bath. Allow the corn to cool completely in the ice water for the same amount of time it was blanched (4-6 minutes for husked, 7-11 minutes for unhusked). This rapid cooling is vital for maintaining texture and color.
- Thorough Drying is Key: After the ice bath, it’s crucial to thoroughly dry each corn on the cob. Pat them completely dry with paper towels or a clean kitchen towel. Any excess moisture will turn into ice crystals during freezing, which can lead to freezer burn and a degradation of quality.
- Individual Wrapping for Protection: To prevent freezer burn and make it easy to grab just one or two ears at a time, individually wrap each corn on the cob. You can use plastic wrap, aluminum foil, or even parchment paper. This creates an extra barrier against air exposure.
- Final Packaging: Place the individually wrapped corn cobs into an airtight freezer container or heavy-duty freezer bags. Squeeze out as much air as possible from freezer bags before sealing. Label each container or bag with the date of freezing so you can track its freshness.
- Freezer Lifespan and Reheating: Properly blanched and packaged corn on the cob can be frozen for 6-12 months while maintaining excellent quality.
- To Reheat: When you’re ready to enjoy, you don’t need to thaw the corn first. Simply place the frozen corn (with husks on, if that’s how you froze it, or unwrapped if husked) directly into boiling water. Cook for 6-8 minutes, or until the corn is tender and heated through. Then butter and season as usual for a taste of summer, anytime!
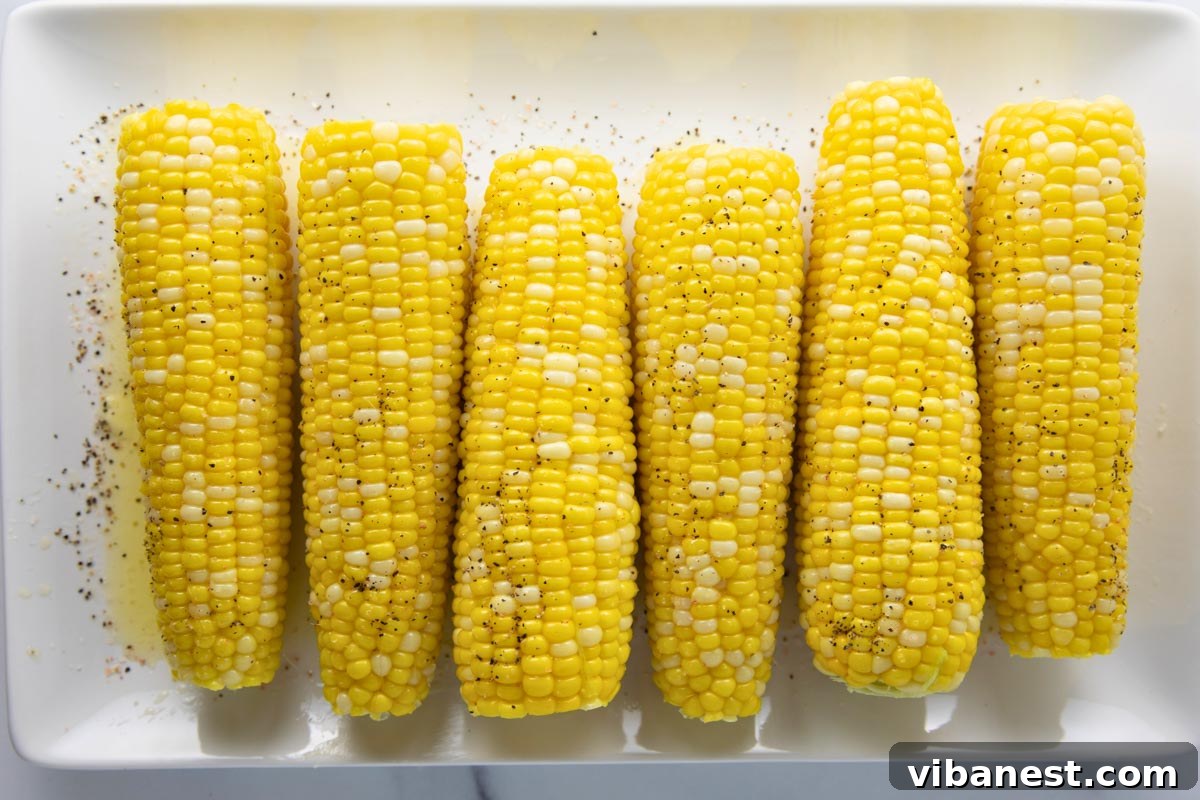
Beyond the Boil: Explore Diverse Corn Cooking Methods
While boiling offers a classic and incredibly satisfying result, corn on the cob is wonderfully versatile and can be prepared using a variety of cooking methods, each imparting a unique flavor and texture. Whether you’re aiming for smoky char, effortless convenience, or a quick stovetop finish, there’s a method that works for every occasion and preference. Explore these popular alternatives to boiled corn:
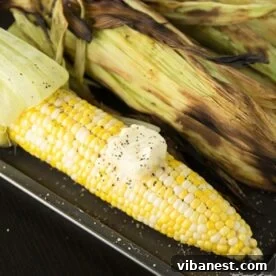
★★★★★
How to Grill Corn on the Cob
Achieve a delicious smoky flavor and beautiful char marks by grilling your corn on the cob. It’s a fantastic method for summer cookouts and adds a depth of flavor that’s hard to beat. You can grill it directly on the grates, wrapped in foil, or even with the husks on for extra moisture and ease of silking post-grill.
View Recipe
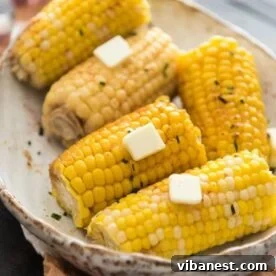
☆☆☆☆☆
Slow Cooker Corn on the Cob
View Recipe
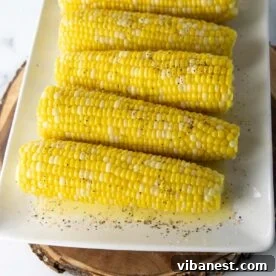
☆☆☆☆☆
How to Microwave Corn on the Cob
View Recipe
Creative Corn on the Cob Variations to Savor
While the classic combination of butter, salt, and pepper on a juicy ear of corn is undeniably delicious, don’t limit yourself! Corn on the cob is a fantastic canvas for a wide array of flavors. Experiment with these exciting variations to discover new favorites and add a unique twist to your summer meals.
- Classic Buttered Corn: Sometimes, you just can’t beat the original. This timeless preparation involves nothing more than rich butter, a touch of flaky sea salt, and freshly cracked black pepper. The simplicity allows the inherent sweetness and succulence of the corn to truly shine, making it a beloved favorite for all ages.
- Authentic Mexican Street Corn (Elote): Transport your taste buds to the vibrant streets of Mexico with this iconic preparation. After cooking, slather the corn with a creamy mixture of mayonnaise and sour cream (or Mexican crema), then sprinkle generously with tangy lime juice, a dusting of chili powder (or Tajín seasoning), and a generous coating of crumbled cotija cheese. A sprinkle of fresh cilantro adds a final flourish.
- Garlic Parmesan Corn: For a savory and aromatic twist, brush your freshly cooked corn on the cob with melted butter infused with finely minced garlic. Immediately after, roll or sprinkle the cobs with a generous amount of finely grated Parmesan cheese. A garnish of dried or fresh parsley will add a touch of color and fresh herbaceousness. This variation is incredibly addictive and pairs wonderfully with Italian-inspired dishes.
- Spicy Sriracha or Hot Sauce Corn: If you enjoy a little heat, this variation is for you! Melt some butter and stir in your favorite hot sauce, such as Sriracha, Tabasco, or a smoky chipotle hot sauce. Adjust the amount of hot sauce to your desired spice level. Generously slather this spicy butter mixture onto the warm corn cobs for a fiery kick that’s sure to awaken your palate.
- Herbed Butter Corn: Mix finely chopped fresh herbs like chives, parsley, cilantro, or basil into softened butter. Spread this aromatic herbed butter onto your warm corn for a fresh, garden-inspired flavor.
- Lime-Cilantro Corn: A simple yet incredibly refreshing variation. After buttering, squeeze fresh lime juice generously over the corn and sprinkle with freshly chopped cilantro. This brightens the corn and adds a zesty, herbaceous note.
Explore More Delicious Corn Recipes
If you’ve fallen in love with the versatility and flavor of sweet corn, you’ll be thrilled to discover how it can elevate a wide range of dishes. From vibrant salads to comforting casseroles, corn is a star ingredient that brings sweetness and texture to many culinary creations. Here are a few additional corn recipes you’ve absolutely got to try to further expand your corn repertoire!
- Summer Corn Salad: A bright, refreshing salad bursting with the flavors of the season, perfect for picnics and barbecues.
- Fresh Corn Salad: Another delightful salad option, showcasing the crispness and natural sweetness of raw or lightly cooked corn with complementary ingredients.
- Creamy Corn Casserole: A comforting and rich side dish, ideal for holidays or any meal needing a touch of creamy indulgence.
I sincerely hope you enjoy this foundational recipe for perfectly juicy boiled corn on the cob. It’s truly the best starting point for appreciating this incredible vegetable. Remember, this “Best Corn on the Cob” recipe is wonderfully adaptable and can be modified with endless flavor combinations to suit your personal tastes and preferences. Whether you keep it classic or venture into exciting new variations, may every bite bring you the simple joy of summer. Enjoy!
Save
Pin
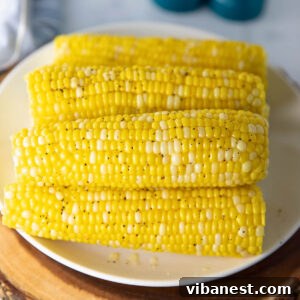
The Best Boiled Corn on the Cob
5 minutes
6 minutes
Ingredients
-
4-6 ears sweet corn on the cob (fresh, local if possible) -
1 tablespoon granulated sugar (optional, for enhanced sweetness) -
butter (softened or melted, for brushing) -
salt and black pepper (to taste, preferably coarse sea salt and freshly cracked pepper)
Instructions
-
Select Your Corn: Begin by choosing the freshest sweet corn available, ideally locally grown, ensuring tightly wrapped, bright green husks.
-
Boil Water: Fill a large stockpot with water and bring it to a rolling boil over high heat.
-
Prepare Corn: Cut off the stem end of each cob. Remove the green husks by peeling them back, then meticulously remove all the thin silk strands. A vegetable brush or damp towel can assist in this process.
-
Add Sugar (Optional): Stir 1 tablespoon of granulated sugar into the boiling water to subtly enhance the corn’s natural sweetness.
-
Cook the Corn: Carefully add the prepared corn cobs to the vigorously boiling water. Boil for 4-6 minutes, or until the kernels are plump and tender-crisp.
-
Cool Slightly: Using tongs, remove the corn from the boiling water and allow it to cool for a few minutes on a platter to prevent burning and prepare for seasoning.
-
Season & Serve: Generously slather each warm corn cob with butter. Finish with a sprinkle of coarse salt and freshly cracked black pepper to taste. Serve immediately and enjoy!
📱
Tried this recipe?
Mention @CenterCutCook and tag #CenterCutCook!