
Mastering the Art of Crepes: Your Ultimate Guide to Easy Homemade Perfection
There’s something uniquely enchanting about a perfectly crafted crepe. Delicate, thin, and wonderfully versatile, crepes can transform a simple breakfast into a gourmet experience or elevate a dessert to an elegant treat. For many years, the idea of making these seemingly sophisticated pancakes at home felt incredibly daunting. My own journey into the world of crepes began with an accidental discovery, born out of longing and a sprinkle of culinary courage.
I still vividly recall the irresistible aroma that emanated from a small kiosk I used to pass daily on my commute. It specialized in fresh, made-to-order crepes, and its allure was undeniable, yet I was initially too intimidated to try one. Having never tasted a crepe before, I hesitated for weeks, observing others enjoy their delicious creations. Finally, one brave day, I mustered all my courage and ordered a classic Crepes Suzette. The first bite was nothing short of a revelation: a wonderful symphony of sweet, tangy, and subtly alcoholic notes, all encased in a remarkably thin, tender pancake. I was instantly captivated. From that day on, a daily crepe became a cherished ritual, a small luxury that consistently brightened my commute.
Life, as it often does, eventually led me away from that charming kiosk. For several years, crepes became a distant, cherished memory, a craving that lingered but remained unfulfilled. Without local establishments offering them, and still feeling apprehensive about attempting to make them myself, I simply went without. However, pregnancy has a powerful way of amplifying cravings to an undeniable roar, and my desire for crepes became overwhelming. This newfound determination pushed me to invest in a dedicated crepe maker, embarking on a self-taught quest to master the art of crepe making. It wasn’t an instant success; perfecting the delicate wrist movements required to achieve that signature thinness took considerable practice, but I eventually got the hang of it, producing consistently delicious crepes.
The Unexpected Revelation: Why Your Nonstick Skillet is Your Best Crepe Tool
Just when I felt I had conquered the art of crepe making with my specialized equipment, disaster struck: my beloved crepe maker broke down. I feared my crepe-making days were irrevocably over. But then, I stumbled upon a simple, yet profound, revelation: I witnessed someone effortlessly creating flawless crepes using nothing more than a basic nonstick skillet. I was absolutely blown away by the simplicity, accessibility, and sheer efficiency of this method.
What I quickly discovered was that not only is it significantly easier to learn how to make crepes using a standard nonstick skillet, but the entire process is also faster, far more forgiving, and yields consistently beautiful results. Gone were the days of battling with specialized equipment; the humble nonstick skillet proved to be an absolute game-changer. It offers an incredible level of control and requires less initial investment compared to a dedicated crepe maker. For anyone eager to learn how to make crepes, especially beginners who might feel intimidated, I now wholeheartedly recommend starting with your favorite nonstick skillet and this foundational recipe. It’s an accessible, reliable, and incredibly rewarding path to achieving homemade crepe perfection.
Crafting the Perfect Crepe Batter: Understanding Ingredients and Techniques
While chefs and home cooks alike may swear by their unique processes for crepe batter, the core ingredients and fundamental structure remain universally consistent. A truly great crepe begins with a thin, silky batter designed to spread effortlessly, creating that signature delicate pancake. The beauty of crepe batter lies in its apparent simplicity, yet each ingredient plays a crucial role in achieving the ideal texture, flavor, and cooking properties.
Essential Ingredients and Their Roles:
- All-Purpose Flour: This forms the essential structure of your crepes. Using a good quality, unbleached all-purpose flour will yield the best results for a tender yet sturdy crepe.
- Granulated Sugar: Adds a touch of sweetness, which is particularly welcome in dessert crepes. More importantly, sugar aids in the beautiful golden-brown caramelization process as the crepe cooks, giving it an appealing color and subtle flavor depth.
- Salt: A small pinch of salt is vital for balancing the sweetness and enhancing the overall flavor profile of the crepe, preventing it from tasting flat.
- Large Eggs: Eggs act as a powerful binder, holding the batter together. They also provide richness, contribute to the crepe’s tender texture, and add elasticity, making the crepes pliable and less prone to tearing. Using room temperature eggs helps them incorporate more smoothly into the batter.
- Warm Milk: This is the primary liquid base that fully hydrates the flour and creates the batter’s characteristic thin consistency. Warm milk also helps the ingredients combine more easily and smoothly, reducing the chances of lumps.
- Melted Butter: Butter is indispensable for adding rich flavor and ensuring the crepes are tender and moist. Crucially, it also helps prevent the crepes from sticking to the pan, contributing to a smoother cooking experience.
Mixing Methods: From Whisk to Blender
You have flexibility when it comes to mixing your crepe batter. Many people prefer the convenience of a blender, which can quickly achieve a perfectly lump-free consistency with minimal effort. Simply add all ingredients and pulse until smooth – it’s a fantastic shortcut for busy cooks. Others, myself included, find satisfaction and a therapeutic quality in the traditional method of using a whisk and a bowl. No matter your chosen tool, the ultimate goal is a perfectly smooth, homogenous batter free of any flour lumps.
Traditionally, many recipes instruct you to whisk dry ingredients together in one bowl, then combine wet ingredients separately in another, and finally mix the two until just combined. My preferred method, however, deviates slightly, as I believe it more consistently yields an even smoother batter with superior texture. I start by whisking the dry ingredients (flour, sugar, salt) together in a medium bowl. Then, I create a small well in the center of this dry mixture and add the eggs. I use a whisk to slowly but thoroughly combine the eggs and the surrounding dry mixture first, forming a thick, uniform paste. This initial paste helps to break down any potential flour lumps far more effectively. From there, I gradually incorporate the remaining wet ingredients – the warm milk and melted butter – thinning out the paste until the batter reaches a wonderfully smooth, pourable, and lump-free consistency. In my extensive experience, this specific technique consistently yields the best texture, ensuring incredibly tender, delicate, and pliable crepes.
The Non-Negotiable Step: Letting Your Batter Rest
Regardless of your mixing method, one step is absolutely critical for consistent crepe success: allowing your batter ample time to rest. This isn’t just a suggestion; it’s a non-negotiable step that profoundly impacts the quality of your finished crepes. At a minimum, your batter should rest for 10 minutes at room temperature. For truly optimal results, however, I highly recommend covering your batter and letting it chill in the refrigerator for at least 30 minutes, or even better, overnight. This resting period is vital for several scientific and culinary reasons:
- Flour Hydration: It gives the flour sufficient time to fully absorb the liquid from the milk and eggs. Properly hydrated flour prevents a “gummy” or “chewy” texture and results in a much more tender, delicate, and melt-in-your-mouth crepe.
- Gluten Relaxation: The act of mixing, especially whisking or blending, activates gluten development in the flour, making the batter elastic and potentially tough. Resting allows these gluten strands to relax, leading to a significantly more delicate, less rubbery, and more pliable crepe that won’t tear easily.
- Bubble Dissipation: Air bubbles inevitably get introduced into the batter during the mixing process. Resting provides time for these air bubbles to dissipate. This prevents unsightly holes in your cooked crepes and ensures a wonderfully smooth, even surface.
Neglecting this crucial resting step can result in crepes that are brittle, tough, prone to tearing, or cook unevenly. A well-rested batter is arguably the most important secret to achieving those perfectly thin, pliable, and utterly delicious crepes that everyone adores.
Mastering the Cook: From Pan to Plate
With your perfectly rested and velvety smooth batter ready, the next step is mastering the actual cooking process. This involves careful attention to pan temperature and a precise pouring and swirling technique. Don’t be discouraged if your first few crepes aren’t perfect; with a little practice, you’ll be swirling and flipping like a seasoned pro in no time.
Achieving Optimal Pan Temperature
Before any batter touches the pan, ensuring the correct temperature is paramount. A pan that is too cold will cause your crepe to stick, be pale, and cook sluggishly; a pan that is too hot will burn your crepe before it has a chance to cook through, resulting in a dark exterior and possibly raw interior. Place your nonstick skillet on a burner set to medium heat and allow it to preheat thoroughly for a solid few minutes – patience here is key. To test if it’s perfectly ready, add a tiny drop of water to the pan. If it sizzles vigorously and evaporates almost immediately, your pan has reached the ideal temperature. If the water merely sits there, slowly hissing, or evaporates too slowly, give it another minute or two to heat up further. A well-oiled (or buttered), hot pan is the fundamental key to preventing sticking and achieving that beautiful, uniform golden hue on your finished crepes.
The Art of Pouring and Swirling
Once your pan is at the perfect temperature, it’s time for the signature crepe swirl. Begin by lifting the skillet slightly off the heat by its handle. Pour exactly 1/4 cup of the rested batter directly into the very center of the pan. Immediately, but with a controlled, fluid, and delicate motion, begin tilting and rotating the pan in a circular motion. This allows the batter to spread effortlessly and thinly across the entire bottom surface, reaching all the way to the edges. I usually find that two complete, quick swirls are sufficient to get a beautiful, even, and thin coat of batter. The goal here is to create the thinnest possible layer, so work swiftly and confidently to avoid thick spots.
Knowing When to Flip
Cook the crepe for approximately 1 to 2 minutes on the first side. During this time, you’ll observe the edges beginning to crisp slightly, and the surface of the crepe will appear set, losing its wet sheen. You might also see small bubbles forming and popping, especially towards the center. Use a thin wooden spoon, a flexible silicone spatula, or a dedicated crepe spreader to gently lift one edge of the crepe to check for a beautiful golden-brown color. Once it’s evenly browned and appears cooked through on the bottom, it’s ready to flip. If you’re feeling adventurous and confident, you can carefully loosen the edges all around and then try a quick flick of the wrist to flip it directly in the pan – a move that certainly requires ample practice! For most home cooks, using a spatula to carefully slide completely under the crepe and gently flipping it over is the more reliable, less stressful, and less messy approach. Cook the second side for a shorter duration, typically about 30 to 60 seconds, or until it’s also lightly golden and fully cooked through. This second side often cooks faster.
Troubleshooting Common Crepe Challenges
It’s important to remember that your first few crepes might not come out perfectly. This is completely normal and part of the learning process! The very first crepe is often affectionately called the “tester crepe” – it’s typically a little ugly or imperfect but absolutely perfect for a taste test and for adjusting your heat or technique. Here are some common issues you might encounter and practical tips on how to fix them:
- Crepes are sticking to the pan: This is a common issue, usually indicating that your pan isn’t hot enough, or it’s not adequately greased. Ensure your nonstick pan is well-seasoned or lightly brushed with a tiny amount of butter or cooking spray *before* each crepe, and always preheat it thoroughly and properly.
- Crepes are too thick: If your crepes are coming out thick and heavy, you are likely using too much batter for the size of your pan, or you’re not swirling quickly and thinly enough. Try reducing the batter amount slightly (e.g., a scant 1/4 cup) and practice your rapid, fluid swirling motion to spread the batter as thinly as possible.
- Crepes are tearing when flipping: This can be due to several factors: undercooking (the crepe isn’t set enough to hold its structure), overcooking (making it too brittle), or insufficient resting time for the batter (the gluten is too tight and hasn’t relaxed). Ensure the batter is well-rested, and the crepe is cooked just until set but still pliable before attempting to flip it.
- Holes are forming in the crepe: Small holes are often caused by air bubbles in the batter that haven’t had a chance to dissipate. This reinforces the importance of resting your batter sufficiently. You can also lightly stir the batter between crepes to gently pop any surface bubbles that may have formed.
- Edges are crispy, but the center is raw: Your pan might be too hot, or the heat distribution is uneven. Try lowering the heat slightly and ensuring your pan is evenly heated across its surface.
Serving Your Delicious Homemade Crepes
Once each crepe is cooked to golden perfection, gently transfer it to a plate lined with a piece of parchment paper. Place another piece of parchment paper on top before stacking the next crepe. This simple trick prevents sticking and helps to keep the crepes warm and moist until you’re ready to serve. Crepes are incredibly versatile and can be enjoyed in a myriad of ways, making them a fantastic addition to any meal or occasion.
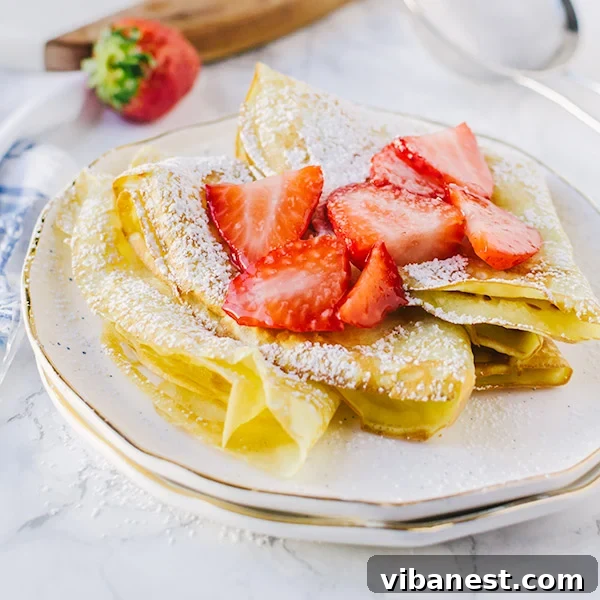
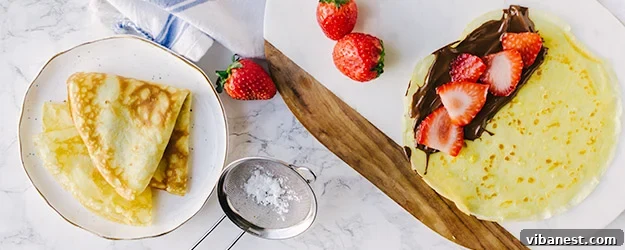
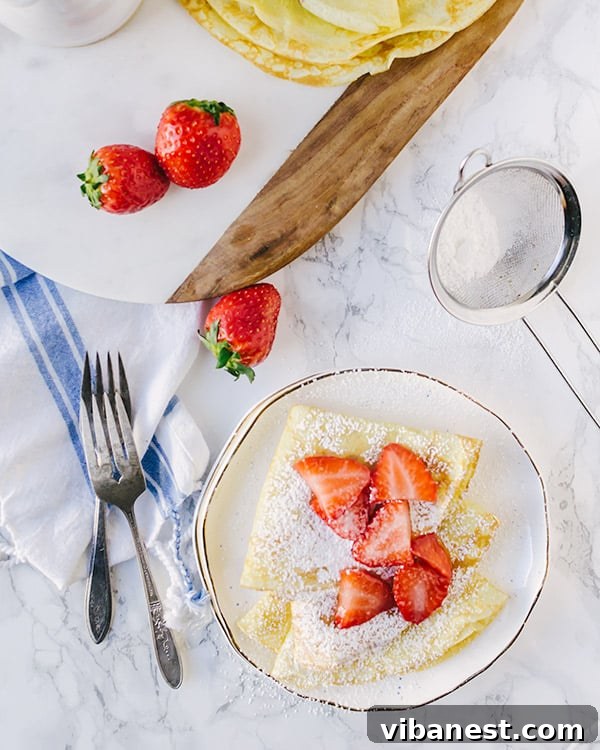
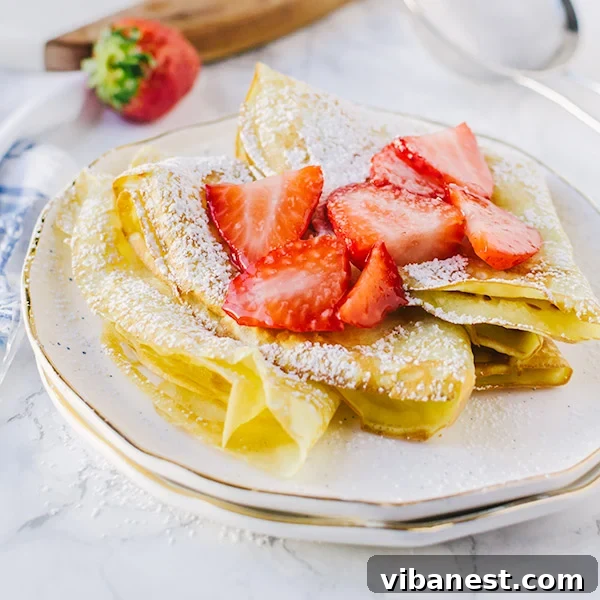
For sweet indulgences, the possibilities are endless: think fresh berries and a dollop of whipped cream, a generous spread of Nutella with sliced bananas, a classic sprinkle of lemon juice and sugar, or a drizzle of warm maple syrup. Savory options are equally delightful; crepes make a fantastic vessel for fillings like ham and melted cheese, sautéed spinach and feta, tender chicken and mushrooms, or even a simple spread of cream cheese and smoked salmon for an elegant brunch. Experiment with different combinations to discover your favorites!
Learning how to make crepes is a culinary skill that truly comes with a bit of practice, but it is incredibly rewarding. Once you get the hang of it, you’ll be effortlessly creating impressive, delicate, and utterly delicious homemade crepes that will delight your family and friends time and time again!
Easy Homemade Crepes: The Perfect Nonstick Skillet Recipe
INGREDIENTS
- 1/2 cup all-purpose flour
- 1 tablespoon granulated sugar
- 1/8 teaspoon salt
- 2 large eggs, room temperature
- 3/4 cup warm milk
- 2 tablespoons melted unsalted butter, plus extra for greasing the pan
DIRECTIONS
- Place a nonstick skillet (preferably 8-10 inches in diameter for ideal crepe size) on a burner set to medium heat and allow it to preheat thoroughly for several minutes.
- In a medium-sized mixing bowl, add the all-purpose flour, granulated sugar, and salt. Whisk these dry ingredients together thoroughly until they are well combined and lump-free. (Alternatively, if using a blender, add all dry ingredients to the blender and pulse once or twice to combine them).
- Create a small well in the center of your dry mixture. Crack the two large, room temperature eggs directly into this well. Using your whisk, slowly but thoroughly incorporate the eggs into the surrounding dry ingredients, mixing until a thick, smooth, and uniform paste forms. (If using a blender, add the eggs and blend for about 30-45 seconds until well combined with the dry ingredients).
- In a separate small bowl or measuring cup, combine the warm milk and the melted butter. Gradually pour this wet mixture into your flour-egg paste, whisking continuously until the batter is completely smooth, thin, and entirely lump-free.
- Set the batter aside to rest. For best results, cover the bowl with plastic wrap and let it rest at room temperature for at least 10 minutes, or refrigerate for 30 minutes to overnight. Resting is crucial for allowing the flour to fully hydrate and the gluten to relax, which yields a more tender and pliable crepe.
- Once your skillet is thoroughly hot (test with a tiny drop of water – it should sizzle vigorously and evaporate immediately), lightly grease it with a tiny bit of butter or cooking spray if needed, especially before the first crepe. Lift the skillet slightly off the heat by the handle. Pour exactly 1/4 cup of the rested batter into the very center of the pan. Immediately, but with a controlled and careful motion, tilt and swirl the skillet in a circular motion, allowing the batter to spread evenly and thinly across the entire bottom surface. Return the pan to the heat.
- Cook the crepe for approximately 1 to 2 minutes on the first side, or until the edges appear set and slightly crisp, and the bottom is a beautiful golden brown. You can gently lift the edge with a thin spatula or wooden spoon to check the color. Once golden, carefully flip the crepe and cook for an additional 30 to 60 seconds on the second side, or until it is also lightly golden and cooked through.
- Transfer the cooked crepe to a plate lined with parchment paper to prevent sticking. Place another piece of parchment paper on top before stacking subsequent crepes. Repeat the process with the remaining batter, lightly greasing the pan between crepes if necessary to ensure easy release.
- Serve your warm, homemade crepes immediately with your favorite sweet or savory fillings and enjoy!