Master the Art of Crispy Fried Shrimp at Home: Your Ultimate Guide
There’s nothing quite like the irresistible crunch of perfectly fried shrimp. Imagine succulent, seasoned shrimp encased in a golden, crispy coating, ready to be dipped into your favorite sauce. This dream isn’t just for restaurant dining; you can easily achieve incredible, restaurant-quality Crispy Fried Shrimp right in your own kitchen! Forget waiting in line or paying premium prices – with this simple recipe, homemade fried shrimp is not only possible but delightfully easy and incredibly satisfying.
My love affair with fried shrimp began years ago, during my college days working at a popular seafood chain. While their famous Cheddar Bay Biscuits held a special place in my heart, the perfectly fried shrimp was an undeniable favorite. For the longest time, I assumed achieving that signature crispiness at home was a daunting task, best left to the professionals. However, a casual mention from my husband, Ryan, about his craving for fried shrimp sparked a challenge I was eager to embrace. And let me tell you, the results were astounding – better than takeout, and surprisingly effortless!
This isn’t just another fried shrimp recipe; it’s a game-changer. It demystifies the process, making it accessible for any home cook. You’ll learn the secrets to an extra crunchy coating and how to fry them to golden perfection in minutes. Get ready to impress your family and friends with a dish that tastes like it came straight from your favorite seafood restaurant.
Why Homemade Fried Shrimp is Always a Better Choice
While the convenience of ordering fried shrimp from a restaurant is tempting, there are numerous compelling reasons to whip up a batch at home:
- Unmatched Freshness and Flavor: When you make fried shrimp at home, you control the quality of the ingredients. Fresh shrimp, lightly seasoned and fried in clean oil, simply tastes superior. You’ll savor the natural sweetness of the shrimp, enhanced by your custom seasoning blend.
- Cost-Effective Dining: Restaurant fried shrimp can be quite pricey, especially for a family meal. Making it at home significantly cuts down on costs, allowing you to enjoy this delicious treat more often without breaking the bank.
- Customization at Your Fingertips: Love a little extra spice? Want a specific dipping sauce? At home, you can tailor every aspect of your fried shrimp. Adjust the seasoning to your preference, experiment with different spices, or even try unique breading variations.
- A Fun and Rewarding Culinary Experience: Preparing homemade fried shrimp is a hands-on experience that can be incredibly rewarding. It’s a fantastic way to spend time in the kitchen, whether you’re cooking solo or involving the whole family. The satisfaction of creating such a delicious dish from scratch is truly unmatched.
The Secret Weapon for Ultimate Crispiness: Panko Breadcrumbs
If you’ve ever wondered how restaurants achieve that unbelievably light and crispy texture in their fried foods, the answer often lies in one magical ingredient: panko breadcrumbs. These Japanese-style breadcrumbs are a fundamental component of this recipe and my absolute secret to ultra-crispy, crunchy fried shrimp.
Unlike traditional breadcrumbs, which are typically dense and finely ground, panko is made from crustless white bread that is processed into large, airy, and flaky shards. This unique texture is what gives panko its superior frying capabilities. When fried, these larger flakes create a crispier, more delicate coating that absorbs less oil, resulting in a lighter, less greasy, and incomparably crunchy exterior.
You can easily find panko breadcrumbs in the same aisle as regular breadcrumbs at most grocery stores. Don’t be tempted to substitute them with traditional breadcrumbs; for that signature crisp, panko is non-negotiable!
Selecting and Preparing Your Shrimp for Perfection
The foundation of great fried shrimp starts with selecting the right kind of shrimp. Here’s what to look for to ensure the best results:
- Raw, Peeled, and Deveined: For ease of preparation, always opt for raw shrimp that have already been peeled and deveined. This saves you significant prep time. Many recipes, including this one, call for keeping the tails attached. This provides a convenient “handle” for eating and a more aesthetically pleasing presentation.
- Shrimp Size Matters: The “count” refers to the number of shrimp per pound. For fried shrimp, I generally recommend 31-40 count shrimp. This size strikes a perfect balance: they are large enough to be substantial, yet small enough to cook quickly and evenly without becoming tough. Larger shrimp (e.g., U15 or 16-20 count) are also excellent, though you’ll get fewer per pound.
- Fresh vs. Frozen: Both fresh and frozen shrimp can yield delicious results. If using frozen shrimp, make sure to thaw them properly. The best method is to transfer them to the refrigerator overnight. For a quicker thaw, place them in a colander under cold running water for about 10-15 minutes, gently separating them.
- Crucial Step: Pat Them Dry! Regardless of whether your shrimp are fresh or thawed, it is absolutely critical to pat them thoroughly dry with paper towels. Excess moisture on the shrimp will create steam when they hit the hot oil, preventing the breading from crisping up properly and potentially causing the oil to splatter. Take your time with this step for truly crispy results.
Once your shrimp are prepped, it’s time to season them. A simple blend of salt, black pepper, and garlic powder works wonders, enhancing the natural flavor of the shrimp without overpowering it. Feel free to add a pinch of paprika, onion powder, or a dash of cayenne for a subtle kick if you like!
Setting Up Your Breading Station: The Three-Step Process
The breading process is key to achieving that perfectly crispy exterior. While it might seem a bit messy, setting up an efficient “breading station” will make the job much smoother. You’ll need three shallow dishes – pie plates or shallow baking pans work perfectly.
- Dish 1: Flour Base: In the first dish, you’ll place about 1/2 cup of all-purpose flour. This initial coating helps create a dry surface for the egg wash to adhere to, ensuring the panko sticks beautifully.
- Dish 2: Egg Wash: In the second dish, whisk together two large eggs until they are lightly beaten. The egg acts as a binder, helping the panko adhere to the flour-coated shrimp. For extra flavor, you can whisk in a tablespoon of milk or a dash of hot sauce into the egg wash.
- Dish 3: Panko Power: In the third dish, spread out 1 1/2 cups of panko breadcrumbs. This is where the magic happens!
Now, for the technique: Take each seasoned shrimp and first dip it into the flour, shaking off any excess. Then, transfer it to the egg wash, ensuring it’s fully coated, letting any extra drip off. Finally, place the shrimp into the panko breadcrumbs, gently pressing the crumbs onto all sides of the shrimp to ensure a thick, even coating. This pressing motion is vital for maximum crunch.
To keep things tidy and prevent your hands from becoming a gloppy mess, try the “wet hand/dry hand” method. Use one hand to handle the shrimp in the flour and panko (your “dry hand”), and the other hand to transfer it to and from the egg wash (your “wet hand”). This minimizes clumping and makes the process much more efficient.
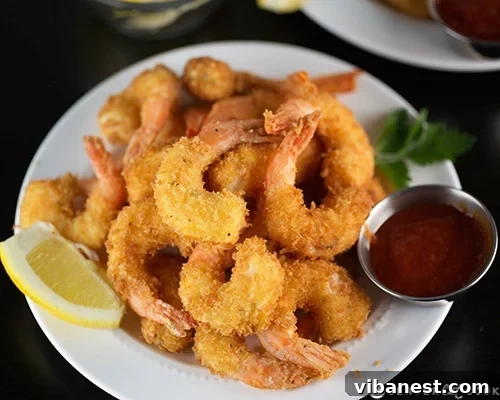
Frying to Golden Perfection: Tips for Success
Frying shrimp is surprisingly quick, but getting the oil temperature right is crucial for achieving that desirable crispness without overcooking the shrimp.
- Oil Selection and Setup: Choose a neutral-flavored oil with a high smoke point, such as vegetable oil or canola oil. Pour about two inches of oil into a deep, heavy-bottomed pot or Dutch oven. A depth of two inches ensures the shrimp are fully submerged for even cooking.
- Temperature Control is Key: Heat the oil to around 350-375°F (175-190°C). An accurate deep-fry thermometer is your best friend here. Maintaining a consistent oil temperature is vital: too cool, and the shrimp will absorb excess oil and become greasy; too hot, and the breading will burn before the shrimp cooks through.
- Fry in Batches: Resist the urge to overcrowd the pot. Frying too many shrimp at once will drastically drop the oil temperature, leading to soggy, less crispy results. Fry the shrimp in small batches, typically about 6-8 shrimp at a time, depending on the size of your pot.
- The Quick Cook: Shrimp cook incredibly fast! Each batch will only need about 2-3 minutes in the hot oil. Look for a beautiful golden-brown color on the breading and the shrimp to be opaque throughout.
- Draining and Resting: Once golden and crispy, use a slotted spoon or a spider strainer to carefully remove the shrimp from the hot oil. Transfer them to a plate lined with paper towels to drain any excess oil. This helps maintain their crispness. Continue frying the remaining batches, ensuring the oil returns to temperature between each batch.
Safety Note: Always be cautious when deep frying. Keep a lid nearby in case of oil flare-ups, and never leave hot oil unattended. Ensure your pot is stable and away from the edge of the counter.
Serving Your Homemade Crispy Fried Shrimp
Once your batches of golden, crunchy fried shrimp are ready, it’s time for the best part – serving and enjoying them! The beauty of this recipe is its versatility. It makes a fantastic appetizer for gatherings, a delightful main course for a family dinner, or even a component in other creative dishes.
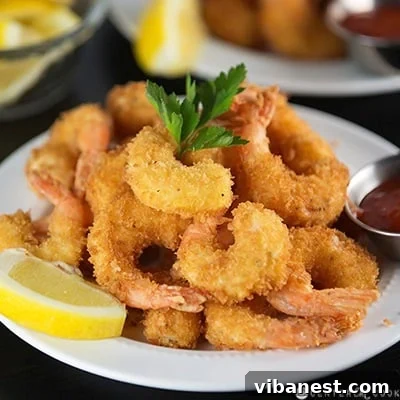
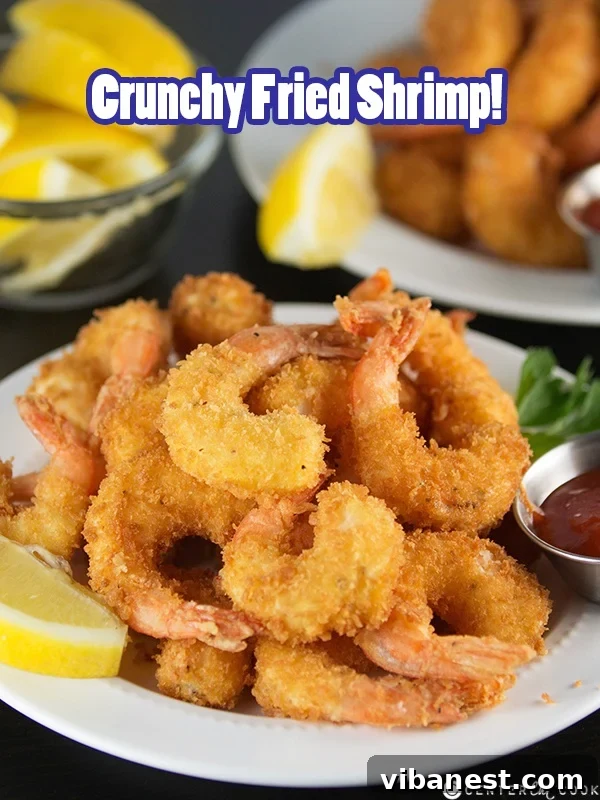
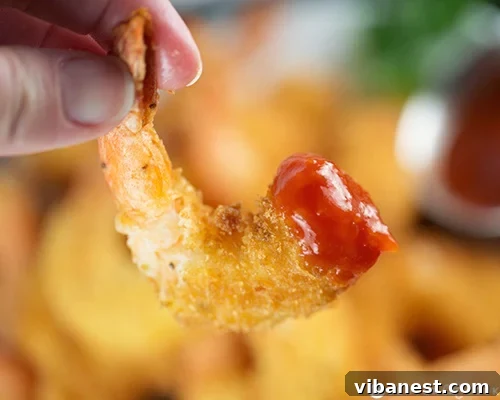
The classic pairing for fried shrimp includes fresh lemon wedges and a zesty cocktail sauce. The bright acidity of the lemon cuts through the richness of the fried coating, while cocktail sauce adds a tangy, slightly spicy kick that perfectly complements the shrimp. My husband, Ryan, prefers a simpler approach, often opting for just ketchup, proving there’s no wrong way to enjoy these!
Beyond the classics, consider these delicious serving ideas:
- Other Dipping Sauces: Experiment with tartar sauce, a creamy remoulade, a spicy sriracha mayo, or a sweet chili sauce for an Asian-inspired twist.
- As a Main Course: Serve your fried shrimp alongside a bed of crispy french fries, a fresh coleslaw, or a light green salad for a complete meal.
- Shrimp Tacos: Shred the fried shrimp and use them as a filling for delicious shrimp tacos with cabbage slaw and a crema sauce.
- Garnishes: A sprinkle of fresh chopped parsley or chives adds a pop of color and freshness.
The “hardest” part of this recipe is indeed the initial prep work of breading each shrimp, but the good news is that the frying process is incredibly fast. You can have this entire crispy fried shrimp feast ready to devour in under 30 minutes, making it a perfect option for weeknights or quick entertaining. Enjoy!
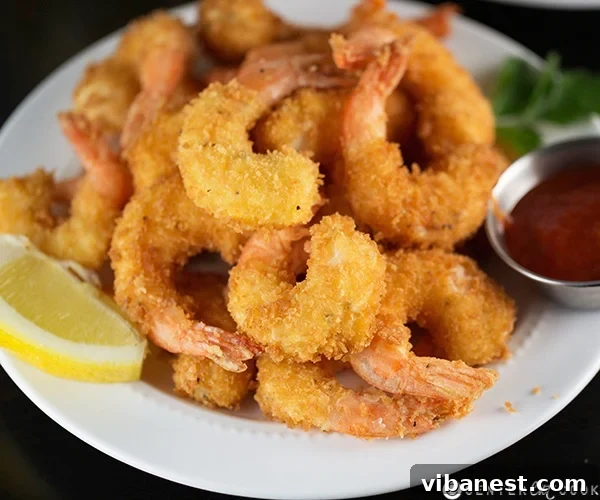
Crunchy Fried Shrimp
Ingredients
- 1 pound raw shrimp peeled and deveined with the tails attached.
- 1/2 cup flour
- 2 eggs lightly beaten
- 1 1/2 cup panko bread crumbs
- 1/2 tsp salt
- 1/4 tsp black pepper
- 1/4 tsp garlic powder
- vegetable oil or canola oil for frying
- lemon slices for garnish
- cocktail sauce for dipping
Instructions
-
Use paper towels to pat the shrimp dry. Toss the shrimp with salt, black pepper, and garlic powder.
-
Gather three shallow dishes. In one pan, add 1/2 cup flour. In another pan, add 2 eggs, lightly beaten. In the third pan, add 1 1/2 cups panko bread crumbs.
-
Dip each shrimp in flour, then egg, then panko bread crumbs. Use your fingers to press the bread crumbs onto each piece of shrimp.
-
Heat about two inches of canola or vegetable oil in a deep pot to around 350-375 degrees Fahrenheit.
-
Deep-fry the shrimp in batches, frying about 6-8 shrimp at a time. The shrimp will cook very quickly! When they are golden brown (approx. 2-3 minutes), use a slotted spoon to remove them from the pan, and transfer them to a paper towel lined plate. Continue cooking the shrimp in batches until all shrimp are fried and golden brown.
-
Serve immediately with lemon slices and/or cocktail sauce. Enjoy!