
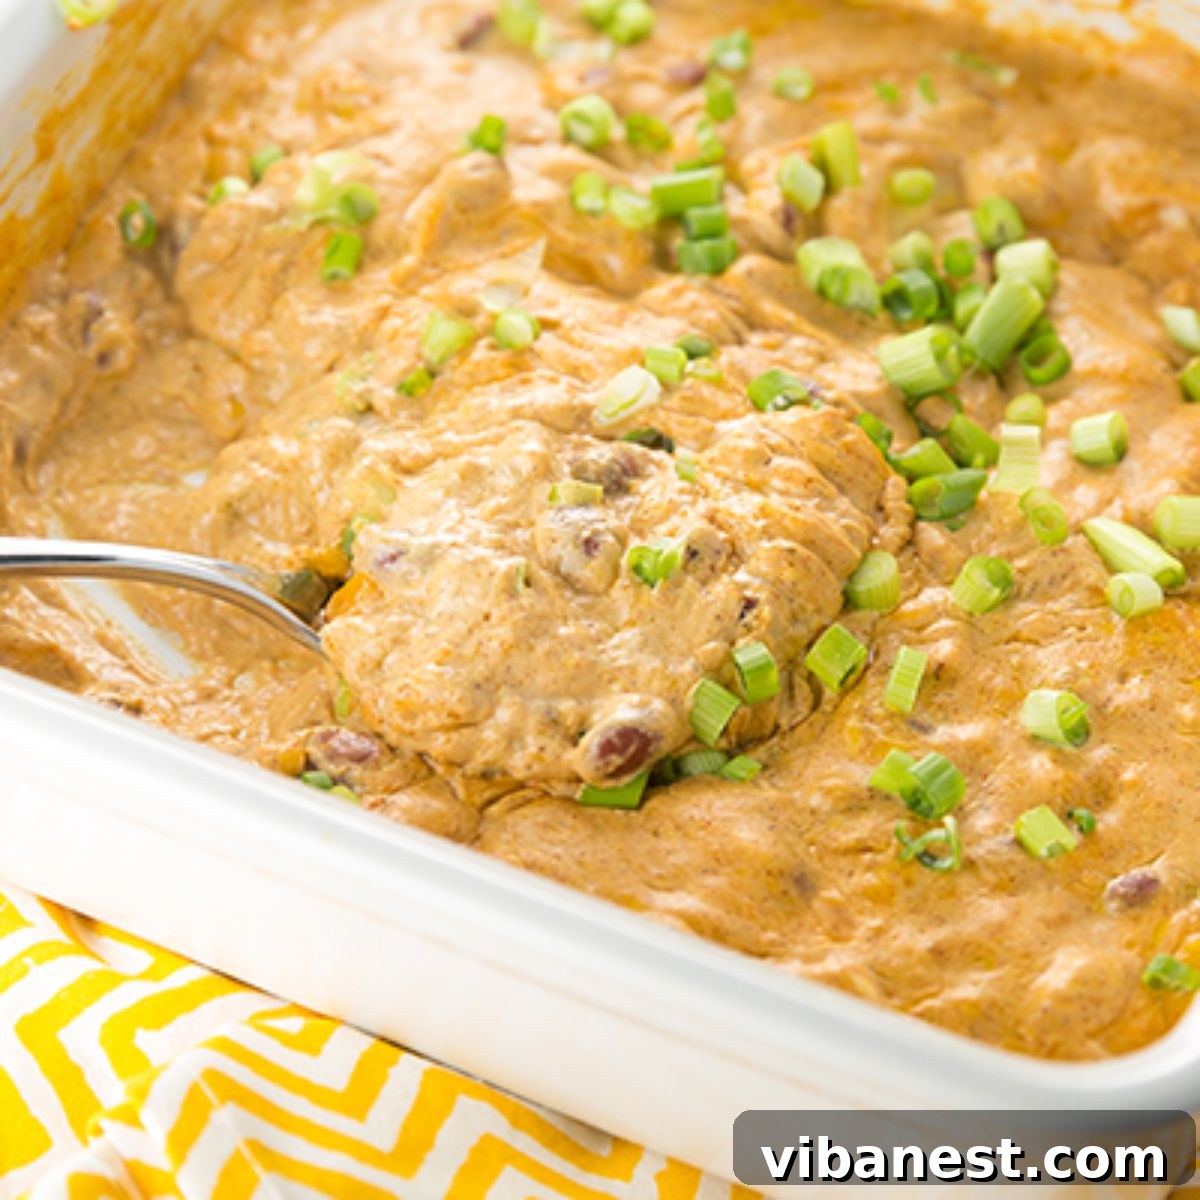
Cheesy Bean Dip: The Ultimate Real Cheddar & Texas Trash Appetizer
When it comes to crowd-pleasing appetizers, few dishes can rival the sheer deliciousness and comforting warmth of a truly great bean dip. Forget those versions loaded with processed cheese products. Our Cheesy Bean Dip recipe stands out, crafted with rich, authentic ingredients that elevate it beyond the ordinary. We’re talking about a luscious blend of real cheddar cheese, creamy cream cheese, tangy sour cream, hearty chili beans, and a kick of taco seasoning – a combination so addictive, it’s affectionately known as “Texas Trash.”
This isn’t just any bean dip; it’s a culinary revelation that promises to be the star of your next gathering. Serve it bubbling hot with a generous pile of crispy tortilla chips, and watch it disappear in minutes. Its irresistible flavor and smooth texture make it an instant favorite, earning you requests to bring it to every future event. Get ready to ditch the complicated recipes and embrace the simplicity and deliciousness of a dip that truly delivers on flavor without compromise.
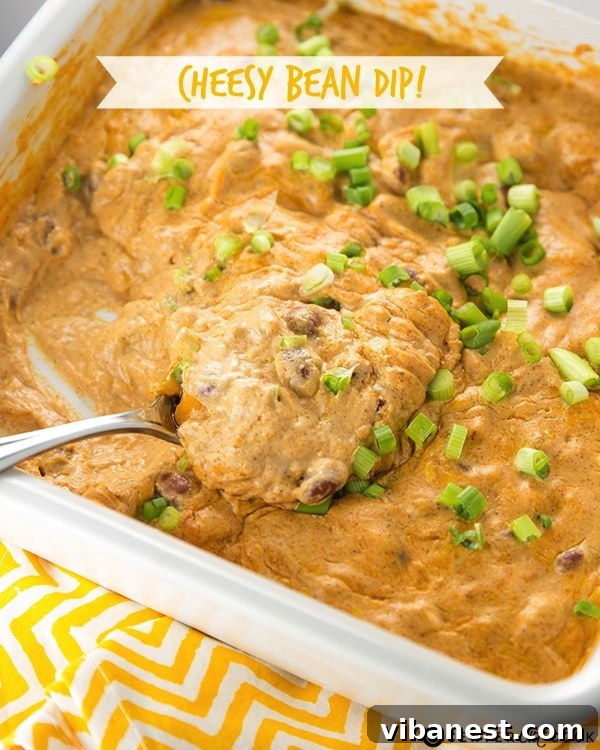
Why This Cheesy Bean Dip Will Be Your New Favorite Appetizer
What makes this Cheesy Bean Dip an absolute game-changer for parties, game nights, or just a cozy evening in? It all starts with the commitment to quality ingredients. Unlike many traditional bean dips that rely on processed cheese alternatives, our recipe champions the robust flavor and superior melt of real cheddar. This simple switch makes an enormous difference, delivering a depth of flavor and a silky texture that you simply can’t achieve with substitutes.
Beyond its incredible taste, this dip is incredibly easy to prepare. You’ll spend mere minutes on prep work before popping it into the oven, allowing you more time to socialize or relax. The blend of cream cheese and sour cream creates an unbelievably smooth and creamy base, perfectly complementing the robust chili beans and the zesty taco seasoning. Each scoop offers a harmonious balance of creamy, savory, and subtly spicy notes, making every bite a delight. Its versatility also means it pairs wonderfully with a variety of dippers, though classic tortilla chips remain a top choice. It’s truly a dip that caters to all tastes and occasions.

The Magic of Real Cheese: No Velveeta, All Authentic Flavor
The culinary landscape is dotted with countless variations of bean dip, many of which call for Velveeta cheese to achieve that signature gooey texture. While undeniably convenient, Velveeta can sometimes fall short on the rich, complex flavor that discerning palates crave. Our Cheesy Bean Dip recipe deliberately steps away from this norm, embracing the full-bodied taste and superior melt of genuine cheddar cheese. This decision is at the heart of what makes this dip so exceptional.
Real cheddar cheese, especially when freshly shredded, melts into a wonderfully smooth and stretchy consistency that rivals, and often surpasses, that of processed cheese. It brings a sharp, savory tang that beautifully cuts through the richness of the cream cheese and sour cream, adding layers of flavor that are simply unmatched. By opting for real ingredients, you’re not just making a dip; you’re crafting a gourmet experience that feels both indulgent and homemade. The combination of various real cheeses can also be explored, allowing you to tailor the flavor profile to your preference, from mild and creamy to sharp and bold. This commitment to real cheese ensures a dip that is not only incredibly satisfying but also memorable.
Essential Ingredients for Your Homemade Cheesy Bean Dip
Crafting this irresistible Cheesy Bean Dip requires a handful of common ingredients, each playing a crucial role in achieving its legendary flavor and texture. The beauty of this recipe lies in its simplicity and the quality of its components. Here’s a closer look at what you’ll need and why each ingredient is key:
- Sour Cream: This forms the foundational creamy base of our dip. Its slight tanginess provides a perfect counterpoint to the richness of the cheeses and beans, ensuring the dip isn’t overly heavy. Opt for full-fat sour cream for the best flavor and texture.
- Cream Cheese: The other half of our creamy duo, softened cream cheese contributes to the dip’s incredibly smooth, rich, and spreadable consistency. It adds a delightful mild sweetness and a luscious mouthfeel that makes the dip truly addictive. Ensure it’s softened to room temperature for effortless blending.
- Taco Seasoning: This packet of magic is where the “Texas” in “Texas Trash” really comes alive. Taco seasoning infuses the dip with a complex blend of spices like chili powder, cumin, paprika, and oregano, giving it that classic Tex-Mex flavor. You can use a store-bought packet for convenience or whip up your own homemade taco seasoning for a fresher, customizable spice level.
- Cheddar Cheese: The star of the show! We recommend sharp cheddar for its robust flavor, but a mild or medium cheddar works beautifully too. For the best melt and texture, buy a block of cheese and shred it yourself. Pre-shredded cheeses often contain anti-caking agents that can affect melt quality. Feel free to experiment with a blend of cheeses like Monterey Jack, Colby, or even a touch of Pepper Jack for a spicy kick.
- Chili Beans: These flavorful beans are the heart of the dip. Canned chili beans, often seasoned with a mild or medium sauce, add a wonderful depth and meaty texture. Bush’s Chili Beans are a popular choice. Remember to drain them slightly before adding them to avoid a watery dip. For an alternative, you can also use two cans of refried beans for a different texture.
- Salsa (Optional): For an extra layer of flavor and a touch of freshness, a cup of your favorite salsa can be stirred in. It adds a vibrant tomato and onion base, along with a bit of acidity.
- Tortilla Chips: The essential vehicle for scooping up all that cheesy, beany goodness! Choose sturdy, lightly salted tortilla chips that can stand up to the thick, creamy dip.
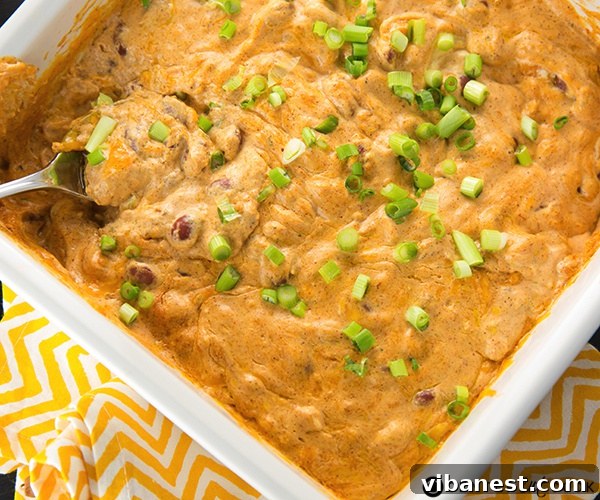
Simple Steps to Create This Irresistible Texas Trash Dip
Preparing this phenomenal Cheesy Bean Dip is astonishingly straightforward, making it an ideal choice for busy hosts or anyone craving a quick and delicious snack. Follow these simple steps to bring this “Texas Trash” masterpiece to life:

Cheesy Bean Dip {Texas Trash}
Cheesy Bean Dip made with real cheddar cheese (instead of Velveeta), cream cheese, sour cream, chili beans, and taco seasoning. Also known as Texas Trash, serve this bean dip with tortilla chips and you’ve got yourself the perfect appetizer!
5 minutes
30 minutes
35 minutes
Ingredients
- 1 cup sour cream
- 8 ounce package cream cheese, softened
- 1 packet taco seasoning (Or 2 tablespoons Homemade Taco Seasoning)
- 2 cups cheese (I used sharp cheddar, use any combo you’d like)
- 14 ounce can chili beans, slightly drained (or two cans of refried beans)
- 1 cup salsa (optional)
- Tortilla chips, for serving
Instructions
- Prepare Your Oven and Dish: Preheat your oven to 350 degrees Fahrenheit (175°C). Lightly spray a 2-quart casserole dish (an 8×8 or 9×9 inch square pan, or a standard 9-inch pie plate works well) with non-stick cooking spray. This will prevent sticking and make cleanup easier.
- Combine the Creamy Base: In a large mixing bowl, combine the softened cream cheese, sour cream, and taco seasoning. Using an electric mixer or a sturdy spoon, beat until the mixture is well combined and smooth, with no lumps of cream cheese remaining. This ensures a uniform flavor and creamy texture throughout the dip.
- Incorporate Beans and Optional Salsa: Gently stir in the slightly drained chili beans (or refried beans, if you’re using that variation) into the creamy mixture. If you’ve decided to add salsa for extra flavor and moisture, now is the time to stir that in as well. Mix until all ingredients are evenly distributed.
- Add the Cheese: Fold in the shredded cheddar cheese. Reserve a small amount (about 1/4 cup) if you wish to sprinkle it on top during the last few minutes of baking for an extra golden crust. Pour the entire dip mixture into your prepared baking dish, spreading it evenly.
- Bake to Golden Perfection: Place the baking dish in the preheated oven and bake for about 30 minutes. The dip is ready when it’s heated through, bubbling around the edges, and the cheese is beautifully melted and slightly golden. If you reserved some cheese, sprinkle it on top for the last 5-10 minutes of baking.
- Microwave Option (for speed): If you’re really short on time, you can microwave the dip. Combine all ingredients in a microwave-safe dish and heat on high for about 5 minutes, stirring every couple of minutes, until bubbly and melted. However, for the best flavor and a wonderfully golden, bubbly top, baking is highly recommended.
- Serve Immediately: Remove the dip from the oven and let it cool for a few minutes. Serve hot with an ample supply of tortilla chips. Garnish with chopped green onions or fresh cilantro for a pop of color and freshness, if desired.
Tips for a Flawless Cheesy Bean Dip Experience
Achieving the perfect Cheesy Bean Dip is simple, but a few expert tips can elevate your creation from great to absolutely unforgettable:
- Soften the Cream Cheese: This is crucial! Ensure your cream cheese is at room temperature before mixing. Cold cream cheese will result in a lumpy dip that’s hard to blend smoothly. Take it out of the fridge at least 30 minutes to an hour before you start.
- Shred Your Own Cheese: While pre-shredded cheese is convenient, it often contains anti-caking agents that can make it melt less smoothly and sometimes impart a slightly floury texture. Freshly shredding a block of cheddar will yield a creamier, more luxurious melt and superior flavor.
- Drain Chili Beans Properly: The original recipe suggests “slightly drained.” This is important because you want some of the seasoned liquid for flavor, but too much liquid can make your dip watery. Pour the beans into a colander and let some excess liquid drip out, but don’t rinse them.
- Bake for Best Results: While microwaving is an option for speed, baking truly delivers the best results. The oven allows the flavors to meld beautifully, creates a golden, bubbly cheese topping, and ensures a consistent heat throughout the dip.
- Don’t Overbake: Keep an eye on the dip towards the end of baking. You want it bubbly and melted, but not dried out. The 30-minute mark is a good guideline, but ovens vary.
- Experiment with Pan Sizes: An 8×8 or 9×9 inch square baking dish or a 9-inch pie plate works perfectly. The size of the dish will impact the thickness of your dip; a smaller dish will result in a thicker dip, which some prefer for heartiness.
Serving & Customization: Unleash Your Inner Chef
One of the many charms of this Cheesy Bean Dip is its incredible versatility. While delicious as is, it also serves as a fantastic canvas for customization, allowing you to tailor it to your personal taste and dietary preferences. Here are some ideas for creative variations and serving suggestions:
Creative Variations to Try:
- Refried Bean Swap: Instead of chili beans, use two cans of traditional refried beans for an even creamier, smoother texture. This yields a classic Mexican-inspired bean dip.
- Spice It Up: For those who love a bit of heat, consider adding a pinch of cayenne pepper, a dash of your favorite hot sauce, or finely diced jalapeños (fresh or pickled) to the mixture. A sprinkle of red pepper flakes on top also adds visual appeal and a gentle kick.
- Add Meat: Turn this dip into a heartier meal by mixing in browned and seasoned ground beef, chorizo, or shredded chicken. This transforms it into a substantial “loaded” bean dip.
- Different Cheeses: Don’t limit yourself to just cheddar! Monterey Jack, Colby, Pepper Jack (for spice), or a Mexican blend can all be used in combination with or instead of cheddar for varied flavor profiles.
- Fresh Garnishes: A sprinkle of fresh cilantro, chopped green onions, or a dollop of extra sour cream or guacamole on top adds freshness, color, and additional layers of flavor.
- Black Beans: For a slightly different texture and flavor, consider using well-drained canned black beans, either whole or partially mashed, in place of or alongside the chili beans.
The Best Ways to Serve Your Cheesy Bean Dip:
- Classic Tortilla Chips: The go-to choice! Sturdy corn tortilla chips are perfect for scooping up generous portions of this thick, cheesy dip.
- Vegetable Sticks: For a lighter option, serve with an assortment of crisp vegetable sticks like carrot, celery, bell pepper (various colors), cucumber, and jicama.
- Crackers and Pita Bread: A selection of sturdy crackers or warm, soft pita bread (cut into wedges) also makes excellent dippers.
- As a Topping or Filling: This dip isn’t just for dipping! Use it as a topping for nachos, a filling for burritos or quesadillas, or even spread it on tostadas. It’s also fantastic dolloped onto baked potatoes or used as a spread for sandwiches.
- Bread Bowl: For a truly impressive presentation at a party, hollow out a round loaf of sourdough or pumpernickel bread and serve the hot dip inside. The bread acts as both a serving vessel and an edible dipper!
Make Ahead & Storage Tips
This Cheesy Bean Dip is a dream for hosts and busy individuals because it can be partially prepared in advance, saving you valuable time on the day of your event. Here’s how to manage it:
- Make Ahead: You can combine all the ingredients (except for a top layer of cheese, if desired) in your baking dish, cover it tightly with plastic wrap, and refrigerate for up to 24 hours. When you’re ready to bake, let it sit on the counter for about 15-20 minutes to take off the chill while your oven preheats, then bake as directed. You might need to add an extra 5-10 minutes to the baking time if it’s going into the oven directly from the fridge.
- Storing Leftovers: Any leftover dip should be transferred to an airtight container and refrigerated. It will keep well for 3-4 days.
- Reheating: To reheat, simply place the desired amount in a microwave-safe dish and microwave in 30-second intervals, stirring in between, until heated through and bubbly. Alternatively, you can reheat it in an oven-safe dish at 300°F (150°C) for 15-20 minutes, or until warm. If it seems a little dry, you can stir in a tablespoon or two of milk or sour cream to restore its creaminess.
Frequently Asked Questions About Cheesy Bean Dip
Can I use a different type of beans?
Absolutely! While chili beans provide a specific flavor profile, you can certainly experiment. Refried beans will give you a smoother, more traditional bean dip texture. You could also use well-drained canned pinto or black beans, though you might want to mash them slightly for a better consistency.
What kind of cheddar cheese is best?
Sharp cheddar is highly recommended for its robust flavor, which stands up well to the other ingredients. However, mild or medium cheddar will also work if you prefer a less intense cheese flavor. For the best melt, always shred your own cheese from a block.
Can I make this dip spicier?
Yes, there are several ways to add more heat! You can choose a “hot” variety of taco seasoning, add finely diced fresh or pickled jalapeños or serrano peppers, a pinch of cayenne pepper, or a few dashes of your favorite hot sauce to the mixture. A sprinkle of red pepper flakes on top also works wonders.
Is this dip freezer-friendly?
Unfortunately, dips containing sour cream and cream cheese don’t always freeze and thaw well, as dairy products can separate and become grainy. It’s best enjoyed fresh or stored in the refrigerator for a few days.
How long does this Cheesy Bean Dip last in the refrigerator?
When stored in an airtight container, your leftover Cheesy Bean Dip will stay fresh and delicious in the refrigerator for up to 3-4 days. Always reheat thoroughly before serving.
Inspired by the fantastic recipes at CenterCutCook.