
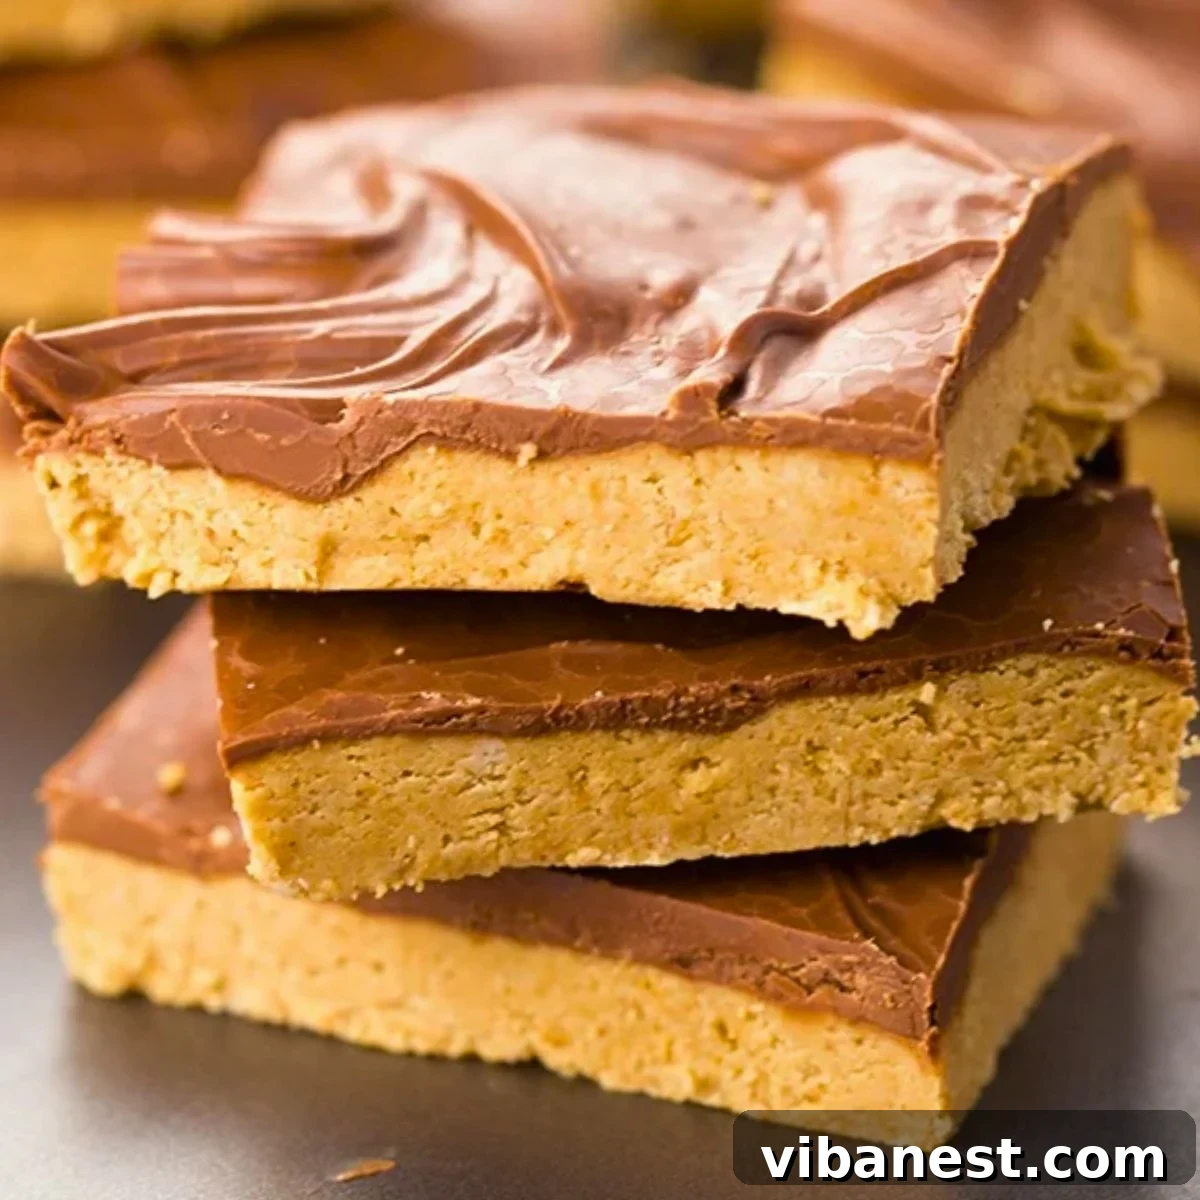
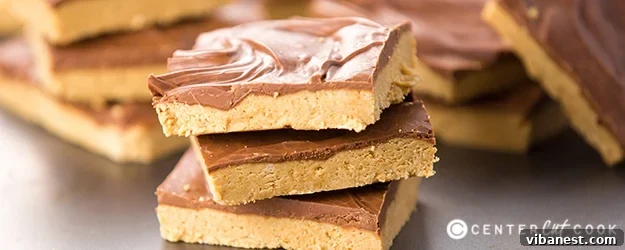
Step back in time to the cherished days of school lunches with these incredible Lunch Lady Peanut Butter Bars! This no-bake recipe is not just a dessert; it’s a delightful journey back to childhood, bringing the classic school cafeteria treat right into your kitchen.
Recreate the timeless flavor of your favorite school-day indulgence with this simple, no-bake peanut butter bars recipe. These delectable peanut butter squares are renowned for their rich, creamy texture and a generous topping of smooth chocolate frosting, making them the ultimate easy dessert for any occasion.
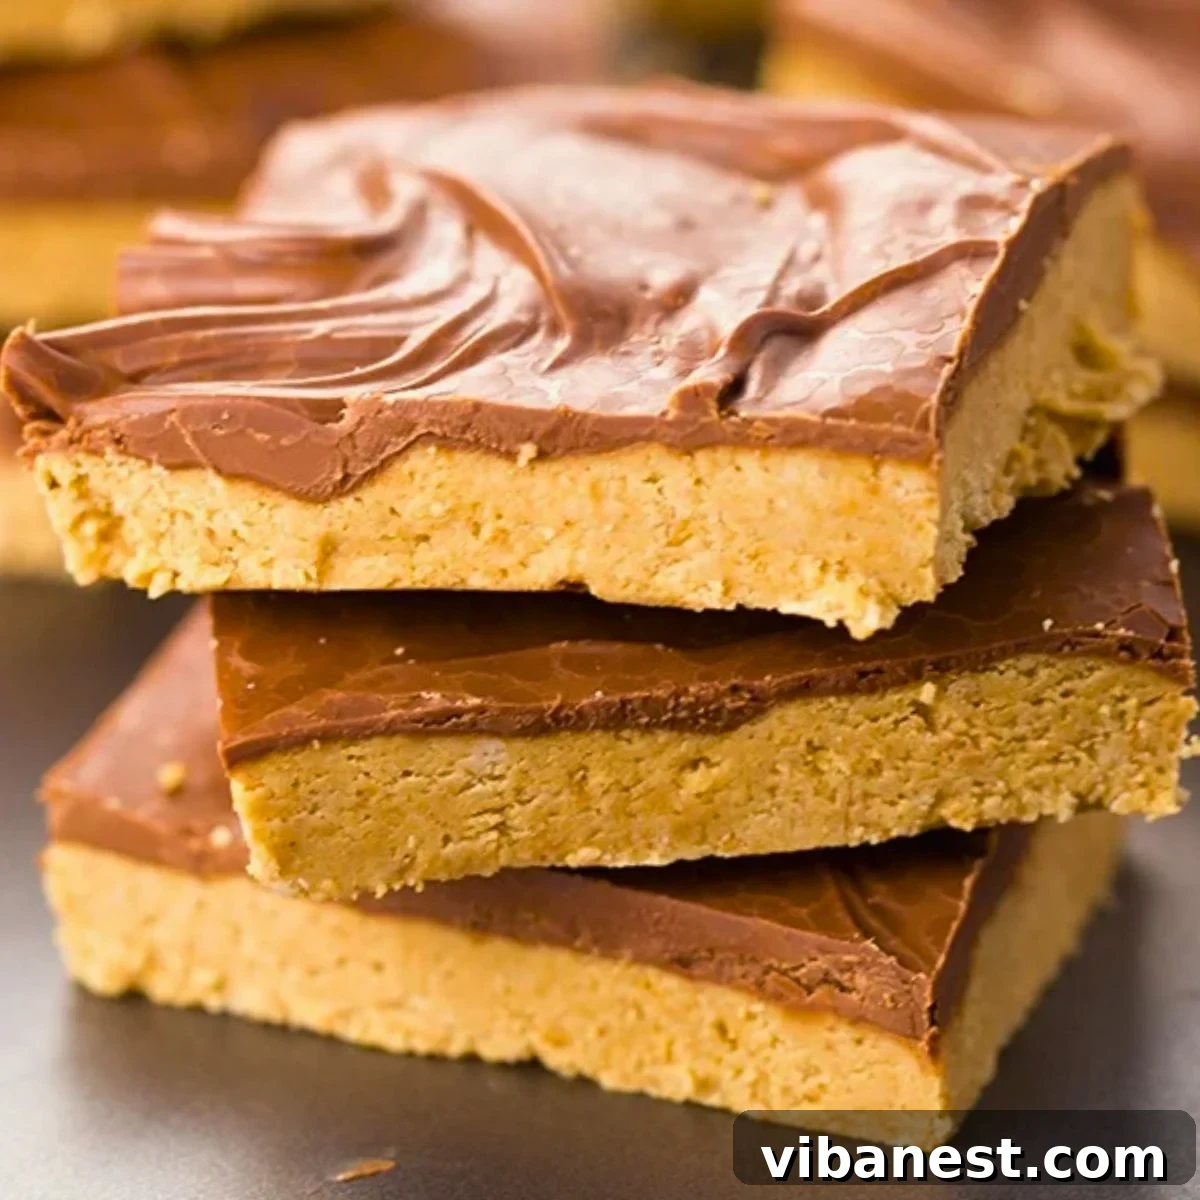
Pin this recipe now to save it for later and share the nostalgia!
Pin It Now
LUNCH LADY PEANUT BUTTER BARS – THE ULTIMATE NO-BAKE SCHOOL CAFETERIA DESSERT

Do certain flavors have the power to instantly transport you back to your carefree school days? For me, it’s undeniably these authentic Lunch Lady Peanut Butter Bars, generously slathered with a decadent layer of chocolate frosting. The perfect harmony of the rich, creamy peanut butter base and the sweet, smooth chocolate topping creates an irresistible balance of salty and sweet that defined a staple treat on my lunch tray throughout my formative years.
The story behind this particular recipe is as heartwarming as the bars themselves. This isn’t just any peanut butter bar recipe; it comes directly from the beloved lunch ladies at the very school my late husband and I attended. My husband, ever the charmer, was always exceptionally kind to the cafeteria staff, a strategy he hoped would earn him an extra scoop or a larger portion. His absolute favorite was always these special peanut butter squares, and more often than not, his kindness was rewarded with an additional treat on his tray. As graduation loomed, he couldn’t bear the thought of leaving these cherished squares behind, so he did the only sensible thing: he asked the lunch ladies for their secret recipe.
Initially, this prized recipe was designed to fill an enormous baking tray, destined to feed an entire school population. While that scale is certainly impressive, it’s not exactly practical for a home kitchen. Through careful adjustments and a bit of culinary detective work, I’ve successfully scaled it down to a more manageable 9×13 inch version. But let’s be honest – when it comes to these heavenly peanut butter bars, is it truly possible to have too many? I think not! 😉 This recipe makes a generous batch, perfect for sharing with family and friends, or for keeping all to yourself for a week of nostalgic snacking.
So, let’s embark on this delicious journey together! Head to the kitchen and prepare to whip up these unforgettable Lunch Lady Peanut Butter Bars – a no-bake delight that’s not only incredibly easy to make but also promises to be an instant favorite for anyone who takes a bite. Get ready to rekindle those sweet school-day memories!
With love and delicious memories,
Ashley
PS: If your craving for peanut butter treats is insatiable, don’t miss out on my other fantastic recipes, such as the Peanut Butter Buckeye Bars or my rich and creamy Peanut Butter Cup Fudge. You won’t be disappointed!
Essential Ingredient Notes for Your Lunch Lady Peanut Butter Bars:
Before you begin, ensure you have all your ingredients ready. The complete list of ingredients with precise measurements can be found below in the printable recipe card. Understanding each component will help you achieve the perfect, authentic taste.
For the Luscious Peanut Butter Layer:
- Butter: You can use either salted or unsalted butter for this recipe. I personally prefer salted butter as it subtly enhances the overall flavor balance. If you opt for unsalted butter, a small pinch of salt can be added to the peanut butter mixture to achieve that perfect sweet and salty dynamic. Make sure it’s fully melted for easy incorporation.
- Powdered Sugar: Also known as confectioners’ sugar, this ingredient is key for the bar’s smooth texture. While sifting powdered sugar can prevent lumps, it’s not strictly necessary for this recipe unless your sugar is particularly clumpy. I often skip this step to save time, as a perfectly smooth texture isn’t as critical here as it might be in a delicate frosting.
- Graham Cracker Crumbs: These crumbs provide the essential structure and a subtle hint of honeyed flavor that defines the classic taste of these bars. Approximately 12 full graham crackers will yield the 1 and ½ cups of crumbs needed. You can easily crush them in a food processor or by hand using a Ziploc bag and a rolling pin for a quick, homemade batch.
- Peanut Butter: Creamy peanut butter is highly recommended for achieving the signature smooth and dense consistency of these bars. If you are a fan of added texture and a slight crunch, feel free to substitute with crunchy peanut butter. However, for that authentic “lunch lady” experience, creamy is the way to go. Avoid natural peanut butter that separates, as its oil content can prevent the bars from setting properly.
For the Irresistible Chocolate Frosting:
- Semi-Sweet Chocolate: Semi-sweet chocolate chips are my go-to choice for the rich, balanced chocolate topping. They provide a delightful contrast to the sweet peanut butter without being overly bitter or sugary. Always follow the melting instructions on your chocolate chip package to ensure a smooth, spreadable consistency, whether you’re using a microwave or a double boiler.
Why You Will Absolutely Love This Authentic Lunch Lady Peanut Butter Bars Recipe!
These aren’t just any peanut butter bars; they’re a crowd-pleasing, memory-stirring dessert that will quickly become a cherished favorite. Here’s why you’ll be absolutely obsessed with this recipe:
- ✅ Authentic Cafeteria Charm: This isn’t a mere imitation; this peanut butter squares recipe hails directly from the legendary school lunch ladies themselves. Need I say more? You’re getting the genuine article, packed with all the nostalgic flavor you remember from your school days.
- ✅ Effortlessly No-Bake: Ditch the oven and skip the heat! This recipe is incredibly easy to make and requires absolutely no baking. It’s the perfect dessert for warm weather, busy schedules, or when you just don’t feel like turning on the oven. Minimal cleanup and maximum enjoyment!
- ✅ Pantry-Friendly Ingredients: You won’t need a trip to a specialty store for this one. This recipe calls for just a handful of simple, everyday ingredients that you likely already have in your pantry. Butter, powdered sugar, graham crackers, peanut butter, and chocolate – that’s it! It’s an accessible recipe that delivers gourmet taste with minimal fuss.
- ✅ Rich, Creamy, and Dreamy: The combination of a dense, perfectly sweet peanut butter base and a smooth, rich chocolate frosting is simply divine. Each bite offers a blissful explosion of flavor and texture that is truly addictive.
- ✅ Perfect for Any Occasion: Whether you’re hosting a party, looking for a quick weeknight treat, or want to surprise your family with a taste of childhood, these bars are always a hit. They’re easy to transport and store, making them ideal for potlucks, bake sales, or simple after-dinner delights.
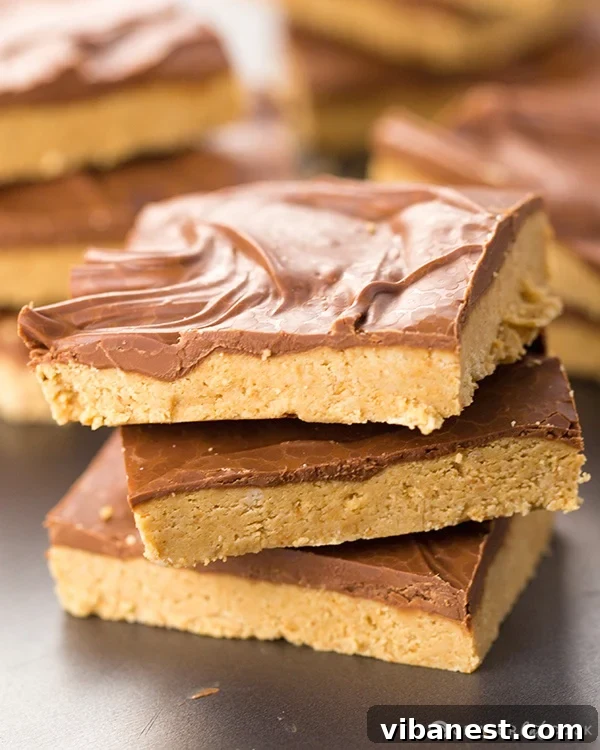
Simple Steps to Making Your No-Bake Lunch Lady Peanut Butter Bars:
Creating these delightful bars is incredibly straightforward. Follow these easy steps to bring this nostalgic treat to life:
- Step 1: Prepare the Peanut Butter Layer: In a large mixing bowl, combine the melted butter, powdered sugar, graham cracker crumbs, and your chosen creamy peanut butter. Stir all the ingredients thoroughly until a cohesive and well-combined mixture forms. It should be thick and pliable.
- Step 2: Ready Your Baking Dish: Select a 9×13 inch baking dish. For effortless removal of the finished bars, line the dish with aluminum foil or parchment paper, allowing the edges to overhang on all sides. This creates convenient “handles.” Lightly spray the foil with a non-stick cooking spray to prevent sticking.
- Step 3: Press the Peanut Butter Base: Transfer the peanut butter mixture into the prepared dish. Using your hands or the back of a spoon, firmly and evenly press the mixture into the bottom of the dish. Ensure it forms a compact, uniform layer from edge to edge.
- Step 4: Melt and Spread the Chocolate: Following the package instructions, melt your semi-sweet chocolate chips until completely smooth and fluid. Once melted, carefully pour the warm chocolate over the pressed peanut butter layer. Use an offset spatula or the back of a spoon to gently spread the chocolate into an even, glossy layer, covering the entire surface.
- Step 5: Score the Bars: This is a crucial step for clean cuts! While the chocolate topping is still warm and slightly soft (but not fully liquid), use a sharp knife to gently score the bars into your desired square or rectangular shapes. Don’t press all the way through yet, just create visible lines. This makes actual cutting much easier once the chocolate has set.
- Step 6: Allow to Set: Place the dish in the refrigerator for approximately 1 hour. This chilling time is essential for the peanut butter layer to firm up and the chocolate topping to fully set. Once firm, use the foil overhangs to lift the entire slab of bars from the dish. Place it on a cutting board and cut along your scored lines to separate the individual bars. Serve chilled or at room temperature.
To sum it all up – if you’re as devoted to the irresistible combination of peanut butter and chocolate as I am, then these Lunch Lady Peanut Butter Bars are an absolute must-try! The rich, creamy peanut butter base marries perfectly with the luxurious chocolate frosting on top, creating a symphony of flavors and textures that is truly unforgettable. What’s more, the incredible ease of this no-bake dessert makes it even more appealing for any home baker, regardless of skill level. Give them a try, indulge in the nostalgia, and let me know what you think. I always love hearing from you and seeing your delicious creations!
Print Recipe
Lunch Lady Peanut Butter Bars
10 minutes
1 hour
9 large bars
Ingredients
- 1/2 cup butter, melted
- 2 cups powdered sugar
- 1 1/2 cups graham cracker crumbs (about 12 graham crackers)
- 1 cup creamy peanut butter
- 12 ounces semi-sweet chocolate chips
Instructions
-
Cut butter into chunks and place in a large microwave-safe bowl. Microwave for about 1 minute or until butter is completely melted.
-
Stir in the powdered sugar, graham cracker crumbs, and peanut butter with the melted butter. Mix well until all ingredients are fully incorporated and form a thick mixture.
-
Line a 9×13 inch baking dish with foil, leaving an overhang on the sides for easy removal. Lightly spray the foil with non-stick cooking spray.
-
Press the peanut butter mixture evenly into the bottom of the prepared dish. Ensure the layer is compact and smooth.
-
Melt the semi-sweet chocolate according to package directions (microwave or double boiler). Once smooth, spread the melted chocolate evenly over the pressed peanut butter layer.
-
While the chocolate is still slightly warm but starting to set, use a sharp knife to score the bars into your desired serving sizes. This makes cutting easier later. Allow the bars to set in the refrigerator for at least 1 hour before cutting completely and serving.
Tried this recipe?Mention @CenterCutCook and tag #CenterCutCook!
Frequently Asked Questions About Lunch Lady Peanut Butter Bars
Absolutely! If you enjoy a bit of textural contrast and a delightful crunch in your bars, swapping creamy peanut butter for crunchy peanut butter is a fantastic option. It will add an extra dimension to this classic treat.
These bars are best stored in an airtight container in the refrigerator for up to a week, ensuring they remain firm and fresh. Yes, they freeze beautifully! Once the chocolate frosting has completely set, cut the bars into individual squares. Arrange them in a single layer in a freezer-safe container, using parchment paper to separate layers to prevent sticking. They can be frozen for up to two months. When you’re ready to enjoy, simply thaw them in the refrigerator for a few hours.
While natural peanut butter is a healthy choice for many applications, it is generally not recommended for this specific recipe. Natural peanut butter, especially the kind that requires stirring due to oil separation, has a different consistency than conventional creamy peanut butter. This can prevent the bars from setting properly and result in a greasy or crumbly texture rather than the desired firm, creamy consistency.
The trick to perfectly clean cuts is two-fold: First, score the chocolate topping while it’s still slightly warm but not completely liquid, as mentioned in the instructions. This creates a guide. Second, once the bars are fully chilled and firm, use a large, sharp knife. For the cleanest cuts, run your knife under hot water, wipe it dry, and then make each cut. Repeat this hot water and dry wipe process for every cut, especially after the knife gets sticky with chocolate and peanut butter. This ensures smooth, neat edges.
Certainly! While semi-sweet chocolate chips offer a balanced flavor, you can experiment with other types. Milk chocolate will yield a sweeter, creamier topping, while dark chocolate (60-70% cacao) will provide a more intense, less sweet contrast. Be mindful of melting instructions, as different chocolates may require slightly different temperatures and techniques.
Indulge Further: More Peanut Butter and Chocolate Desserts You’ll Love!
If you find yourself utterly captivated by the magical pairing of peanut butter and chocolate, rest assured, you’ve come to the right place! There’s an abundance of delightful desserts here to continually satisfy your cravings. After you’ve savored these Lunch Lady Peanut Butter Bars, why not whip up a batch of my Easy Peanut Butter Cup Fudge, or bake up some indulgent Chocolate Cupcakes with Peanut Butter Frosting? Explore the other irresistible creations listed below. Enjoy every decadent bite!