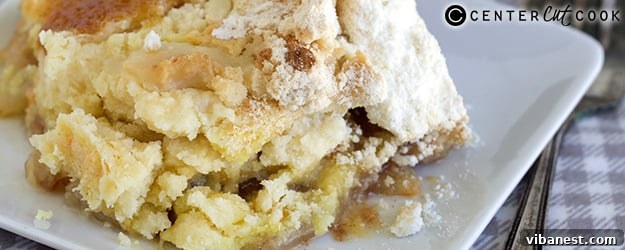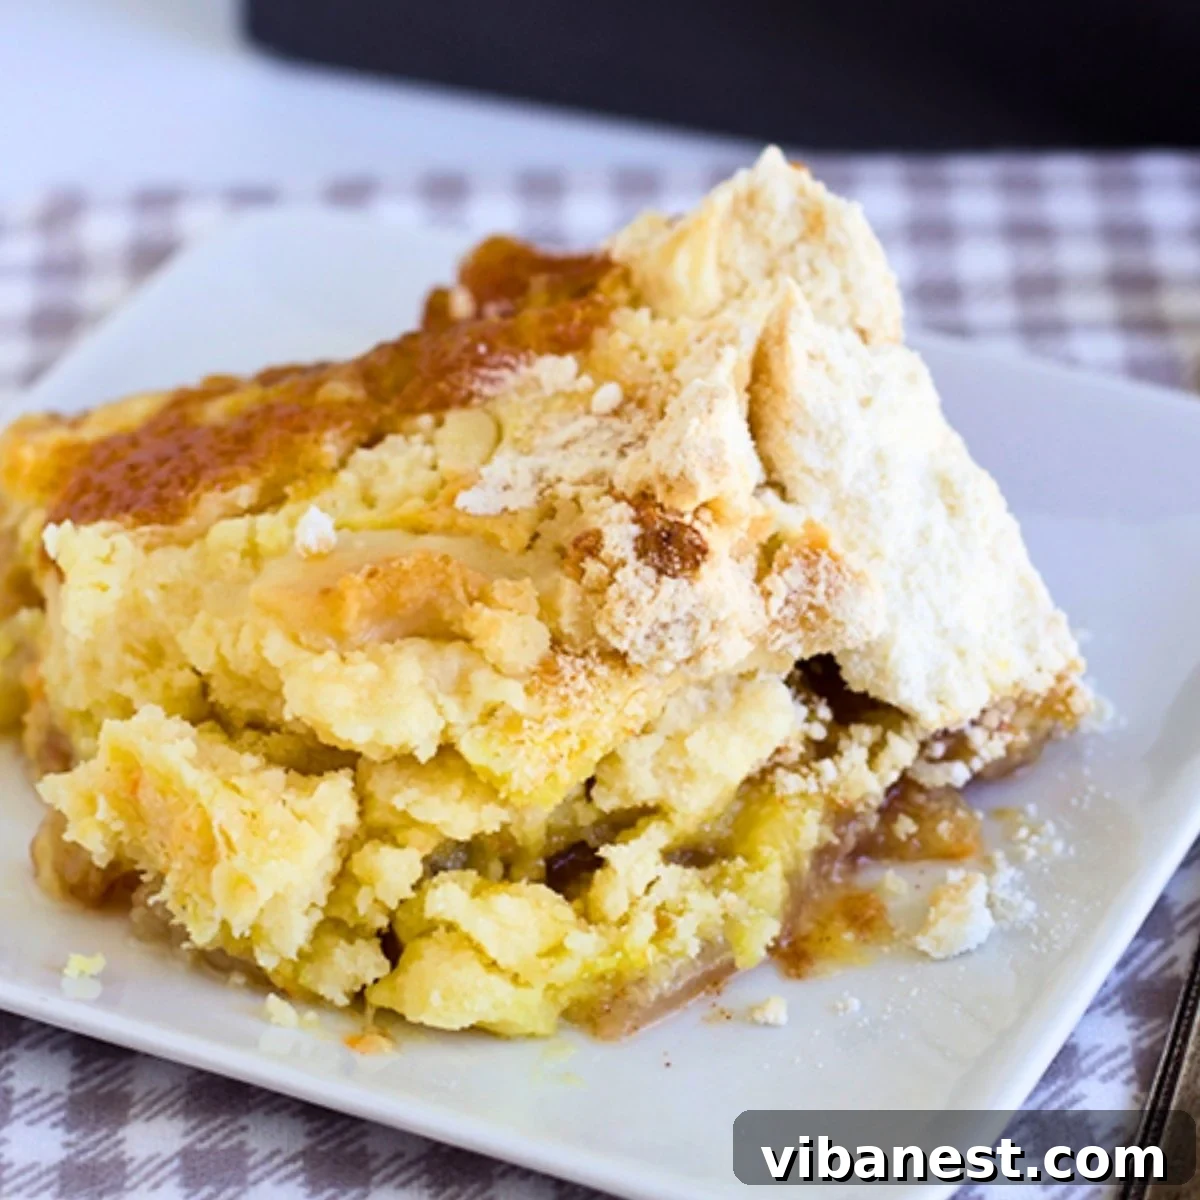
Experience the comforting warmth of autumn with this incredibly easy Pear Dump Cake! Crafted with succulent fresh pears and a simple cake mix, this dessert is a sweet, tender, and effortlessly delicious treat perfect for any fall gathering.
If you’ve ever yearned to create a delightful dump cake featuring the natural sweetness and distinct texture of fresh pears rather than canned fruit, your search ends here. This recipe is designed to be your go-to guide for a truly uncomplicated yet impressive dessert. Forget elaborate steps or countless bowls – this fresh pear dump cake relies on the magic of layering a few simple ingredients, including a box of cake mix, to deliver a spectacular result in minutes of active preparation. It’s the quintessential fall dessert that brings joy with minimal fuss.
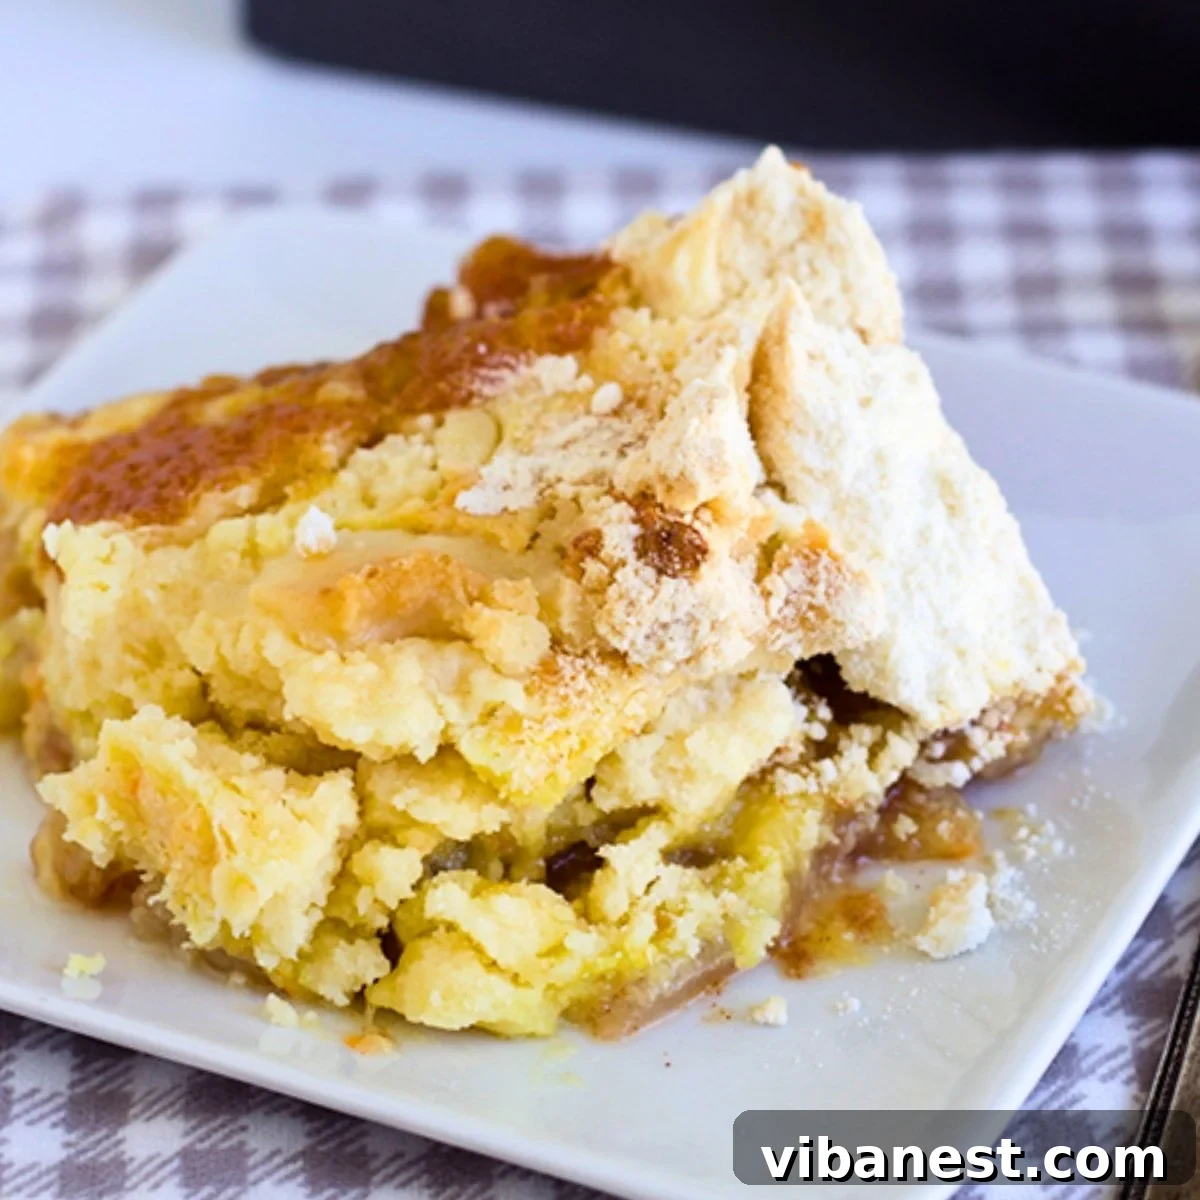
Pin this now to save it for later!
Pin It Now
Crafting the Perfect Pear Dump Cake: A Simple Guide
Creating this irresistible pear dump cake is astonishingly straightforward, making it an ideal recipe for both novice bakers and seasoned pros seeking a quick dessert. The beauty lies in its layered approach, requiring minimal effort for maximum flavor. Here’s a brief overview of the process; for the complete, detailed recipe with all measurements and essential tips, please scroll down to the comprehensive recipe card at the bottom of this post.
- Prepare Your Pears to Perfection: Begin by carefully peeling, coring, and slicing your fresh pears. Aim for uniform slices, about 1/4 to 1/2 inch thick, to ensure even cooking. In a bowl, gently toss these pear slices with a generous amount of brown sugar and a fragrant dash of ground cinnamon. This simple mixture will create a lusciously sweet and spiced base for your cake. Spread this delightful pear filling evenly across the bottom of your chosen baking dish.
- Layer the Remaining Ingredients with Ease: The “dump” in dump cake truly shines here. Once your pear layer is set, evenly sprinkle the dry cake mix directly over the pear mixture. Do not stir or mix! The key to a dump cake’s unique texture is keeping these layers separate. Finally, pour melted butter generously over the entire surface of the dry cake mix. Ensure the butter covers as much of the cake mix as possible; this is crucial for creating that golden, crispy topping as it bakes.
- Bake to Golden-Brown Bliss: Carefully transfer your layered creation to a preheated oven. Bake for approximately 50 minutes, or until the top layer achieves a beautiful golden-brown hue and the pear filling underneath is bubbly and tender. The aroma alone will be enough to tell you it’s almost ready!
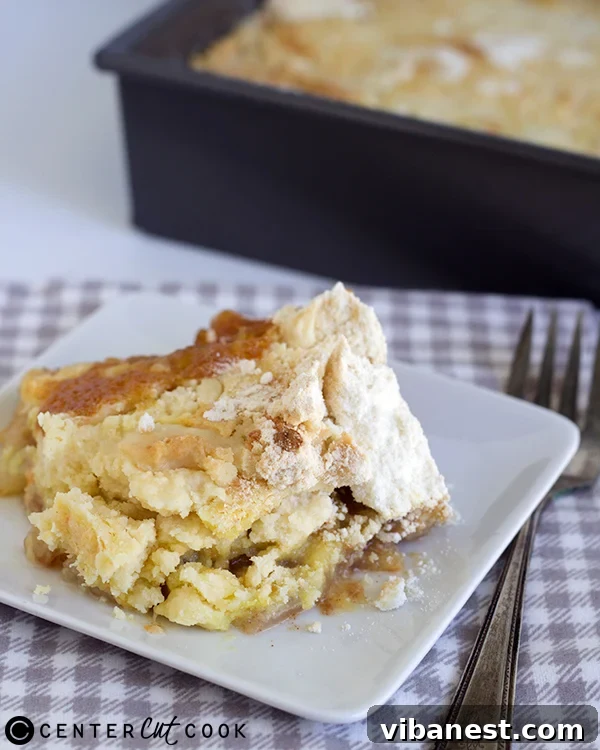
Why Opt for Fresh Pears in Your Dump Cake?
While canned pears offer convenience, using fresh pears elevates this dump cake to an entirely new level of gourmet delight. Fresh pears provide a superior texture that holds up beautifully during baking, offering a pleasant bite that isn’t overly soft or mushy. Their natural sweetness is more nuanced and less syrupy than canned varieties, allowing the subtle floral notes of the pear to shine through. Furthermore, fresh pears boast a vibrant flavor that perfectly complements the warm spices and buttery cake topping, creating a more complex and satisfying taste experience. Choosing fresh also means you’re incorporating more natural fiber and nutrients into your dessert, making it a slightly healthier indulgence. The crisp, juicy quality of fresh pears truly transforms this simple recipe into an extraordinary fall dessert.
Choosing the Right Pears for Baking
Selecting the ideal pear variety is key to the success of your dump cake. Not all pears are created equal when it comes to baking. Varieties that hold their shape well and offer a good balance of sweetness and firmness are preferred. Excellent choices include Bosc pears, known for their firm, crisp flesh and subtle spice notes that become wonderfully tender when baked. Anjou pears are another fantastic option, with a sweet flavor and smooth texture that softens beautifully without becoming watery. Bartlett pears, while sweeter and juicier, can also work if you prefer a softer, more melt-in-your-mouth fruit base. Always choose pears that are ripe but still firm to the touch; avoid overly soft or bruised fruit to ensure the best texture and flavor in your cake.
Elevate Your Dessert: Adding Pecans for Irresistible Crunch
For those who love an extra layer of texture and nutty flavor, pecans are an absolutely divine addition to this pear dump cake recipe! Their rich, buttery taste and satisfying crunch perfectly complement the soft, spiced pears and the tender cake topping. You have a couple of fantastic options for incorporating them:
- On Top for Toasted Perfection: Sprinkle chopped pecans generously over the dry cake mix layer just before pouring the melted butter. As the cake bakes, the butter will help toast the pecans to a golden-brown, intensifying their flavor and making them wonderfully crisp. This method yields a delightful crunch with every bite of the topping.
- Mixed with the Pears for Infused Flavor: Alternatively, you can mix the chopped pecans directly into the pear filling along with the brown sugar and cinnamon. Here, they will mingle with the fruit and spices, absorbing some of their sweet, warm flavors. While they won’t be as overtly crunchy as the topping method, they’ll add a beautiful depth and nutty undertone to the fruit layer.
Whichever method you choose, pecans truly enhance the experience of this already delicious dessert. Have I convinced you to add them yet? Give it a try – you won’t regret it!
Expert Tips and Tricks for Your Best Pear Dump Cake
Achieving a consistently perfect dump cake is easy with these simple tips:
- The Golden Rule: Do Not Mix! The success of a dump cake hinges on its unique layered structure. The ingredients are “dumped” into the pan in specific order, allowing the butter to slowly seep through the dry cake mix during baking, creating a moist cake bottom and a crispy, streusel-like topping. Resisting the urge to stir is paramount to achieving this distinct texture.
- Consider Adding Nuts: As mentioned, pecans are a fantastic addition. You can scatter them over the cake mix before adding butter for a toasted crunch, or blend them into the pear mixture for a more integrated nutty flavor. Walnuts or even sliced almonds can also be used for a delicious variation.
- Experiment with Cake Mix Flavors: While yellow cake mix is the classic choice for its buttery notes, don’t hesitate to get creative. A spice cake mix will amplify the autumnal flavors of cinnamon and pear, while a white cake mix offers a lighter, vanilla-forward profile. Even a butter pecan cake mix could be a delightful choice, especially if you’re adding pecans!
- Alternative Fruit Options: If fresh pears aren’t in season or you simply have other fruit on hand, this recipe is wonderfully adaptable. Fresh apples work beautifully as a substitute, especially Granny Smith or Honeycrisp for good texture. You could also explore my Caramel Apple Dump Cake recipe for an incredibly gooey and delicious caramel-infused version! Berries or stone fruits like peaches (fresh or frozen) can also be used, though adjust sugar content as needed.
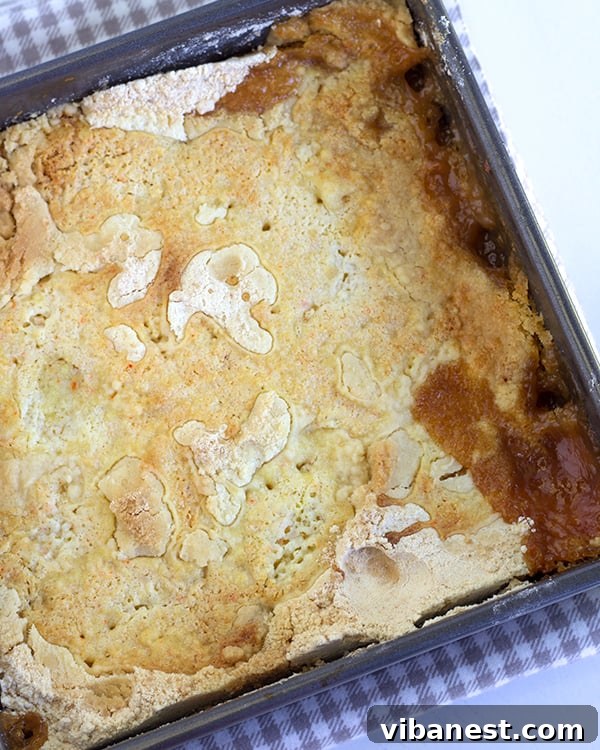
- Don’t Skimp on the Butter: The melted butter is essential for creating the crunchy, golden topping. Ensure it’s drizzled evenly over the entire surface of the cake mix. If spots are missed, they can remain powdery.
Frequently Asked Questions About Pear Dump Cake
Absolutely! While fresh pears offer a superior texture and flavor, canned pears are a convenient alternative if fresh ones aren’t available or if you’re short on time. I recommend using one 28-ounce can of sliced pears. There’s no need to drain them; the excess liquid will contribute to the moistness of the cake, especially since fresh pears release less moisture during baking. Just make sure to use pears packed in light syrup or water to avoid an overly sweet result.
Yellow cake mix is the traditional and most popular choice for dump cakes, thanks to its rich, buttery flavor that complements fruit so well. However, you have several excellent alternatives that can add different dimensions to your pear dump cake. White cake mix offers a lighter, sweeter vanilla base. Spice cake mix is perfect for intensifying the warm, autumnal flavors of cinnamon and pear. Even a butter pecan or vanilla cake mix would be delicious. Avoid cake mixes with heavy frostings or fillings included.
To maintain its freshness and flavor, store any leftover pear dump cake in an airtight container. It can be kept at room temperature for up to one day, but for longer freshness, especially with fresh fruit, it’s best to refrigerate it. Enjoy your refrigerated dump cake within three to four days. Reheating individual servings in the microwave for 20-30 seconds can bring back some of its warm, comforting appeal.
Yes, you can certainly prepare this dump cake ahead of time. It’s often even better the next day after the flavors have had a chance to meld. If serving for an event, bake it a day in advance and reheat gently before serving, or serve at room temperature. The topping might lose a bit of its crispness, but the flavors will be excellent. For best results, it’s ideal to bake it on the day of serving, but a day ahead is perfectly fine.
Yes, pear dump cake freezes quite well! Allow the cake to cool completely, then wrap it tightly in plastic wrap and then in aluminum foil. You can freeze the entire cake or individual portions for up to 2-3 months. To serve, thaw overnight in the refrigerator, then warm in the oven at 300°F (150°C) for about 15-20 minutes until heated through, or microwave individual slices.
Serving Suggestions and Storing Leftovers
This pear dump cake is truly spectacular on its own, with its tender spiced pears and golden, buttery topping. However, to elevate the experience, consider these serving suggestions:
- Classic Pairing: A generous scoop of creamy vanilla bean ice cream is the ultimate companion, creating a delightful contrast between the warm cake and cold ice cream.
- Whipped Cream Dream: A dollop of freshly whipped cream adds a light, airy touch and richness.
- Caramel Drizzle: A drizzle of warm caramel sauce takes this dessert to an indulgent new level, enhancing the natural sweetness of the pears.
- Slightly Nutty: A sprinkle of toasted chopped nuts (if not already incorporated) adds extra texture and flavor.
For any delightful leftovers, ensure they are stored in an airtight container. While it can stay fresh at room temperature for up to a day, for optimal quality and to extend its shelf life, refrigerate the cake. It will remain delicious for three to four days, ready for you to enjoy a quick, comforting treat whenever the craving strikes.
Explore More Easy & Delicious Fruity Dessert Recipes
If you’re a fan of simple yet sensational fruit-based desserts, you’re in for a treat! This pear dump cake is undoubtedly one of my absolute favorite fall desserts, embodying ease and incredible flavor. I sincerely hope you find as much joy in making and savoring it as I do. For more delightful recipes that are straightforward enough for a weeknight and impressive enough for your holiday table, explore these other fruity favorites:
- Apple Cinnamon Coffee Cake: A moist and flavorful cake, perfect for breakfast or brunch.
- Fresh Peach Cobbler: A vibrant and juicy dessert showcasing ripe peaches under a sweet biscuit topping.
- Easy Blackberry Crisp: A delightful blend of sweet and tart blackberries crowned with a buttery, oat-filled crisp.
Easy Fresh Pear Dump Cake
Ingredients
-
8 medium pears peeled, cored, and sliced (e.g., Bosc or Anjou)
-
3 tbsp light brown sugar packed
-
1/2 tsp ground cinnamon
-
1 boxed yellow cake mix (standard 15.25 oz size)
-
1/2 cup (1 stick) unsalted butter melted
-
1/2 cup chopped pecans or walnuts (optional, for topping or mixed with pears)
Instructions
-
Preheat your oven to 350 degrees Fahrenheit (175°C). Lightly grease an 8×8 or 9×9 inch square baking dish.
-
In a medium bowl, combine the peeled, cored, and sliced pears with the light brown sugar and ground cinnamon. Toss gently until the pear slices are evenly coated. If using, you can mix half of the chopped pecans into this pear mixture now.
-
Spread the prepared pear mixture evenly across the bottom of your greased baking pan.
-
Carefully and evenly sprinkle the entire box of dry yellow cake mix over the pear filling. Do not stir or mix the layers.
-
If using, sprinkle the remaining chopped pecans (if not mixed with pears) over the dry cake mix. Then, pour the melted butter slowly and evenly over the top of the cake mix, ensuring it covers as much of the dry mix as possible. This is crucial for creating the golden, crisp crust.
-
Place the baking dish into the preheated oven and bake for approximately 50-60 minutes, or until the topping is beautifully golden brown and crispy, and the pear filling is bubbly and tender when gently poked.
-
Remove from the oven and let it cool for at least 10-15 minutes before serving. This allows the filling to set slightly. Serve warm, perhaps with a scoop of vanilla ice cream or a dollop of whipped cream.
Tried this recipe?
Mention @CenterCutCook and tag #CenterCutCook!