
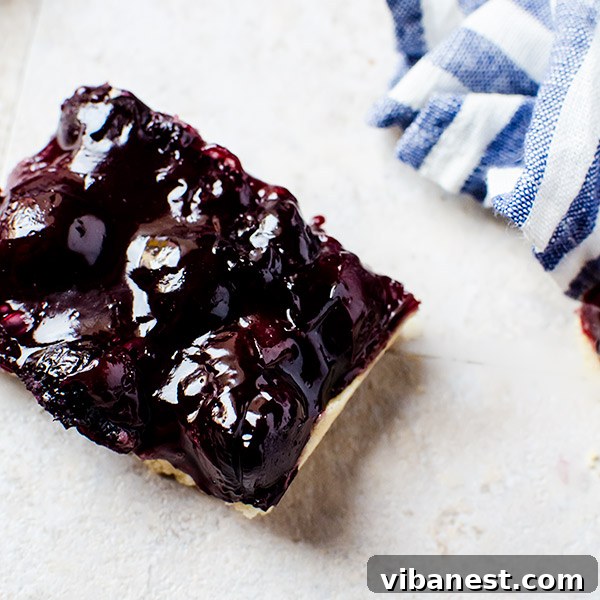
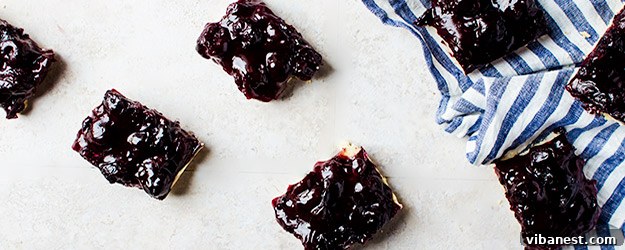
Irresistible Cherry Pie Bars: Your New Favorite Easy Dessert
For many, the thought of a warm, comforting pie conjures images of cozy gatherings and indulgent treats. And for me, a classic cherry pie holds a special place in my heart. However, let’s be honest: traditional pie-making, especially wrestling with delicate pie dough, can often feel like a culinary marathon. There are days when I crave that glorious cherry flavor but simply don’t have the time or patience for the full pie production.
That’s precisely when the magic of **Cherry Pie Bars** comes into play. These delightful creations are a true game-changer for anyone who loves pie but seeks a more convenient and equally delicious alternative. They deliver all the beloved taste and texture of a traditional cherry pie, condensed into a portable, easy-to-eat bar that requires no fork and significantly less effort. It’s the perfect solution for potlucks, picnics, or simply satisfying that sweet craving without the fuss.
Why These Cherry Pie Bars Are an Absolute Must-Try
What makes these cherry pie bars stand out from the crowd? It’s a combination of convenience, incredible flavor, and simple elegance. They truly hit all the right marks for a perfect dessert:
- Taste Like Pie, Easier to Make: You get that delightful balance of a buttery crust and a luscious, fruity filling without the complexities of rolling out and crimping a double crust. The base comes together in minutes, and the filling is straightforward.
- Effortless to Serve and Eat: Forget plates and forks! These bars are perfectly portioned and sturdy enough to pick up and enjoy casually, making them ideal for parties, lunchboxes, or a quick snack.
- Less Time, More Flavor: Compared to a full-sized pie, the prep and bake time for these bars are considerably shorter. This means you can enjoy that homemade dessert goodness more frequently.
- Perfectly Balanced Filling-to-Crust Ratio: While many pie bar recipes feature a top pastry layer, I personally find that it can sometimes overwhelm the vibrant fruit filling when combined with the bottom crust. My preferred version skips the top crust, allowing the rich cherry flavor to truly shine. This creates a beautiful balance that highlights both the buttery base and the juicy fruit. Of course, if you’re a devout pastry lover, adding a crumb topping or lattice is always an option to customize!
- Versatile Presentation: Serve them as is for a rustic charm, or elevate them with a dollop of fresh whipped cream, a scoop of vanilla bean ice cream, or a dusting of powdered sugar for an elegant touch.
This recipe transforms the classic pie experience into a relaxed, grab-and-go treat without sacrificing any of the comforting flavors you adore. It’s dessert simplified, yet utterly satisfying.
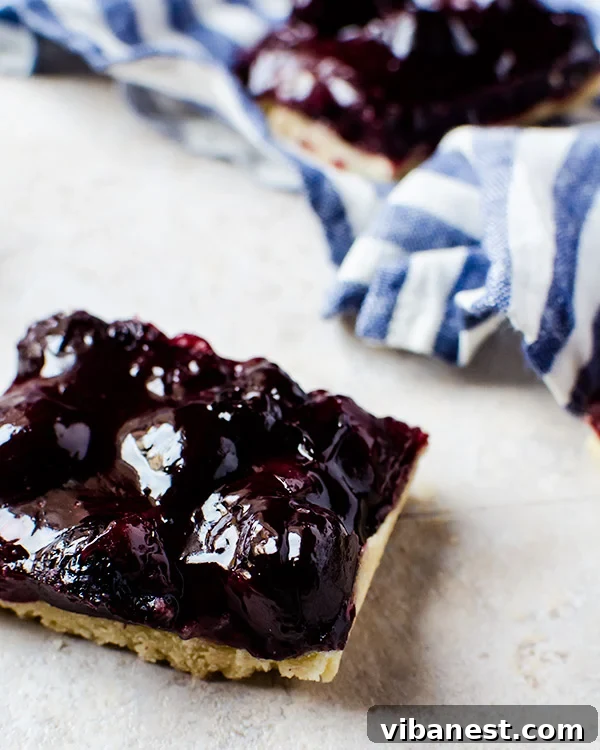
The Perfect Flavor Symphony: Cherries with a Twist
Just like with all my pie recipes, I believe the filling is the heart of the dessert. For these cherry pie bars, I’ve ensured the filling is not just sweet, but bursting with an incredible depth of flavor. While cherries are fantastic on their own, the addition of a few key ingredients elevates them to an extraordinary level:
- Lemon Zest and Juice: A squeeze of fresh lemon juice is non-negotiable! It provides a crucial bright counterpoint to the sweetness of the cherries, cutting through the richness and enhancing the fruit’s natural tang. This zesty lift prevents the filling from becoming overly sweet and adds a refreshing note.
- Almond Extract: This is my secret weapon. Almond and cherry are a match made in culinary heaven. The warm, slightly nutty, and aromatic notes of almond extract beautifully complement the fruit, adding a sophisticated depth that will have everyone asking for your secret ingredient. It truly transforms the flavor profile.
- Vanilla Extract: A classic enhancer, vanilla extract rounds out all the flavors, adding a subtle warmth and sweetness that ties everything together perfectly. It’s the comforting baseline that allows the cherry and almond to truly shine.
This trifecta of lemon, almond, and vanilla creates a wonderfully balanced cherry filling – sweet, bright, and profoundly flavorful – making these bars utterly addictive. You’ll find yourself reaching for another slice, unable to resist their charm.
Year-Round Enjoyment: Fresh or Frozen Cherries
One of the best aspects of this cherry pie bar recipe is its adaptability. I used high-quality frozen sweet cherries to create these bars, which means they are perfectly suitable for making any time of the year. Frozen cherries are often picked at their peak ripeness and flash-frozen, locking in their flavor and nutrients, making them a fantastic and convenient option.
However, when cherry season arrives, typically in late spring and summer, feel free to indulge in fresh, pitted sweet cherries. If using fresh cherries, ensure they are ripe and sweet for the best results. You might slightly reduce the sugar if your fresh cherries are exceptionally sweet. For tart cherries, you may need to increase the sugar by a tablespoon or two to balance the acidity. Regardless of your choice, the result will be a spectacular treat!
Crafting the Perfect Cherry Pie Bars: Step-by-Step Guide
Making these bars is surprisingly simple, broken down into a few key stages. Pay attention to the details, and you’ll be rewarded with a batch of perfectly baked, flavorful cherry pie bars.
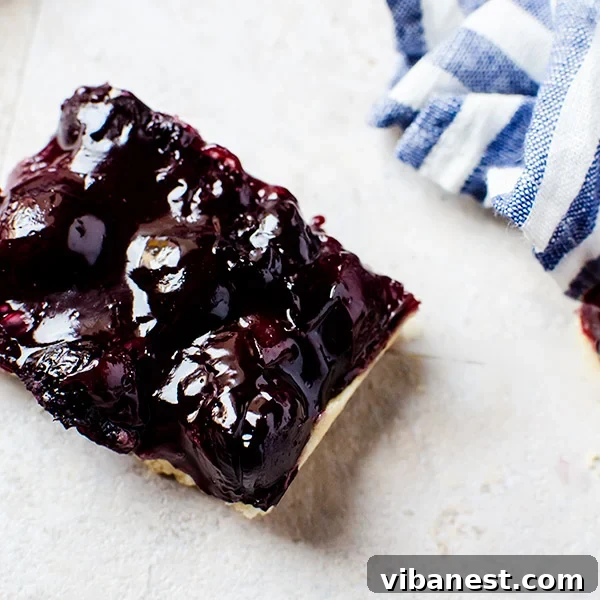
FILLING INGREDIENTS
- 1 lbs 5 oz (approximately 3.5 cups) pitted sweet cherries (frozen or fresh, if frozen, no need to thaw)
- 2/3 cup (135g) granulated sugar
- 1/2 teaspoon salt
- 1/2 teaspoon almond extract
- 1 teaspoon vanilla extract
- Juice of one small lemon (about 1-2 tablespoons)
- 5 tablespoons cornstarch (for thickening)
BASE INGREDIENTS
- 6 tablespoons (85g) unsalted butter, softened to room temperature
- 2 tablespoons (25g) granulated sugar
- 3 tablespoons (25g) almond flour (finely ground)
- 1 cup (120g) all-purpose flour
- 1/4 teaspoon salt
DIRECTIONS
- Prepare Your Pan and Preheat Oven: Begin by preheating your oven to 350 degrees F (175 degrees C). This ensures the oven is at the correct temperature for even baking. Line an 8×8 inch baking pan with parchment paper, leaving an overhang on two sides. This parchment “sling” will make it incredibly easy to lift the cooled bars out of the pan for clean cutting.
- Start the Cherry Filling: In a medium saucepan, combine all the ingredients for the cherry filling: pitted sweet cherries (frozen or fresh), granulated sugar, 1/2 teaspoon salt, almond extract, vanilla extract, lemon juice, and cornstarch. Stir everything together gently to ensure the cornstarch is dissolved and no lumps remain.
- Cook the Filling to Perfection: Place the saucepan over medium heat. Cook the mixture, stirring occasionally, especially as it heats up. As the cherries release their juices, the liquid will start to bubble and thicken. Continue to cook for about 5-7 minutes after it begins to bubble, ensuring the cornstarch has fully activated and the filling is thick and glossy, coating the back of a spoon. Once thickened to your desired consistency, remove the pan from the heat.
- Prepare the Buttery Base: While the cherry filling is cooking, prepare the base. In a medium mixing bowl, combine the softened unsalted butter, 2 tablespoons sugar, almond flour, all-purpose flour, and 1/4 teaspoon salt. Using your fingertips, a pastry blender, or a fork, work the ingredients together until the mixture resembles coarse meal. Continue mixing until it just starts to come together when pressed. Be careful not to overmix; a tender base is key.
- Press and Pre-Bake the Base: Dump the prepared base mixture into your parchment-lined 8×8 inch baking pan. Using your hands or the bottom of a flat glass, press the mixture down firmly and evenly across the bottom of the pan. Ensure it’s compact and forms a uniform layer. Bake this base in the preheated oven for about 20 minutes, or until it’s lightly golden brown around the edges. This pre-baking step creates a sturdy, crisp foundation that won’t become soggy from the fruit filling.
- Combine and Bake Again: Carefully remove the pre-baked base from the oven. Evenly pour the warm, thickened cherry filling over the hot base, spreading it gently to the edges. Return the pan to the oven and bake for an additional 20 minutes, or until the cherry filling is bubbly around the edges and appears set.
- Cool Completely for Best Results: This step is CRUCIAL for perfectly formed bars. Once baked, remove the pan from the oven and place it on a wire rack. Allow the cherry pie bars to cool completely at room temperature for at least 2-3 hours, or even longer. For the cleanest cuts, you can even chill them in the refrigerator for an hour or two once they’ve cooled mostly. Cutting them while warm will result in a messy, crumbly experience.
Tips for Success and Delicious Variations
To ensure your cherry pie bars turn out perfect every time, keep these tips in mind:
- Room Temperature Butter: For the base, ensure your butter is truly at room temperature. This allows it to cream properly with the sugar and blend easily with the flours, resulting in a tender, crumbly crust.
- Don’t Overmix the Base: Overmixing the base can develop the gluten in the flour too much, leading to a tough, dense crust. Mix just until it comes together.
- Thicken the Filling Properly: The cornstarch needs heat to activate. Cook the filling until it’s visibly thickened and glossy. A runny filling will lead to soggy bars.
- Parchment Paper is Your Friend: The parchment paper sling makes removal and cutting incredibly easy, preventing the bars from sticking to the pan.
- Be Patient with Cooling: This is arguably the most important step for neat bars. The filling needs time to fully set and firm up. Resist the urge to cut them warm!
- Customize Your Topping: While I prefer them plain, a light dusting of powdered sugar or a drizzle of a simple almond glaze (powdered sugar, milk, almond extract) can add an extra touch. For a more traditional look, you could add a simple oat streusel topping before the second bake.
- Nutty Variations: Feel free to experiment with other nut flours in the base, like pecan or walnut flour, for different flavor profiles. A sprinkle of chopped almonds on top before baking can also add texture.
Serving and Storage
These cherry pie bars are incredibly versatile. Serve them at room temperature for a tender bite, or slightly chilled for a firmer texture. They are fantastic on their own, but truly shine with a scoop of vanilla bean ice cream, a dollop of freshly whipped cream, or a warm cup of coffee or tea.
Store leftover cherry pie bars in an airtight container at room temperature for up to 2-3 days, or in the refrigerator for up to 5 days. They also freeze beautifully for up to 2 months. To freeze, wrap individual bars tightly in plastic wrap, then place them in a freezer-safe bag or container. Thaw at room temperature or gently warm in the microwave for a quick treat.
Embrace the Simplicity and Flavor!
Say goodbye to the stress of traditional pie baking and hello to the effortless joy of these irresistible **Cherry Pie Bars**. With their perfect balance of sweet, tart, and nutty flavors, combined with a tender, buttery crust, they are destined to become a beloved staple in your dessert repertoire. Whether you’re a seasoned baker or just starting out, this recipe promises delicious results with minimal fuss. So grab your cherries, preheat your oven, and prepare to indulge in a truly delightful treat!