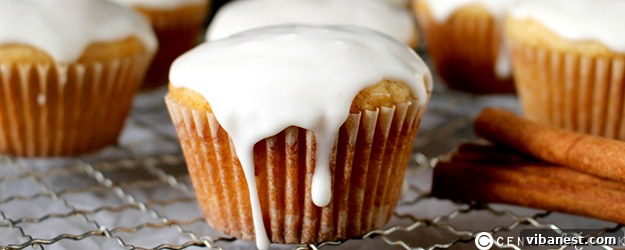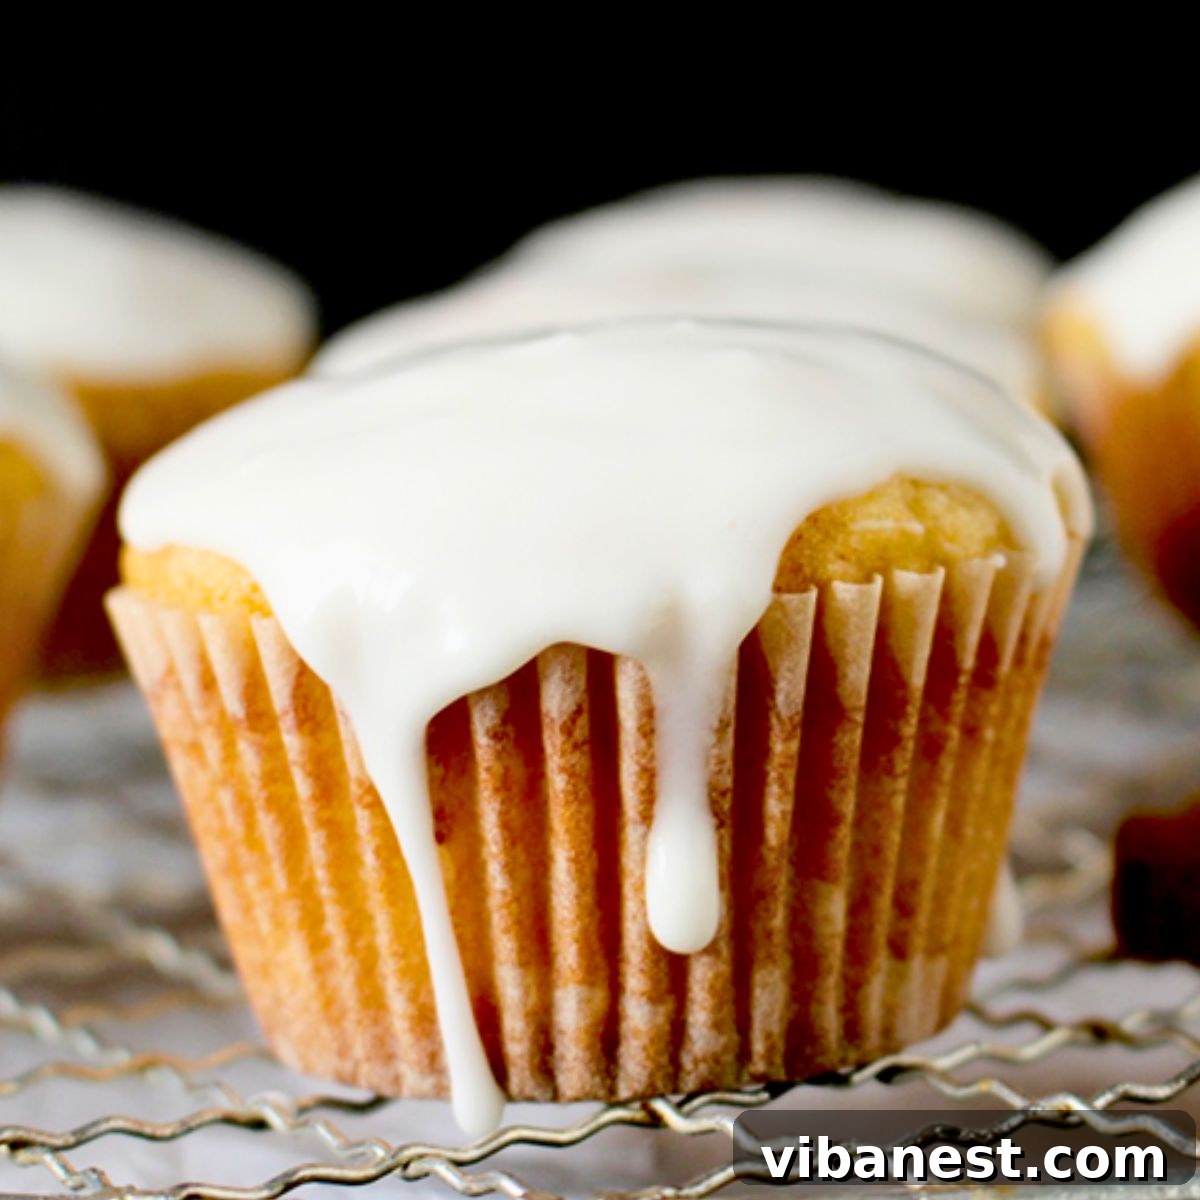
Eggnog Muffins: The Ultimate Holiday Treat for Festive Gatherings! Indulge in the rich, creamy flavor of traditional eggnog perfectly blended with warm, inviting spices like nutmeg and cinnamon. Crowned with a sweet, delicate glaze, these exquisite muffins are an absolute delight, pairing flawlessly with your morning coffee, afternoon tea, or a cozy cup of hot cocoa. Elevate your holiday baking with this irresistibly easy and utterly delicious recipe, guaranteed to bring festive cheer to every bite.
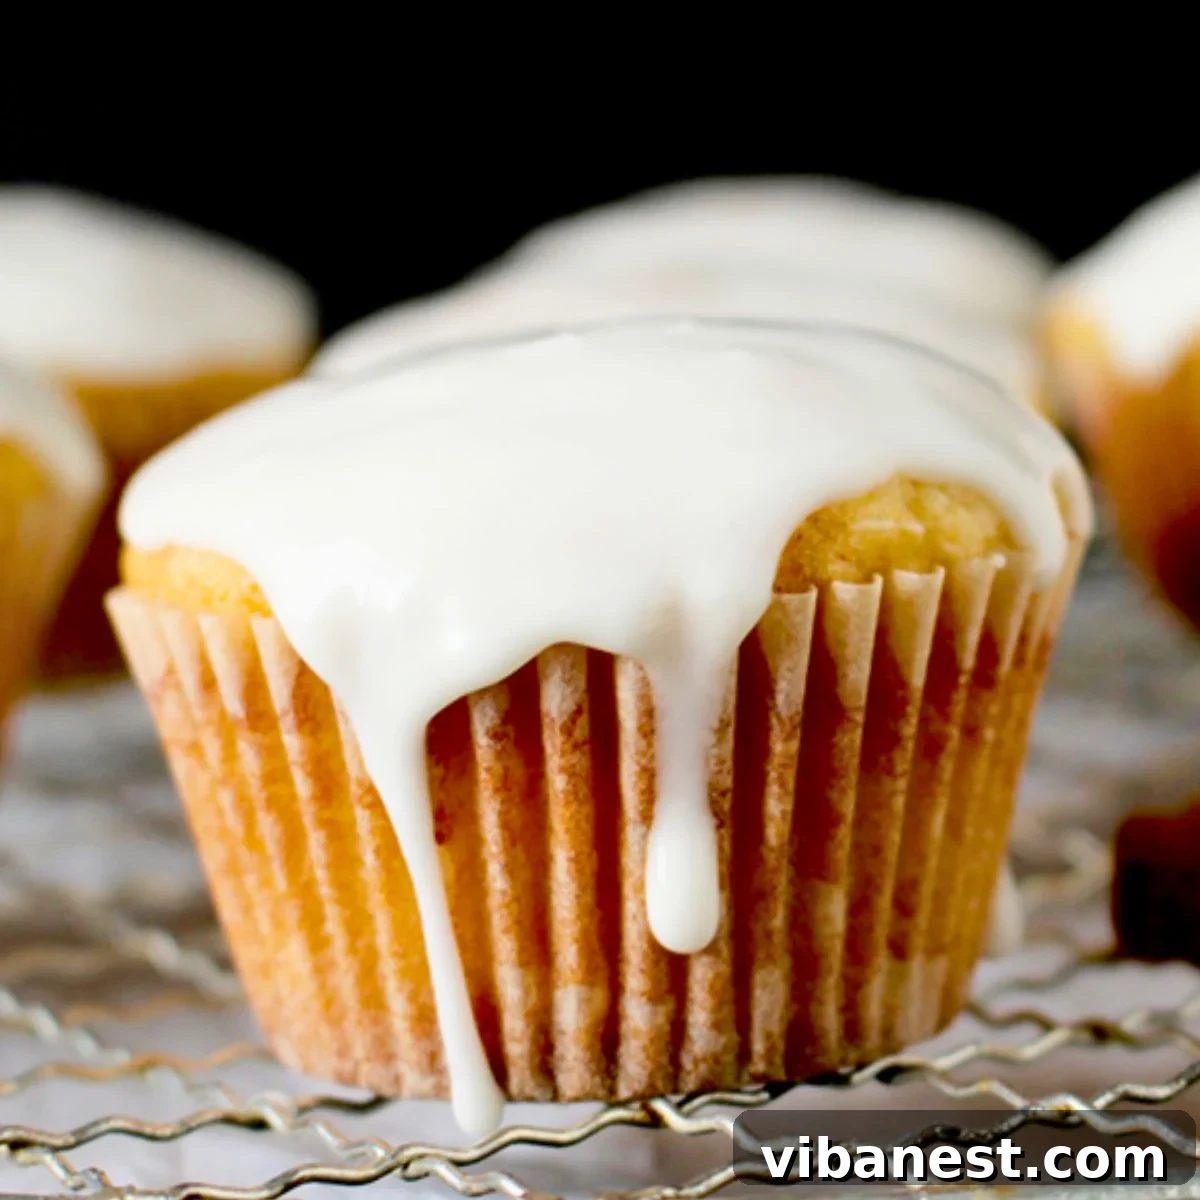
Pin this festive Eggnog Muffin recipe now to save it for later!
Pin It Now
EGGNOG MUFFINS: A Quintessential Holiday Treat for Every Occasion!

Admittedly, traditional eggnog as a standalone drink has never been my personal favorite. The thick, rich texture often feels a bit much for me. However, when it comes to holiday baking, eggnog transforms into a magical ingredient! The distinct flavors of vanilla, nutmeg, and cinnamon, so characteristic of this festive beverage, are absolutely perfect for infusing into your Christmas and winter desserts.
Incorporating eggnog into these muffins not only imparts an unparalleled depth of festive flavor but also contributes significantly to their incredibly moist and tender crumb. These Eggnog Muffins are wonderfully versatile, making them an ideal choice for a special holiday breakfast, a delightful dessert, or a thoughtful treat to share with colleagues and friends at a festive brunch. Their inviting aroma alone is enough to spread holiday cheer!
You’ll absolutely adore this Eggnog Muffin recipe for several compelling reasons:
- ✅ Effortless Preparation: Forget complicated recipes! These eggnog muffins require only about 5 minutes of active prep time, making them a fantastic option for busy holiday schedules.
- ✅ Incredibly Versatile: From a cozy morning indulgence to a centerpiece at your holiday gathering, an eggnog muffin is truly the perfect, most delightful seasonal treat for countless occasions.
- ✅ Easily Customizable: Feel free to personalize these muffins by adding your favorite mix-ins like chopped walnuts, pecans, dried cranberries, or even white chocolate chips to create your unique signature holiday bake.
So, gather your ingredients and let’s step into the kitchen to whip up a batch of these glorious Eggnog Muffins and truly celebrate the spirit of the season!
❤️ Ashley
Welcome to the Kitchen: Let’s Bake Irresistible Eggnog Muffins!
Eggnog is more than just a drink; it’s a symbol of holiday tradition and warmth. This rich, creamy, and distinctively sweet holiday beverage is traditionally crafted from a decadent blend of milk, eggs, and cream, generously sweetened with sugar, and fragrant with iconic spices like nutmeg and cinnamon. It’s precisely these decadent qualities and aromatic spices that make eggnog an absolutely perfect ingredient for transforming ordinary baked goods into extraordinary festive delights. When baked, the unique characteristics of eggnog truly shine, adding a complex flavor profile and unparalleled moisture that elevates these muffins from simple treats to holiday sensations.
Creating homemade holiday treats like these Eggnog Muffins is a wonderful way to embrace the festive season. They are simple enough for novice bakers yet impressive enough for seasoned chefs, making them a fantastic addition to any holiday baking repertoire. The process itself is part of the joy, filling your home with the comforting scents of cinnamon and nutmeg, evoking cherished memories and creating new ones.
Essential Ingredient Notes for Your Eggnog Muffins:
Before you begin, ensure you have all your ingredients ready and at the correct temperature for the best baking results. The full, precise list of ingredients and their exact quantities can be found below in the printable recipe card. Here’s a quick overview and some helpful tips regarding your ingredients:
For the perfectly spiced and moist muffins, you will need:
- Unsalted Butter (Room Temperature): Using unsalted butter allows you to control the overall saltiness of your muffins. Ensuring it’s at room temperature is crucial for proper creaming with the sugar, creating a light, airy base for your batter.
- Granulated Sugar: Provides sweetness and helps create a tender texture.
- Eggnog (Chilled): The star ingredient! Use your favorite brand of store-bought eggnog, or if you’re feeling ambitious, homemade eggnog works beautifully. The eggnog not only imparts its signature flavor but also adds significant moisture to the muffins.
- Large Eggs (Room Temperature): Eggs bind the ingredients together and add structure and richness. Like butter, room temperature eggs emulsify better with other ingredients, leading to a smoother, more uniform batter.
- All-Purpose Flour: The primary dry ingredient, providing the structure for your muffins.
- Baking Powder: A leavening agent that helps the muffins rise beautifully, giving them a light and fluffy texture. Make sure yours is fresh for optimal lift.
- Ground Cinnamon: A classic warm spice that complements the eggnog flavor perfectly, adding an inviting aroma and taste. Consider adding a pinch of ground nutmeg as well for an even deeper, more traditional eggnog spice profile.
For the luscious Eggnog Glaze, you will need:
- Powdered Sugar (Confectioners’ Sugar): Forms the base of your smooth and sweet glaze. Sifting it can help prevent lumps.
- Eggnog: Thins the powdered sugar to a pourable consistency while reinforcing that delightful eggnog flavor.
Having all your ingredients prepped and measured before you start (mise en place) will make the baking process much smoother and more enjoyable!
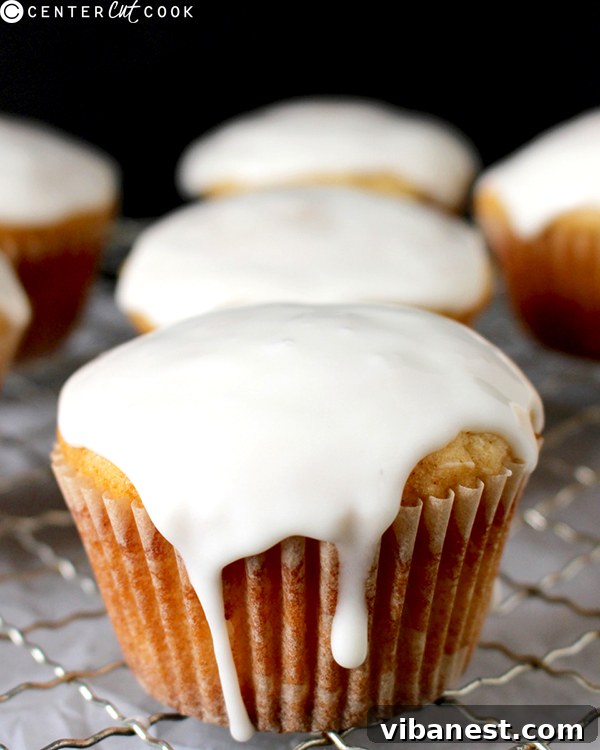
Step-by-Step Guide: How to Bake These Incredible Eggnog Muffins
You’ll be delighted to discover just how incredibly simple these Eggnog Muffins are to prepare. Forget the hassle of dragging out a stand mixer; this recipe is designed for ease and convenience, requiring only one bowl and a whisk or spatula. It’s perfect for even the most beginner bakers!
- Preheat Oven and Prepare Muffin Pans: Begin by preheating your oven to 425°F (220°C). This initial high heat is key for achieving those coveted bakery-style muffin tops. Line two standard 12-cup muffin pans with 18 paper liners in total. Alternatively, you can grease and flour the muffin cavities if you prefer not to use liners.
- Cream Butter and Sugar: In a large mixing bowl, combine the softened, room-temperature butter and granulated sugar. Use a whisk or a sturdy spatula to beat them together until the mixture is light, fluffy, and pale in color. This creaming process incorporates air, which contributes to the muffins’ tender texture.
- Incorporate Wet Ingredients: Add the eggnog and eggs to the butter-sugar mixture. Whisk thoroughly until all these wet ingredients are fully combined and smooth. Ensure there are no streaks of unmixed egg or globs of butter.
- Add Dry Ingredients: Sift or whisk together your all-purpose flour, baking powder, and ground cinnamon in a separate small bowl. Then, add these dry ingredients to the wet mixture in the large bowl.
- Gently Stir to Combine (Do Not Overmix!): Using your whisk or spatula, gently fold the dry ingredients into the wet until just combined. It’s crucial not to overmix the batter. A few lumps are perfectly fine, and even desirable! Overmixing can develop the gluten in the flour too much, resulting in tough, dense muffins rather than light and tender ones.
- Fill Muffin Cups: Evenly divide the muffin batter among the 18 prepared muffin cups. Fill each cup approximately three-quarters of the way full. This ensures ample space for the muffins to rise without overflowing, creating beautiful, domed tops.
- Bake to Perfection: Place the muffin pans into your preheated 425°F (220°C) oven. Bake for an initial 5 minutes at this higher temperature. Then, without opening the oven door, reduce the oven temperature to 350°F (175°C) and continue baking for another 15-17 minutes, or until the muffins are golden brown and a toothpick inserted into the center of a muffin comes out clean.
Achieving Perfect Bakery-Style Dome Muffins Every Time
Ever wondered how bakeries get those beautifully tall, domed muffin tops? It’s a simple trick that you can easily replicate at home:
- Start with a Hot Oven: The secret lies in an initial burst of high heat. For the first five minutes of baking, setting your oven to a higher temperature (like 425°F/220°C) creates a strong thermal shock. This high heat rapidly activates the leavening agents (baking powder) and causes the butter and moisture in the batter to quickly turn into steam. This steam dramatically pushes the muffin batter upwards, resulting in that desirable quick rise and the formation of a beautiful dome.
- Lower the Temperature: After the initial blast of high heat, you then lower the oven temperature (to 350°F/175°C) for the remainder of the baking time. This allows the muffins to cook through evenly without burning the tops, ensuring a perfectly baked interior while maintaining that gorgeous domed shape.
If you’ve previously tried my incredibly delicious Pumpkin Banana Muffins, you’ll already be familiar with this effective tip and trick! It’s truly one of my favorite methods for consistently achieving professional-looking, bakery-style muffins right in your own kitchen.
Crafting the Perfect Eggnog Glaze for Your Muffins
A sweet, creamy, and delicately spiced glaze is truly the perfect finishing touch for these festive Eggnog Muffins. It adds an extra layer of sweetness and a beautiful sheen that makes them look as good as they taste! Crafting this easy eggnog glaze is incredibly simple:
- Combine Ingredients: In a small bowl, whisk together the powdered sugar (confectioners’ sugar) with the eggnog. Start with the recommended amount of eggnog, then add more by the teaspoon if needed.
- Achieve Smooth Consistency: Continue whisking until the mixture is completely smooth and free of any lumps. The glaze should be thick enough to cling to the muffins but thin enough to drizzle beautifully. If it’s too thick, add a tiny bit more eggnog; if it’s too thin, add a little more powdered sugar.
- Apply Evenly: Once your muffins have cooled completely, spoon the glaze generously and evenly over the top of each muffin. You can drizzle it decoratively or spread it for a fuller coating.
Important Tip: It is absolutely essential to allow the muffins to cool completely on a wire rack before you attempt to top them with the eggnog glaze. If the muffins are still warm, the glaze will melt right off, creating a sticky mess rather than a beautiful, set topping.
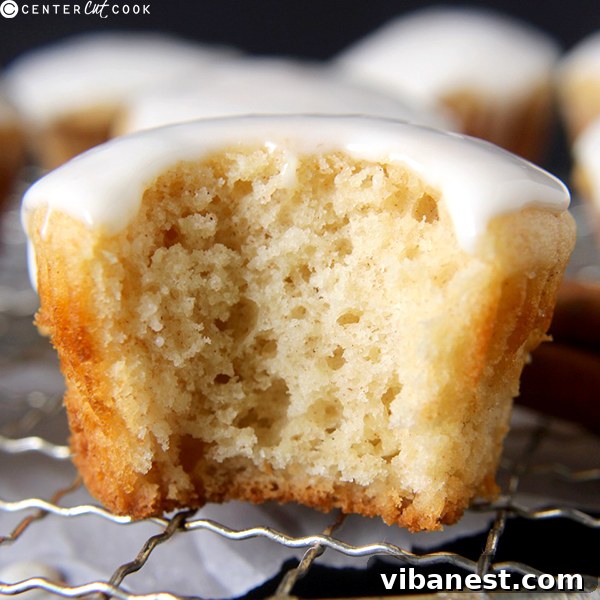
The resulting Eggnog Muffin is a masterpiece of holiday baking: incredibly moist, perfectly sweet, and bursting with the warm, inviting spices that define the festive season. Each bite is a delightful fusion of tender cake and aromatic flavor. These muffins are truly perfect for a comforting breakfast alongside a steaming cup of coffee, a rich mug of hot cocoa, or, for the ultimate eggnog experience, a refreshing glass of chilled eggnog itself!
Transforming the beloved holiday beverage, eggnog, into a delectable muffin is nothing short of amazing. This recipe promises to be a standout addition to your baking list this year – you absolutely will not be disappointed! I genuinely love hearing from you and seeing your culinary creations. If you make this festive recipe, please consider tagging me on social media or leaving a comment below to let me know what you think. Enjoy the deliciousness!
Discover More Festive Holiday Treats!
Looking to expand your holiday baking repertoire? Check out these other cherished festive favorites, perfect for sharing and celebrating the season!
Candy Cane Kisses Hot Cocoa Mix
The Best Pumpkin Pie
Chocolate Covered Cherry Cookies
Decadent Candy Cane Truffles

Pin
Eggnog Muffins
5 minutes
20 minutes
18
Ingredients
MUFFIN INGREDIENTS
- ½ cup unsalted butter room temperature
- 1 cup granulated sugar
- 1 ½ cups eggnog
- 2 large eggs room temperature
- 2 ½ cups all-purpose flour
- 2 teaspoons baking powder
- ½ teaspoon ground cinnamon
- (Optional: ¼ teaspoon ground nutmeg for enhanced spice)
GLAZE INGREDIENTS
- 1 cup powdered sugar (confectioners’ sugar)
- 2 tablespoons eggnog
Instructions
MUFFIN DIRECTIONS
-
Preheat your oven to 425°F (220°C). Prepare two standard muffin pans by lining them with a total of 18 paper liners. Set the prepared pans aside.
-
In a large mixing bowl, combine the softened butter and granulated sugar. Stir them together until the mixture is smooth, light, and fluffy.
-
Add the eggnog and eggs to the butter and sugar mixture. Mix completely until well-incorporated and smooth.
-
In a separate bowl, whisk together the flour, baking powder, and cinnamon. Gradually add these dry ingredients to the wet mixture. Stir gently until no dry pockets of flour remain, but be careful not to overmix the batter. A few small lumps are acceptable.
-
Divide the batter evenly among the 18 prepared muffin cups, filling each approximately ¾ full.
-
Bake the muffins for 5 minutes at the high temperature of 425°F (220°C). Then, without removing the muffins from the oven, lower the temperature to 350°F (175°C) and continue baking for an additional 15-17 minutes, or until the muffins are golden brown and a toothpick inserted into the center comes out clean.
GLAZE DIRECTIONS
-
Once the muffins have cooled completely to room temperature, combine the powdered sugar and eggnog in a small bowl. Whisk until the glaze is perfectly smooth and has a pourable consistency. Spoon or drizzle the glaze evenly over the top of each cooled muffin. Allow the glaze to set before serving.
Tried this recipe?Mention @CenterCutCook and tag #CenterCutCook!
Tips for Success & Common Questions
Storage and Freezing Instructions:
- Storing Glazed Muffins: Once glazed, these muffins are best enjoyed within 2-3 days. Store them in an airtight container at room temperature. The glaze might soften slightly over time.
- Storing Unglazed Muffins: If you prefer to glaze them fresh, store unglazed muffins in an airtight container at room temperature for up to 3-4 days.
- Freezing Muffins: Eggnog Muffins freeze beautifully! Once completely cooled (and ideally unglazed), place them in a single layer on a baking sheet and freeze until solid. Then, transfer the frozen muffins to a freezer-safe bag or container. They can be frozen for up to 3 months. Thaw at room temperature or warm gently in the microwave or oven. If glazing, do so after thawing.
Flavor Variations and Customizations:
While these muffins are fantastic as is, feel free to get creative with additions:
- Nuts: Fold in ½ cup of chopped pecans or walnuts for added crunch.
- Dried Fruits: Dried cranberries or golden raisins can add a delightful chewiness and extra sweetness.
- Chocolate: White chocolate chips or even a mix of milk chocolate chips would be a decadent addition.
- Citrus Zest: A teaspoon of orange or lemon zest can brighten the flavors and add a subtle tang.
- Extra Spice: If you’re a spice lover, consider adding a pinch of ground cloves or allspice to the batter.
- Bourbon Glaze: For an adult twist, substitute one tablespoon of the eggnog in the glaze with a high-quality bourbon or rum.
Frequently Asked Questions (FAQs):
- Can I use light eggnog? Yes, you can use light eggnog, but keep in mind the muffins might be slightly less rich and moist than with full-fat eggnog.
- Can I make these dairy-free? You could try using a dairy-free eggnog alternative and a dairy-free butter substitute. Results may vary slightly in texture and flavor.
- Why is my batter lumpy? Is that okay? Yes, a lumpy batter is absolutely okay, and even preferred! Overmixing flour develops gluten, leading to tough muffins. Stir just until the dry ingredients are incorporated.
- How do I know when the muffins are done? Insert a toothpick into the center of a muffin. If it comes out clean or with a few moist crumbs attached, they are ready.
- Can I make mini eggnog muffins? Absolutely! Adjust the baking time accordingly; mini muffins typically bake for a shorter duration (around 10-15 minutes total).
Serving Suggestions:
These versatile Eggnog Muffins are perfect for an array of holiday occasions. Serve them warm for a comforting breakfast or brunch alongside fresh fruit and a hot beverage. They also make an exquisite dessert when paired with a scoop of vanilla ice cream or a dollop of whipped cream. For holiday parties, arrange them on a festive platter as a delightful finger food, or package them beautifully to create thoughtful, homemade gifts for neighbors, teachers, and friends. Their rich flavor and festive appeal make them a wonderful centerpiece for any holiday spread.