
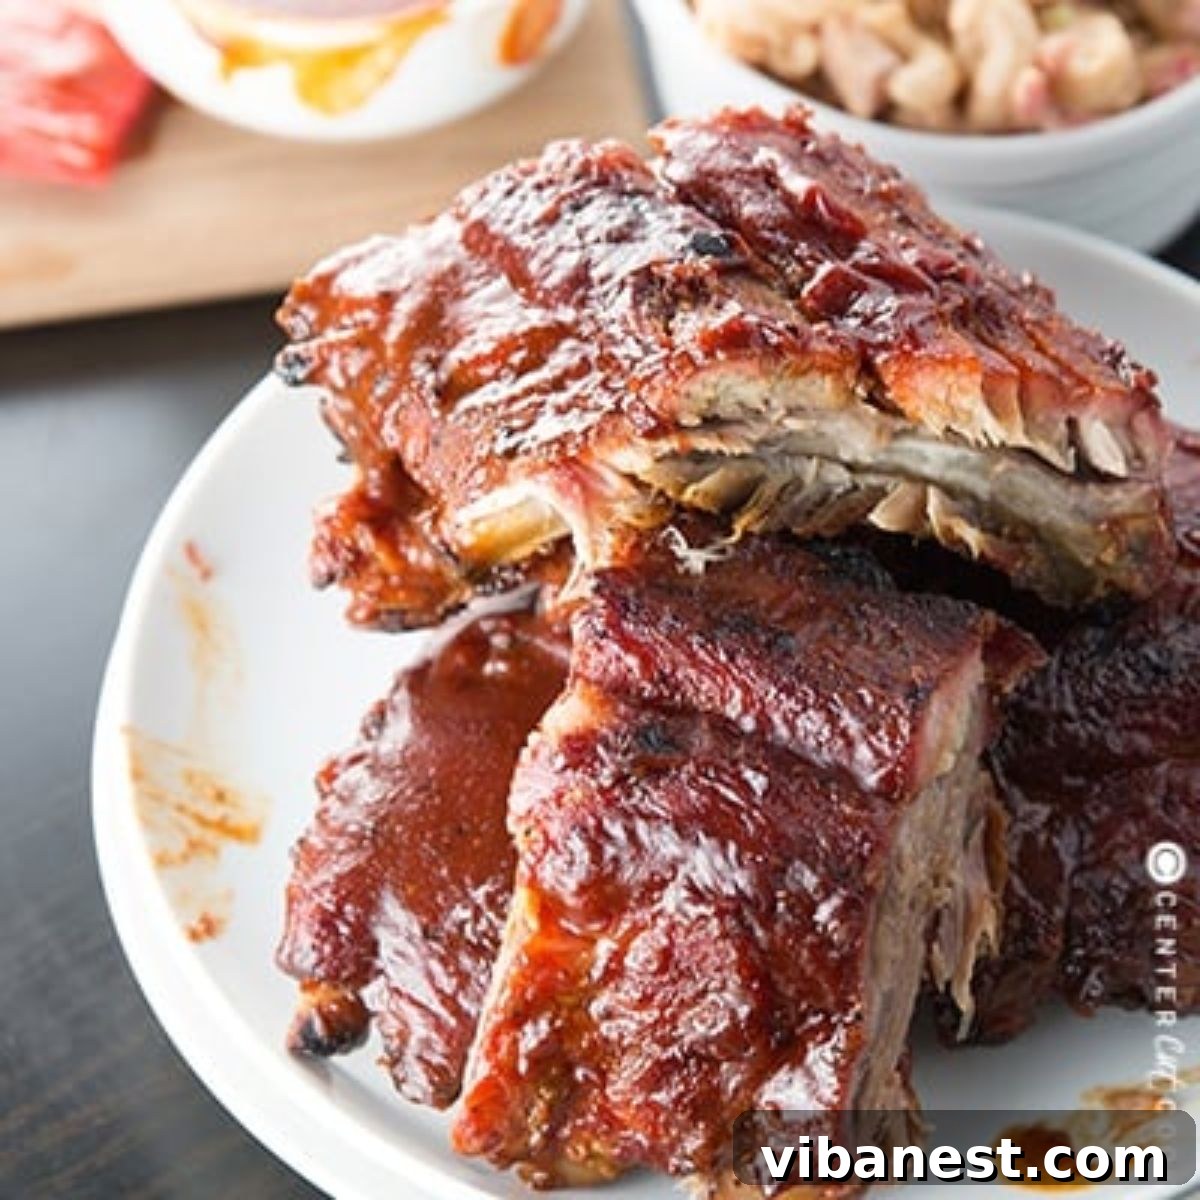
Craving tender, fall-off-the-bone barbecue ribs that are bursting with smoky flavor and coated in a luscious, tangy BBQ sauce? Look no further! This comprehensive guide will show you how to grill perfect BBQ ribs right in your backyard, elevating your summer cooking to championship levels. Forget dry, tough ribs – our method guarantees juicy, succulent results every single time. And to complete your ultimate barbecue feast, we’ve also curated a list of the best side dishes to complement these irresistible ribs!
There’s nothing quite like the aroma of ribs sizzling on the grill on a warm summer day. While oven-baked ribs certainly have their place, cooking them over an open flame imparts an irreplaceable depth of flavor and a beautiful char that simply can’t be replicated indoors. Grilling ribs might seem daunting to some, but with the right technique and a little patience, you’ll be serving up expertly cooked, finger-licking good BBQ ribs that will impress everyone at your next cookout. The key lies in understanding a few fundamental steps, ensuring your ribs are perfectly tender, never dried out.
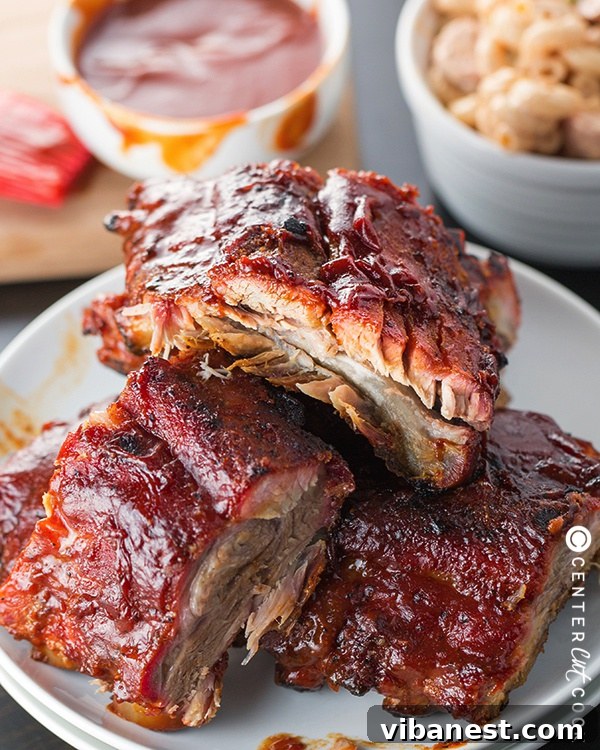
How to Grill Ribs: Achieving Smoky, Tender Perfection
Grilling ribs to perfection involves a few crucial preparation steps that lay the groundwork for incredible flavor and texture. Don’t skip these, as they make all the difference between good ribs and truly unforgettable ones.
- Trim the Ribs: Start by inspecting your rack of ribs for any significant excess fat or loose, thin pieces of meat. Use a sharp knife to carefully trim these away. While some fat adds flavor and moisture, too much can result in a greasy texture. A clean trim ensures even cooking and a more pleasant eating experience.
- Remove the Membrane: This step is often overlooked but is absolutely vital for achieving tender, “fall-off-the-bone” ribs. On the concave (bone) side of the rib rack, you’ll find a thin, silvery membrane. To remove it, start at one end and carefully wiggle the tip of a knife underneath it, separating it from the bone. Once you’ve lifted a small section, you can usually grab it with your fingers. The membrane can be quite slippery, so using a paper towel to get a better grip is highly recommended. Pull the membrane off in one steady motion. Removing it prevents the ribs from becoming tough and chewy, allowing your dry rub and smoke flavors to penetrate the meat more effectively.
- Rinse and Pat Dry: After trimming and membrane removal, give the ribs a quick rinse under cold running water to remove any small bone fragments or debris. Immediately pat them thoroughly dry with paper towels. A dry surface is essential for your dry rub to adhere properly and for the ribs to develop a beautiful crust.
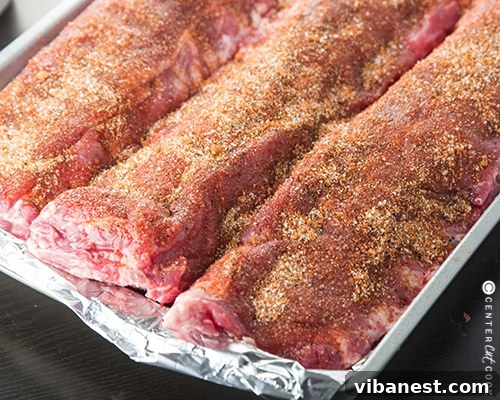
- Season the Ribs Generously with a Dry Rub: This is where you infuse a tremendous amount of flavor into your ribs. A good dry rub creates a savory, sweet, and often slightly spicy crust that enhances the natural taste of the pork. Apply your chosen dry rub liberally to both sides of the ribs, pressing it gently into the meat. Don’t be shy here; this is your primary opportunity to season the meat itself, as most of the flavor from the rub will be locked in before any sauce is applied. We have a fantastic signature dry rub recipe that we swear by!
- Grill the Ribs: With proper preparation complete, your ribs are now ready for the heat. The detailed grilling instructions are provided below in the full recipe, but remember, the secret to tender ribs on the grill lies in indirect heat and a low-and-slow cooking method.
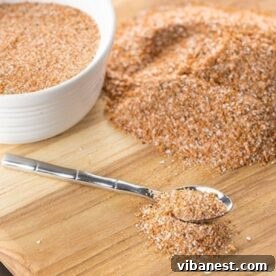
Homemade Dry Rub for Ribs, Chicken, and More
View Recipe
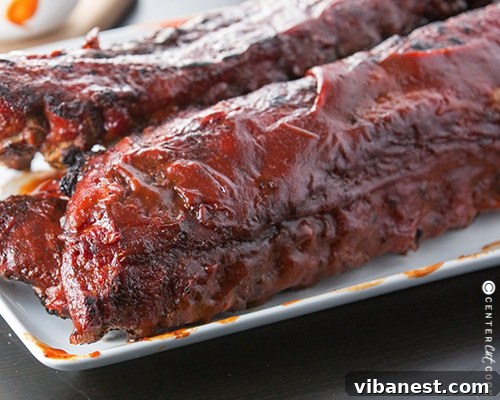
The Golden Rule: Use Indirect Heat to Grill Ribs
The single most important factor for achieving truly tender, succulent grilled ribs is utilizing indirect heat. This technique means you will cook the ribs adjacent to, but not directly over, the heat source or flames. Cooking over direct heat would quickly burn the outside of the ribs long before the interior meat becomes tender. Indirect heat, on the other hand, allows for a “low and slow” cooking process, which is essential for breaking down the tough connective tissues in the ribs and rendering the fat, resulting in that coveted “fall-off-the-bone” texture.
To set up your grill for indirect heat, you’ll typically light only one section or half of your grill burners. On a charcoal grill, you would arrange the hot coals to one side, leaving the other side empty for the ribs. If you’re fortunate enough to have a Big Green Egg (you can see a picture in this post if you’re unfamiliar with this amazing ceramic grill), you’ll use a plate setter or convEGGtor, which acts as a barrier between the coals and the food, effectively turning your grill into an outdoor oven. Regardless of your grill type, the goal is to maintain a steady, relatively low temperature, ideally between 275-300°F (135-150°C). This consistent, gentle heat allows the ribs to cook slowly, gradually becoming incredibly tender without drying out.
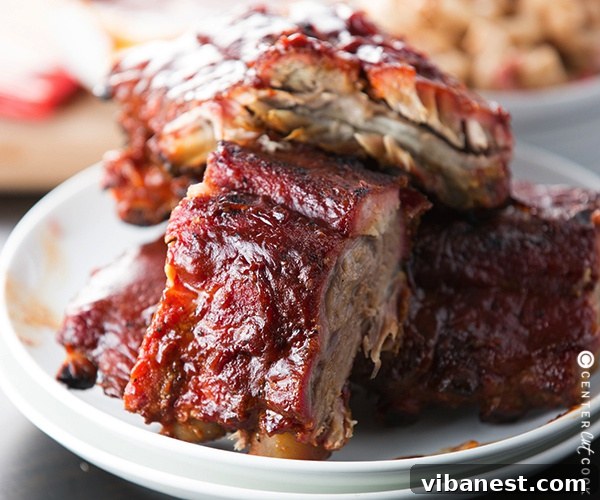
Finding the Best BBQ Sauce for Your Grilled Ribs
The “best” BBQ sauce for ribs is a deliciously subjective topic and entirely dependent on your personal taste preferences. From sweet and sticky to spicy and vinegary, the world of barbecue sauces offers endless possibilities. Do you prefer a classic Kansas City style, a tangy Carolina mustard-based sauce, a rich and smoky Texas variety, or something with a bit of a kick? The choice is yours!
Whether you opt to create your own homemade masterpiece (our homemade BBQ sauce recipe is a fan favorite!) or pick up a gourmet bottle from your local store, the most important thing is that you genuinely love the flavor. Remember, this sauce will be generously slathered over your carefully cooked ribs, so it needs to complement and enhance their smoky goodness. Don’t apply the sauce too early in the cooking process, as many sauces contain sugar that can burn easily over prolonged heat. We typically add it towards the end to allow it to caramelize and create that perfect sticky glaze. Feel free to share your go-to BBQ sauce recommendations in the comments below – we’re always looking for new favorites!
How Long Does It Take to Grill Ribs: The Path to Fall-Off-The-Bone
The journey to perfectly grilled, “fall-off-the-bone” ribs is one that requires patience, but the reward is absolutely worth it. Using the indirect heat method described in our detailed recipe below, you can expect your ribs to take anywhere from two hours and fifteen minutes to up to three hours to achieve optimal tenderness. This seemingly long cooking time is crucial and non-negotiable for superior results.
The “low and slow” approach is not just a catchy phrase; it’s a fundamental principle of barbecue. By maintaining a consistent, moderate temperature, you allow the tough collagen in the pork ribs to slowly break down and convert into gelatin. This process is what makes the meat incredibly moist, tender, and easy to pull from the bone. Rushing the cooking process at a higher temperature will result in tough, dry ribs, no matter how much sauce you apply. Trust the process, monitor your grill’s temperature, and you’ll be rewarded with ribs that are the epitome of barbecue perfection.
The Ultimate Best Sides for Ribs: Completing Your BBQ Feast
No plate of perfectly grilled BBQ ribs is complete without a selection of classic, delicious side dishes. These accompaniments not only balance the richness of the ribs but also add texture and variety to your meal. Here are our top recommendations for the best sides to pair with your magnificent grilled ribs:
- Coleslaw – A crisp, cool, and creamy coleslaw offers a refreshing counterpoint to the rich, smoky ribs. Its slight tanginess helps cut through the fat, making each bite of rib even more enjoyable. Our KFC Coleslaw copycat recipe is notoriously addictive and consistently earns rave reviews!
- Potato Salad – A hearty and flavorful potato salad is a barbecue staple for a reason. Its comforting texture and savory profile make it an ideal partner for ribs. You absolutely must try our Loaded Baked Potato Salad – it’s packed with all the delicious fixings of a loaded baked potato!
- Cornbread – Sweet, savory, and wonderfully crumbly, cornbread is the perfect bread to soak up any stray BBQ sauce or rib juices. Homemade rolls also work beautifully to complete the comfort food experience.
- Baked Beans – Slow-cooked, deeply flavored baked beans are a quintessential barbecue side. Their sweet and savory complexity perfectly complements the ribs. For an easy yet incredibly flavorful version, try making your baked beans in the Instant Pot with this recipe for Instant Pot Baked Beans.
- Macaroni and Cheese – Creamy, cheesy, and utterly decadent, macaroni and cheese is always a winning choice. Its rich, comforting texture provides a delightful contrast to the smoky ribs. Our Easy Instant Pot Mac and Cheese is quick, simple, and incredibly delicious.
- Mashed Potatoes – If potato salad isn’t your preference, fluffy, buttery mashed potatoes are another fantastic carb-rich option. They offer a comforting base for your ribs. For the silkiest, most flavorful spuds, whip up The Best Mashed Potatoes you’ve ever tasted.
- Crispy Potato Wedges – For a satisfying crunch, these Crispy Potato Wedges with garlic dipping sauce offer a delightful textural element to your meal.
- Corn on the Cob – Sweet, juicy corn on the cob is a classic summer side that’s simple yet incredibly satisfying. You can prepare it in various ways: quickly in the microwave, expertly on the grill alongside your ribs, or effortlessly in the slow cooker!
With such a diverse array of delectable options, choosing just a few sides for your grilled BBQ ribs might be the hardest part of your meal planning!
Grilled BBQ Ribs: The Full Recipe
Grilled BBQ Ribs: Your Ultimate Guide to Smoked Perfection
Master the art of grilling “fall-off-the-bone” barbecue ribs right in your backyard! This comprehensive recipe will guide you through every step, from meticulous preparation to basting, ensuring incredibly tender, saucy, and flavorful ribs that will undoubtedly be the star of any gathering. Prepare for rave reviews!
Prep Time: 15 minutes
Cook Time: 2 hours 15 minutes to 3 hours
Ingredients
- 3 slabs pork baby back ribs
- 1 cup dry rub (We highly recommend our signature Dry Rub Recipe for maximum flavor. Feel free to use more if you prefer a thicker coating.)
- Your favorite BBQ sauce (Use a high-quality homemade or store-bought variety that you absolutely love.)
- 1 cup honey
- 3 cups apple juice
Instructions
- Prepare Your Grill for Indirect Heat: Set up your grill so that one half is heated, and the other half remains unlit. This creates an indirect cooking zone. If you are using a Big Green Egg or similar kamado-style grill, insert your plate setter (convEGGtor) to facilitate indirect heat. Heat your grill to a stable temperature between 275-300 degrees Fahrenheit (135-150°C).
- Prep the Ribs: Begin by trimming any noticeable excess fat or small, loose pieces of meat from the rib slabs. Next, flip the ribs to expose the bone side. Carefully slide a small knife under the tough, silvery membrane found on the back of the ribs. Once you’ve lifted a corner, grasp the membrane firmly (a paper towel can help with grip as it’s quite slippery) and pull it completely off the rack.
- Rinse and Dry: Rinse the prepared ribs briefly under cold water to remove any residual fragments. Pat them thoroughly dry with paper towels; a dry surface helps the rub adhere better.
- Season Generously with Dry Rub: Liberally season both sides of the ribs with your dry rub. Aim to use about 1/4 of the rub on the bone side and the remaining 3/4 on the meaty side, ensuring an even and flavorful coating. Press the rub gently into the meat.
- Initial Grilling Phase (Indirect Heat): Once your grill has reached a steady temperature of 275-300°F, place the seasoned ribs directly on the unlit side of the grill. It is crucial that the ribs are not placed over direct flames to prevent burning and ensure tender cooking.
- Optional Smoke Enhancement: For an added layer of smoky flavor, you may choose to add pre-soaked smoking chips to the lit side of your grill. Always follow the package directions for soaking time; typically, 30 minutes in water is sufficient.
- First Cook Duration: Close the grill lid and cook the ribs for approximately 90 minutes. Keep an eye on the grill temperature to ensure it remains consistent and the ribs are not charring.
- Apply Honey: After 90 minutes, carefully remove the ribs from the grill. Generously brush or slather all surfaces of the ribs with 1 cup of honey.
- Foil Pan Braising for Tenderness: Place the honey-coated ribs into a sturdy aluminum foil pan that fits comfortably on your grill. Pour in 3 cups of apple juice, or enough to create about a 1-inch depth at the bottom of the pan. Tightly cover the pan with aluminum foil, crimping the edges to seal, and return it to the grill, again over indirect heat.
- Second Cook Duration (Braising): Continue cooking the ribs in the covered foil pan for another 45 to 90 minutes. This braising step in apple juice is key to developing that incredible “fall-off-the-bone” tenderness. The ribs are done when the meat is extremely tender and easily pulls away from the bone.
- Final Glaze and Caramelization: Carefully remove the ribs from the foil pan. Place them directly back onto the grill (still over indirect heat if possible, or very low direct heat) and brush them generously with your favorite BBQ sauce. Cook for approximately 10 minutes, flipping occasionally, until the BBQ sauce caramelizes into a beautiful, sticky, and savory glaze.
- Rest Before Serving: Once the ribs are perfectly glazed, remove them from the grill and allow them to rest for 5-10 minutes. This resting period allows the juices to redistribute throughout the meat, ensuring maximum moisture and flavor. Slice and serve immediately with your favorite sides!
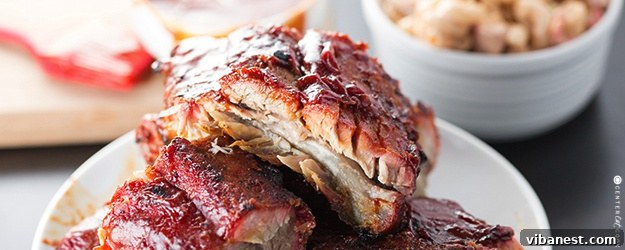
We are confident that this recipe will guide you to prepare the most delicious, “fall-off-the-bone” Grilled BBQ Ribs you’ve ever tasted, perfectly complemented by our curated list of the best side dishes. Get ready to impress your family and friends with your newfound grilling prowess!
This recipe was inspired and adapted from the renowned techniques used for Big Green Egg Championship Ribs.
If you try this Grilled BBQ Ribs recipe or any of our other delicious creations, please don’t hesitate to leave a comment below and share your experience. We absolutely love hearing from you and seeing your culinary successes!