
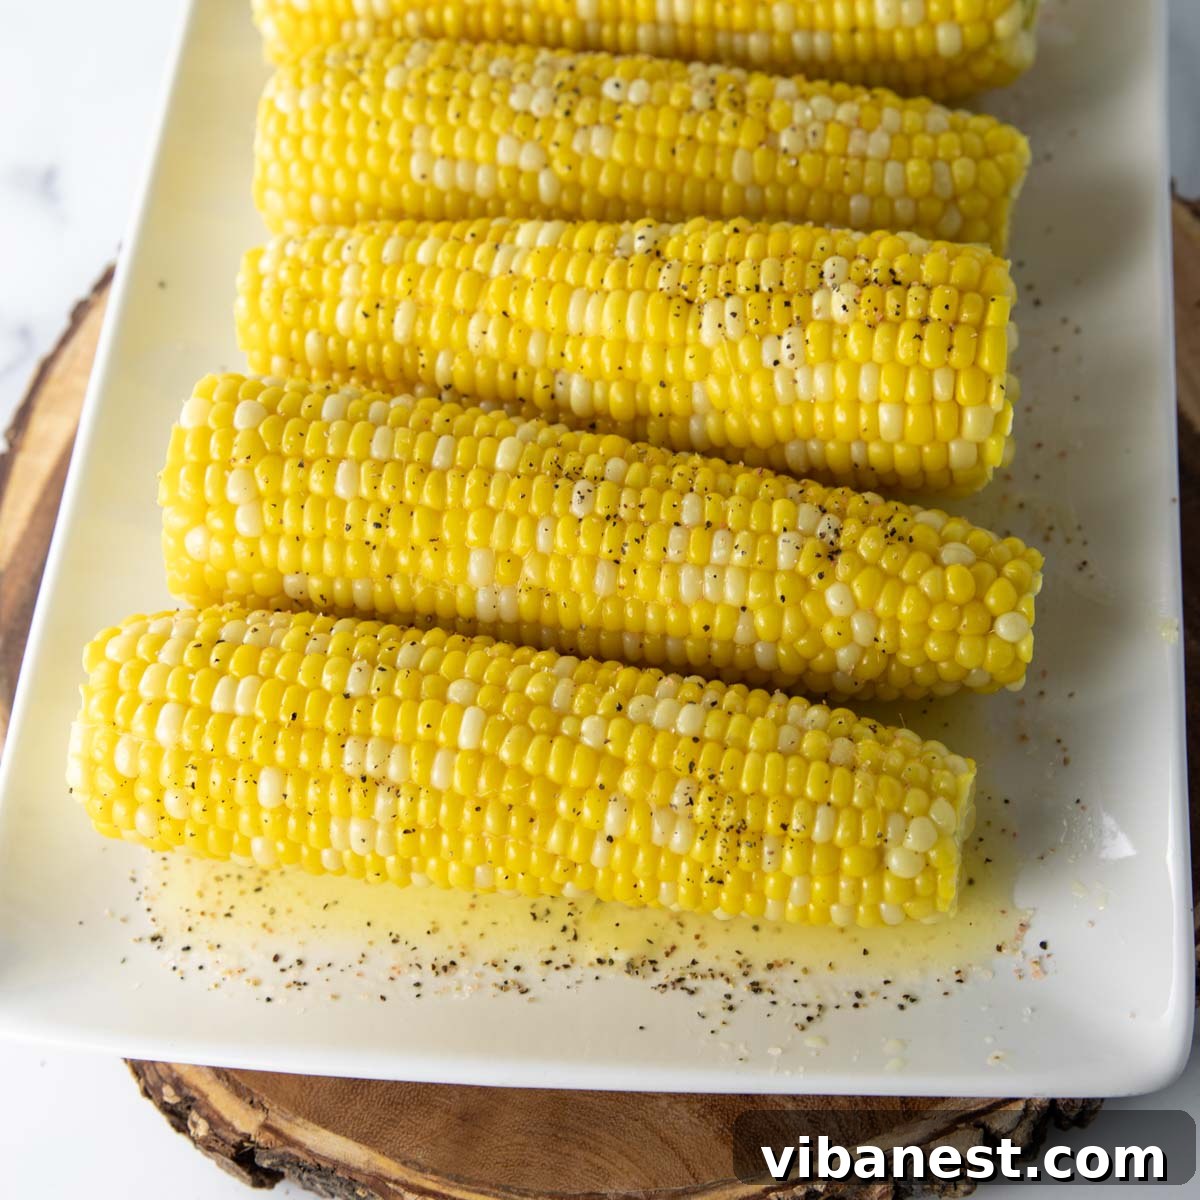
Transform your mealtime with the simplest method for cooking corn on the cob! This quick and easy microwave recipe guarantees sweet, juicy corn in just minutes, eliminating the need for extra pots or messy cleanup.
The Ultimate Guide to Microwaving Corn on the Cob: Sweet, Juicy & Ready in Minutes
There’s nothing quite like biting into a tender, sweet ear of corn. For many, it evokes memories of summer barbecues and family gatherings. As someone who appreciates both delicious food and kitchen efficiency, I’m always on the lookout for methods that deliver maximum flavor with minimal fuss. That’s why I’m incredibly excited to share my go-to technique for making corn on the cob in the microwave. This isn’t just a shortcut; it’s a game-changer that produces incredibly tender and flavorful corn, rivaling traditional methods, all while keeping your kitchen sparkling clean.
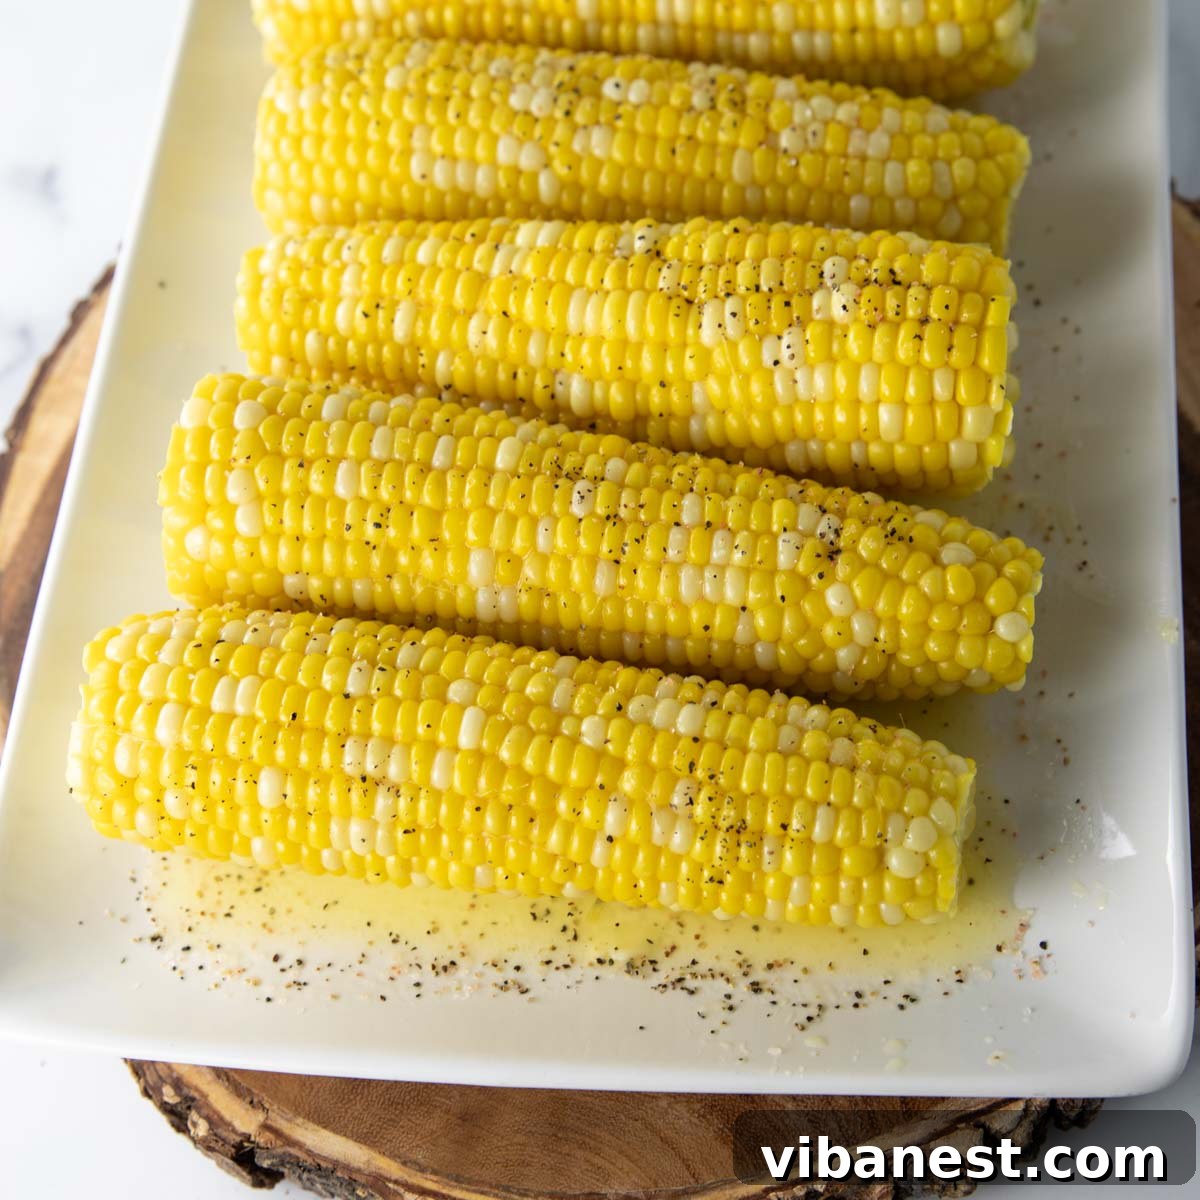
Why Choose the Microwave for Your Corn on the Cob?
In a world where time is a precious commodity, finding efficient cooking methods is invaluable. Microwaving corn on the cob isn’t just about speed; it’s about unparalleled convenience and superior results. Traditional methods like boiling can lead to waterlogged, flavorless corn and leave you with a greasy pot to scrub. Grilling is fantastic for a smoky flavor but requires more setup and constant attention. Roasting is great too, but takes longer.
The microwave, however, traps the corn’s natural moisture, essentially steaming it in its own delicious juices. This process locks in that beautiful sweetness and creates an incredibly tender texture that’s hard to beat. Plus, let’s be honest, who enjoys a sink full of dirty dishes after a meal? This method drastically cuts down on cleanup, meaning you can spend more time enjoying your food and less time scrubbing.
The Secret to Perfectly Microwaved Corn
There are a few ways people approach microwaving corn, but my absolute favorite method is one that prioritizes speed, safety, and deliciousness. Some people suggest microwaving corn with the husk on, then cutting off the end to easily slide the corn out. While this works, it requires handling a very hot ear of corn immediately after cooking and waiting for it to cool down before you can properly butter and enjoy it. My preferred method eliminates that waiting game, getting hot, dressed corn to your plate faster.
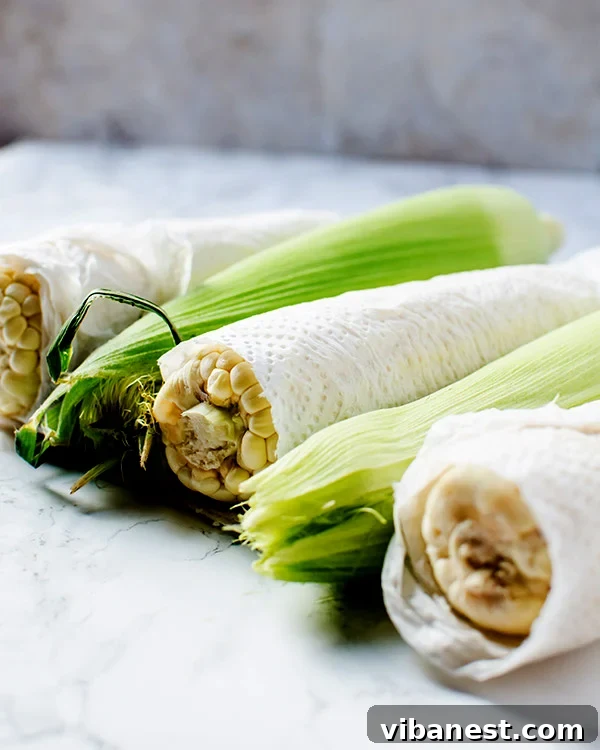
The key is to shuck the corn before microwaving it. This allows you to dress and serve it immediately. The magic lies in using damp paper towels to create a perfectly steamy environment around each ear. The paper towel locks in moisture and prevents the corn from drying out, ensuring every kernel is plump and bursting with flavor. This technique creates a self-contained steamer, making your corn incredibly tender and sweet without any added water.
Microwave Corn on the Cob: The Quick & Easy Recipe
Recipe Summary
- Cook Time: 7 minutes
- Total Time: 7 minutes
- Yields: 1 serving (per ear of corn)
Ingredients
- 1-4 cobs of fresh corn, shucked and de-silked
- Paper towels
- Optional: Butter, salt, pepper, herbs, or your favorite seasonings
Equipment
- Microwave
- Microwave-safe plate (optional)
- Tongs (recommended for handling hot corn)
Instructions
- Prepare the Corn: Begin by carefully shucking each ear of corn, removing all the husks and silks. Ensure the corn is clean and ready for cooking.
- Dampen Paper Towels: Take one sheet of paper towel for each ear of corn you’ll be cooking. Run them under water, then gently wring them out until they are damp but not dripping wet. The goal is to have enough moisture to create steam without making the corn soggy.
- Wrap the Corn: Individually wrap each shucked ear of corn tightly in a damp paper towel. Make sure the entire cob is covered.
- Arrange in Microwave: Place the wrapped ears of corn directly onto your microwave’s turntable. If you’re concerned about mess or prefer to use a plate, place them on a microwave-safe plate. Ensure there’s a little space between each ear if cooking multiple at once for even heating.
- First Microwave Cycle: Microwave on high for 3 minutes. For a single ear, 3 minutes is often sufficient. If cooking two ears, start with 4-5 minutes. For three to four ears, begin with 6-7 minutes.
- Flip and Continue Cooking: Carefully open the microwave door. Using tongs, carefully flip each ear of corn to ensure even cooking. Continue microwaving on high for an additional 3-4 minutes for a single ear, or adjust based on the number of ears you’re cooking. (For two ears, add 3-4 minutes; for three to four, add 4-5 minutes). The total cooking time will vary depending on your microwave’s wattage and the size/number of corn cobs.
- Check for Doneness: The corn is done when the kernels are tender and appear plump and bright yellow. If it feels too firm, continue microwaving in 30-second increments until it reaches your desired tenderness.
- Serve Immediately: Once cooked, carefully unroll the corn from the damp paper towels (tongs are highly recommended, as the corn will be hot!). Place on a serving platter and dress immediately with butter, a sprinkle of salt, black pepper, or any other herbs and seasonings you enjoy.
Pro Tips for the Best Microwaved Corn
- Adjust for Quantity: When cooking multiple ears, increase the total cooking time. For every additional ear of corn, add approximately 1-2 minutes to the initial cooking time, and then adjust during the second cycle. It’s always better to slightly undercook and add more time than to overcook.
- Don’t Over-dampen: Ensure your paper towels are damp, not soaking wet. Too much water can make the corn soggy instead of perfectly steamed.
- Wattage Varies: Microwave wattages differ. If your microwave is particularly powerful, you might need slightly less time. If it’s older or lower wattage, you might need a little more. Get to know your microwave!
- Safety First: Steam will be released when you unwrap the corn. Be cautious and use tongs to avoid burns.
Choosing the Best Corn for Microwaving
The quality of your final dish always starts with the quality of your ingredients. For the sweetest and juiciest microwaved corn, look for fresh, in-season corn. Here’s what to keep an eye out for:
- Appearance of the Husk: Choose corn with bright green husks that are tightly wrapped around the cob. Avoid husks that are yellowing, dry, or split.
- Silk: The silk should be light brown or golden and slightly sticky. If it’s black or dry, the corn is likely old.
- Feel: Gently squeeze the ear to feel the kernels beneath the husk. They should be plump and firm. Avoid ears with soft spots or gaps, which indicate missing or shriveled kernels.
- Peak Season: Corn is at its best during late spring, summer, and early fall, depending on your region. Freshly picked corn will always yield the best flavor.
Creative Ways to Serve Your Microwaved Corn
While classic butter and salt are undeniably delicious, microwaved corn on the cob is a fantastic canvas for a variety of flavors. Elevate your simple side dish with these creative serving ideas:
- Mexican Street Corn (Elote Style): After cooking, slather your corn with a mix of mayonnaise and sour cream, sprinkle with crumbled cotija cheese, a dash of chili powder, and a squeeze of fresh lime juice. A sprinkle of chopped cilantro adds extra freshness.
- Herb Butter: Soften unsalted butter and mix in finely chopped fresh herbs like parsley, chives, thyme, or rosemary. Spread generously over the hot corn.
- Spicy Kick: Drizzle with hot sauce, sprinkle with cayenne pepper, or add a pinch of smoked paprika for a smoky, spicy flavor.
- Garlic Parmesan: Melt butter with minced garlic, brush over the corn, then grate fresh Parmesan cheese over the top.
- Asian-Inspired: Brush with a light soy sauce or sesame oil, sprinkle with toasted sesame seeds and a pinch of red pepper flakes.
- Sweet & Savory: A drizzle of honey or maple syrup paired with a pinch of sea salt can create an unexpectedly delightful combination.
Microwave Corn vs. Other Cooking Methods
While boiling, grilling, and roasting all have their merits, microwaving corn on the cob truly shines when it comes to convenience and preserving natural flavor. Boiling can leach out some of the corn’s natural sugars, sometimes leaving it bland or watery. Grilling imparts a wonderful smoky char, but it requires warmer weather and more active cooking time. Roasting, while delicious, is a longer process. The microwave method provides a quick, contained steam environment that cooks the corn evenly and rapidly, locking in the natural sweetness and achieving a perfectly tender bite every time, without heating up your entire kitchen or creating a mountain of dishes.
Troubleshooting Common Microwave Corn Issues
Even with such a simple method, sometimes things can go awry. Here are solutions to common problems:
- Undercooked Corn: If kernels are still firm or crunchy, they need more time. Return to the microwave for 30-second intervals until tender. Remember, larger ears or multiple ears require more cooking time.
- Dry or Rubbery Corn: This usually means the paper towel wasn’t damp enough, or the corn was overcooked. Ensure the paper towel is sufficiently damp, and remove the corn as soon as it’s tender. Overcooking can make corn tough.
- Uneven Cooking: Flipping the corn halfway through the cooking process helps ensure all sides cook evenly. Also, try to arrange ears in a single layer on the plate if cooking multiple.
- Too Hot to Handle: Always use tongs or oven mitts when removing hot corn from the microwave and unwrapping it. The steam can be intense!
Frequently Asked Questions About Microwaving Corn
Can I microwave corn on the cob without shucking it?
Yes, you can! Many people microwave corn with the husk on. The husk traps moisture and steams the corn. After cooking (usually 4-5 minutes for one ear), you can cut off the stalk end and squeeze the corn out. However, this method requires handling a very hot ear of corn, and sometimes the silk is harder to remove cleanly than if shucked raw. My method (shucking first) allows for easier seasoning and immediate enjoyment.
How long does it take to microwave multiple ears of corn?
The cooking time increases with the number of ears. For 1 ear, typically 6-7 minutes total. For 2 ears, allow 8-10 minutes. For 3-4 ears, plan for 10-12 minutes. Always check for tenderness and add time in 30-second increments if needed.
Can I use frozen corn on the cob in the microwave?
Yes, you can! For frozen corn on the cob, you’ll still want to wrap it in a damp paper towel. The cooking time will be slightly longer, as the corn needs to thaw and then cook. Start with about 5-6 minutes per ear, then flip and add another 3-5 minutes, checking for tenderness.
How do I store leftover microwaved corn?
If you have any leftover cooked corn, let it cool completely, then wrap it tightly in plastic wrap or place it in an airtight container. Store in the refrigerator for up to 3-4 days. You can reheat it briefly in the microwave or enjoy it cold in salads.
Conclusion: Effortless Perfection in Every Bite
Microwaving corn on the cob is a culinary revelation, offering an unbeatable combination of speed, ease, and mouth-watering results. Forget the days of messy pots and endless waiting; with this simple technique, you can have perfectly tender, sweet, and juicy corn on your plate in mere minutes. Whether you’re making a quick weeknight side dish or need an effortless addition to a larger meal, this method ensures consistently delicious corn with minimal effort and virtually no cleanup. So, next time you crave that golden goodness, reach for your microwave and prepare to be amazed!
Tried this recipe?
Mention @CenterCutCook and tag #CenterCutCook!