
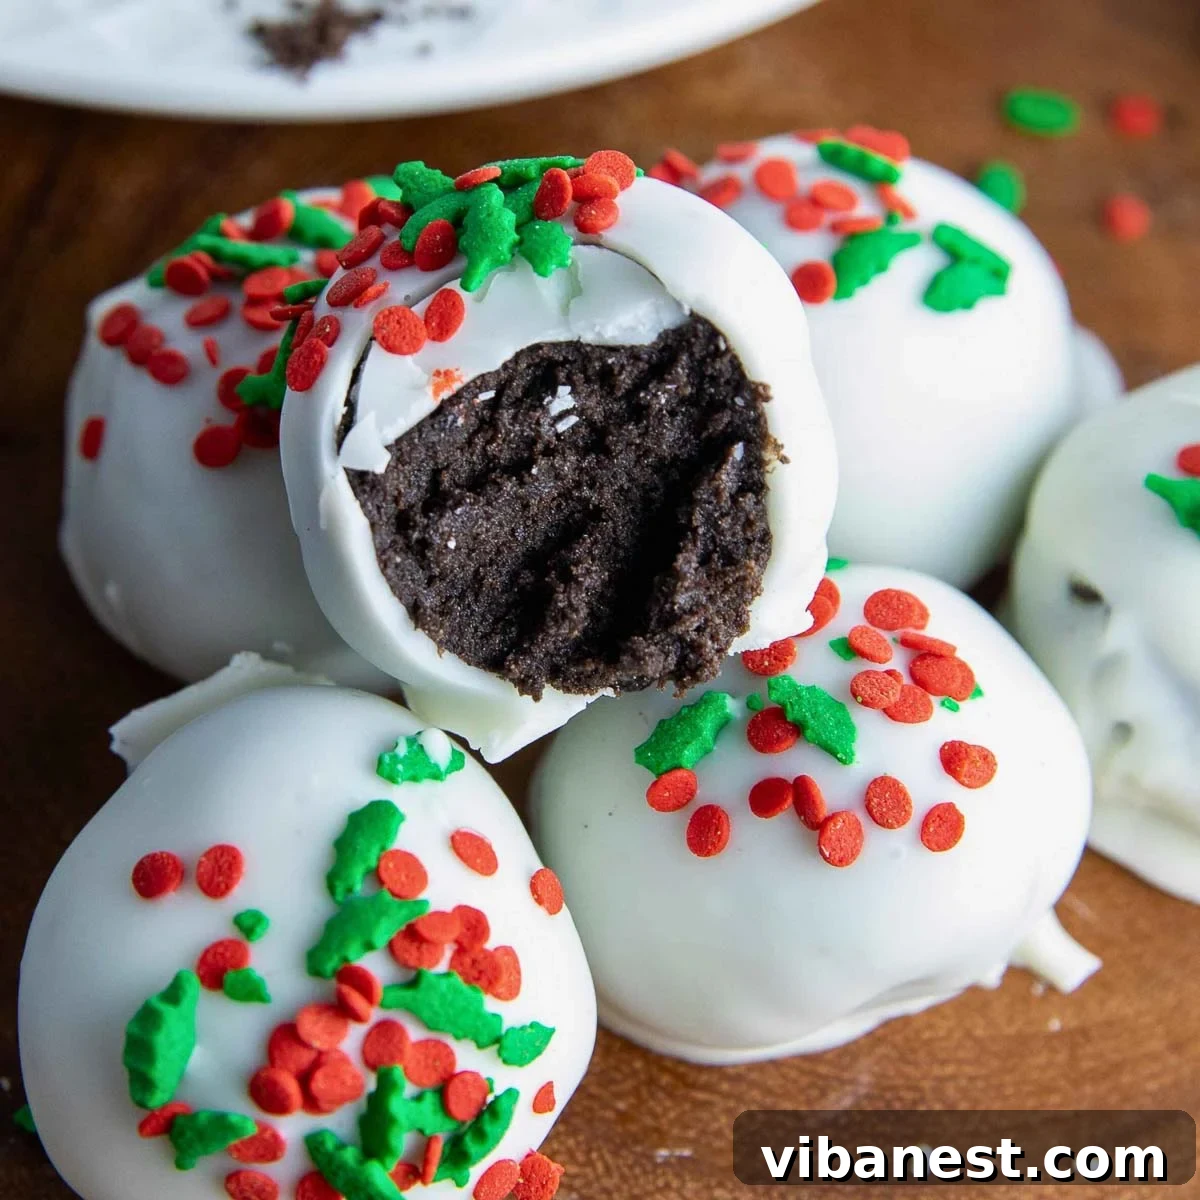
Unveil the magic of the holiday season with these Irresistible No-Bake Oreo Balls, also affectionately known as Oreo Truffles! As Christmas approaches, finding the perfect dessert that delights everyone, is effortlessly simple, and doesn’t require turning on your oven can feel like searching for a needle in a haystack. But your search ends here. These delightful treats are the epitome of festive cheer, requiring just three staple ingredients and coming together in mere minutes. They are the ultimate hassle-free solution for any holiday gathering, offering a rich, creamy, and satisfying bite that will have guests reaching for more. Get ready to create a memorable dessert that’s as easy to make as it is delicious to eat!
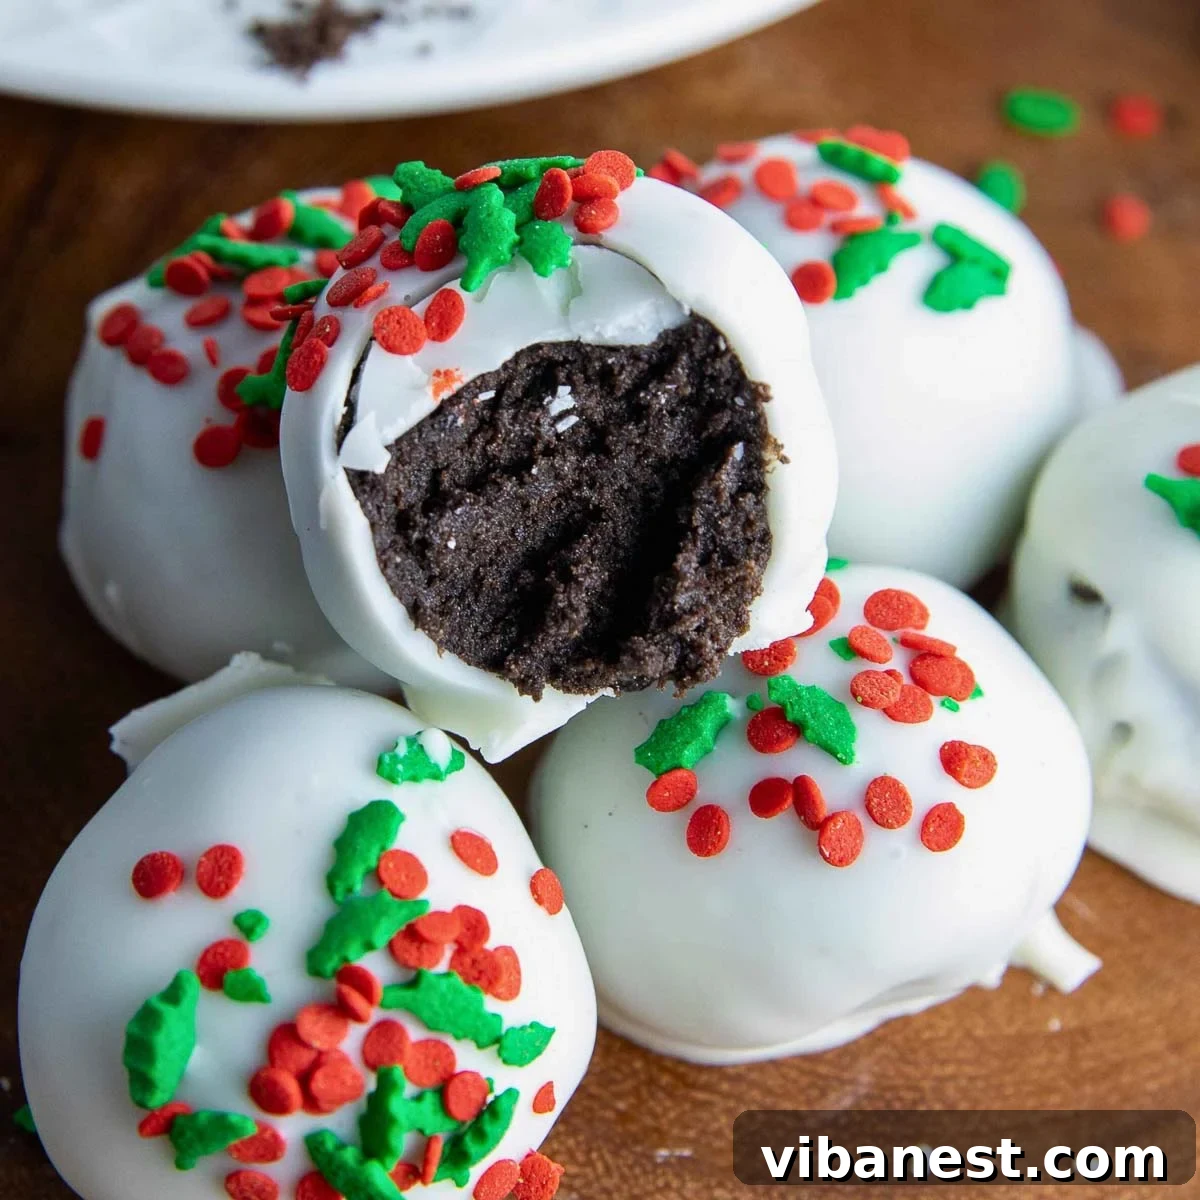
Love this recipe? Pin it now to save it for later and share the festive joy!
Pin It Now
Easy Christmas Dessert: The Charm of No-Bake Oreo Balls

When the holiday season arrives, the aroma of freshly baked goods fills the air, but sometimes, time is a luxury we don’t have. That’s where these exquisite Oreo Balls, often referred to as Oreo Truffles, shine as the quintessential no-bake Christmas treat. They offer a delightful simplicity that allows you to whip up a batch of festive goodies in mere minutes, without compromising on taste or holiday spirit. Crafted with just three foundational ingredients—classic Oreo cookies, creamy softened cream cheese, and a smooth coating of melted almond bark or chocolate—these little chocolate-dipped wonders are not only incredibly yummy but also visually captivating, especially when adorned with vibrant Christmas sprinkles.
I find immense joy in incorporating these Oreo Truffles into my annual selection of Christmas cookies and holiday treats, destined for family, friends, and cherished neighbors. They stand proudly alongside other beloved recipes like the sweet and salty Rolo Pretzel Bites and the nostalgic Peanut Butter Blossoms. These are the kind of treats that vanish in a flash at cookie exchanges, holiday parties, and any event where you need a quick, straightforward, and utterly irresistible dessert that appeals to all ages. Their rich chocolatey flavor combined with the tangy cream cheese filling creates a harmonious balance that is truly addictive, making them a festive staple year after year.
Why You’ll Fall in Love with This Simple Recipe:
- Effortless Elegance with Only 3 Ingredients: Seriously, that’s all you need! Oreo cookies, cream cheese, and a chocolate coating. It doesn’t get simpler, yet the result is astonishingly sophisticated and delicious.
- Absolutely No Baking Required: Perfect for busy schedules or when your oven is already occupied. These treats come together on your countertop, saving you time and energy.
- Infinitely Customizable for Any Celebration: Whether you’re decorating with a kaleidoscope of Christmas sprinkles, drizzling with contrasting melted chocolates, or adding a touch of edible glitter, these truffles are a blank canvas for your creativity.
- A Guaranteed Crowd-Pleaser: From toddlers to grandparents, everyone adores the classic combination of Oreo and cream cheese. These truffles are a surefire hit at any gathering, disappearing quickly from platters.
- Ideal for Gifting & Sharing: Package them in pretty boxes or arrange them in mini cupcake liners for thoughtful homemade gifts that spread holiday cheer.
Speaking of sprinkles, Amazon offers a fantastic array of festive options if you’re looking to elevate your decorating game! This charming Christmas assortment is always my top recommendation for adding that perfect holiday sparkle.
Let’s dive into the simple steps and create some unforgettable Oreo Balls for Christmas!
Warmly,
❤️ Ashley
PS: A fun debate for the ages – do you call these delightful bites Oreo Balls or Oreo Truffles? Either way, they’re delicious!
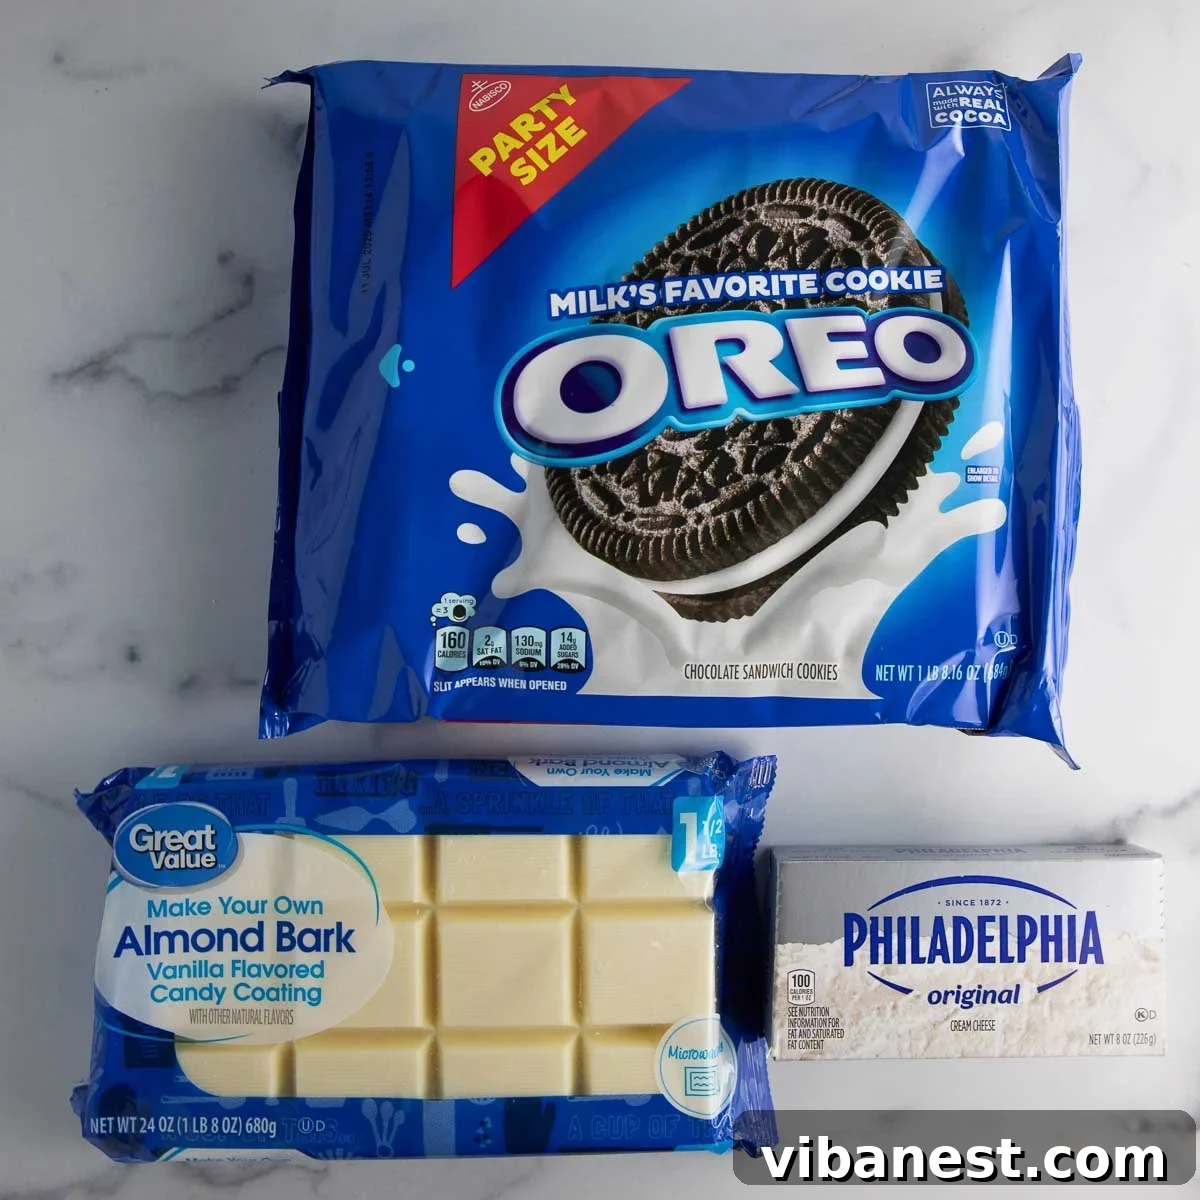
Essential Oreo Balls Ingredients
Beyond the three core ingredients, a touch of holiday magic comes from sprinkles!
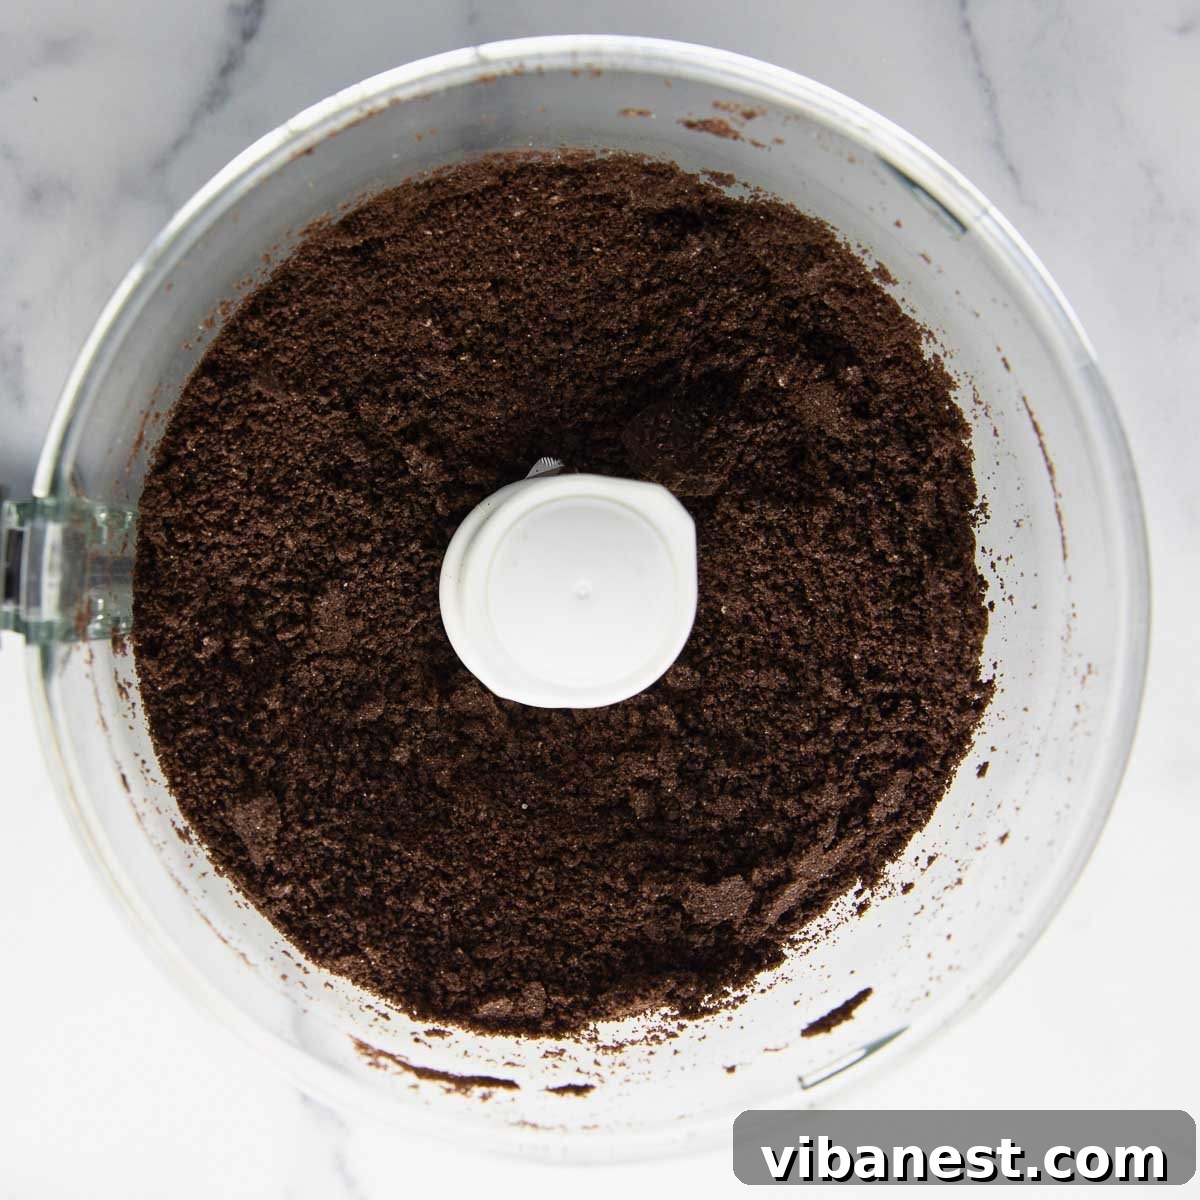
Mastering the Crush: Preparing Your Oreos
The first crucial step to creating perfect Oreo Truffles is achieving a finely crushed Oreo cookie base. A food processor is your best friend here, quickly transforming whole cookies into a uniform crumb. Alternatively, for a more hands-on approach, place the Oreos in a sturdy zip-lock bag and unleash your inner chef, crushing them with a rolling pin or any hard, firm object until they reach a fine, sand-like consistency. The finer the crush, the smoother your truffle mixture will be.
Creating the Core: Mixing with Cream Cheese
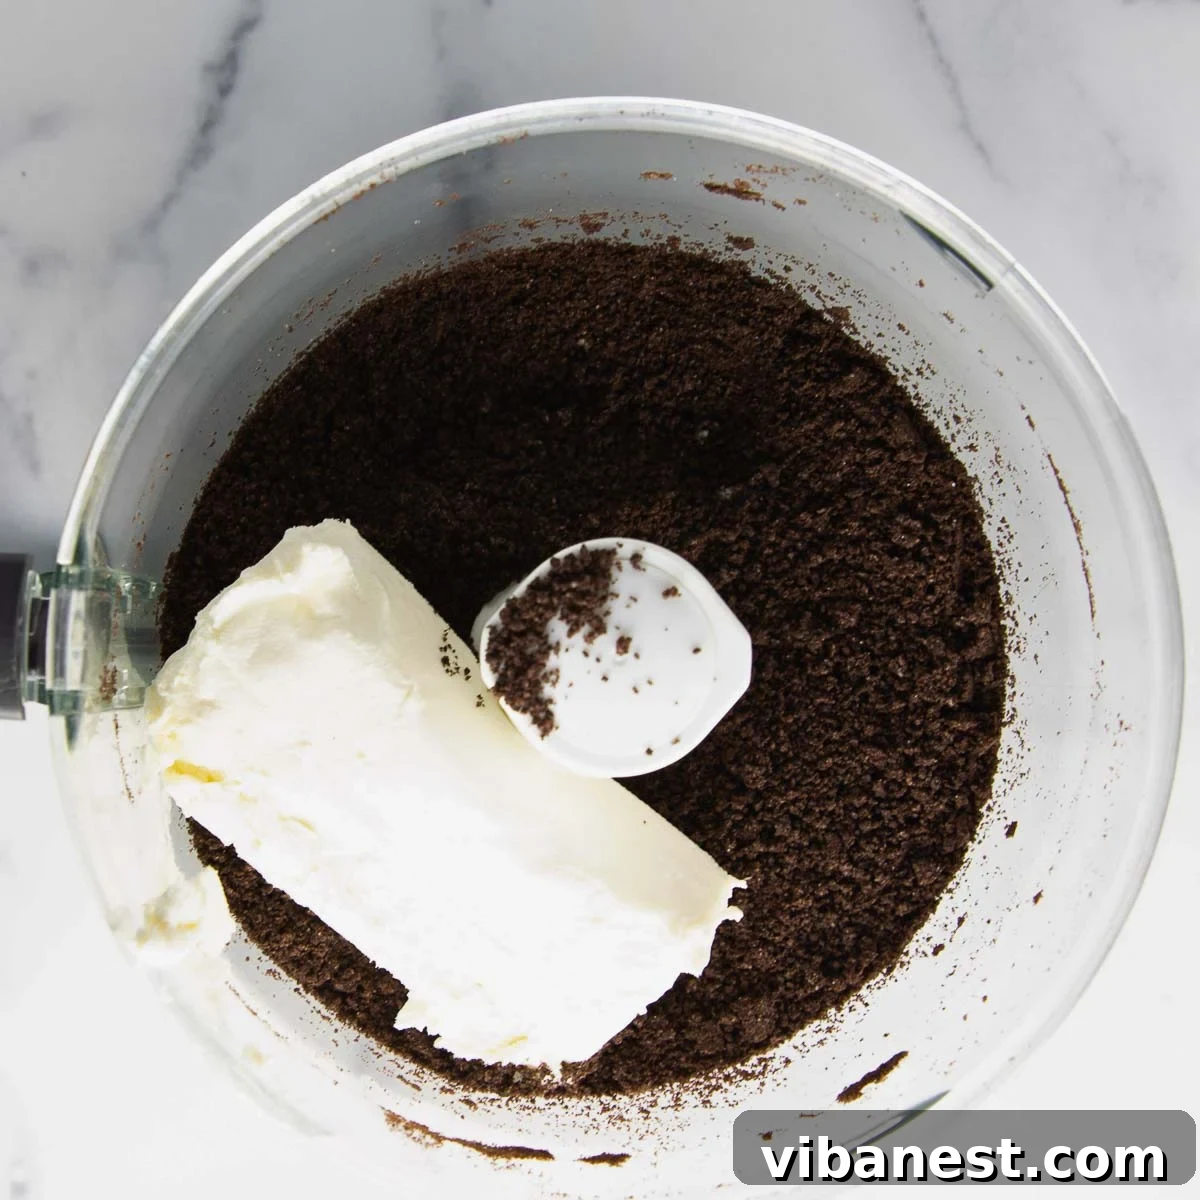
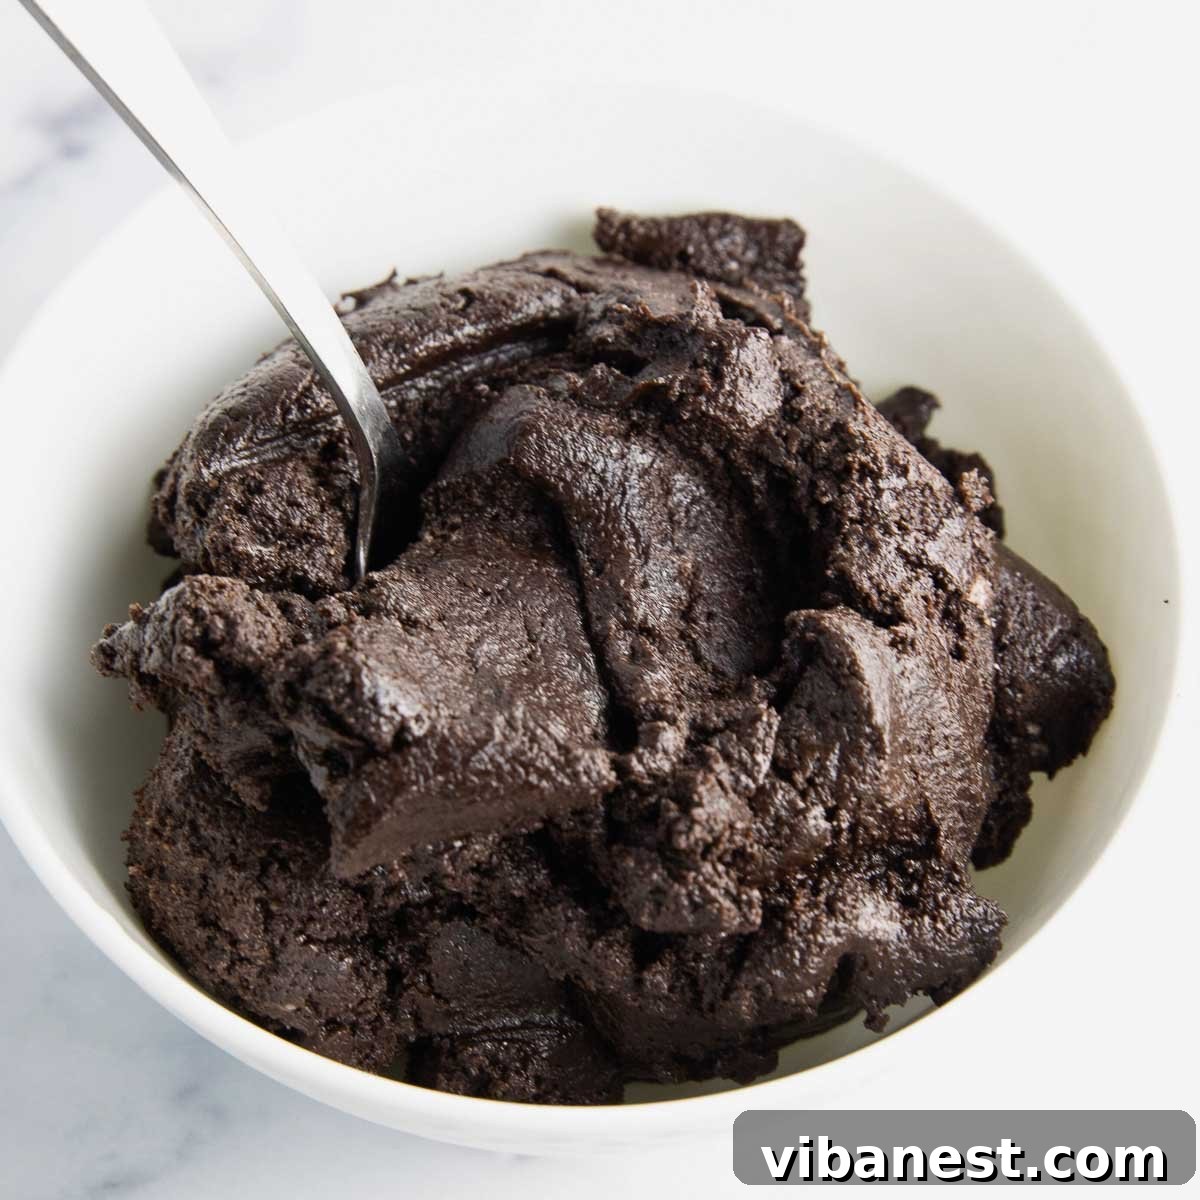
Once your Oreos are perfectly crushed, it’s time to introduce the creamy element: softened cream cheese. This is where the magic happens, transforming dry cookie crumbs into a pliable, rich, and decadent dough. If you’re using a food processor, simply add the softened cream cheese directly to the crushed Oreos and process until the mixture is completely smooth and forms a cohesive ball. If you’re mixing by hand or with an electric mixer, combine the ingredients in a large bowl, ensuring the cream cheese is truly softened to avoid lumps, and mix until well blended and a uniform “dough” forms. The consistency should be easy to roll.
Shaping Perfection: Rolling and Chilling
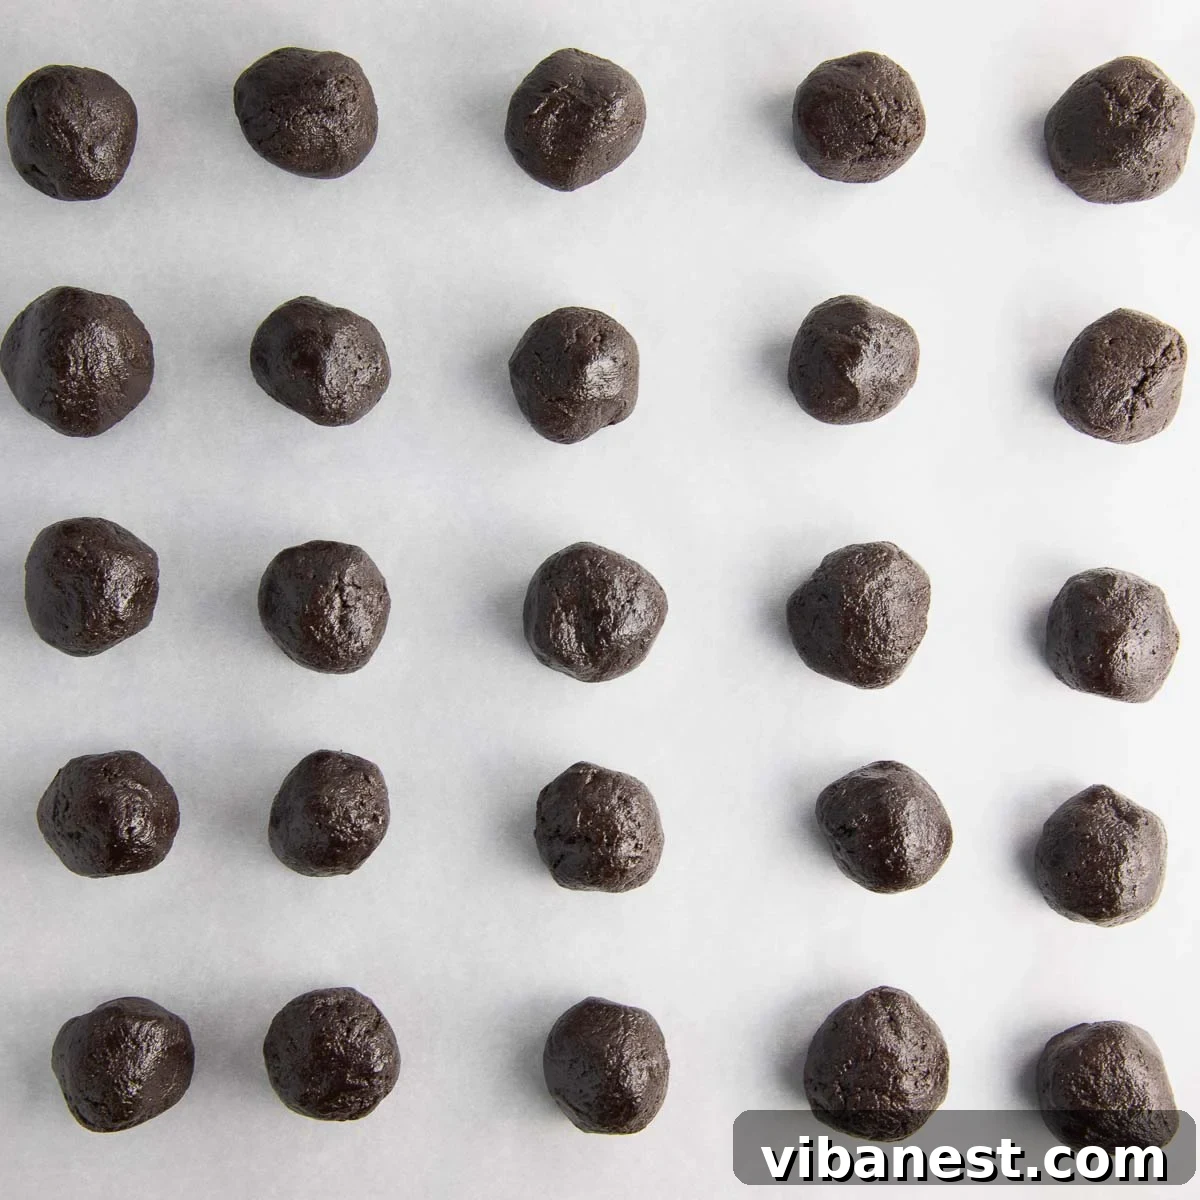
Now for the fun part: shaping your truffles! Using a small cookie scoop or a tablespoon, portion out the Oreo-cream cheese mixture and roll it into smooth, uniform balls. Aim for a consistent size to ensure even dipping and a professional appearance. As you roll them, place the formed balls onto a parchment-lined baking sheet. Once all your truffles are shaped, it’s crucial to pop them into the freezer for 15-20 minutes, or into the refrigerator for at least an hour. This chilling step is vital as it helps the balls firm up, preventing them from falling apart during the dipping process and ensuring a cleaner, more stable coating.
The Decadent Coat: Dipping Your Truffles
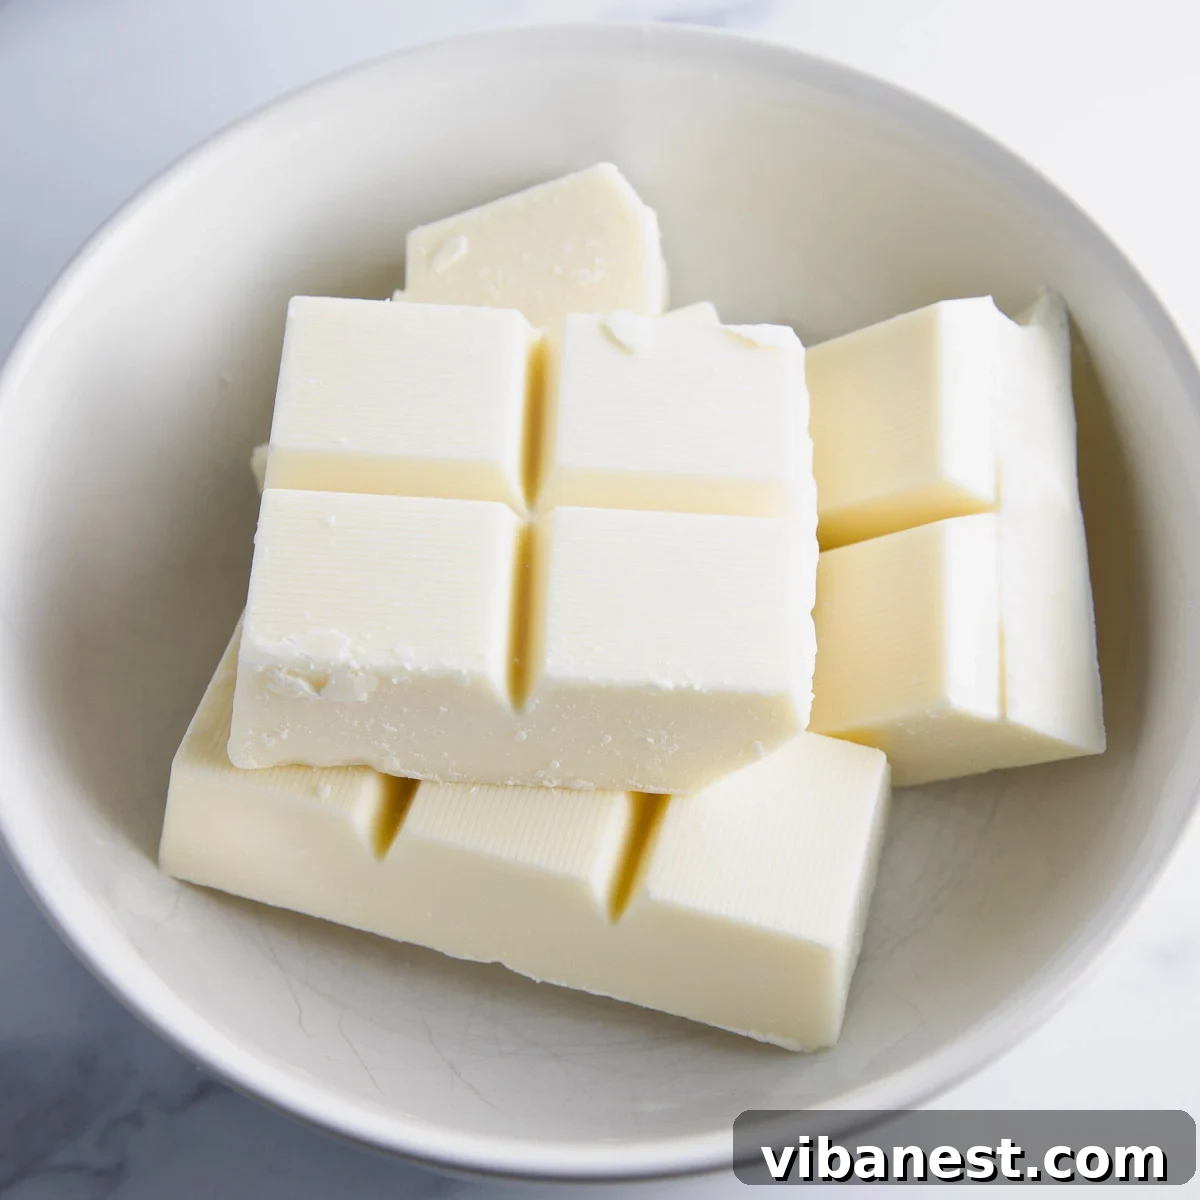
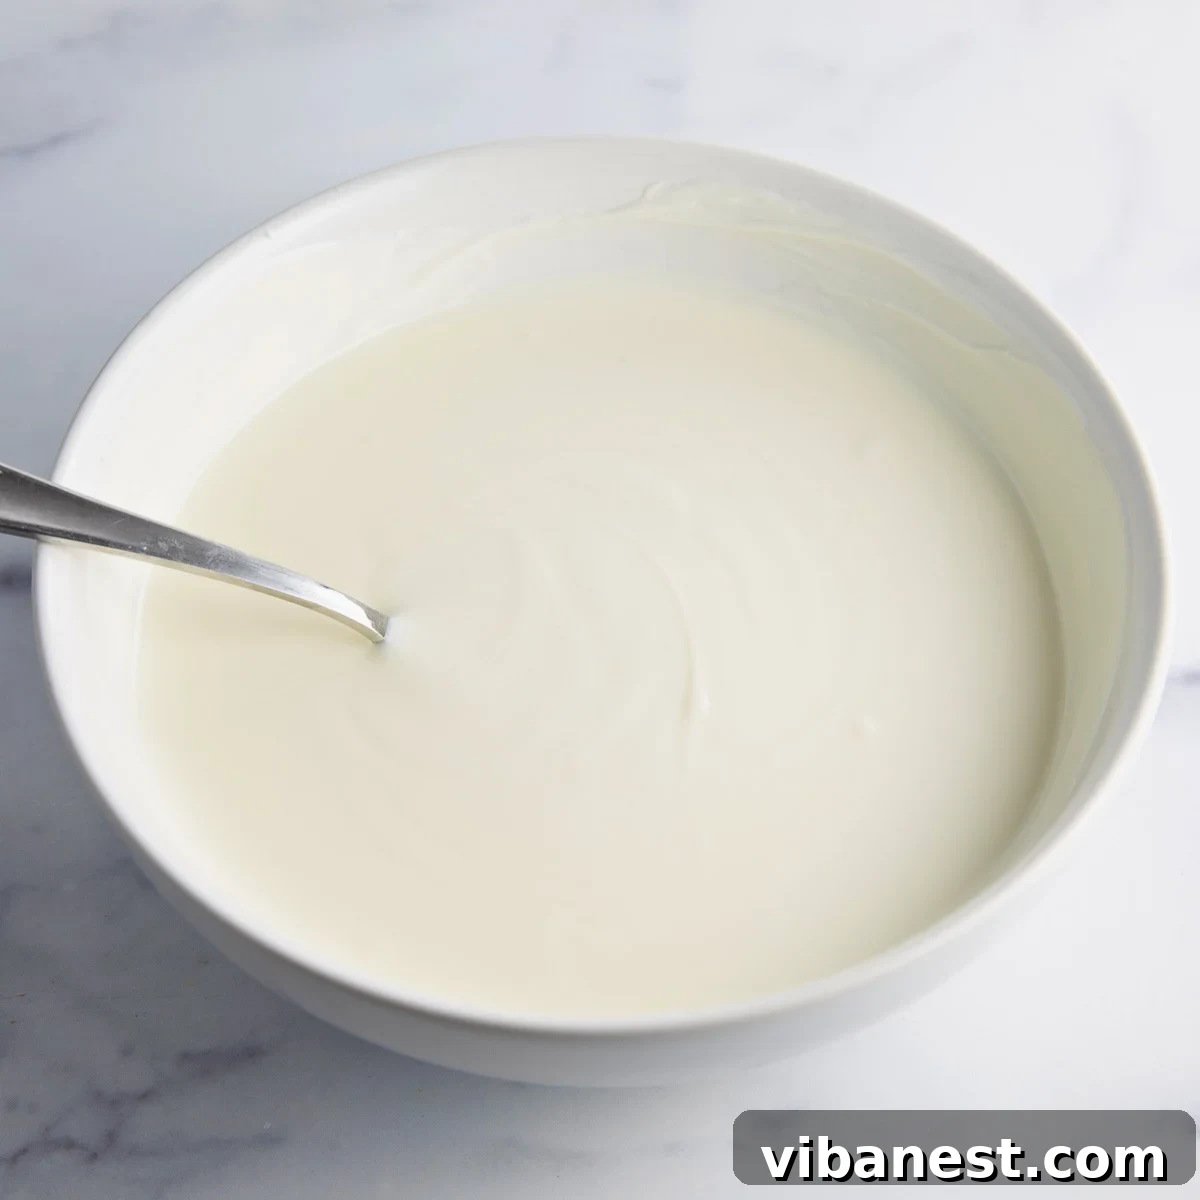
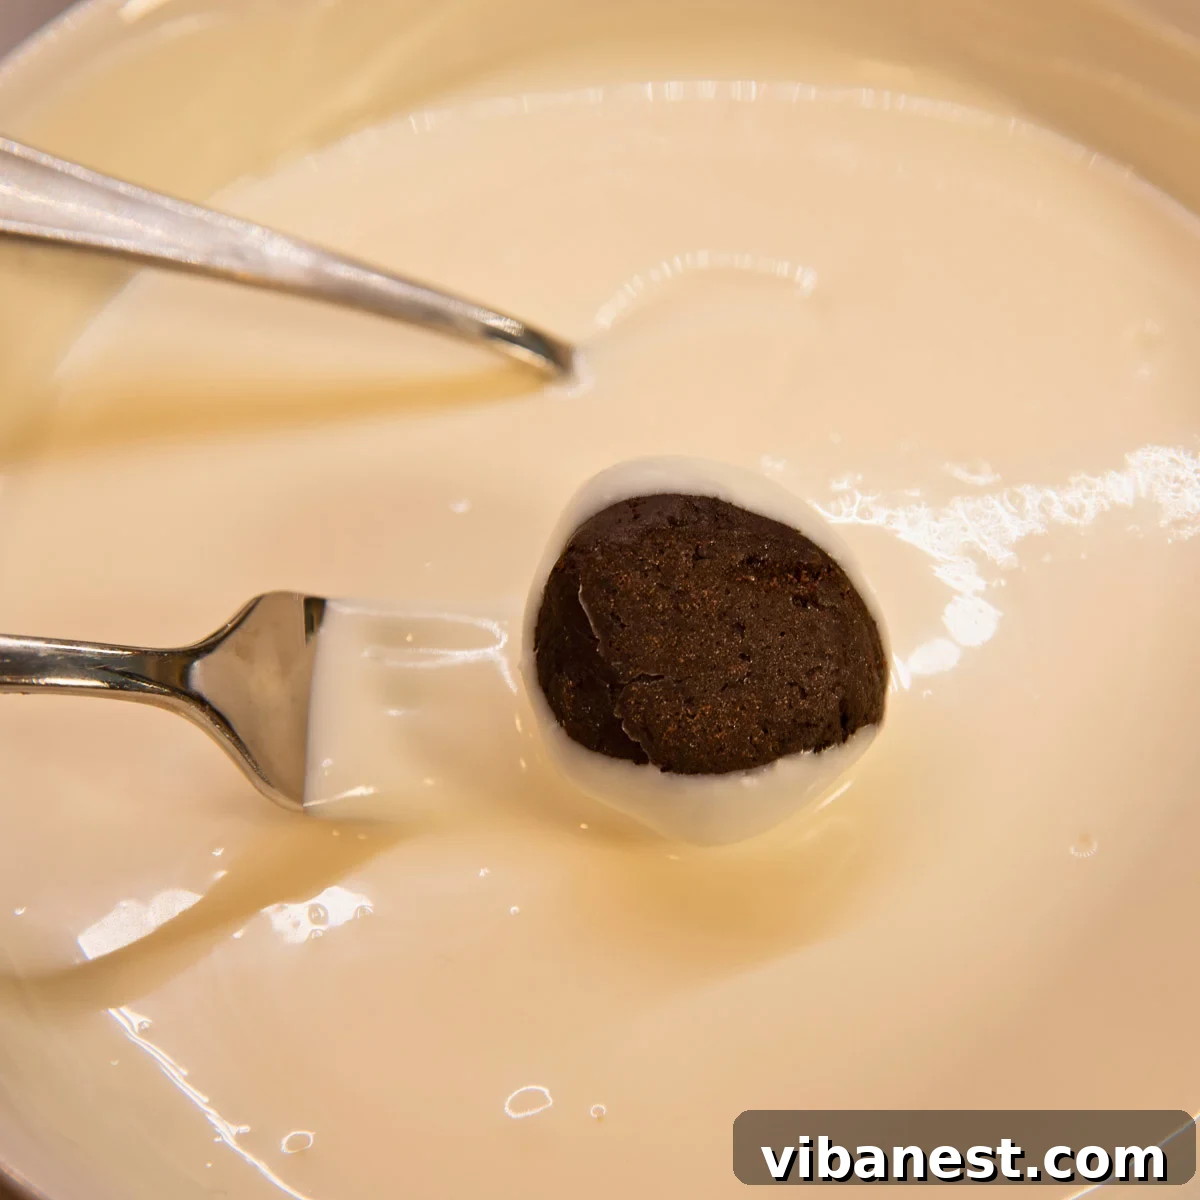
The grand finale involves coating your chilled Oreo balls in a luscious layer of melted chocolate. For a smooth and easy application, I highly recommend using almond bark candy coating, as it melts beautifully and hardens quickly. Alternatively, candy melts offer a vibrant range of colors for extra festivity, or classic chocolate chips can be used for a rich, traditional flavor (just ensure you temper them properly or add a touch of coconut oil for easier dipping). To achieve an even coating without excess chocolate, I find a simple fork to be the most effective dipping tool. Gently drop a chilled Oreo ball into the melted chocolate, flip it once to coat, then lift it out, allowing any excess chocolate to drip off through the tines of the fork back into the bowl. This technique ensures a thin, even layer every time.
Decorating Tip: Timing is Everything!
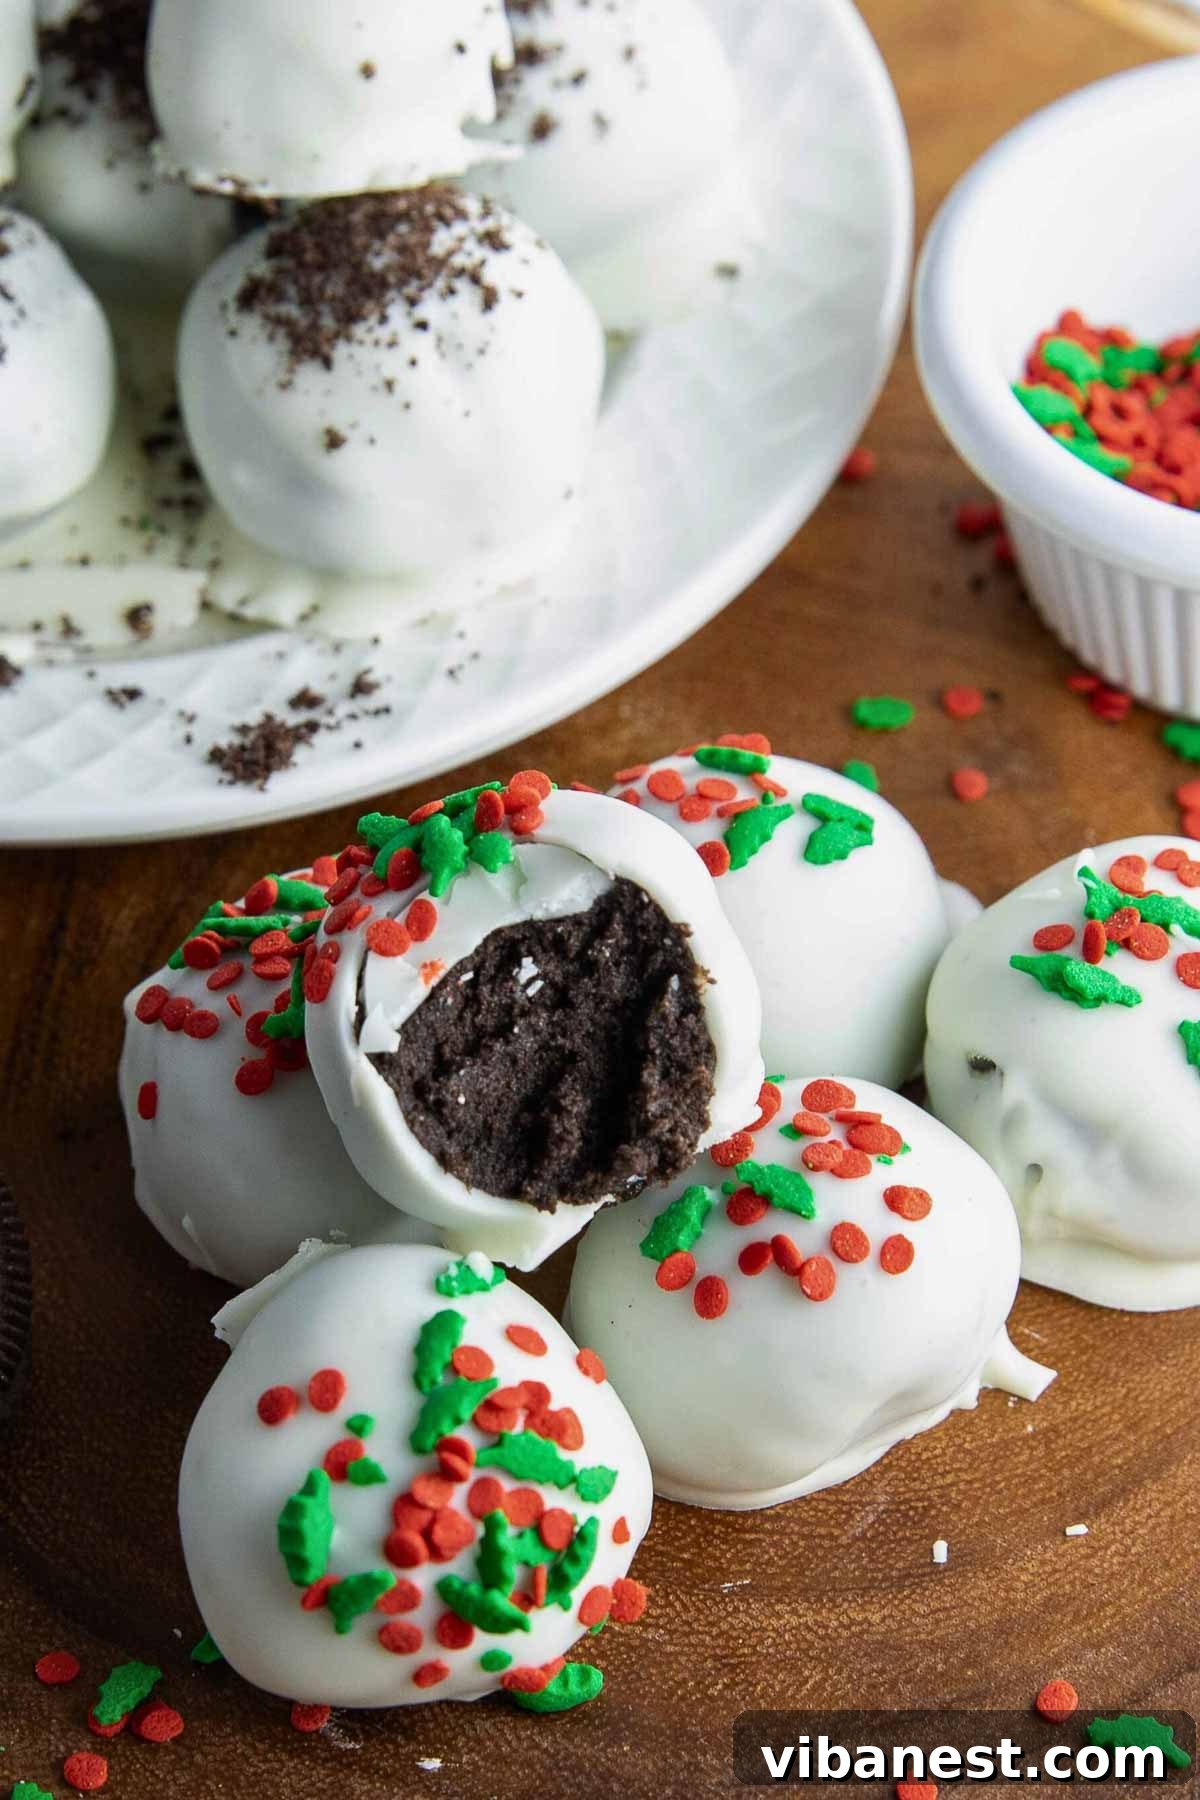
This is important! If you plan to add sprinkles, crushed cookie crumbs, or any other decorative elements to your Oreo Balls, you must do so immediately after dipping each one. The chocolate coating hardens very quickly, especially on the chilled truffles. Once the chocolate sets, sprinkles won’t adhere, and you’ll end up with a smooth, but undecorated, truffle. My method for success is simple: dip one Oreo ball, decorate it instantly, and then move on to the next. This ensures every single truffle receives its festive adornment perfectly.
Festive Flair: Decorate Your Oreo Truffles
Once dipped, place your coated Oreo Balls back onto a clean parchment-lined baking sheet. This is the moment to unleash your creativity! As highlighted in our tip, immediately add your favorite Christmas sprinkles before the chocolate has a chance to set. For an alternative or additional touch, you can also drizzle contrasting colored candy melts over the hardened chocolate. Imagine vibrant green and red drizzles over a white chocolate coating, or a classic white drizzle over dark chocolate truffles. Something like these Christmas-colored candy melts can add a truly fun and festive dimension to your treats! Feel free to get creative with patterns, zigzags, or simple stripes.
How to Store Your Delicious Oreo Balls/Truffles
Proper storage ensures your Oreo Balls remain fresh and delicious for days, making them a fantastic make-ahead treat for the busy holiday season.
Refrigerator Storage: Once the chocolate coating has fully set, transfer your Oreo Truffles to an airtight container. Layer them carefully, with parchment paper between layers if stacking, to prevent them from sticking together. Stored this way, they will stay perfectly fresh and delightful in the refrigerator for up to 2 weeks.
Freezer Storage: For longer-term enjoyment, Oreo Balls freeze beautifully. Place the fully set truffles in a single layer on a baking sheet and freeze until solid (about 1-2 hours). Once frozen, transfer them to a freezer-safe container or a heavy-duty freezer bag, again using parchment paper between layers to prevent sticking. They can be frozen for up to 3 months. To serve, simply thaw them in the refrigerator overnight or for a few hours before indulging.
Pro Tips for Flawless Oreo Truffles
- Soften That Cream Cheese: This is key! Cold cream cheese will result in a lumpy mixture. Ensure it’s at room temperature for a smooth, uniform dough that’s easy to roll.
- Finely Crush Oreos: The finer your cookie crumbs, the smoother your truffles will be. Large chunks can make the mixture harder to roll and result in an uneven texture.
- Chill Thoroughly: Don’t skip the chilling steps! Firm balls are essential for clean dipping. If your balls soften too much during dipping, pop them back in the freezer for a few minutes.
- Melt Chocolate Carefully: Whether using almond bark, candy melts, or chocolate chips, melt your coating gently. Overheating can cause chocolate to seize or become thick and unworkable. Use a double boiler or microwave in short bursts (30 seconds at a time), stirring well between each, until smooth.
- Thinning Chocolate (If Needed): If your melted chocolate seems too thick, you can thin it with a tiny amount of coconut oil or vegetable shortening (about 1 teaspoon per cup of chocolate). This helps create a smoother, thinner coating.
- Use the Right Tools: A fork or a specialized dipping tool makes dipping much easier and helps excess chocolate drip off, preventing puddles at the base of your truffles.
- Work in Batches: If making a large quantity, keep undipped Oreo balls in the freezer while you dip a smaller batch. This maintains their chilled state for easier coating.
Delicious Variations & Creative Twists
While the classic Oreo Ball is undeniably perfect, these truffles are incredibly versatile! Here are some ideas to customize them for any occasion:
- Different Oreo Flavors: Experiment with seasonal Oreo flavors! Mint Oreos make incredible green truffles, peanut butter Oreos offer a nutty twist, or use Golden Oreos for a vanilla-based treat.
- Flavorful Mix-ins: Fold in a tablespoon of peppermint extract, a teaspoon of vanilla extract, or a dash of orange zest into the cream cheese mixture for added flavor depth.
- Boozy Bites: For an adult-friendly version, add a tablespoon of liqueur like Kahlúa, Bailey’s, or peppermint schnapps to the cream cheese mixture before rolling.
- Chocolate Drizzle: Instead of or in addition to sprinkles, drizzle contrasting melted chocolate over the set truffles. White chocolate over dark truffles, or dark chocolate over white-coated truffles, looks elegant.
- Toasted Coconut: Roll the dipped truffles in toasted shredded coconut before the chocolate sets for a tropical touch.
- Nutty Crunch: Press finely chopped nuts (pecans, walnuts, pistachios) onto the still-wet chocolate for a delightful textural contrast.
- Edible Glitter or Dust: For a truly magical and sparkling effect, lightly brush or sprinkle edible glitter or luster dust onto the finished truffles.
No Bake Oreo Balls for Christmas
30
1-2
25-30
Ingredients
- 8 ounces cream cheese softened
- 15 ounces Oreo Cookies finely crushed (about 36 cookies)
- 24 ounces almond bark vanilla or chocolate, or preferred candy melts/chocolate chips
- Christmas sprinkles for decorating (optional)
Instructions
-
Crush the Oreos: Use a food processor to pulse the Oreo cookies into a fine, uniform crumb. If you don’t have a food processor, place the cookies in a sturdy zip-top bag and crush them thoroughly with a rolling pin or a heavy object. You can optionally reserve 1-2 tablespoons of crushed Oreos for garnish later.
-
Mix with cream cheese: Add the softened cream cheese to the food processor with the crushed Oreos (or to a large mixing bowl). Process or mix with a hand mixer until the mixture is completely smooth, well blended, and forms a cohesive dough. Ensure there are no lumps of cream cheese remaining.
-
Roll into balls: Using a tablespoon or a small cookie scoop, portion out the Oreo mixture. Roll each portion into a smooth, even ball. Place the rolled balls on a baking sheet lined with parchment paper. This recipe typically yields about 25-30 Oreo balls.
-
Freeze: To firm them up for dipping, place the baking sheet with the Oreo balls into the freezer for 15-20 minutes. Alternatively, you can refrigerate them for about an hour. This step is crucial for a smooth coating.
-
Dip: While the Oreo balls are chilling, melt your chosen coating (almond bark, chocolate chips, or candy melts) according to the package directions. It’s best to melt gently over a double boiler or in the microwave in short intervals, stirring frequently to prevent scorching. Dip each chilled Oreo ball into the melted chocolate. Use two forks to gently roll and lift the truffle, allowing any excess chocolate to drip back into the bowl for a clean finish.
-
Decorate: Immediately after dipping each Oreo ball, place it back on the parchment-lined baking sheet and add your desired decorations, such as Christmas sprinkles or reserved Oreo cookie crumbs. The chocolate hardens quickly, so work swiftly with each truffle individually.
-
Chill: Once all truffles are dipped and decorated, allow them to chill in the refrigerator for at least 30 minutes to fully set the chocolate coating. Then, they are ready to serve and enjoy!
Notes
Tried this recipe?
Share your delicious creations! Mention @CenterCutCook and tag #CenterCutCook on social media!
More Enchanting Christmas Cookies and Holiday Treats:
The holiday season is a time for indulgence and sharing delightful sweets. Beyond these incredible Oreo Truffles, explore more festive recipes that are perfect for baking (or no-baking!) up joy during the most wonderful time of the year. These treats are ideal for cookie platters, gifting, or simply enjoying with a warm cup of cocoa by the fireplace.
- Soft & Chewy Lofthouse Christmas Sugar Cookies: Classic, frosted sugar cookies that are irresistibly soft and colorful.
- Sweet & Salty Rolo Pretzel Bites: A perfect balance of salty pretzels, melted Rolo candies, and a pecan crunch.
- Melt-in-Your-Mouth Chocolate Chip Snowball Cookies: Buttery, nutty cookies dusted with powdered sugar, resembling festive snowballs.
- Decadent Chocolate Covered Cherry Cookies: Rich chocolate cookies with a sweet cherry center, perfect for chocolate lovers.
- Whimsical Elf on the Shelf Cupcakes: Fun and creative cupcakes that bring the magic of Elf on the Shelf to your dessert table.
Whether you’re wrapping up these charming Christmas Oreo Truffles in a cute little box, arranging them in mini cupcake liners for an elegant presentation, or simply enjoying them fresh from the fridge, they are guaranteed to be a hit. They work wonderfully as thoughtful Christmas gifts for friends and neighbors, or as a star attraction in any Christmas Cookie exchange. As always, if you create this or any of my other beloved recipes, please snap a picture and tag me on social media. Or, leave a comment below to share your experience and creations. I absolutely love hearing from you and seeing your festive treats come to life!