
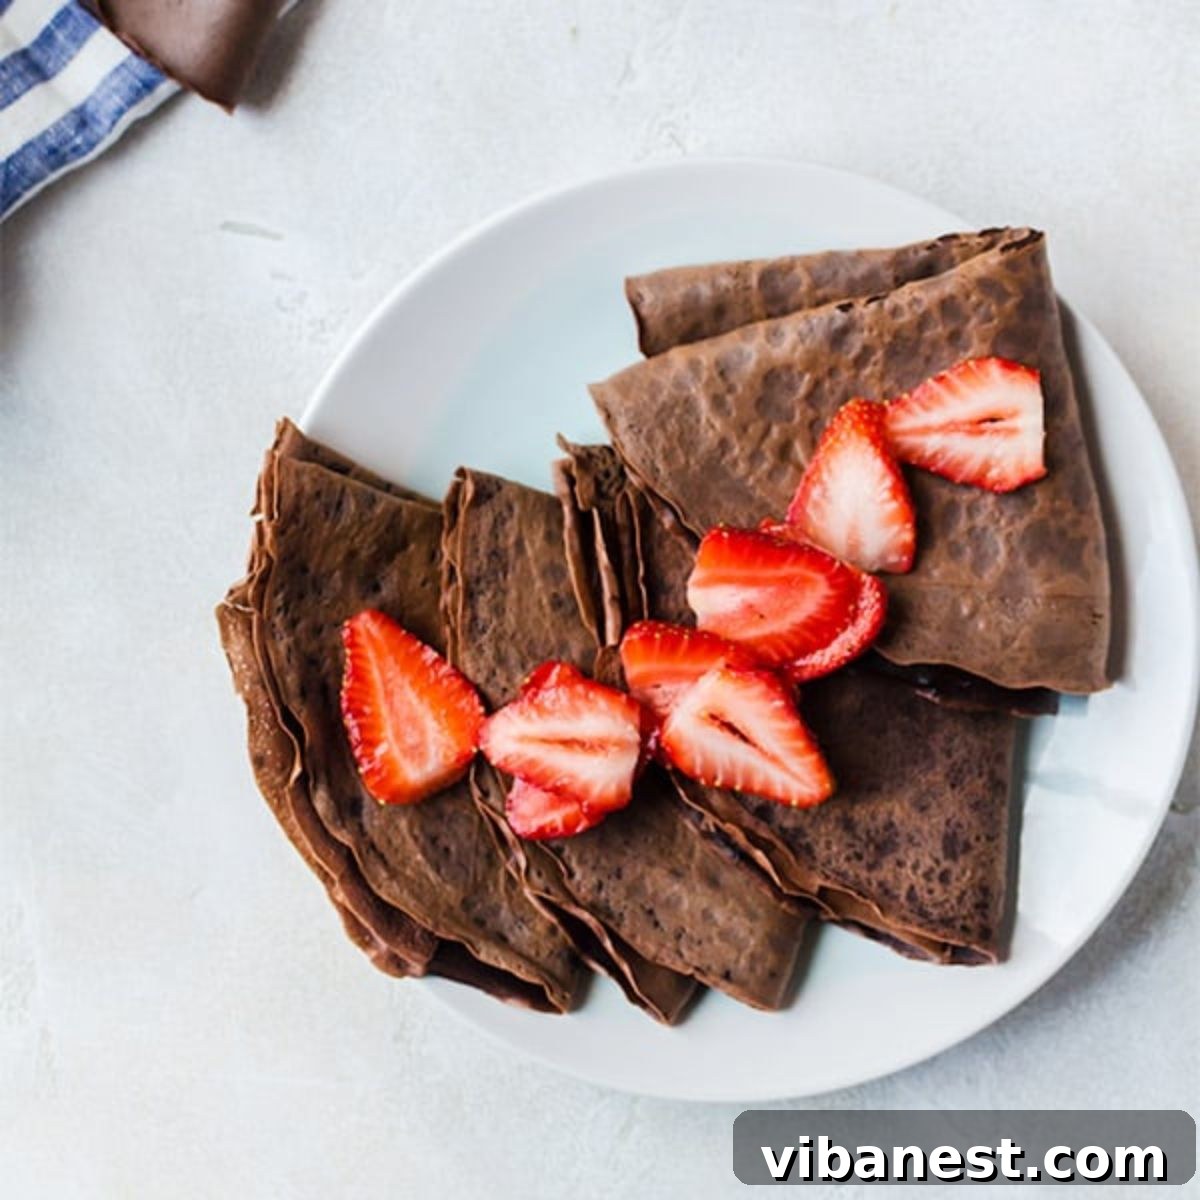
Decadent Homemade Chocolate Crepes: An Easy Recipe for Breakfast or Dessert
Unleash your inner pastry chef with this simple yet incredibly rewarding recipe for homemade chocolate crepes. These thin, delicate pancakes are a symphony of rich cocoa flavor, perfect for transforming any meal into a special occasion. Whether you’re planning a lavish breakfast, a romantic brunch, or a sophisticated dessert, these chocolate crepes are guaranteed to impress with their versatility and melt-in-your-mouth texture.
Why You’ll Fall in Love with This Chocolate Crepe Recipe
For years, I’ve cherished the simplicity and elegance of classic crepes, but discovering the magic of chocolate crepes was a game-changer. The addition of cocoa powder transforms a beloved favorite into an irresistibly rich and indulgent treat. Here’s why this recipe will quickly become a staple in your kitchen:
- Effortlessly Elegant: Despite their sophisticated appearance, chocolate crepes are surprisingly easy to make, even for beginners.
- Unbelievably Versatile: Serve them sweet for breakfast or dessert, with endless topping and filling possibilities.
- Rich & Satisfying: The deep chocolate flavor, combined with a delicate texture, creates a truly luxurious experience.
- Customizable: Easily adapt the recipe with various extracts or spices to suit your taste.
- Perfect for Any Occasion: From a cozy Sunday morning to a fancy dinner party, crepes fit right in.
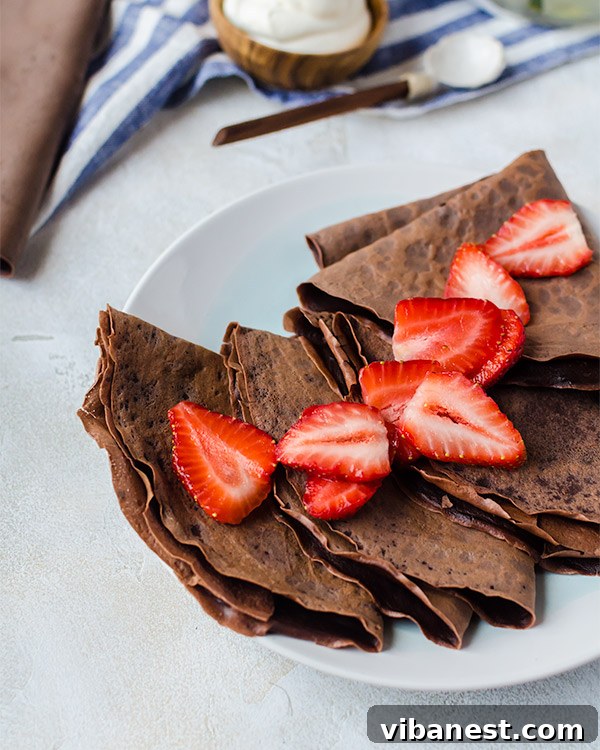
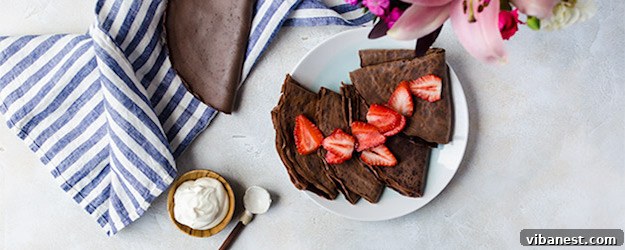
Imagine a stack of warm, tender chocolate crepes, draped with fresh strawberries and a generous dollop of homemade whipped cream – it’s the kind of dessert that makes you feel utterly fancy. For a morning delight, adorn them with a medley of fresh berries, a sprinkle of cinnamon, or a drizzle of maple syrup. The possibilities are truly endless!
Mastering the Chocolate Crepe Batter
Creating the perfect chocolate crepe batter is just as straightforward as making traditional crepes, with a few delightful cocoa-infused adjustments. The key difference lies in swapping some of the all-purpose flour for rich cocoa powder, and enhancing the sweetness with a touch more sugar and fragrant vanilla extract.
Essential Ingredients for Perfect Chocolate Crepes:
- All-Purpose Flour: Provides the structural base for your crepes.
- Cocoa Powder: The star ingredient, delivering that deep, inviting chocolate flavor. Use unsweetened natural cocoa powder for best results.
- Granulated Sugar: Balances the bitterness of the cocoa and adds sweetness. Adjust to your preference.
- Salt: A pinch enhances all the other flavors. Don’t skip it!
- Large Eggs (Room Temperature): Crucial for a smooth, cohesive batter. Room temperature eggs emulsify better with other liquids, preventing lumps.
- Warm Milk: Helps the ingredients combine more easily, resulting in a silkier batter. Avoid cold milk straight from the fridge.
- Vanilla Extract: Complements the chocolate flavor beautifully, adding a layer of warmth and aroma.
- Melted Butter: Contributes to the tender texture and rich taste of the crepes, and helps prevent sticking.
The Mixing Process:
The general method for preparing the batter remains consistent with classic crepes. We begin by combining the dry ingredients, then slowly incorporate the wet components to achieve a lump-free, pourable consistency.
- Combine Dry Ingredients: In a large mixing bowl or a blender, whisk together the flour, cocoa powder, sugar, and salt until they are thoroughly combined. This ensures even distribution of flavors.
- Introduce Eggs to Form a Paste: Add the room temperature eggs to the dry mixture. Mix vigorously, either by hand with a whisk or in a blender, until a thick paste forms. This step is vital as it helps to break down any flour lumps early on. In a blender, this usually takes about 30 seconds. If mixing by hand, ensure you really work the paste to a smooth consistency.
- Whisk Wet Ingredients Separately: In a separate small bowl, whisk together the warm milk, vanilla extract, and melted butter. Warming the milk slightly helps the butter melt seamlessly and aids in creating a smooth final batter.
- Slowly Incorporate Wet into Dry: Gradually add the milk mixture to the flour-and-egg paste. If using a blender, pour it in slowly while the blender is running, blending for another 30-45 seconds until the batter is completely smooth and uniform. If mixing by hand, add the milk mixture in small increments, whisking continuously and thoroughly after each addition until all lumps are gone and you have a smooth, thin batter.
- Rest the Batter: This is a crucial, often overlooked step! Once your batter is mixed, allow it to rest at room temperature for at least 10 minutes, or even up to 30 minutes. Resting allows the flour to fully hydrate, which leads to more tender crepes and helps any air bubbles to dissipate, resulting in fewer tears during cooking. You can even prepare the batter a day in advance and store it in the refrigerator; just bring it to room temperature before cooking.
Cooking Your Chocolate Crepes to Perfection
While professional crepe makers offer excellent results, you absolutely can achieve delicious, evenly cooked chocolate crepes using a standard nonstick skillet. The key lies in consistent heat and a swift swirling motion.
Equipment for Cooking Crepes:
- Nonstick Skillet (8-10 inches): A well-seasoned nonstick pan is your best friend.
- Crepe Maker (Optional): For professional-looking, consistently thin crepes.
- Ladle or Measuring Cup (1/4 cup): For portioning the batter.
- Thin Rubber Spatula or Butter Knife: For lifting and flipping.
- Wire Rack: To keep cooked crepes warm and prevent them from becoming soggy.
Step-by-Step Cooking Instructions:
- Preheat Your Skillet: Place your nonstick skillet over medium heat. It’s essential to allow the pan to get adequately hot before adding batter. A pan that’s too cool will result in tough crepes, while one that’s too hot will burn them quickly. You can test the heat by flicking a few drops of water onto the surface; they should sizzle and evaporate almost immediately.
- Lightly Grease (If Needed): If your pan isn’t perfectly nonstick, lightly brush it with a tiny amount of butter or oil before the first crepe, and then as needed every few crepes. Too much oil will make the crepes greasy.
- Pour and Swirl: For each crepe, pour approximately 1/4 cup of batter into the center of the hot skillet. The trick is to act quickly: as soon as the batter hits the pan, immediately lift the skillet and begin swirling it gently. Tilt and rotate the pan in a circular motion to spread the batter evenly across the entire bottom surface into a thin, consistent layer. This creates the signature delicate texture of a crepe. If you’re new to this, you can leave the skillet on the burner while pouring, then swiftly lift and swirl.
- Cook the First Side: Allow the crepe to cook for about 1 minute. You’ll know it’s ready to flip when the edges start to look dry and slightly crispy, and the surface no longer appears wet. Small bubbles might form.
- Flip with Care: Gently loosen the edges of the crepe with a thin rubber spatula or a butter knife. Once loosened, slide your utensil to the middle of the crepe, carefully lift, and swiftly flip it over. Don’t worry if your first few crepes aren’t perfect – even ripped ones taste delicious! Practice makes perfect.
- Cook the Second Side: Cook for an additional 30 seconds to 1 minute on the second side, until lightly golden.
- Keep Crepes Warm: As you cook the remaining crepes, transfer the finished ones to a wire rack placed inside a warm oven (around 200°F / 95°C). This will keep them warm and pliable while you finish the batch.
Expert Tips for Perfect Chocolate Crepes Every Time
- Room Temperature Ingredients: Always ensure your eggs and milk are at room temperature. This helps create a smooth, emulsified batter without lumps.
- Don’t Skip Resting the Batter: Resting allows the gluten in the flour to relax and the liquid to fully hydrate the flour, resulting in tender, pliable crepes that are less likely to tear.
- Proper Pan Temperature: Medium heat is ideal. Too low, and crepes will be pale and tough. Too high, and they’ll burn before they cook through.
- Thin and Even Batter Spreading: The swirling motion is key to achieving that signature thin crepe. Practice makes perfect!
- Patience with Flipping: Wait until the edges are set and the surface is mostly dry before attempting to flip. A thin, flexible spatula or a specialized crepe turner works best.
- Stacking for Softness: If you’re not keeping them warm in the oven, stack cooked crepes on a plate and cover them with a clean kitchen towel. The residual heat will keep them warm and soft.

Print Recipe
No ratings yet
How to Make Chocolate Crepes
6 minutes
10 minutes
16 minutes
9
crepes
Ingredients
-
1/3
cup
all purpose flour -
3
tbsp
cocoa powder -
3-4
tbsp
granulated sugar -
1/8
tsp
salt -
2
large eggs
room temperature -
3/4
cup
warm milk -
1
tsp
vanilla extract -
2
tbsp
melted butter
Instructions
-
Heat a skillet to medium heat.
-
In a mixing bowl or blender, combine the flour, cocoa powder, sugar, and salt. Mix until well combined.
-
Add the eggs to the dry mixture and mix until a smooth paste forms (about 30 seconds in a blender).
-
In a small separate bowl, whisk together the warm milk, vanilla extract, and melted butter.
-
Slowly add the milk mixture to the flour-egg paste and mix thoroughly until the batter is smooth and lump-free. If mixing by hand, add slowly while whisking continuously. In a blender, blend for 30-45 seconds.
-
Allow the batter to rest for at least 10 minutes at room temperature.
-
Pour 1/4 cup of batter into your hot skillet. Immediately lift and swirl the pan to coat the bottom evenly with a thin layer. Cook for approximately 1 minute, then carefully flip and cook for an additional minute until lightly cooked.
-
Place cooked crepes on a wire rack in a warm oven (around 200°F / 95°C) to keep them warm while you cook the remaining batter.
-
Serve immediately with your favorite fruits, whipped cream, caramel sauce, chocolate syrup, or any other toppings and fillings you desire.
Tried this recipe?
Mention
@CenterCutCook and tag
#CenterCutCook!
Creative Serving Suggestions & Flavor Variations
The beauty of chocolate crepes lies in their incredible versatility. They act as a blank canvas for a myriad of flavors, allowing you to customize them for any craving or occasion.
Sweet Toppings for Breakfast or Dessert:
- Fresh Fruits: Strawberries, raspberries, blueberries, banana slices, cherries, or a mixed berry compote.
- Whipped Cream: A classic pairing, whether homemade or store-bought.
- Chocolate Galore: Drizzle with chocolate syrup, warm chocolate ganache, or sprinkle with chocolate chips or shavings.
- Caramel or Dulce de Leche: Adds a rich, buttery sweetness.
- Nut Spreads: Hazelnut spread (like Nutella), almond butter, or peanut butter for a protein boost.
- Confectioners’ Sugar: A simple dusting for an elegant finish.
- Maple Syrup or Honey: For a traditional pancake-like experience.
- Ice Cream: A scoop of vanilla, coffee, or even mint chocolate chip ice cream turns crepes into an ultimate dessert.
- Fruit Sauces: Raspberry coulis or cherry sauce adds a vibrant tang.
Exciting Flavor Variations for the Batter:
- Coffee-Infused: Add 1 teaspoon of instant espresso powder to the dry ingredients for a mocha-chocolate flavor.
- Orange Zest: Grate a teaspoon of fresh orange zest into the batter for a bright, citrusy note that complements chocolate beautifully.
- Mint Extract: A few drops of mint extract can transform them into a refreshing mint-chocolate delight.
- Spiced Crepes: A pinch of cinnamon or a tiny dash of cayenne pepper can add a subtle warmth and complexity to the chocolate.
Storage and Reheating Tips
Chocolate crepes are wonderful to make ahead, making them perfect for meal prep or entertaining. Here’s how to store and reheat them to maintain their deliciousness:
- Storing Cooked Crepes: Allow cooked crepes to cool completely. Stack them with a piece of parchment paper or wax paper between each crepe to prevent sticking. Place the stack in an airtight container or wrap tightly in plastic wrap. They can be stored in the refrigerator for up to 2-3 days.
- Freezing Crepes: For longer storage, stack cooled crepes with parchment paper between them, wrap the stack tightly in plastic wrap, then place in a freezer-safe bag. They can be frozen for up to 1-2 months. Thaw in the refrigerator overnight before reheating.
- Reheating Crepes:
- Skillet Method: Lightly grease a nonstick skillet and warm crepes over medium-low heat for 30-60 seconds per side until heated through and soft.
- Microwave Method: Place 1-2 crepes on a microwave-safe plate and microwave for 15-20 seconds until warm. Be careful not to overheat, as they can become tough.
- Oven Method (for larger batches): Wrap a stack of crepes in aluminum foil and warm in a preheated oven at 250°F (120°C) for 5-10 minutes.
Frequently Asked Questions (FAQs) About Chocolate Crepes
Can I make the batter ahead of time?
Absolutely! Crepe batter benefits from resting, so making it 1-24 hours in advance is highly recommended. Store it in an airtight container in the refrigerator. Stir well before using, and let it come to room temperature for about 15-30 minutes before cooking.
Why are my crepes tearing?
Several factors can cause tearing:
- Batter too thin or too thick: If it’s too thin, add a tablespoon of flour. If too thick, thin with a tablespoon of milk.
- Not enough rest time: Resting allows gluten to relax, making crepes more pliable.
- Pan not hot enough: A sufficiently hot pan sets the crepe quickly.
- Flipping too early: Wait until the edges are set and the surface is mostly dry.
What kind of cocoa powder should I use?
Unsweetened natural cocoa powder works best for this recipe. Dutch-processed cocoa powder can also be used, but it’s often darker and has a milder chocolate flavor.
Can I make these gluten-free?
Yes, you can substitute the all-purpose flour with a 1:1 gluten-free baking flour blend. Ensure your blend contains xanthan gum, or add 1/4 teaspoon if it doesn’t, to help with structure.
How do I make my crepes extra thin?
To achieve thinner crepes, ensure your batter is the right consistency (like thin cream) and your pan is hot. Pour the batter quickly and swirl immediately to spread it as thinly as possible.