
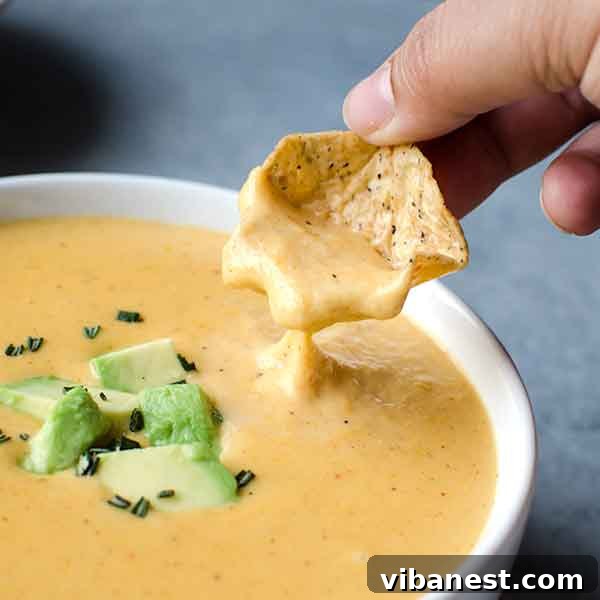
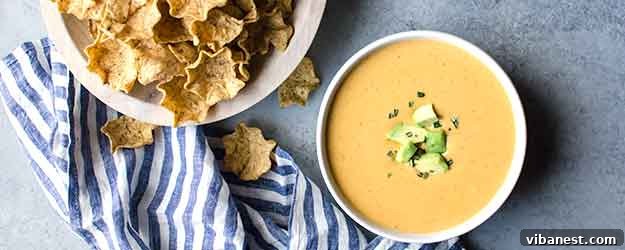
The Ultimate Homemade Nacho Cheese Recipe: Creamy, Dreamy & Irresistible
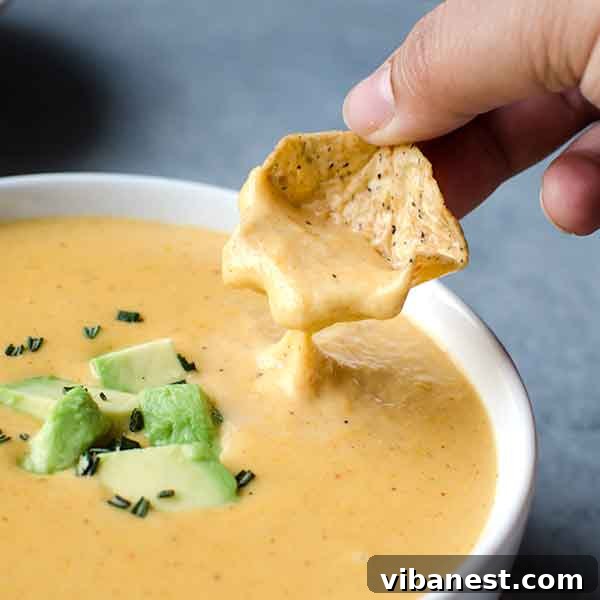
Imagine a culinary world where cheese isn’t just an ingredient, but a revered food group, celebrated in all its magnificent forms. At the very heart of this cheesy utopia, all versions of gloriously melty cheese would reign supreme, demanding at least two generous servings a day. For many, including myself, the primary source of this delectable daily ritual would undoubtedly be homemade nacho cheese. There’s an unparalleled satisfaction that comes from a rich, velvety, and perfectly seasoned cheese dip crafted right in your own kitchen – a satisfaction that store-bought imitations simply cannot replicate.
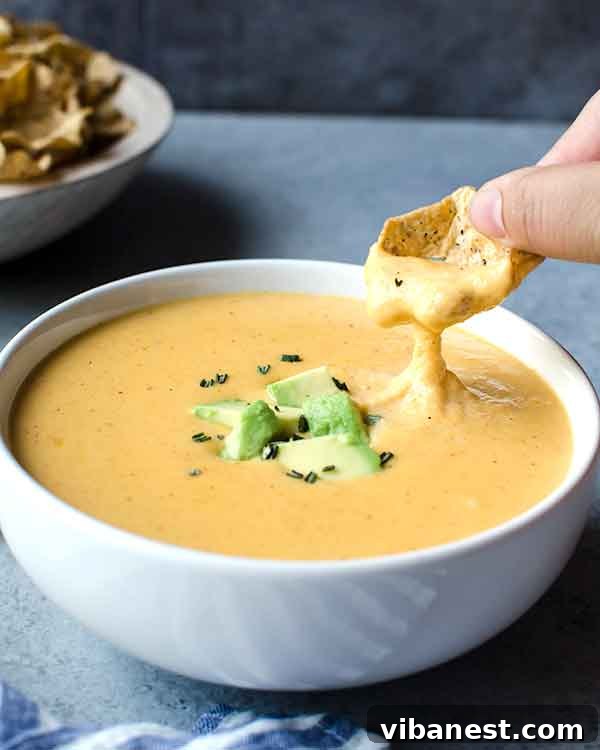
Let’s be honest, the nacho cheese you typically encounter at the grocery store or even most casual restaurants is a world apart from the incredible experience of homemade nacho cheese. When you make it yourself, it transforms into whatever your heart desires. It can be fiery and bold, subtly garlicky, perfectly salty, or a delightful blend of different cheeses. The power of customization is yours. This particular recipe offers a beautifully balanced foundation – a delightful creamy texture with just a gentle whisper of spice, making it wonderfully kid-friendly. However, don’t feel confined by our suggestions; embrace your inner culinary artist! Feel absolutely free to finely chop fresh jalapeños for an intense burst of heat, or generously increase the amount of cayenne pepper to ignite your taste buds. The journey to your perfect personalized nacho cheese begins here.
Why Homemade Nacho Cheese Reigns Supreme Over Store-Bought Alternatives
The distinction between homemade and commercially produced nacho cheese extends far beyond just taste. While store-bought options offer convenience, they often compromise on flavor, texture, and ingredient quality. Homemade nacho cheese, on the other hand, delivers an experience that is fresh, vibrant, and deeply satisfying.
Unmatched Flavor and Texture
The primary advantage of making nacho cheese from scratch is the superior flavor profile. You’re using real cheese, freshly grated, which melts into a smoother, richer consistency without the waxy mouthfeel sometimes associated with processed cheese products. The blend of spices, perfectly balanced, enhances the natural creaminess of the dairy, creating a complex and authentic taste that artificial flavorings can never truly emulate.
Complete Ingredient Control
When you prepare nacho cheese at home, you have total command over every ingredient. This means no artificial colors, no excessive sodium, and no obscure preservatives or stabilizers. You know exactly what’s going into your dip: high-quality butter, fresh milk, real cheese, and pure spices. This not only results in a healthier option but also a cleaner, more natural taste that truly shines. It’s an ideal choice for those with dietary concerns or simply anyone who prefers to eat wholesome, unprocessed foods.
Endless Customization Possibilities
This is where homemade nacho cheese truly excels. Craving a smoky kick? Add a touch of chipotle powder. Want more garlic? Double the garlic powder or sauté fresh cloves. Prefer a tangier cheese? Incorporate some sharp white cheddar. The recipe provided is a fantastic starting point, but it’s designed to be a springboard for your creativity. Whether you’re aiming for a mild, kid-friendly dip or a fiery fiesta explosion, you can adjust the heat, seasonings, and even the type of cheese to perfectly match your preferences and the occasion.
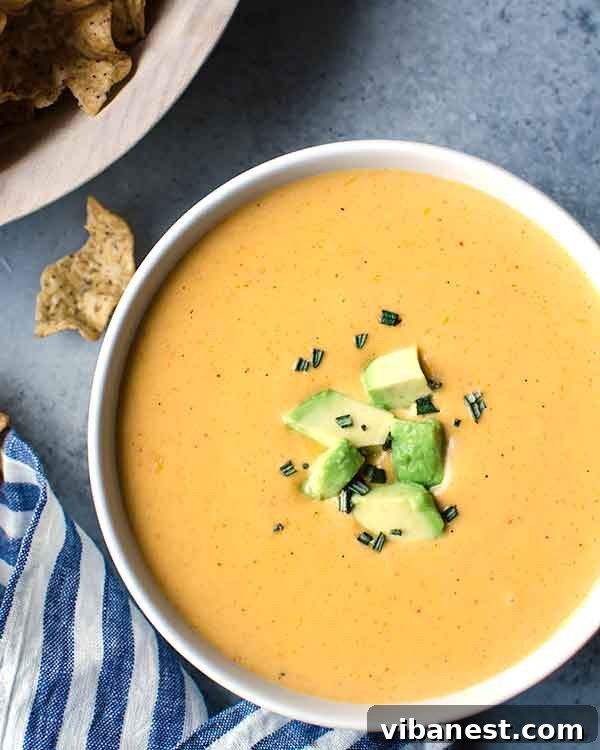
Mastering the Meltdown: Essential Tips for the Creamiest Nacho Cheese
Many home cooks shy away from making cheese sauce, fearing a grainy, separated mess. However, with a few simple, expert tips, you can guarantee a perfectly smooth, velvety, and irresistible nacho cheese every single time. It’s all about understanding the delicate science of melting cheese and creating a stable sauce base.
1. The Cold Milk Advantage: Your Secret Weapon Against Lumps
This tip is paramount for achieving a lump-free sauce base. Always ensure you are using *cold milk* (and cream) when adding it to your hot flour and butter (roux) mixture. The science behind this is straightforward: when cold liquid hits a hot roux, it slows down the gelatinization of the starch in the flour. This allows the flour particles to disperse evenly throughout the liquid before they begin to thicken, thereby preventing the formation of unsightly lumps. Adding hot liquid to a hot roux, conversely, causes the starch on the outside of the flour particles to gelatinize too quickly, creating immediate clumps. Embrace cold milk for a flawlessly smooth foundation.
2. The Art of Heat Management: Preventing Graininess
Perhaps the most critical step in preventing your cheese from becoming grainy or oily is meticulous heat management. Once your milk and cream mixture has reached a gentle simmer and has begun to thicken slightly, it is absolutely essential to turn off the heat on the burner and remove the saucepan from direct heat. Only *then* should you add your grated cheese and spices. Cheese is delicate; exposing it to too much direct, high heat while it melts can cause the fat proteins to separate from the milk solids, resulting in a greasy, grainy, and unappealing texture. Cheese melts best over gentle, indirect heat. The residual heat from the hot liquid in the saucepan is typically more than sufficient to melt the cheese beautifully. If, after stirring for a minute or two, the cheese hasn’t fully melted or the dip isn’t warm enough for serving, you can return the saucepan to the still-warm (but now off) burner for very short intervals, stirring continuously, until it reaches the desired temperature and consistency. Be vigilant and avoid boiling or excessive heat at all costs.
3. Grate Your Own Cheese for Optimal Melt
While pre-shredded cheese offers undeniable convenience, it often contains anti-caking agents like cellulose or potato starch. These additives are designed to prevent the cheese from clumping in the bag but can, unfortunately, interfere with the smooth melting process, sometimes leading to a slightly grainy or less creamy texture in your sauce. For the silkiest, most luxurious nacho cheese, invest a few extra minutes to grate blocks of cheese yourself. The difference in melt quality is significant and truly worth the minimal effort.
4. Stir Continuously for Smooth Incorporation
Once you’ve added the cheese, it’s important to stir continuously and gently. This ensures that the cheese melts evenly and incorporates fully into the sauce, preventing any bits from sticking to the bottom of the pan and burning. Use a whisk or a sturdy rubber spatula to thoroughly combine everything until you achieve that perfect, uniform, luscious consistency. Patience is key; don’t rush the melting process with high heat.
Customizing Your Nacho Cheese: Unleash Your Inner Chef with Flavor Variations
The true brilliance of homemade nacho cheese lies in its incredible versatility. While our foundational recipe is stellar, it’s also a blank canvas inviting your personal touch and creative flair. Don’t hesitate to experiment and tailor it to suit any craving or occasion.
- Kick Up the Heat: For those who love a fiery kick, the possibilities are endless! Beyond simply increasing the cayenne pepper, consider folding in finely minced fresh jalapeños (deseeded for a milder heat, seeds included for maximum intensity), a dash of your favorite hot sauce, a spoonful of fire-roasted green chiles, or even a tiny pinch of habanero powder for an extreme spice level. For a delightful smoky heat, a tablespoon of chipotle powder works wonders.
- Smoky Depths: To introduce a richer, more complex smoky flavor, experiment with smoked paprika. A few dashes of liquid smoke can also achieve this, but use it very sparingly as it’s potent. Alternatively, a tablespoon of finely chopped, crispy cooked bacon or chorizo bits folded in at the end provides both smokiness and a savory crunch.
- Garlic & Onion Intensity: If you’re a devout fan of robust aromatics, feel free to double the garlic powder and onion powder. For an even more profound flavor, consider sautéing a teaspoon of fresh minced garlic and a tablespoon of finely diced onion in the butter *before* adding the flour to create your roux.
- Herbaceous Twist: While not strictly traditional, a subtle inclusion of fresh cilantro, a tiny pinch of dried oregano, or even a touch of cumin can add an intriguing layer of complexity, particularly if you’re pairing your nacho cheese with other Mexican-inspired dishes. Add fresh herbs at the very end to preserve their vibrant flavor and aroma.
- Explore New Cheese Blends: The trio of cheddar, Colby Jack, and Monterrey Jack provides a fantastic balance, but don’t be afraid to venture out. Swap some cheddar for sharp white cheddar for a tangier profile, incorporate Pepper Jack for built-in spice, or add a small amount of Gruyere for a sophisticated, nutty undertone. A tiny amount of American cheese (like Velveeta, for example) is often used in commercial queso recipes for its unparalleled melt and stability, though our recipe achieves exceptional results without it.
- Umami Boosters: A dash of Worcestershire sauce or a teaspoon of tomato paste (cooked into the roux for a minute or two) can deepen the umami notes of your cheese sauce, adding another layer of savory deliciousness that keeps everyone coming back for more.
Beyond the Dip: Creative Serving Suggestions for Homemade Nacho Cheese
While the classic pairing of homemade nacho cheese with crispy tortilla chips is an undeniable masterpiece, limiting this golden goodness to just dipping would be a disservice. Your versatile homemade nacho cheese can elevate a myriad of dishes, transforming ordinary meals into extraordinary culinary experiences.
- The Ultimate Loaded Nachos: Go all out! Layer your favorite sturdy tortilla chips generously with this rich cheese sauce, then pile on seasoned ground beef or shredded chicken, black beans, corn, diced tomatoes, pickled jalapeños, thinly sliced red onions, a dollop of cool sour cream, and fresh guacamole for an epic feast that’s perfect for sharing.
- Gourmet Queso & Dippables: Serve it as a luxurious stand-alone queso dip. Offer an array of dippables beyond just chips: warm soft pretzel bites, crunchy breadsticks, toasted pita triangles, and a colorful assortment of fresh vegetable sticks like carrot and celery sticks, bell pepper strips, and cucumber slices for a lighter option.
- Comfort Food Smothering Sauce: Drench your favorite comfort foods in this golden, creamy perfection. It’s sensational over loaded baked potatoes, chili cheese fries, hot dogs, juicy burgers, breakfast burritos, scrambled eggs, or even as a decadent topping for steamed broccoli or cauliflower to make veggies more appealing.
- Mexican Fiesta Enhancer: Take your tacos, burritos, enchiladas, and quesadillas to an entirely new level. Drizzle this rich cheese sauce inside, over, or alongside for an authentic, mouth-watering touch that will impress every guest at your fiesta.
- Game Day MVP: A slow cooker brimming with warm, bubbling nacho cheese is the undisputed champion of any game day spread, tailgating party, or casual gathering. Set it out with a variety of complementary toppings, and let everyone customize their own cheesy creation to their heart’s content.
Storage and Reheating Tips for Creamy Perfection Every Time
While homemade nacho cheese is undeniably at its peak when served immediately, its incredible flavor means you’ll likely want to enjoy it again or even prepare it ahead of time. With a few smart techniques, you can easily store leftovers and reheat them to regain their original creamy glory.
Keeping It Warm for a Party
If you’re hosting a gathering and need to keep your nacho cheese warm for an extended period, a slow cooker is your ideal tool. Transfer the freshly prepared cheese sauce to a slow cooker set to its “warm” or lowest setting. Stir the cheese occasionally, perhaps every 15-20 minutes, to prevent a skin from forming on top and to maintain its smooth, consistent texture. It can happily stay warm and delicious for approximately two hours. Beyond this timeframe, the prolonged gentle heat can sometimes cause the cheese to begin separating and developing a slightly grainy texture. It’s best to turn off the slow cooker after about two hours and give it a final good stir before serving any remaining portions.
Storing Leftovers Safely
To store any leftover nacho cheese, first allow it to cool completely to room temperature. Once cooled, transfer the cheese sauce to an airtight container. Refrigerate it promptly for up to 3-4 days. It’s entirely normal for the cheese to solidify considerably and appear much thicker and sometimes less vibrant in color when cold – don’t worry, this is part of its nature and easily remedied during reheating.
Reheating for Creamy Perfection
Reheating nacho cheese requires a gentle approach to bring back its luscious, creamy texture without turning it grainy or oily. The key is low heat and added liquid.
- Stovetop Method (Highly Recommended): This is the best method for restoring your nacho cheese to its original glory. Place the desired amount of solidified leftover cheese into a heavy-bottomed saucepan set over very low heat. Add a few tablespoons of milk or water (start with 2-3 tablespoons for about a cup of cheese, adding more as needed) to help loosen the mixture. Stir constantly and patiently as the cheese slowly warms up and begins to melt. Continue stirring until it’s perfectly smooth, creamy, and heated through. Crucially, do not let it boil or get too hot, as this will cause the cheese to separate.
- Microwave Method: For smaller portions, the microwave can be used with caution. Place the cheese in a microwave-safe bowl with a tablespoon or two of milk or water. Heat in short bursts (30 seconds to 1 minute at a time), stirring thoroughly after each interval. Stirring frequently is vital to distribute the heat evenly and prevent the cheese from cooking too quickly and separating. Continue until it’s smooth and warm. Again, avoid overheating.
Adding that extra bit of milk or water during reheating is crucial. It rehydrates the cheese, helping it relax back into its velvety consistency. With these tips, you can enjoy rich, delicious homemade nacho cheese whenever the craving strikes, making it a perfect make-ahead or leftover delight!
INGREDIENTS
- 2 tablespoons unsalted butter
- 2 tablespoons all-purpose flour
- 1 cup cold whole milk
- 1 cup cold heavy cream or half and half
- 2 cups sharp cheddar cheese, freshly grated (about 8 oz)
- 3/4 cup Colby Jack cheese, freshly grated (about 3 oz)
- 3/4 cup Monterrey Jack cheese, freshly grated (about 3 oz)
- 3/4 teaspoon kosher salt (plus more to taste)
- 1/4 teaspoon black pepper, freshly ground
- 1/2 teaspoon garlic powder
- 1/2 teaspoon onion powder
- 1/4 teaspoon cayenne pepper (start with this, adjust for more spice)
- 1/2 teaspoon paprika (smoked paprika can be used for a deeper flavor)
- 3/4 teaspoon chili powder
DIRECTIONS
- In a large, heavy-bottomed saucepan, melt the unsalted butter over medium heat. Once the butter is completely melted and shimmering, add the all-purpose flour, stirring constantly with a whisk to create a smooth paste, or roux. Cook this roux for 1 to 2 minutes, or just until the mixture begins to turn a very pale golden color and releases a slightly nutty aroma. Be careful not to let it brown too much.
- Slowly and gradually pour in the cold whole milk and cold heavy cream (or half and half) into the roux, whisking vigorously and continuously to prevent any lumps from forming. Continue to whisk until the mixture is completely smooth. Increase the heat slightly to medium-high and bring the mixture to a gentle simmer, stirring frequently. Allow it to cook for 3 to 5 minutes, or until the sauce base begins to thicken slightly and is capable of coating the back of a spoon.
- Immediately remove the saucepan from the heat source. Add the freshly grated sharp cheddar, Colby Jack, and Monterrey Jack cheeses to the hot liquid, along with the kosher salt, black pepper, garlic powder, onion powder, cayenne pepper, paprika, and chili powder. Stir vigorously and continuously with a whisk or rubber spatula until all the cheese is completely melted and the sauce is smooth, creamy, and uniform. The residual heat from the hot sauce base will be sufficient to melt the cheese without overheating it.
- Taste the nacho cheese and adjust the seasonings as needed. This is your chance to add more salt to your preference, or increase the cayenne pepper for a spicier kick. If the sauce appears a little too thick for your liking, you can whisk in an additional tablespoon or two of warm milk until it reaches your desired pourable or dippable consistency.
- Serve your irresistible homemade nacho cheese immediately with your favorite tortilla chips, as a decadent topping for loaded nachos, or as a versatile sauce for a wide variety of dishes! Enjoy the creamy, dreamy goodness!