
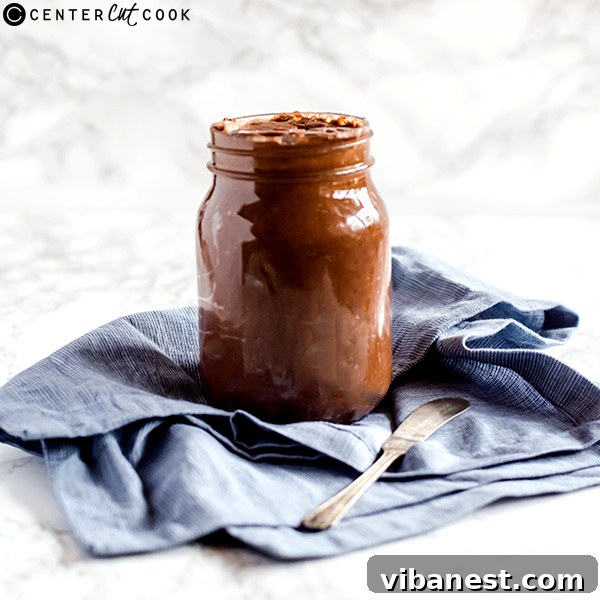
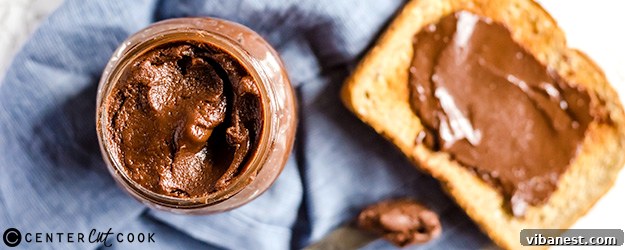
The Ultimate Guide to Crafting Irresistible Homemade Nutella
There’s a special satisfaction that comes from creating your favorite foods right in your own kitchen. For me, that joy extends beyond baking fresh bread and making creamy yogurt to mastering the art of homemade Nutella. Over a year ago, I embarked on this culinary adventure, and I can confidently say that our family will likely never return to the store-bought versions again. The difference in flavor, freshness, and the pure joy of knowing exactly what goes into every spoonful is simply incomparable.
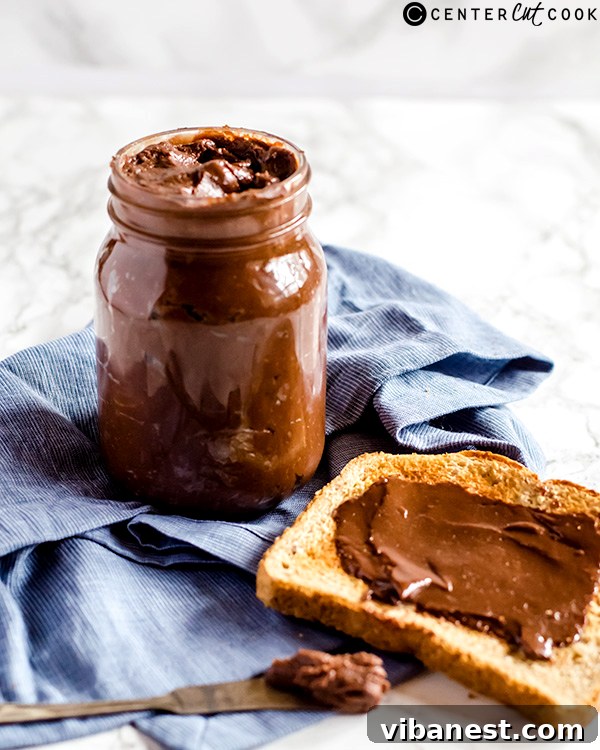
Why Choose Homemade Nutella? The Benefits Are Endless!
While the iconic jarred chocolate hazelnut spread holds a nostalgic place in many hearts, crafting your own version at home opens up a world of benefits that go far beyond just taste. It’s an empowering experience that puts you in control of every ingredient, leading to a superior product in several key ways:
- Unmatched Freshness and Flavor: Store-bought Nutella, while convenient, can’t compete with the vibrant taste of freshly roasted hazelnuts and high-quality chocolate. Homemade versions burst with a richer, more authentic hazelnut flavor, complemented by the pure essence of your chosen chocolate.
- Control Over Ingredients: Concerned about palm oil, excessive sugar, or artificial flavors? Making your own allows you to omit unwanted additives. You can choose organic hazelnuts, premium chocolate, and adjust the sweetness to your exact preference. This recipe, for example, prioritizes natural flavors and a touch of dairy for an incredibly creamy result.
- Customizable to Your Liking: Do you prefer a darker chocolate note, or perhaps a lighter, sweeter spread? With homemade Nutella, you’re the chef! Experiment with different types of chocolate (dark, milk, semi-sweet), vary the amount of sugar, or even adjust the consistency to be thicker or thinner.
- A Healthier Alternative: By selecting wholesome ingredients and controlling sugar levels, your homemade Nutella can be a significantly healthier option. It allows you to enjoy this beloved treat with less guilt, knowing it’s free from hydrogenated fats and artificial preservatives often found in commercial spreads.
- The Joy of Creation: There’s immense satisfaction in preparing something delicious from scratch. The aroma of roasting hazelnuts and melting chocolate filling your kitchen is an experience in itself, culminating in a product you’ll be proud to share (or keep all to yourself!).
The Secret to Perfect Homemade Nutella: Mastering the Hazelnuts
The foundation of any outstanding chocolate hazelnut spread lies squarely with the hazelnuts themselves. Achieving that deep, nutty flavor and incredibly creamy texture requires a bit of attention to detail when preparing them.
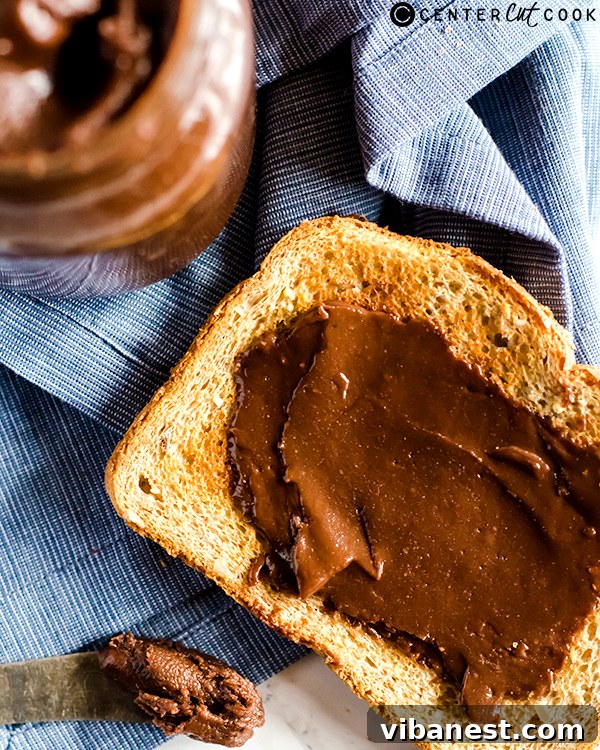
Roasting for Flavor and Texture
To get the absolute best homemade Nutella, it is paramount to use freshly roasted hazelnuts. Roasting not only deepens their flavor, bringing out their inherent sweetness and nuttiness, but it also aids significantly in the next crucial step: peeling.
If you start with raw, shelled hazelnuts, roasting them yourself is highly recommended. Spread them in a single layer on a baking sheet and roast in a preheated oven (around 300°F or 150°C) for about 10-15 minutes. Keep a close eye on them; they should become fragrant, and their skins should start to crack and loosen. Over-roasting can lead to a bitter taste, so err on the side of caution.
Even if you purchase pre-roasted and/or skinned hazelnuts, I still advise a quick re-heating for a few minutes. The warmer temperature is what truly helps the hazelnuts release their natural oils efficiently when processed. These released oils are what transform the nuts into a luxuriously smooth, pourable nut butter, which is the base of our dreamy spread.
The Importance of Peeling
Once roasted, allow the hazelnuts to cool just enough so you can handle them comfortably. Then comes the peeling! This step is critical for two main reasons:
- Smoother Texture: Hazelnut skins can be slightly bitter and contain tannins that can give your final spread a somewhat grainy texture. Removing them ensures a silkier, more professional finish.
- Purer Flavor: Without the skins, the pure, sweet hazelnut flavor can shine through unobstructed, contributing to the overall deliciousness of your Nutella.
To peel, you can rub the warm hazelnuts vigorously in a clean kitchen towel. The friction helps the skins come off easily. Don’t worry if a few stubborn bits remain; aim to remove as much as possible. A little bit of skin won’t ruin your spread, but the more you remove, the better the final texture will be.
The Creamy Difference: Why My Recipe Includes Dairy
My recipe for homemade Nutella stands out from many others you might find, primarily because I embrace the use of dairy. This inclusion is a deliberate choice, designed to elevate the chocolate hazelnut spread to a truly sublime experience, mimicking the indulgent texture and flavor profile of traditional Nutella more closely.
Incorporating dairy, specifically heavy cream, imparts a wonderfully rich and exceptionally creamy flavor. It adds a depth and silkiness that makes each spoonful feel incredibly luxurious. Beyond taste, I also find that the presence of dairy contributes significantly to the visual appeal and mouthfeel, making the homemade spread look and feel more akin to the classic Nutella we all know and love.
While heavy cream is my go-to for its unparalleled richness, I’ve successfully experimented with other types of milk. Whole milk can also yield a good result, albeit with a slightly less decadent finish. For those looking for a non-dairy alternative, full-fat coconut milk (the canned kind, not beverage) or even a rich oat milk could be explored, though they may alter the flavor profile and final consistency slightly. The beauty of homemade is the flexibility to adapt it to your dietary needs or taste preferences.
A common concern with dairy is refrigeration, but rest assured, you can still store your homemade Nutella at room temperature. The high sugar content acts as a preservative, allowing the spread to remain fresh for up to a week, provided it’s kept in an airtight container. For longer storage, or if you prefer a firmer consistency, refrigeration is an option, which can extend its shelf life up to two weeks, though it will firm up considerably when chilled.
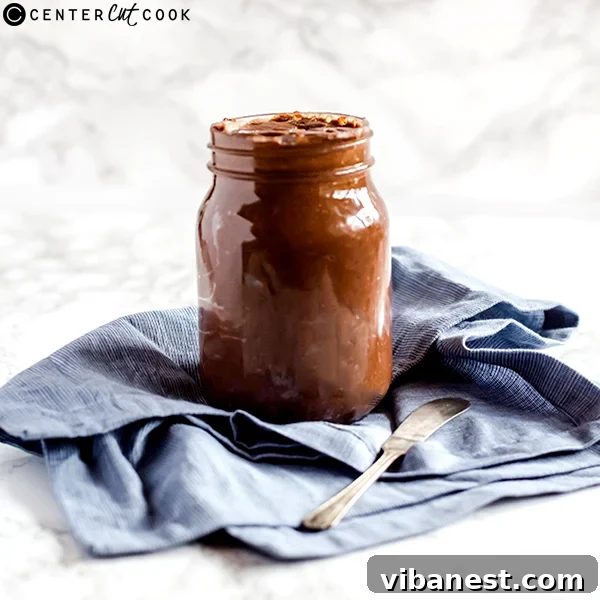
Homemade Nutella Recipe
Get ready to create a truly magical chocolate hazelnut spread that will become a staple in your pantry!
INGREDIENTS
- 2 cups (approx. 250g) shelled hazelnuts
- 2/3 cup (approx. 115g) good quality dark chocolate (at least 60% cocoa, chopped or in chips)
- 2 tablespoons unsweetened cocoa powder (Dutch-processed for a darker color and milder flavor, or natural for a fruitier note)
- 2 1/2 – 3 cups (approx. 300-360g) powdered sugar (confectioners’ sugar), adjust to taste
- Pinch of fine sea salt
- 1/2 teaspoon pure vanilla extract
- 1 tablespoon hazelnut oil (optional, but enhances flavor and creaminess; can substitute with neutral oil like grapeseed or omit if desired)
- 1/3 – 1/2 cup (approx. 80-120ml) heavy cream (or whole milk, or full-fat canned coconut milk for dairy-free)
DIRECTIONS
- Preheat Oven & Prepare Hazelnuts: Preheat your oven to 300 degrees F (150 degrees C). Line a baking sheet with parchment paper to prevent sticking and make cleanup easier. Spread the shelled hazelnuts in a single layer on the prepared baking sheet.
- Roast Hazelnuts: Roast the hazelnuts for approximately 15 minutes. Keep a close watch; they should become fragrant and their skins will begin to crack. The goal is a light to medium roast. Once roasted, remove from the oven and allow them to cool slightly (about 5-10 minutes) until they are warm enough to handle.
- Peel Hazelnuts: While still warm, transfer the hazelnuts to a clean kitchen towel. Fold the towel over them and rub vigorously for several minutes. The friction will help remove the skins. Don’t worry if you don’t get every single bit off; aim to remove as much as possible for the smoothest texture. Discard the skins.
- Process Hazelnuts into Butter: Add the peeled hazelnuts to the bowl of a high-powered food processor. Process for about 5 – 10 minutes (or even longer, depending on your food processor’s power). Be patient! The hazelnuts will go through several stages: chopped, then a coarse meal, then clumpy, and finally, they will release their natural oils and transform into a smooth, creamy hazelnut butter. Scrape down the sides of the bowl as needed during this process.
- Add Dry Ingredients & Flavorings: Once you have a smooth hazelnut butter, add the chopped dark chocolate, cocoa powder, powdered sugar (start with 2.5 cups and add more if needed), pinch of salt, vanilla extract, and hazelnut oil (if using). Process again until all ingredients are thoroughly combined and the mixture looks uniformly incorporated. At this stage, it might look a bit thick or clumpy; this is perfectly normal.
- Achieve Creamy Consistency: With the food processor running on low, slowly and steadily drizzle in the heavy cream through the feed tube. Continue processing until the mixture transforms into a thick, luxuriously creamy, and spreadable chocolate hazelnut spread. Add more cream, a tablespoon at a time, if you prefer a thinner consistency, or if the mixture seems too thick. Taste and adjust sweetness if desired.
- Store: Transfer your glorious homemade Nutella to an airtight container. It can be stored at room temperature for up to one week, or in the refrigerator for up to two weeks (it will firm up when chilled, so let it sit at room temperature for a bit before spreading).
Tips for Success and Troubleshooting Your Homemade Nutella
Making homemade Nutella is a rewarding process, but a few pointers can ensure your spread turns out perfectly every time. Here are some essential tips and solutions to common issues:
- Patience with the Food Processor: This is perhaps the most crucial tip! Transforming whole hazelnuts into a smooth butter takes time. Don’t stop processing prematurely. The nuts need adequate time to break down and release their oils. If your food processor gets warm, pause for a few minutes to prevent overheating, then continue.
- Quality of Ingredients Matters: Use good quality hazelnuts and dark chocolate. The better the initial ingredients, the superior the final taste. Cheap chocolate can result in a waxy texture and less vibrant flavor.
- Adjusting Sweetness: Start with the lower end of the powdered sugar range and taste as you go. You can always add more, but you can’t take it away!
- Achieving the Perfect Consistency:
- Too Thick: If your Nutella is too thick after adding all the cream, you can slowly drizzle in a tiny bit more heavy cream, hazelnut oil, or even a neutral oil like grapeseed or avocado oil, processing until the desired consistency is reached.
- Too Thin: This is less common, but if it happens, you can try adding a tablespoon of cocoa powder or powdered sugar to thicken it slightly, or simply embrace a thinner, more pourable spread!
- Grainy Texture: This usually means the hazelnuts weren’t processed long enough, or their skins weren’t removed thoroughly. Continue processing for longer, scraping down the sides often. While some minimal graininess from the skins might persist, extended processing can often smooth it out.
- Storage Best Practices: Always store your homemade Nutella in a clean, airtight container. This prevents it from drying out or absorbing other odors. While it’s safe at room temperature for a week, refrigeration extends its life. Remember that chilling will make it very firm, so allow it to come to room temperature for easier spreading.
Creative Ways to Enjoy Your Homemade Nutella
Once you’ve crafted your exquisite batch of homemade Nutella, the possibilities for enjoying it are endless! Here are some delightful serving suggestions to inspire you:
- Classic Spreads: The most obvious and beloved way to enjoy Nutella is spread generously on toast, croissants, bagels, or even rice cakes for a quick, delicious breakfast or snack.
- Dessert Enhancer: Drizzle it over pancakes, waffles, or crepes for an instant upgrade. Use it as a filling for tarts, cakes, or cookies. It also makes a fantastic dip for fresh fruit like strawberries, bananas, and apple slices.
- Baking Ingredient: Incorporate your homemade Nutella directly into your baking! Swirl it into brownie batter, mix it into muffin recipes, or use it as a decadent layer in trifles and parfaits.
- Beverage Booster: Stir a spoonful into hot milk for a luxurious hot chocolate, or blend it into your morning smoothie for a nutty, chocolatey kick.
- Ice Cream Topping: Warm it slightly and drizzle over a scoop of vanilla or coffee ice cream for an indulgent dessert experience.
- Straight from the Spoon: And, of course, for those moments of pure indulgence, there’s no shame in enjoying a spoonful (or two!) straight from the jar. It’s that good!