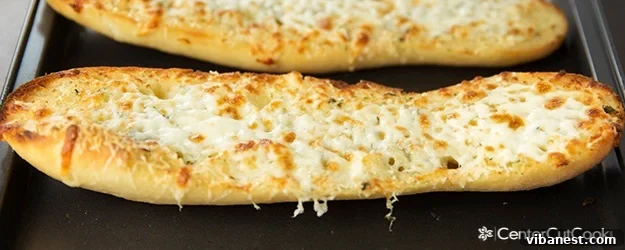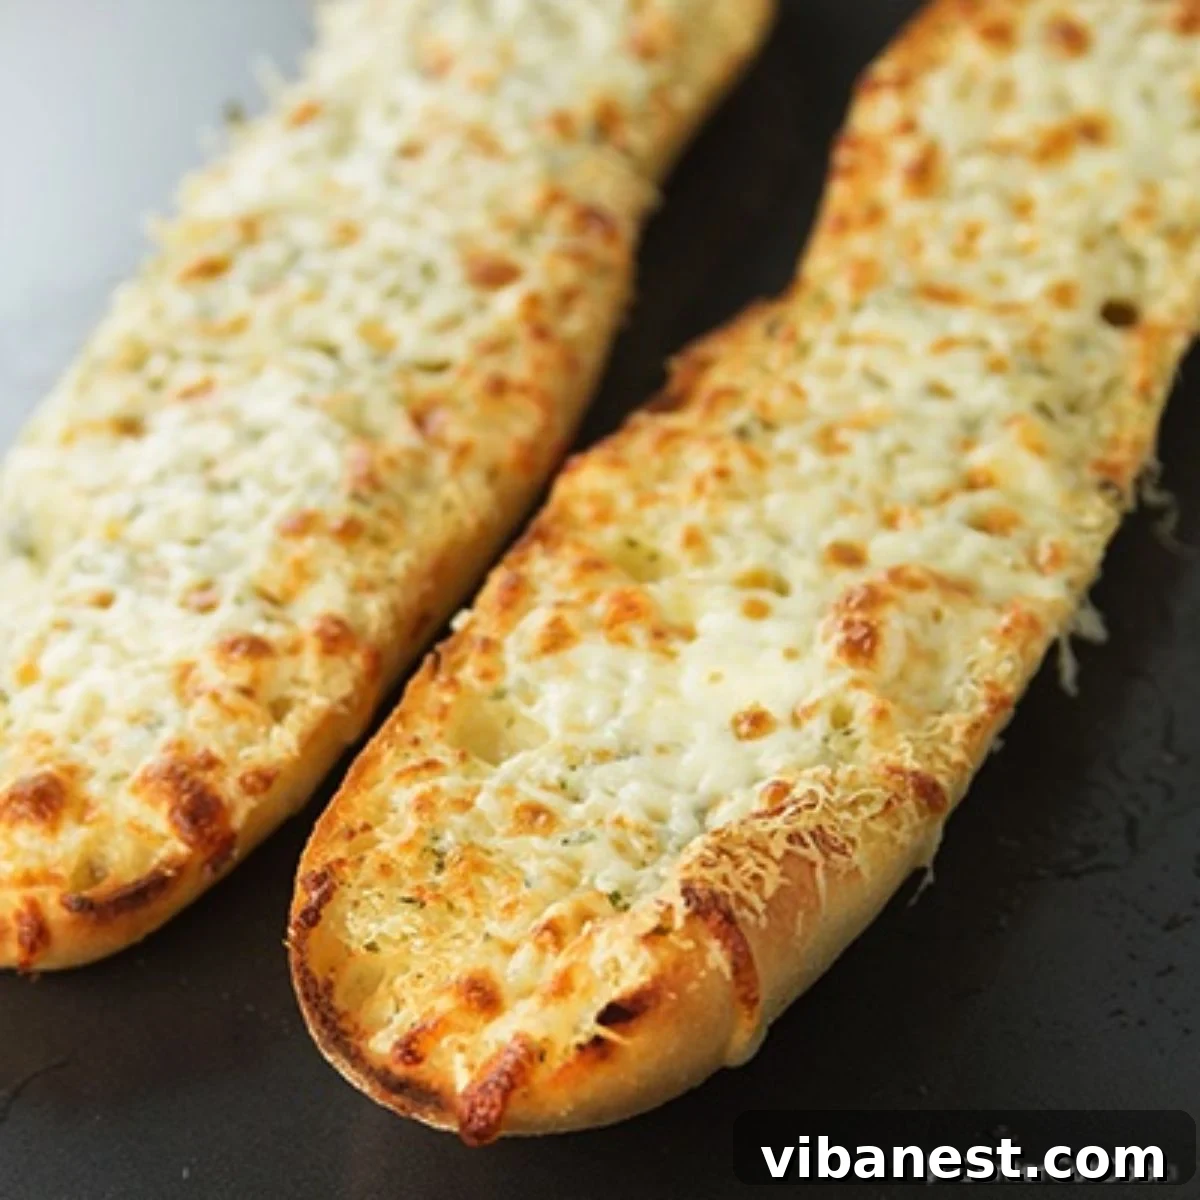
Experience the ultimate comfort food with this incredibly flavorful Cheesy Garlic Bread recipe! Perfectly balancing butter, pungent garlic, and a duo of melty cheeses, this homemade creation will redefine your expectations of garlic bread.
Garlic bread holds a special place in the culinary world, serving as the perfect companion to an astounding array of dishes. Its versatility is truly remarkable; it harmonizes beautifully with rich pasta dishes, such as a hearty Spaghetti Pie or classic lasagna, complements comforting soups like a savory Lasagna Soup, and even adds a delightful crunch to fresh, crisp salads. While store-bought garlic bread offers convenience, nothing compares to the rich aroma and superior taste of a freshly baked loaf straight from your own oven. And when you add generous layers of gooey, melted cheese? That’s when ordinary garlic bread transforms into something truly extraordinary.
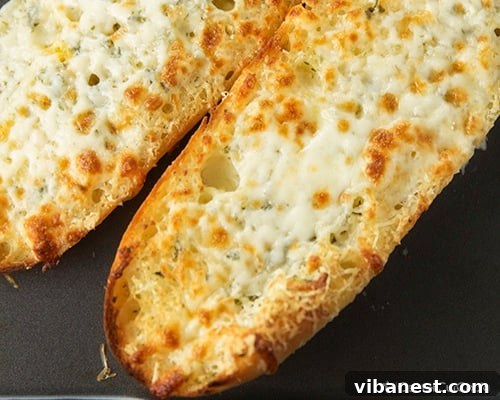
Pin this recipe now to save it for later!
Pin It Now
After years of experimenting with countless garlic bread recipes, I’ve finally perfected a method that delivers consistently delicious results. This recipe strikes the ideal balance of creamy butter, robust garlic, and perfectly melted cheese, creating a symphony of flavors and textures that will leave you craving more. It’s incredibly quick to prepare, making it a fantastic option for weeknight dinners or impromptu gatherings. Forget the bland, often dry offerings from the freezer aisle – this homemade version is guaranteed to impress. Get ready to elevate your meals with this simple yet sensational cheesy garlic bread!
Crafting Perfection: Essential Ingredients for the Ultimate Cheesy Garlic Bread
The magic of this cheesy garlic bread lies in its straightforward, high-quality ingredients. Each component plays a vital role in achieving that sought-after golden crust, tender interior, and irresistible flavor. For the precise measurements, remember to consult the detailed recipe card found at the end of this article.
- The Foundation: Choosing Your Bread: The bread you select is paramount. While this recipe offers the convenience of using a store-bought French baguette or Italian loaf from your local bakery, don’t hesitate to bake your own from scratch if you’re feeling ambitious. Look for a loaf that has a slightly crusty exterior and a soft, airy interior. A good quality artisanal bread, such as ciabatta or even a rustic sourdough, can also provide a wonderful base, adding subtle nuances to the flavor profile. The ideal length is typically around 18-20 inches, allowing for ample surface area to absorb all the delicious garlic butter.
- The Heart: Rich Butter: Butter is the backbone of any great garlic bread. When melted, it generously soaks into the bread, creating a rich, savory foundation that carries the potent garlic flavor. Using high-quality unsalted butter allows you to control the seasoning precisely, though salted butter can be used, just be mindful when adding extra salt. It’s the essential element that ensures your bread isn’t dry, but rather wonderfully moist and flavorful.
- The Pungent Punch: Fresh Garlic: Fresh garlic is non-negotiable for truly exceptional garlic bread. Its pungent, aromatic qualities infuse every bite with an unmistakable depth of flavor. Finely mincing fresh cloves releases their full potential. While garlic powder can be used in a pinch for convenience, offering a milder garlic note, it simply doesn’t compare to the vibrant, robust taste that fresh garlic imparts. Adjust the amount to your personal preference – some like it mild, others prefer a bold, garlicky kick!
- The Flavor Boosters: Fresh or Dried Parsley: Parsley serves multiple purposes in this recipe. Beyond adding a vibrant pop of color that enhances the bread’s visual appeal, it introduces a refreshing, slightly peppery herbal note. Freshly chopped parsley is always preferred for its bright flavor, but dried parsley is a perfectly acceptable substitute, especially for garnish. Other herbs like chives or a hint of dried oregano can also be wonderful additions to the butter mixture.
- The Melty Magic: Shredded Cheese: The “cheesy” in cheesy garlic bread is all thanks to a carefully chosen blend of cheeses. I highly recommend a combination of Parmesan for its sharp, salty, umami notes, and mozzarella for its incredible stretch and creamy texture when melted. This duo creates a perfectly balanced topping that is both rich and satisfying. Read more below on selecting the best cheeses and why grating your own makes a significant difference.
Step-by-Step Guide to Flawless Cheesy Garlic Bread
Making homemade cheesy garlic bread is surprisingly simple, transforming humble ingredients into a spectacular side dish. Here’s a detailed overview of the process. For the precise measurements and complete recipe, please refer to the dedicated recipe card at the bottom of this page.
- Preparation is Key: Preheat and Slice Your Bread: Begin by preheating your oven to a steady 400 degrees Fahrenheit (200 degrees Celsius). This ensures the oven is at the optimal temperature for even baking. While your oven warms up, carefully slice your chosen loaf of bread in half lengthwise. You should now have two long, flat pieces, ready to be slathered with deliciousness. Using a serrated knife will help achieve clean, even cuts without squashing the bread.
- Infusing Flavor: Create the Garlic Butter Mixture: In a microwave-safe bowl, melt your butter. Typically, about 1 minute in the microwave is sufficient, but keep an eye on it. Once melted, stir in the finely minced fresh garlic (or garlic powder, if using) and your chosen parsley. Mix these ingredients thoroughly until the garlic and parsley are well distributed throughout the butter. This aromatic mixture is the heart of your garlic bread!
- Generously Spread the Mixture: Using a rubber spatula or a pastry brush, liberally spread the fragrant butter mixture evenly over the cut sides of both bread halves. Ensure every nook and cranny is coated to maximize flavor penetration. Don’t be shy; a generous coating makes all the difference.
- The First Bake: Achieving a Tender Base: Carefully place the two buttered bread halves back together, recreating the original loaf shape. Wrap the entire loaf securely in aluminum foil. This crucial step helps to steam the bread slightly, keeping it moist and tender during the initial baking phase. Place the foil-wrapped bread directly onto an oven rack and bake for 15 minutes.
- The Cheesy Climax: Add the Cheese: After 15 minutes, carefully remove the bread from the oven. Uncover it by removing the aluminum foil and gently pull the two halves apart, leaving them open-faced. Now, it’s time for the cheese! Evenly sprinkle your chosen blend of shredded Parmesan and mozzarella (or your preferred cheeses) over the exposed, buttered surfaces of both bread halves. Ensure a generous, consistent layer for maximum cheesy goodness.
- The Final Bake & Custom Finish: At this point, you have two options for the final texture:
- For Softer Garlic Bread: Return the open-faced, cheese-topped bread to the 400°F (200°C) oven for an additional 4-5 minutes, or until the cheese is beautifully melted and bubbly. The edges of the bread will be golden brown and the interior still soft.
- For Crispy Garlic Bread: If you crave a crispy, golden-brown crust with perfectly browned, slightly caramelized cheese, turn on your broiler. Place the bread back in the oven, keeping a very close watch. Broil for approximately 1-3 minutes, or until the cheese melts, bubbles, and starts to turn golden. The broiler works quickly, so vigilance is key to prevent burning!
- Serve and Enjoy: Once your cheesy garlic bread reaches your desired level of meltiness and crispness, remove it from the oven. Let it cool for just a minute or two, then slice it into individual pieces using a serrated knife. Serve immediately and savor every warm, buttery, garlicky, and cheesy bite!
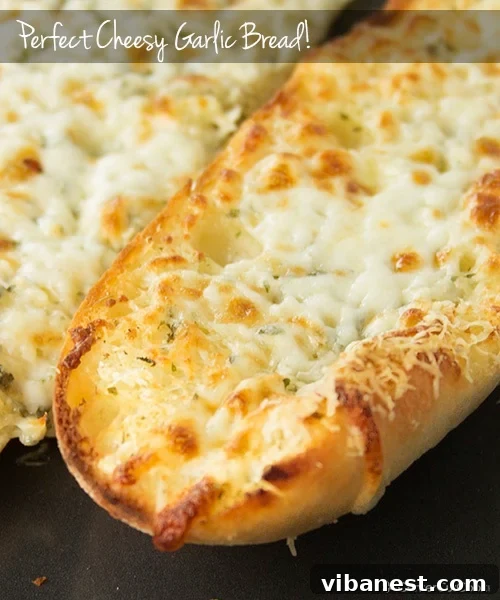
Expert Tips for Garlic Bread Greatness
To ensure your homemade cheesy garlic bread reaches its full potential, keep these expert tips in mind:
- The Fresh vs. Powdered Garlic Debate: While garlic powder offers convenience and a milder, background garlic flavor, fresh garlic truly makes all the difference. Minced fresh garlic provides a pungent, aromatic punch that is unparalleled. If you love a bold garlic flavor, always opt for fresh. If you’re short on time or prefer a less intense taste, a good quality garlic powder is an acceptable alternative.
- Grate Your Own Cheese for Superior Melt: This is arguably one of the most important tips for exceptional cheesy garlic bread. Anytime a recipe calls for shredded cheese, I strongly recommend grating it yourself from a block. Pre-shredded cheeses are often coated with anti-caking agents like cellulose or potato starch to prevent clumping in the bag. While harmless, these additives can also hinder the cheese from melting smoothly and evenly. Freshly grated cheese melts into a beautifully creamy, stretchy, and decadent layer that will elevate your garlic bread significantly. It’s worth the extra couple of minutes, I promise!
- Don’t Overlook the Broiler! If you’re a fan of garlic bread with a wonderfully crispy top and golden, slightly caramelized cheese, the broiler is your best friend. After the initial bake and adding the cheese, a quick stint under the broiler (1-3 minutes) will transform your bread. However, broilers can be intense, so watch it like a hawk! Cheese can go from perfectly golden to burnt in a matter of seconds.
Storing and Reheating Leftover Cheesy Garlic Bread
Should you find yourself with the rare treat of leftover cheesy garlic bread, proper storage is key to maintaining its deliciousness. Store any uneaten slices in an airtight container or a heavy-duty zip-top bag in the refrigerator for up to three days. This prevents the bread from drying out or absorbing other odors from your fridge. When you’re ready to enjoy it again, reheating is simple:
- Oven Method: For the best results, preheat your oven to 350°F (175°C). Place the leftover garlic bread directly on a baking sheet and heat for 5-8 minutes, or until it’s warmed through and the cheese is re-melted and slightly crispy.
- Air Fryer Method: An air fryer is also excellent for reheating, giving you that lovely crispness. Place slices in a single layer in your air fryer basket and heat at 300°F (150°C) for 3-5 minutes, checking frequently.
You can also freeze unbaked garlic bread for future convenience. Prepare the bread up to the point of adding cheese, wrap it tightly in plastic wrap and then foil, and freeze for up to 1 month. When ready to bake, unwrap and proceed with baking, adding a few extra minutes to the initial covered bake time.
Perfect Pairings: What to Serve with Cheesy Garlic Bread
This easy cheesy garlic bread recipe is a culinary chameleon, pairing beautifully with a vast array of main courses. It’s the ideal accompaniment that elevates any meal. Here are just a few ideas to get you started:
- Classic Italian Comforts: It’s a natural fit for pasta dishes! Serve it alongside The Best Easy Lasagna, a comforting plate of spaghetti and meatballs, creamy fettuccine Alfredo (like this Parmesan Crusted Chicken Alfredo), or even a robust chicken cacciatore.
- Hearty Soups and Stews: Dunking warm, cheesy garlic bread into a bowl of soup is pure bliss. It’s perfect with Easy Minestrone Soup, a rich tomato soup, French onion soup, or a spicy chili. The bread soaks up all the delicious broth and adds a fantastic textural contrast.
- Chicken & Meat Dishes: Enhance your poultry and meat entrees. It’s a superb side for Easy Chicken Parmesan, roasted chicken, grilled steak, or even a simple baked fish.
- Salads and Lighter Fare: Add substance and flavor to a lighter meal. A crisp Caesar salad or a large garden salad becomes a complete and satisfying dinner with a side of warm cheesy garlic bread.
- Unexpected Delights: Try using leftover garlic bread as the base for small open-faced sandwiches, or dip it into your favorite marinara or pesto sauce for a simple snack. It’s also surprisingly good with a fried egg on top for a unique breakfast or brunch!
I am so excited for you to try this perfect cheesy garlic bread! If you make it, please share your thoughts and experiences. I absolutely love hearing from you and seeing your culinary creations! Happy baking!

Perfect Cheesy Garlic Bread
Garlic bread is the perfect side dish for so many recipes. It goes great with pasta, soups, and even salads. This recipe has just the right amount of butter, garlic, and cheese which makes it the perfect Cheesy Garlic Bread!
5 minutes
18 minutes
Print Recipe
Ingredients
- 1 loaf Italian baguette or French bread (approx. 18-20 inches)
- 1 stick (8 tablespoons) butter, melted
- 4-5 cloves garlic, finely minced (or 3/4 tsp garlic powder, adjust to personal preference)
- 1-2 teaspoons finely chopped fresh parsley (or 1/2-1 tsp dried parsley)
- 1 cup shredded cheese (suggested: Parmesan and a bit of mozzarella)
Instructions
- Preheat your oven to 400 degrees Fahrenheit (200°C).
- Slice your loaf of bread lengthwise so you have two long pieces.
- Melt your butter and stir in the minced garlic and parsley.
- Using a spatula or brush, spread the butter/garlic mixture evenly over both pieces of bread.
- Put the bread halves back together, cover in aluminum foil, and bake in the oven for 15 minutes.
- Remove from oven, open the bread back up, and top generously with the shredded cheese. Leave bread open-faced at this point.
- For Crispy Garlic Bread: Turn on your broiler and broil for an additional 1-3 minutes or until the cheese melts and turns golden. Watch closely as it can burn easily.
- For Softer Garlic Bread: Top with cheese and put it back into the 400-degree F (200°C) oven for 4-5 minutes, or until the cheese melts and is bubbly.
- Cut into slices and serve immediately.
Tried this recipe?
Mention @CenterCutCook and tag #CenterCutCook!