
Have you ever wondered how to unlock a depth of flavor that transforms ordinary meals into extraordinary culinary experiences? The secret often lies in one humble yet powerful ingredient: homemade chicken stock. Forget the bland, store-bought cartons – crafting your own chicken stock is remarkably easy, budget-friendly, and elevates the taste of your soups, casseroles, gravies, and countless other recipes to a whole new level of richness and comfort. This comprehensive guide will walk you through everything you need to know, from selecting the right ingredients to mastering three different cooking methods: on the stove, in your slow cooker, or with the speed of an Instant Pot.
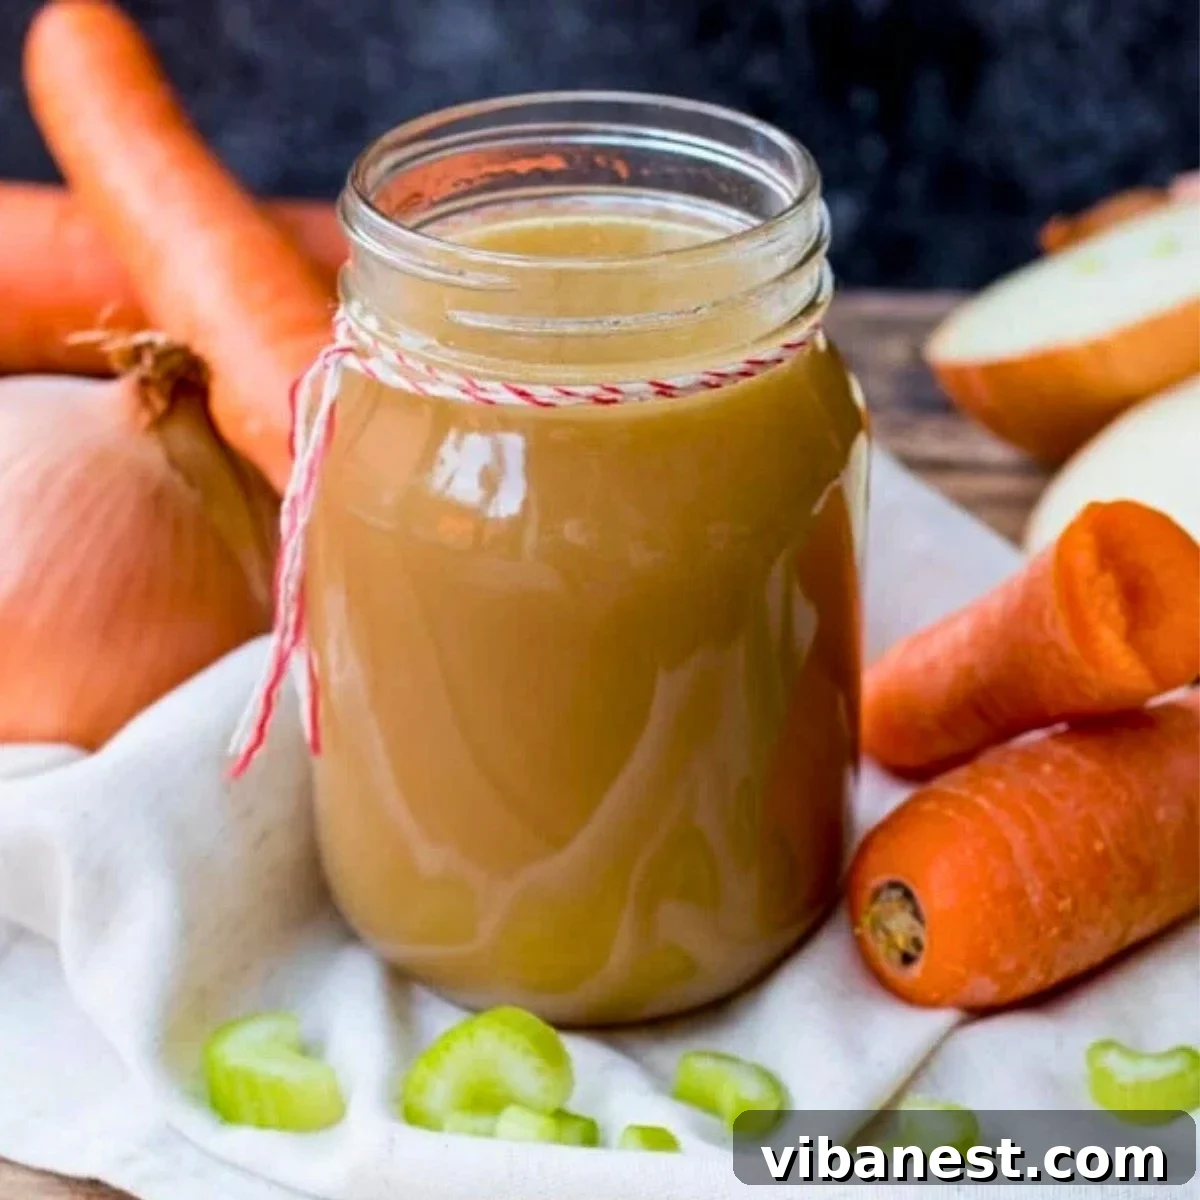
Pin this now to save it for later
Pin It Now
HOW TO MAKE CHICKEN STOCK: THE ULTIMATE GUIDE TO EASY, FLAVORFUL, AND HOMEMADE PERFECTION

There’s a reason why homemade chicken stock is often referred to as “liquid gold” by chefs and home cooks alike. It’s the foundation of so many incredible dishes, infusing them with a depth and richness that simply can’t be replicated by store-bought alternatives. Best of all, making your own flavorful chicken stock requires only a handful of basic ingredients and a little patience. Once prepared, it can be easily frozen, allowing you to stock your freezer with this essential building block for future delicious meals!
And here’s a fantastic shortcut to make the process even simpler: you don’t have to roast a whole chicken yourself to get the perfect chicken carcass. My absolute favorite trick when making homemade chicken stock is to use the carcass and any leftover meat from a rotisserie chicken purchased from the grocery store. It’s an instant flavor boost without the extra cooking step!
While a whole chicken carcass is ideal for a robust stock, you can certainly use 2-3 pounds of various chicken bones – whether they’re raw scraps from butchering or already roasted bones from previous meals. Don’t let anything go to waste!
Why Homemade Chicken Stock Will Become Your Kitchen Staple
- Unmatched Flavor Profile: A few simple, wholesome ingredients simmered slowly create an incredibly deep, complex, and rich flavor that no boxed or canned stock can possibly match. The long cooking process extracts gelatin, collagen, and minerals from the bones, resulting in a superior texture and taste.
- Incredibly Budget-Friendly: This recipe is perfect for utilizing leftover chicken bones, vegetable scraps (like onion peels, carrot ends, and celery leaves), and herbs that you might already have on hand. It’s a fantastic way to minimize food waste and save money.
- Clean, Wholesome Ingredients: When you make chicken stock at home, you control exactly what goes into it. Say goodbye to preservatives, excessive sodium, artificial flavors, and unhealthy additives found in many commercial stocks. Enjoy a pure, nourishing base for your cooking.
- Remarkably Versatile: Homemade chicken stock is an indispensable ingredient in a vast array of recipes. Use it as the base for heartwarming soups and stews, to deglaze pans for rich sauces, to create perfect gravies, moisten stuffings, and add depth to casseroles, risottos, and grain dishes.
- Freezer-Friendly for Easy Meal Prep: Make a generous batch once, and you’ll have flavorful, homemade stock readily available whenever inspiration strikes. It freezes beautifully, allowing you to enjoy the convenience of homemade flavor anytime you need it.
- Flexible Cooking Methods: This recipe offers ultimate flexibility, allowing you to choose the method that best fits your schedule and kitchen equipment. Whether you prefer the traditional stovetop, the hands-off convenience of a slow cooker, or the speed of an Instant Pot, you can achieve fantastic results.
Beyond traditional homemade soups, some of my favorite ways to incorporate this rich, homemade chicken stock include my recipes for perfect turkey gravy, savory chicken gravy, and my classic homemade stuffing, especially during holiday feasts. Once you experience the difference, you’ll never go back!
Let’s gather our ingredients and start making some truly incredible homemade chicken stock!
❤️ Ashley
Essential Ingredients for Superior Chicken Stock
Creating a truly outstanding chicken stock requires only a few key ingredients. The magic happens through the slow extraction of flavors and nutrients. Here’s a breakdown of what you’ll need to achieve that rich, comforting liquid gold:
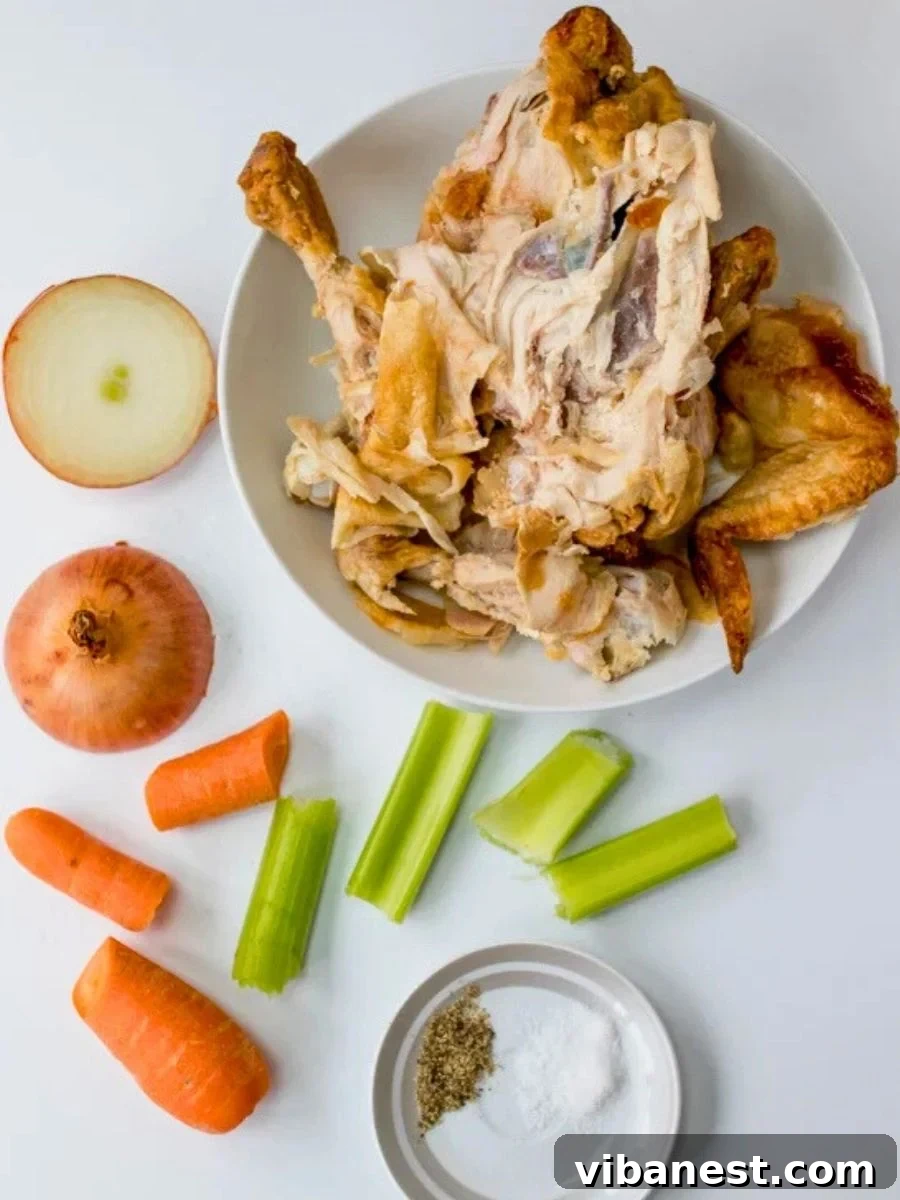
- 1 Chicken Carcass or 2-3 pounds of Chicken Bones: This is the foundation of your stock. Whether raw (like backs, necks, wing tips) or roasted (from a leftover roast chicken or rotisserie chicken), bones are crucial for collagen and gelatin, which give stock its body and mouthfeel.
- 2-3 Whole, Large Carrots: Chopped into large chunks. There’s no need to peel them; the peels add color and nutrients. Carrots provide natural sweetness and a beautiful golden hue to your stock.
- 2-3 Celery Sticks: Chopped into large chunks. Celery contributes a subtle earthy, savory note that is fundamental to the classic aromatic base of any good stock.
- 1 Large Yellow Onion: Cut in half. Don’t remove the peel; it adds a wonderful depth of color and extra flavor to the stock. Onions are a core aromatic, providing a savory foundation.
- Salt and Pepper: Essential seasonings to enhance and balance the flavors. You can adjust these to taste at the end.
- 1-2 Bay Leaves: These dried leaves impart a delicate, herbaceous aroma and mild bitterness that rounds out the flavor profile without being overpowering.
- Optional Herbs: Fresh springs of thyme and parsley. These add a vibrant, fresh herbal note. You can tie them together with kitchen twine to easily remove them later. Rosemary can also be a nice addition.
- Cold Water: Approximately 10-12 cups, or enough to completely cover all your ingredients by 1-2 inches. Starting with cold water is important as it allows the impurities to rise to the surface, which can then be skimmed off, resulting in a clearer stock.
Pro Tip for Quick & Easy Stock
To save yourself significant time and effort, consider using the carcass (and any leftover meat) from a rotisserie chicken purchased from the grocery store. It’s an incredible shortcut to rich, flavorful stock, eliminating the need to roast a whole chicken at home, unless you genuinely prefer to!
Mastering Homemade Chicken Stock: Stovetop Instructions
The traditional stovetop method yields deeply flavorful chicken stock and allows for easy control over the simmering process. It couldn’t be simpler to make. Here are the step-by-step instructions to achieve perfect, rich chicken stock:
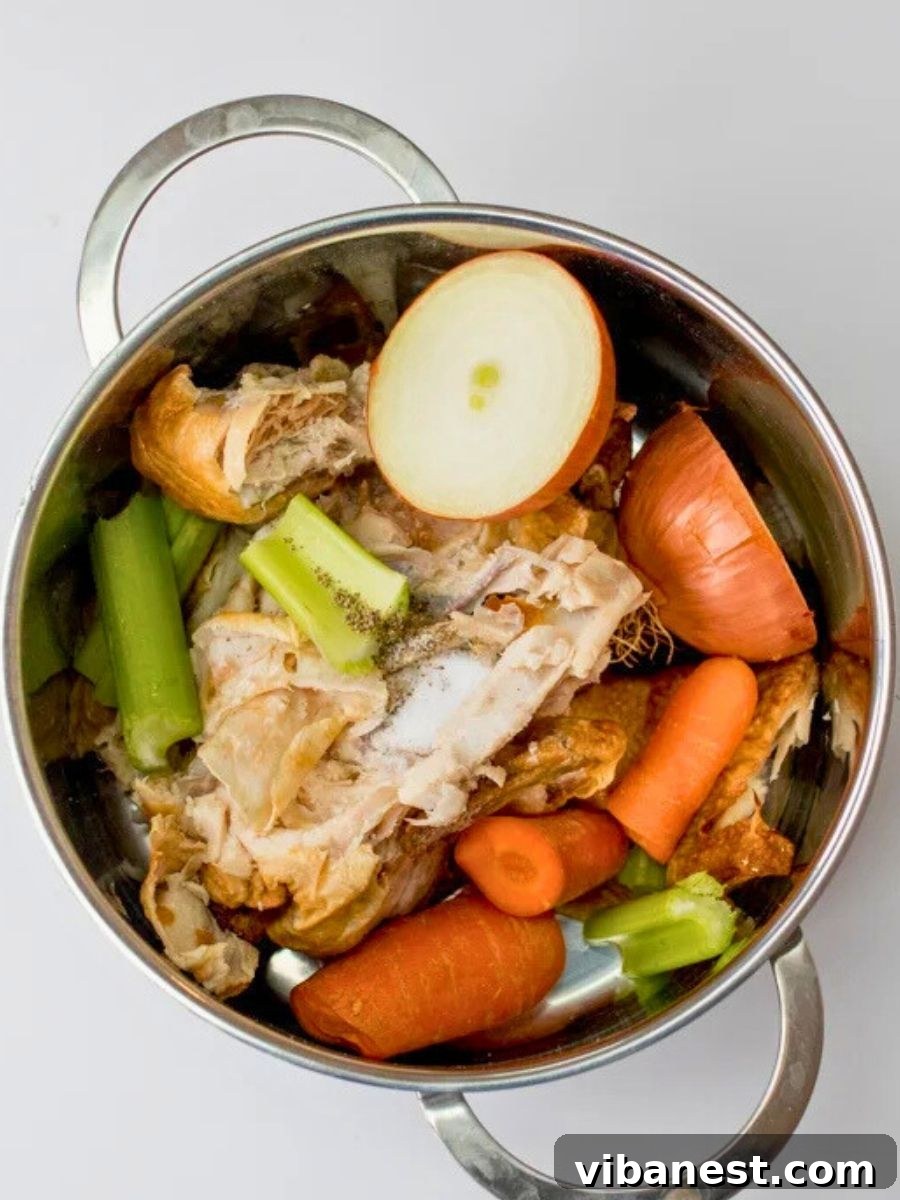
- Combine the Ingredients in a Large Stock Pot: Carefully place your chicken carcass or bones, roughly chopped vegetables (carrots, celery, onion), bay leaves, salt, pepper, and optional herbs into a large, heavy-bottomed stock pot. Ensure the pot is large enough to comfortably hold everything.
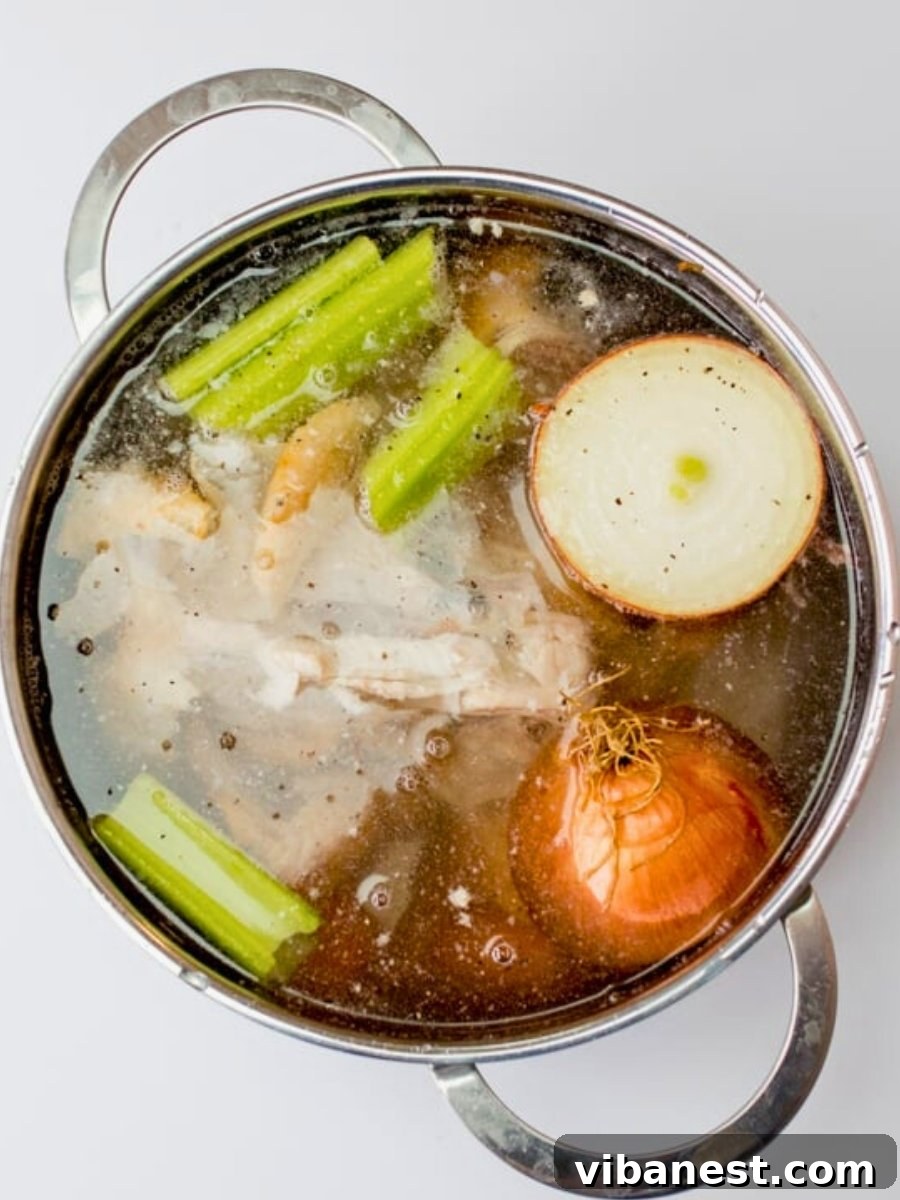
- Cover with Cold Water: Pour enough cold water over all the ingredients so that they are submerged by 1-2 inches. Using cold water is key as it slowly extracts impurities from the bones and vegetables, leading to a clearer, more flavorful stock.
- Bring to a Gentle Simmer: Place the pot over medium heat and slowly bring the contents to a gentle simmer. It’s crucial to avoid a rolling boil, which can make the stock cloudy and break down some of the delicate flavors. A gentle simmer is characterized by small bubbles breaking the surface intermittently.
- Skim Off Any Foam: As the stock heats and begins to simmer, a layer of foam or scum will rise to the surface. This consists of impurities and proteins from the bones. Use a ladle or a large spoon to carefully skim off and discard this foam. This step is optional but highly recommended for the clearest and best-tasting chicken stock.
- Simmer Low and Slow for 4-6 Hours (or longer!): Once skimmed, reduce the heat to low, ensuring the stock maintains a very gentle simmer. Cover the pot partially to prevent too much evaporation. Allow it to cook slowly for at least 4-6 hours. For an even richer, more concentrated flavor and deeper color, you can simmer it for up to 12 hours. The longer it simmers, the more flavor and gelatin will be extracted.
- Strain and Discard Solids: Once your stock has achieved the desired richness, remove the pot from the heat. Carefully pour the contents through a fine-mesh strainer or a colander lined with cheesecloth into a large heatproof bowl or another clean pot. Press down on the solids gently to extract any remaining liquid, then discard all the bones and vegetables. They have given all their goodness!
- Cool Completely and Store: Allow the strained chicken stock to cool completely at room temperature before transferring it to airtight containers or jars. This cooling process prevents bacterial growth and ensures safe storage. As it chills, a layer of fat will rise to the top and solidify. You can easily skim this fat off if you prefer a leaner stock, or leave it for extra flavor and protection. Refrigerate promptly once cooled.
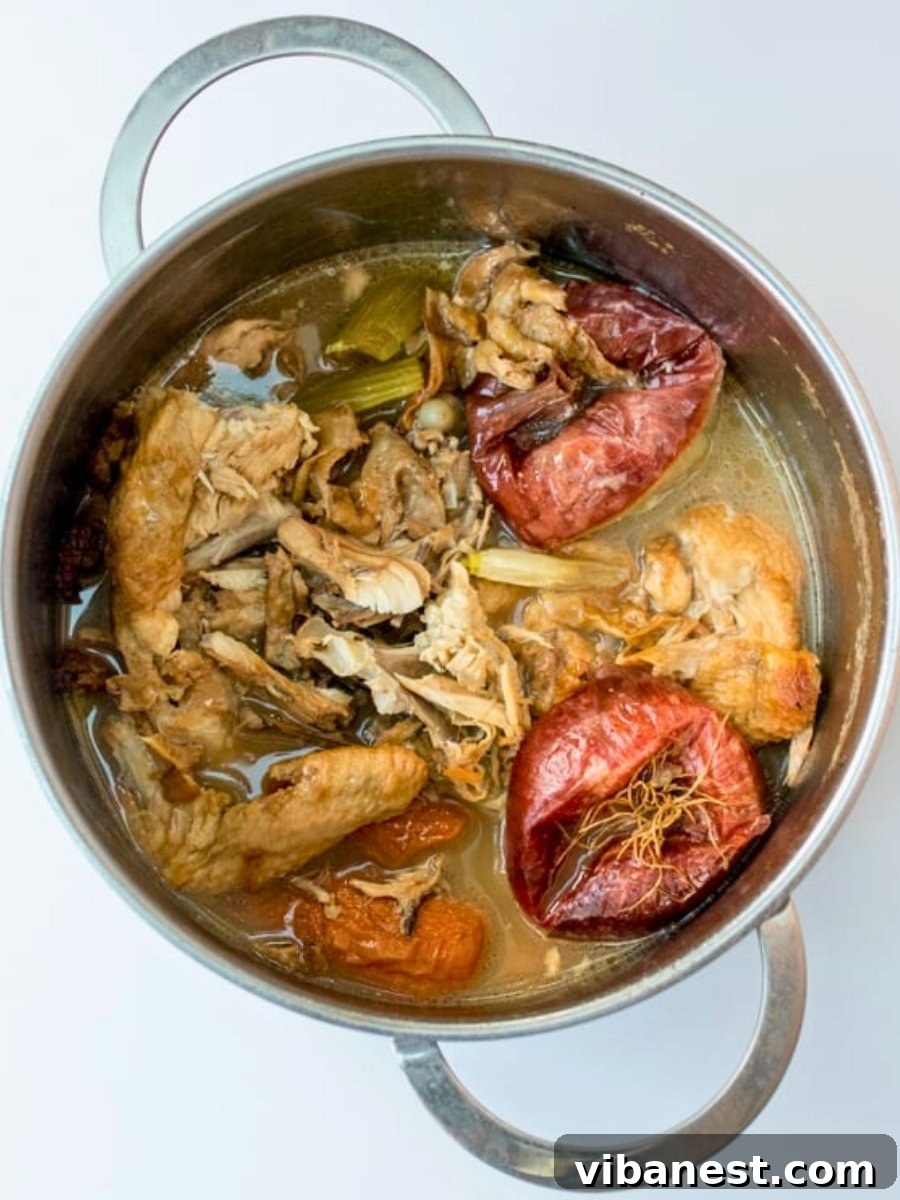
Effortless Chicken Stock in the Slow Cooker (Crock Pot)
Making chicken stock in a slow cooker or Crock Pot is the epitome of hands-off cooking, requiring minimal supervision. It’s perfect for overnight preparation, allowing you to wake up to the incredible aroma of homemade chicken stock without any fuss!
- Add Ingredients to Slow Cooker: Place your chicken bones (carcass), chopped vegetables (onion, carrots, celery), bay leaves, salt, pepper, and any optional herbs into a 6-quart or larger slow cooker.
- Cover with Cold Water: Pour in approximately 10-12 cups of cold water, or enough to ensure all ingredients are fully submerged.
- Cook on Low for 10-12 Hours: Secure the lid on your slow cooker and set it to the “Low” setting. Allow the stock to cook gently for 10-12 hours. The prolonged, low-temperature cooking is excellent for extracting maximum flavor and nutrients.
- Strain the Solids: Once cooking is complete, carefully strain the liquid through a fine-mesh sieve or colander lined with cheesecloth to remove all the cooked bones and vegetables. Discard the solids.
- Cool and Store: Let the strained stock cool completely before transferring it to airtight containers. Refrigerate or freeze as desired. The fat layer that forms on top can be skimmed off once chilled.
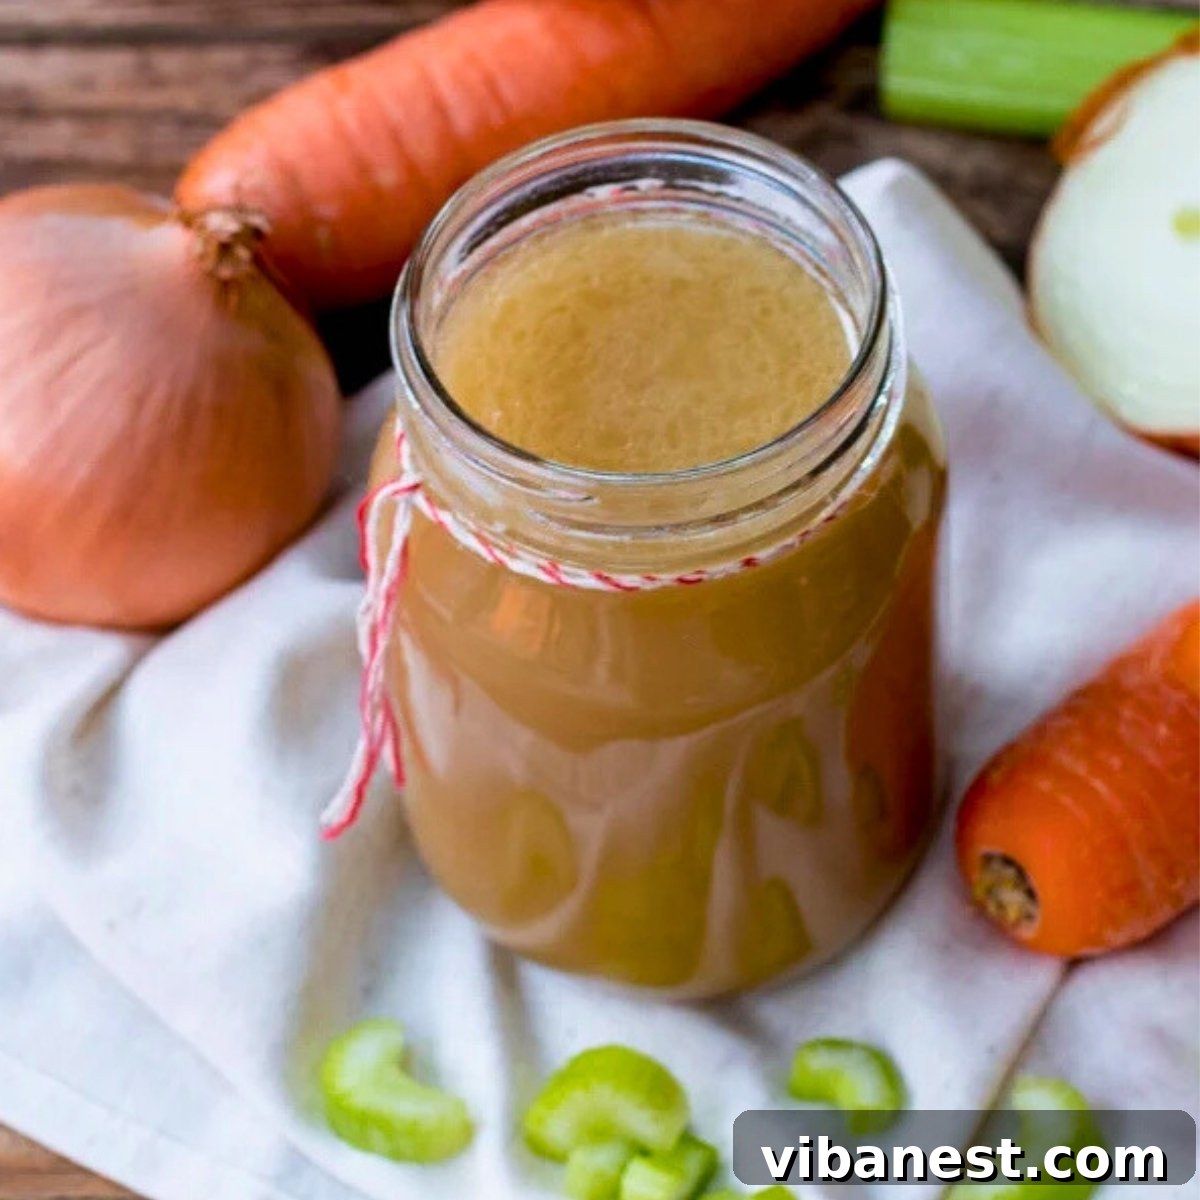
Quick & Rich Chicken Stock in the Instant Pot
The Instant Pot is a game-changer for homemade chicken stock, delivering that deep, long-simmered flavor in a fraction of the traditional cooking time. It’s perfect for busy weeknights when you still crave the goodness of homemade stock.
- Load the Instant Pot: Add your chicken bones (carcass), chopped vegetables (onion, carrots, celery), bay leaves, salt, pepper, and optional herbs into the Instant Pot insert.
- Add Cold Water: Pour in cold water until all the ingredients are covered (approximately 10-12 cups), but be sure not to exceed the maximum fill line indicated on your Instant Pot.
- Pressure Cook for 45 Minutes: Secure the lid on the Instant Pot and ensure the sealing valve is set to the “Sealing” position. Select the “Manual” or “Pressure Cook” setting and set the cooking time for 45 minutes on high pressure.
- Natural Pressure Release (NPR): Once the cooking cycle is complete, allow the pressure to release naturally. This typically takes about 20-25 minutes. Natural pressure release helps to create a clearer stock and ensures maximum flavor extraction. Do not force release the pressure.
- Strain and Cool: Carefully open the lid. Strain the rich chicken stock through a fine-mesh strainer into a clean bowl or pot, discarding all the solids. Let the stock cool completely before transferring it to airtight containers.
Storing Your Liquid Gold: Tips for Freshness & Freezing
One of the best advantages of homemade chicken stock is its versatility in storage, allowing you to enjoy its rich flavor whenever you need it. Proper storage ensures freshness and longevity.
- Refrigerator Storage: Once your chicken stock has cooled completely, pour it into clean, airtight containers or glass jars with tight-fitting lids. Homemade chicken stock will stay fresh in the refrigerator for up to 4-5 days. Always ensure it’s fully cooled before refrigerating to prevent bacterial growth.
- Freezer Storage for Longer Shelf Life: For longer-term storage, the freezer is your best friend. Chicken stock freezes beautifully and can be stored for up to 3-4 months. Here are some smart freezing tips:
- Portion Control: I highly recommend freezing stock in convenient 1-2 cup portions. This is ideal for most soup, casserole, sauce, and gravy recipes, preventing waste.
- Freezer Bags: For space-saving, pour cooled stock into freezer-safe bags, seal, and lay them flat on a baking sheet in the freezer until solid. Once frozen, you can stack them vertically to maximize freezer space.
- Ice Cube Trays: For even smaller portions, pour stock into ice cube trays. Once frozen, pop the cubes out and store them in a larger freezer bag. These small cubes are perfect for deglazing pans, adding to stir-fries, or boosting flavor in smaller dishes.
- Glass Jars: When freezing in glass jars, remember to leave at least an inch of headspace at the top to account for expansion as the liquid freezes, preventing the jar from cracking.
- Thawing Frozen Stock: To use frozen stock, simply transfer it from the freezer to the refrigerator overnight to thaw. For quicker thawing, you can place the frozen block in a bowl of cold water, or gently heat it in a saucepan on the stove.
With these storage methods, you’ll always have a supply of this flavorful homemade chicken stock ready to elevate your cooking!
How to Make Homemade Chicken Stock
Make rich, flavorful homemade chicken stock with simple ingredients. This guide includes stovetop, slow cooker, and Instant Pot methods, plus essential storage tips and FAQs for your convenience.
Ingredients
- 1 chicken carcass or 2-3 pounds of chicken bones (raw or roasted)
- 1 large yellow onion, quartered (no need to peel)
- 2-3 large carrots, cut into big chunks (no need to peel)
- 2-3 celery stalks, cut into big chunks
- 1-2 bay leaves
- 1 tsp kosher salt (adjust to taste)
- 1 tsp coarse ground black pepper (adjust to taste)
- Optional herbs: fresh thyme sprigs, parsley
- 10-12 cups cold water (enough to cover ingredients by 1-2 inches)
Instructions
Chicken Stock Stovetop Instructions
- Combine ingredients: Add chicken carcass/bones to a large stock pot along with onion, carrots, celery, bay leaves, salt, pepper, and herbs (optional). Add enough cold water to cover everything by 1-2 inches — about 10-12 cups of water.
- Heat gently: Bring to a simmer slowly over medium heat. Avoid a rolling boil.
- Skim the foam: As the stock begins to simmer, skim off any foam that rises to the top for a clearer stock.
- Simmer: Reduce heat to medium-low and simmer gently for at least 4-6 hours, or up to 12 hours for richer, deeper flavor. Partially cover the pot.
- Strain: Use a fine-mesh strainer to remove all solids and discard.
- Cool and store: Allow the stock to cool completely at room temperature, then place in airtight containers or jars and refrigerate. Fat will rise to the top and solidify – feel free to skim it off, but it is not required.
Chicken Stock Slow Cooker (Crock Pot) Instructions:
- Combine ingredients: Add chicken carcass/bones to your slow cooker along with onion, carrots, celery, bay leaves, salt, pepper, and herbs (optional). Add enough cold water to cover everything by 1-2 inches — about 10-12 cups of water.
- Cook on low for 10-12 hours.
- Strain out the solids using a fine-mesh sieve.
- Cool and store: Allow the stock to cool completely, then place in airtight containers or jars and refrigerate. Skim fat if desired.
Chicken Stock Instant Pot Instructions:
- Combine ingredients: Add chicken carcass/bones to your Instant Pot along with onion, carrots, celery, bay leaves, salt, pepper, and herbs (optional). Add enough cold water to cover everything by 1-2 inches — about 10-12 cups of water, but do not exceed the max fill line.
- Secure the lid, set the valve to sealing, then press Manual/Pressure Cook for 45 minutes on high pressure.
- Naturally release the pressure: Allow the pressure to release naturally, which will take about 20-25 minutes.
- Strain the stock with a fine-mesh strainer, discarding solids.
- Cool and Store: Allow the stock to cool completely, then place in airtight containers or jars and refrigerate. Skim fat if desired.
Frequently Asked Questions About Homemade Chicken Stock
Absolutely! Chicken stock freezes exceptionally well, making it perfect for meal prep. Store it in airtight containers, freezer-safe bags, or even ice cube trays for convenient small portions. Lay freezer bags flat to save space. I personally like to freeze it in 1-2 cup portions, as these are ideal for most recipes.
The primary difference lies in their main ingredients and cooking time. Chicken stock is typically made primarily from bones (which contain collagen and gelatin), often with a longer simmering time. This results in a richer, thicker, and more robust liquid with a fuller body and mouthfeel. It’s excellent as a base for hearty soups, gravies, and sauces. Chicken broth, on the other hand, is usually made mostly from meat (often with some bones) and vegetables, simmered for a shorter period. It’s lighter in flavor and consistency, making it ideal for sipping or lighter soups.
Once properly cooled and stored in an airtight container, homemade chicken stock stays fresh and safe to consume in the refrigerator for about 4-5 days. Beyond that, it’s best to freeze it for extended storage.
Yes, in most recipes, chicken broth and chicken stock can be used interchangeably without major issues. However, keep in mind that stock generally offers a deeper, more gelatinous flavor and richer mouthfeel, while broth is usually lighter. If a recipe specifically calls for stock and you use broth, your dish might lack some of the depth and body. Conversely, using stock where broth is called for will likely result in a richer dish, which isn’t always a bad thing!
Starting with cold water is crucial for a clear and flavorful stock. As the water slowly heats, it gradually draws out impurities (like proteins and blood) from the bones and vegetables. These impurities rise to the surface as foam, which can then be easily skimmed off. If you start with hot water, the proteins can coagulate quickly and trap impurities within the liquid, resulting in a cloudy stock.
Absolutely! This is a fantastic way to make your chicken stock even more budget-friendly and reduce food waste. Keep a bag of vegetable scraps in your freezer – things like onion skins and ends, carrot peels and tips, celery ends and leaves, mushroom stems, and even garlic skins. Just avoid cruciferous vegetables like broccoli or cabbage, as they can impart a bitter flavor to your stock.
For a super rich and gelatinous stock, focus on two main factors: bones and simmering time. Use a good ratio of bones (especially knuckles, feet, and backs which are rich in collagen). Secondly, extend the simmering time – 8 to 12 hours on the stovetop or slow cooker will extract maximum gelatin. You can also add a splash of apple cider vinegar at the beginning of cooking; the acidity helps break down the bones and extract more minerals and collagen.