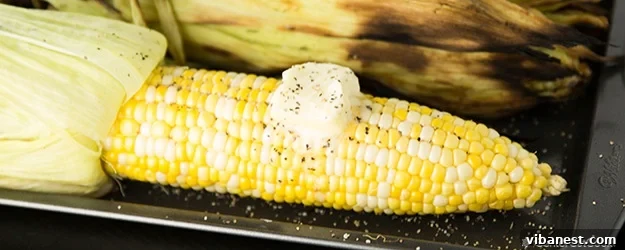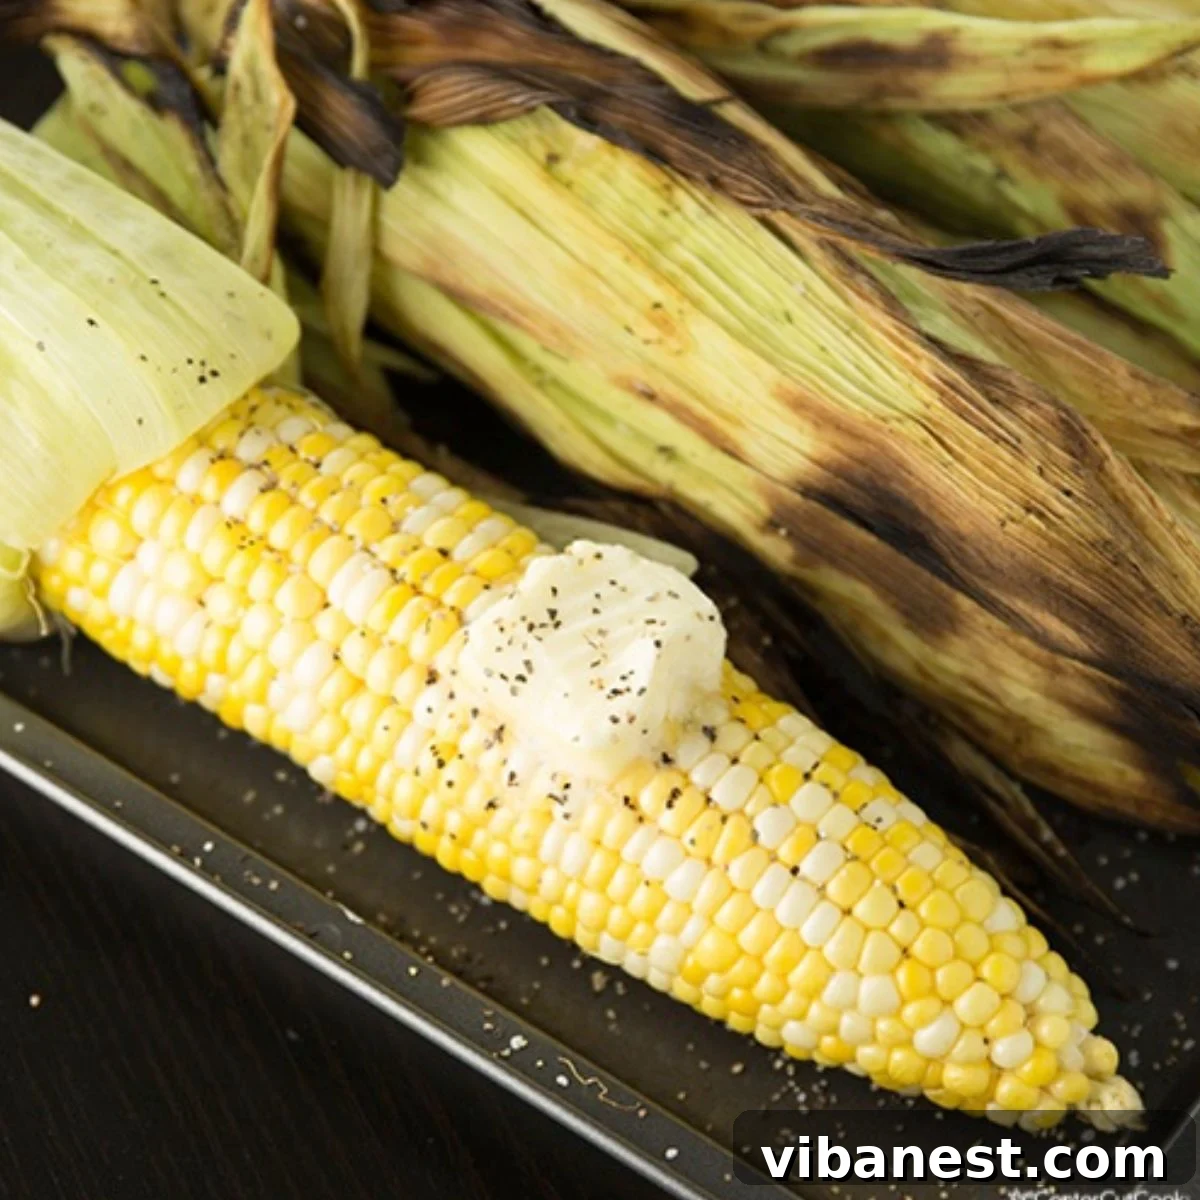
The unmistakable aroma of fresh corn sizzling on a hot grill is one of the most quintessential scents of summer. As the days grow longer and the temperatures rise, there’s truly nothing quite like gathering around the grill with loved ones, enjoying the simple pleasure of perfectly cooked sweet corn. This versatile and delicious side dish is a cornerstone of any successful summer cookout, barbecue, or casual family meal. Whether you prefer the rustic charm of grilling corn with its husks still on, or the convenience of cooking it husked and buttered, mastering the art of grilled corn on the cob is an essential skill for any home cook. This comprehensive guide will walk you through various methods, tips, and tricks to ensure your corn is always tender, juicy, and bursting with flavor. Let’s fire up the grill and unlock the full potential of this beloved summer staple!
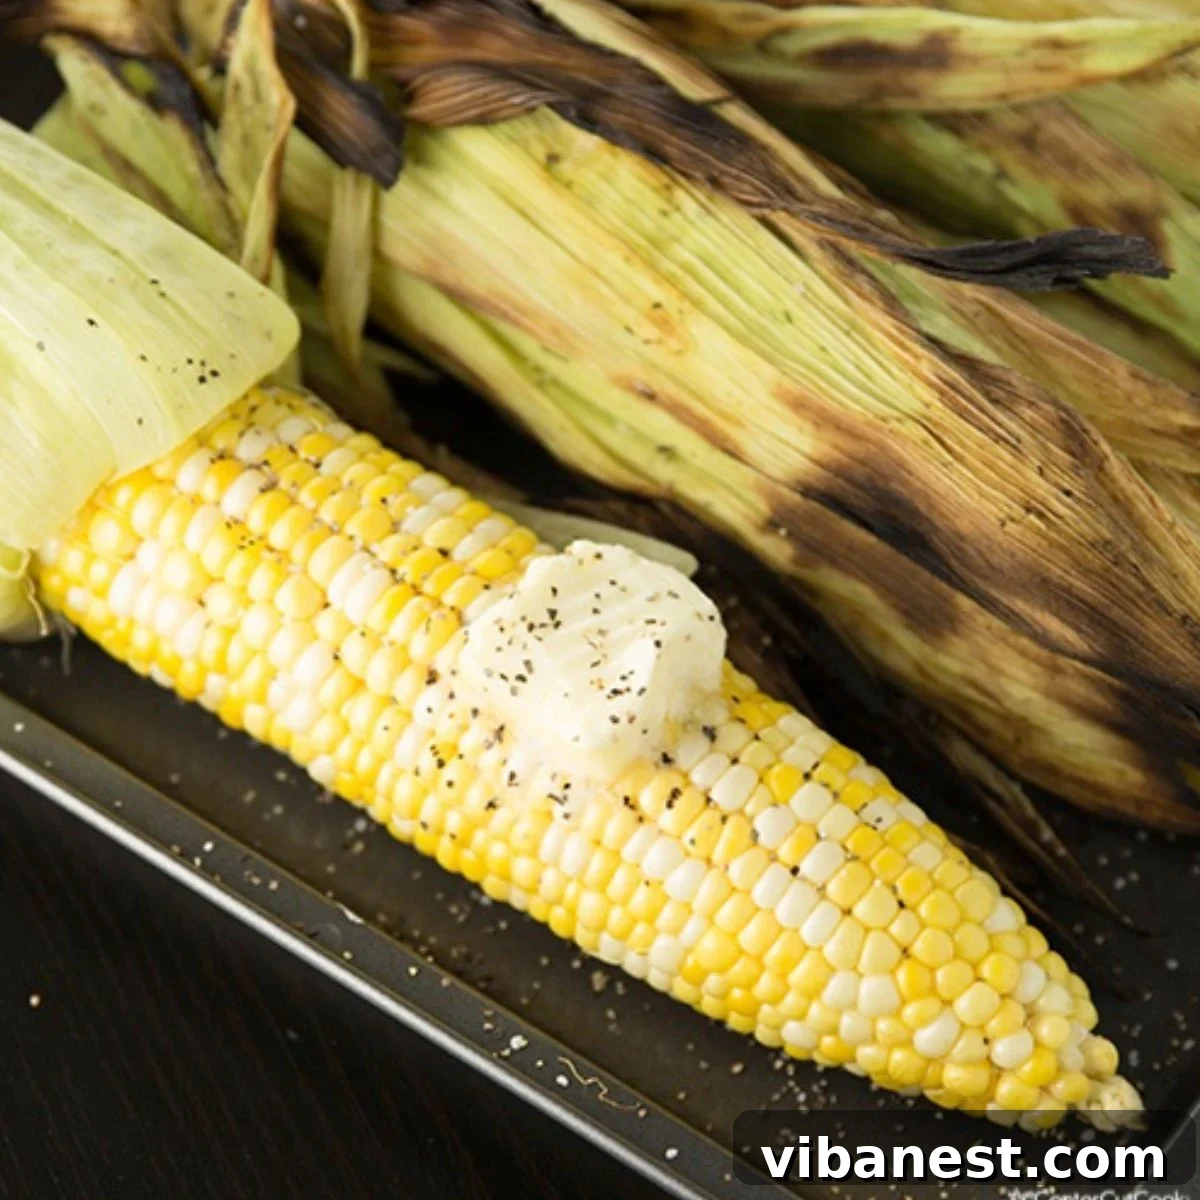
The Irresistible Allure of Grilled Corn on the Cob
While there are many ways to prepare corn on the cob, grilling offers a unique depth of flavor and texture that other cooking methods simply can’t replicate. Here are the top reasons why grilled corn consistently reigns supreme:
- Unmatched Flavor Profile: Grilling imparts a distinct smoky essence to the corn that perfectly complements its natural sweetness. The high heat of the grill also encourages the Maillard reaction, caramelizing the sugars in the corn kernels and creating complex, savory notes that are incredibly addictive. This smoky-sweet combination is a hallmark of summer cuisine.
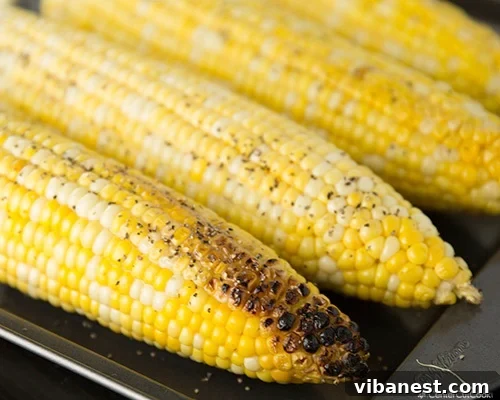
- Delightful Texture Contrast: Towards the end of the grilling process, many enthusiasts, including myself, love to pull back the husks and allow the corn kernels to come into direct contact with the grates. This creates a beautiful, lightly charred exterior that adds a wonderful textural contrast to the tender, juicy interior. While not everyone prefers a heavily charred kernel, a slight char enhances the flavor and provides a satisfying bite without overpowering the corn’s natural crispness.
- Effortless Simplicity and Outdoor Enjoyment: Grilling corn is incredibly straightforward, making it an ideal choice for busy summer days. It frees up valuable stove-top space and allows you to cook your entire meal outdoors, embracing the relaxed atmosphere of backyard entertaining. The ease of preparation, combined with the phenomenal taste and texture, makes grilled corn an undeniable champion of summer cooking. It’s a dish that requires minimal fuss but delivers maximum satisfaction, embodying the spirit of warm-weather gatherings.
- Versatility in Serving: Grilled corn isn’t just a side dish; it’s a canvas for culinary creativity. It can be served simply with butter, salt, and pepper, or dressed up with a myriad of toppings, from spicy chili-lime butter to crumbled cojita cheese and fresh herbs. Its versatility ensures it pairs well with almost any grilled main course, from burgers and hot dogs to steak and chicken.
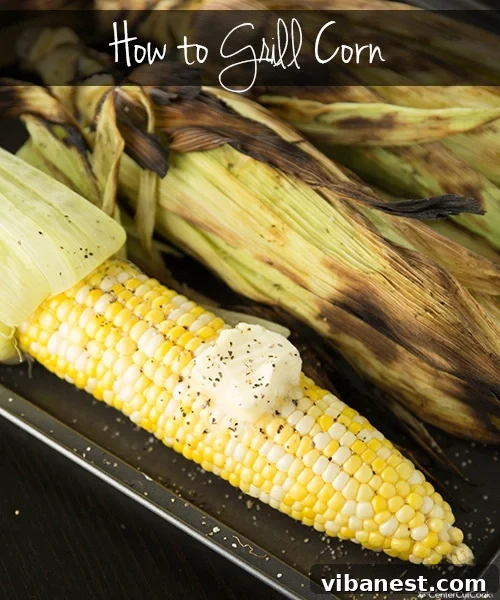
Selecting the Perfect Corn for Grilling
The foundation of truly exceptional grilled corn begins with choosing the freshest ears available. Look for these indicators to ensure you pick the best sweet corn:
- Bright Green Husks: The husks should be vibrant green, tightly wrapped around the ear, and feel slightly damp. Avoid corn with dry, pale, or yellowing husks, as this indicates older corn.
- Plump Kernels: Gently peel back a small section of the husk at the top of the ear to inspect the kernels. They should be plump, firm, and extend all the way to the tip. Avoid ears with shriveled or missing kernels.
- Moist, Slightly Sticky Silk: The silk strands should be light brown or golden and feel slightly sticky. Dry or dark brown silk suggests the corn is past its prime.
- Sweet Fragrance: Fresh corn will have a subtle, sweet, earthy scent.
- Local and Seasonal is Best: Whenever possible, opt for locally grown sweet corn from farmers’ markets. Corn loses its sweetness rapidly after being picked, so the fresher it is, the better it will taste.
Preparing Corn on the Cob for the Grill (with Husks On)
Grilling corn with its husks intact is a popular method that helps steam the kernels, keeping them incredibly moist and tender while infusing a smoky flavor. The husks also protect the kernels from burning directly on the grates. Here’s how to prepare it:
- Select Fresh Ears: Begin with 4-8 ears of fresh sweet corn, ideally with bright green, intact husks.
- Remove Outer Layers: Carefully peel off just a few of the outermost, tougher husks. You want to leave enough of the inner husks to still completely cover the corn, acting as a natural steaming packet and protective layer.
- Silking the Corn: Gently pull back the remaining husks, but do not detach them from the stem end. They should remain connected and fold down. Remove all the fine silk strands from the corn kernels by hand or using a clean towel. This step is crucial for a cleaner eating experience. Once the silk is removed, pull the husks back up to completely cover the corn kernels.
- Soak for Success: This is a critical step when grilling with husks. Fill a large basin, a clean sink, or a cooler with cold water and submerge the corn for 20-30 minutes. Soaking prevents the husks from catching fire on the grill and helps create a steamy environment inside, resulting in perfectly tender kernels. While the husks will still char beautifully, they won’t burn to a crisp.
Preparing Corn on the Cob for the Grill (without Husks)
Grilling corn with the husks removed allows for direct contact with the heat, promoting more charring and intense smoky flavor. This method is often quicker and ideal if your corn already comes husked. Here’s how to prepare it:
- Choose and Clean Corn: Start with fresh corn on the cob. Completely remove all husks and silk. You can rinse the corn under cold running water and use a vegetable brush or a clean cloth to effectively remove any stubborn silk strands.
- Brush with Fat: Since there are no husks to protect the kernels, it’s essential to brush the bare ears of corn generously with olive oil, melted butter, or even a neutral cooking oil. This step helps prevent the corn from drying out, sticking to the grill grates, and burning too quickly. It also contributes to a beautiful golden-brown color and enhances the flavor.
- Seasoning (Optional): At this stage, you can add a sprinkle of salt and pepper or your favorite dry rub for an extra flavor boost before grilling.
How to Grill Corn on the Cob (with Husks)
Once your corn has been properly prepared and soaked, it’s time to bring on the heat! This method yields incredibly moist and flavorful corn.
- Preheat Your Grill: Set your grill to medium heat, aiming for a temperature around 350-375 degrees F (175-190 degrees C). Ensure the grill grates are clean to prevent sticking.
- Shake Off Excess Water: Remove the soaked corn from the water and gently shake off any excess moisture.
- Place on Grill: Arrange the corn directly on the preheated grill grates, with the husks still fully intact. Close the grill lid.
- Cook and Rotate: Grill the corn for approximately 15-20 minutes. It’s crucial to rotate the ears every 4-5 minutes to ensure even cooking on all sides. The husks will begin to char and blacken, which is completely normal and contributes to the smoky flavor.
- Check for Doneness and Char: The corn is ready when the kernels are tender and plump. If you desire a slightly charred look and deeper smoky flavor, carefully pull back the husks (they will be hot!) and place the bare corn directly on the grates for an additional 2-5 minutes, rotating frequently. Watch carefully to avoid burning.
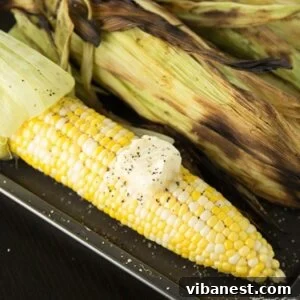
- Rest and Serve: Remove the corn from the grill. Allow it to cool for a few minutes before carefully peeling back the husks completely. This step can be a bit messy, so have a plate or trash can nearby. Immediately slather with butter and season generously with salt and pepper to taste. Serve hot.
How to Grill Corn on the Cob (without Husks)
This method offers a quicker grilling time and allows for a more pronounced char on the kernels, delivering a bolder smoky flavor.
- Preheat Your Grill: Ignite your grill and preheat it to medium-high heat, targeting a temperature between 375-400 degrees F (190-205 degrees C). Clean your grill grates thoroughly.
- Place on Grill: Carefully place the buttered or oiled corn ears directly onto the hot grill grates.
- Grill and Rotate: Grill the corn for 10-15 minutes in total. It’s essential to rotate the corn frequently (every 2-3 minutes) to ensure even cooking and charring on all sides. Watch for golden-brown kernels with a few spots of beautiful caramelization and char.
- Check for Tenderness: The corn is done when the kernels are tender and have achieved your desired level of char. You can test by gently pressing a kernel with your fingernail; it should be soft.
- Season and Serve: Remove the grilled corn from the heat. Allow it to cool for just a minute or two, then add extra butter, a sprinkle of salt, and freshly ground black pepper to taste. Get creative with other seasonings if you wish! Serve immediately while hot.
Elevating Your Grilled Corn: Beyond Butter, Salt, and Pepper
While the classic combination of butter, salt, and pepper is undeniably delicious, don’t hesitate to experiment with different toppings and seasonings to elevate your grilled corn on the cob. Here are a few ideas to get your creative juices flowing:
- Herb Butters: Blend softened butter with finely chopped fresh herbs like cilantro, parsley, chives, or basil. Garlic powder, onion powder, or a squeeze of lime juice can also be added for extra zest.
- Spicy Kick: Mix butter with a pinch of cayenne pepper, smoked paprika, or chili powder for a fiery twist. A drizzle of hot sauce after grilling also works wonders.
- Cheesy Goodness: After grilling, spread with butter, then sprinkle with crumbled cotija cheese (Mexican street corn style), Parmesan cheese, or a dash of nutritional yeast for a cheesy flavor.
- Sweet & Savory: A light drizzle of honey or maple syrup combined with a sprinkle of sea salt can create an intriguing flavor profile.
- Citrus Brightness: A squeeze of fresh lime or lemon juice over the hot corn brightens all the flavors.
- Gourmet Finishing: Consider a sprinkle of everything bagel seasoning, a pinch of truffle salt, or a dash of Old Bay seasoning for unique flavor bursts.
The key is to apply seasonings while the corn is still hot, allowing the butter to melt and the flavors to meld beautifully with the tender kernels. Remember, choosing fresh, juicy, ripe corn with bright green husks is the first and most important step to achieving perfectly grilled corn every time. Keep a close eye on your corn as it cooks to achieve that lovely, lightly charred texture without venturing into burnt territory.
Storage and Reheating Tips
If you happen to have any leftover grilled corn (a rare occurrence!), here’s how to store and reheat it:
- Storage: Once cooled, remove the kernels from the cob using a sharp knife if preferred, or store the whole cobs. Place in an airtight container and refrigerate for up to 3-4 days.
- Reheating: Reheat whole cobs by wrapping them in foil and warming them in a preheated oven (350°F / 175°C) for about 10-15 minutes, or on the grill over indirect heat until warm. Kernels can be gently reheated in a skillet with a knob of butter.
Frequently Asked Questions About Grilling Corn
Q: How do I know when the corn is cooked through?
A: The kernels should appear plump and bright yellow. You can carefully test a kernel with a fork or your fingernail; it should be tender and easy to pierce.
Q: Can I grill frozen corn on the cob?
A: Yes, you can! Thaw it first, then brush with oil or butter and grill as you would fresh husked corn, but expect slightly less natural sweetness and potentially a softer texture.
Q: What type of grill is best for corn?
A: Both gas and charcoal grills work wonderfully for corn. Charcoal grills will impart a more intense smoky flavor.
Q: My corn keeps burning on the grill, what am I doing wrong?
A: The heat might be too high, or you might not be rotating the corn frequently enough. Ensure you’re grilling over medium heat for corn with husks, and medium-high for husked corn, and turn regularly.
Q: Can I use aluminum foil to grill corn?
A: Yes, grilling corn in foil is another popular method. You would husk and silk the corn, brush with butter/oil, season, and then wrap it tightly in foil before placing it on the grill. This steams the corn, similar to grilling with husks, but without the direct smoky char. Cook for 15-20 minutes, turning often.
How to Grill Corn on the Cob
Ingredients
- 4-8 ears sweet corn on the cob, husks still intact
- kosher salt and coarse black pepper to taste
- butter to taste
- Optional for husked corn: olive oil or additional melted butter for brushing
Instructions
Grilling Corn with Husks
- Prep the corn by removing several of the outer husks, but leaving enough of them intact so that the corn is still covered.
- Carefully pull the remaining husks down to expose the corn, but do not rip them off. Remove all of the silk from the corn, then put the husks back in place so that the corn is covered.
- Fill a clean sink or large bowl with cold water and soak the corn for 20-30 minutes. This will help prevent the husks from burning (although, they will still get the charred look) and ensure juicy kernels.
- Pre-heat your grill to medium heat, around 350 degrees F (175 degrees C). Remove the corn from the water and shake off the excess water.
- Place the corn, with the husks still intact, directly on the grill grates and cook for about 15-20 minutes. Rotate the corn every 5 minutes so that all sides cook evenly.
- At this point you can remove the corn from the grill, or you can carefully pull the husks back and place the corn directly on the grill for a few minutes if you’d like a charred look. Just be sure not to overcook the corn.
- Allow the corn to cool for a few minutes before carefully removing the husks completely. This part can be a bit messy. Spread butter generously over the warm corn and season with salt and pepper. Serve immediately.
Grilling Corn without Husks
- Prepare the corn for the grill by completely removing the husks and silk. Rinse the corn under cold water and use a vegetable brush (if you have one) to help remove any remaining silk.
- Brush the bare ears of corn generously with olive oil or melted butter to help prevent the corn from drying out or sticking to the grill grates and to promote even browning.
- Preheat the grill to medium-high heat (around 375-400 degrees F / 190-205 degrees C).
- Place the corn on the hot grill grates and grill for 10-15 minutes, or until the corn is tender and has achieved a desired level of char. Rotate the corn every few minutes so that it cooks evenly and doesn’t burn.
- Remove the corn from the grill and allow it to cool for a few minutes before adding additional butter, salt, and black pepper to taste. Serve hot.
Other Delicious Corn on the Cob Recipes…
While grilling is my absolute favorite, there are many other fantastic ways to prepare corn on the cob if you don’t have a grill or are looking for variety.
- How to boil Corn on the Cob for perfectly tender results.
- Try Slow Cooker Corn on the Cob for hands-off cooking, perfect for large gatherings.
- For a quick and easy method, learn How to Make Corn on the Cob in the Microwave.
Grilled corn on the cob is, without a doubt, one of the best parts of summer. Its sweet, smoky flavor and satisfying texture make it an instant crowd-pleaser and a perfect accompaniment to almost any meal. This recipe is designed to be super easy, ensuring that your end result is always perfectly grilled, buttery, and delicious corn. We hope you enjoy preparing and savoring this quintessential summer treat!