
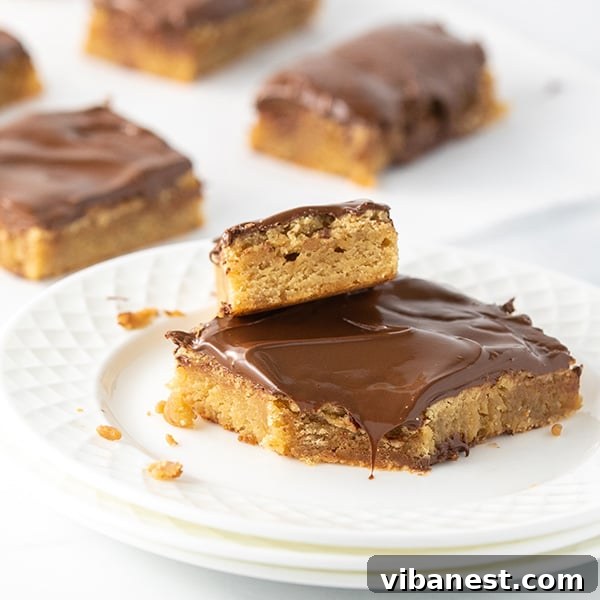
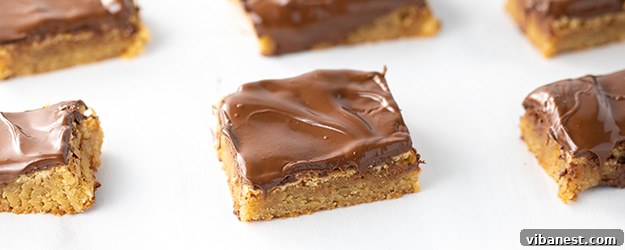
Easy Chewy Blondie Bars with Melted Chocolate Chips: The Ultimate Hybrid Dessert
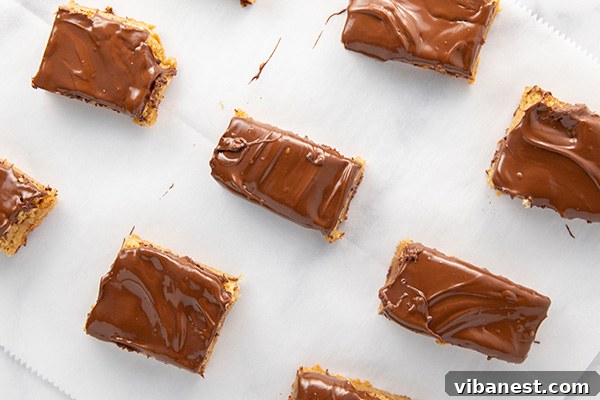
Are you ready for a dessert that’s not just easy, but truly extraordinary? This isn’t just another blondie recipe; it’s a game-changer. Imagine a perfectly chewy, buttery blondie base, enhanced with the rich, caramel notes of brown sugar, then elevated with a luscious, melted chocolate chip topping. The result? A delightful cross between a classic blondie and a fudgy brownie – the best of both worlds in one irresistible bar!
We often find ourselves caught in the eternal “Blondie vs. Brownie” debate. Some swear by the deep cocoa intensity of brownies, while others cherish the distinct butterscotch and vanilla profile of blondies. Here, we’re not taking sides. Instead, we’re bringing both worlds together to create a harmonious treat that will satisfy every sweet tooth. Whether you’re a devoted brownie fan or a blondie enthusiast, this innovative recipe for Easy Blondie Bars with Melted Chocolate Chips is guaranteed to become a new favorite.
Get ready to impress your friends and family with these homemade blondie bars that are simple to make but taste incredibly gourmet. They’re perfect for potlucks, parties, or simply as a comforting treat after a long day.
The Great Debate: What’s the Key Difference Between Blondies and Brownies?
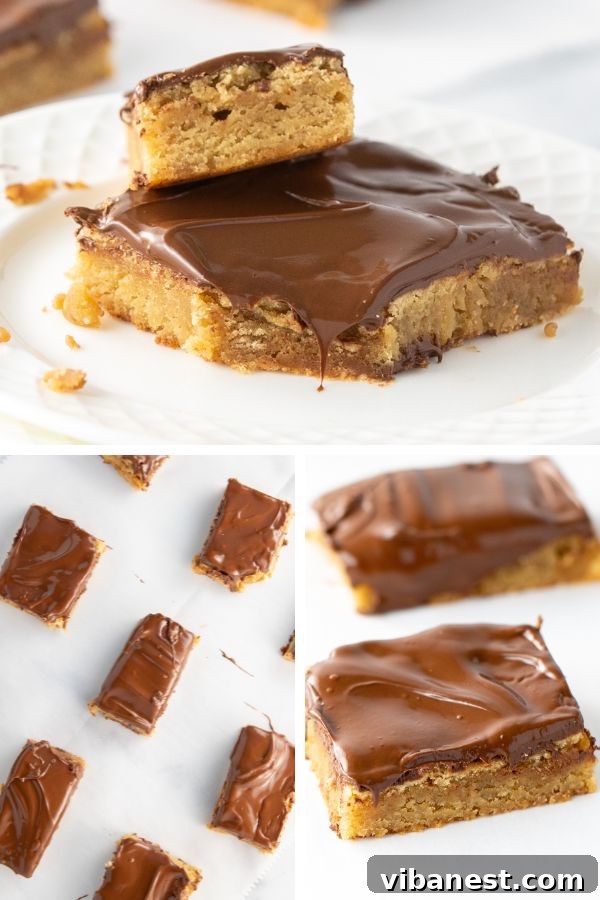
Many bakers wonder about the fundamental difference between these two beloved bar cookies. The answer is remarkably straightforward: the presence of chocolate or cocoa powder. Brownies, by definition, derive their signature dark color and rich flavor from cocoa powder, melted chocolate, or a combination of both. Blondies, on the other hand, skip the cocoa entirely.
Instead of relying on chocolate for their dominant flavor, blondies celebrate the exquisite combination of brown sugar, butter, and vanilla. This trifecta creates a distinct butterscotch-like profile, often with hints of caramel, giving them their characteristic “blonde” hue. The base ingredients — flour, eggs, butter, sugar, vanilla, and salt — are typically quite similar in proportion for both, making them close cousins in the dessert family.
However, in our innovative recipe for Blondie Bars with Melted Chocolate Chips, we ingeniously reintroduce chocolate, not into the base, but as a glorious topping. This brilliant move allows the distinct, chewy, and deeply flavored blondie base to shine through, while still offering the indulgent chocolate experience that many crave. It’s a culinary bridge that offers the best attributes of both iconic treats!
What Makes Our Blondie Bars Taste So Irresistible?
So, if a blondie is essentially a “chocolate-less brownie,” what delightful flavors can you expect? A traditional blondie boasts a rich, chewy texture with deep caramel and butterscotch notes, thanks to the brown sugar. The vanilla extract further enhances these sweet, warm flavors, creating a comforting and incredibly satisfying treat on its own.
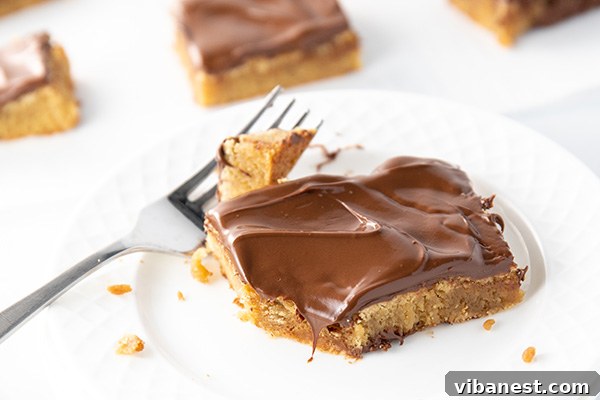
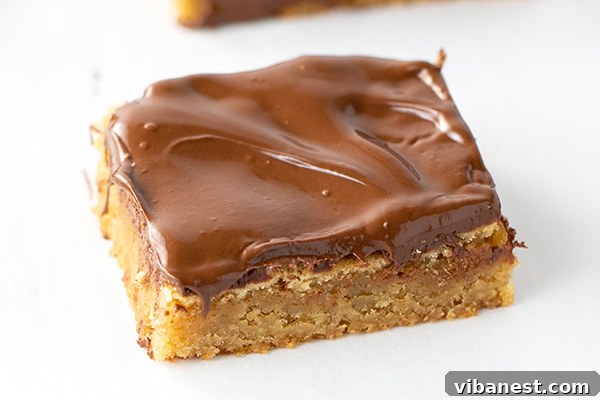
However, we believe that while a classic blondie is fantastic, many things are simply better with chocolate! That’s precisely why we’ve brought the chocolate back into the picture, not mixed into the batter, but as a generous, velvety layer spread over the warm blondie bars. This topping transforms the humble blondie into something truly spectacular.
Imagine biting into a soft, fudgy blondie, its chewy texture yielding to the rich, molasses-infused sweetness, immediately followed by the smooth, slightly firm snap of melted chocolate. The contrast in textures and the harmonious blend of caramel, vanilla, and pure chocolate flavors create an experience that is deeply satisfying and utterly addictive. It’s not just a topping; it’s the crowning glory that elevates these easy blondie bars to dessert royalty.
Essential Ingredients for Your Perfect Blondie Bars
One of the many charms of this recipe is its incredibly short and sweet ingredient list. You likely have most of these staples in your pantry already, making it a perfect spontaneous baking project. Here’s what you’ll need to create these heavenly blondie bars:
- Butter: Whether salted or unsalted, you’ll need one stick (8 tablespoons), melted. Butter provides the rich, foundational flavor and contributes significantly to the blondies’ desirable chewy texture.
- Brown Sugar: This is the star ingredient for blondies! Light or dark brown sugar works beautifully, imparting that signature caramel and molasses flavor that defines a blondie. It also ensures a wonderfully moist and fudgy crumb.
- Egg: Just one large egg is needed. It acts as a crucial binder, provides structure, and adds to the richness and chewiness of the bars.
- Vanilla Extract: Don’t skimp on this! A generous 1½ teaspoons of pure vanilla extract enhances all the other flavors, particularly the butterscotch notes from the brown sugar.
- Salt: A pinch (about ⅛ teaspoon) is all it takes to balance the sweetness and elevate the overall flavor profile. It brings out the best in the butter and sugar.
- All-Purpose Flour: Approximately 1 cup of all-purpose flour provides the necessary structure without making the blondies tough.
- Chocolate Chips: A heaping cup of milk chocolate or semi-sweet chocolate chips. This is for the glorious melted topping! Choose your favorite type of chocolate for a personalized touch.
Mastering Your Blondie Baking: Tips and Tricks for Success
Even though this is an easy blondie recipe, a few simple tips can elevate your baking experience and ensure perfect results every time. Follow these guidelines for blondie perfection:
Perfectly Melted Butter
This recipe calls for melted butter, which is crucial for achieving that wonderfully chewy texture. My preferred method is using the microwave. Cut your stick of butter into 8 smaller pieces; this helps it melt more evenly and quickly. Place the pieces in a microwave-safe mug or bowl and microwave in 15-20 second intervals, stirring in between, until fully melted. Be careful not to overheat it to the point of bubbling or browning, as this can affect the flavor and texture of your blondies.
The Power of Pure Vanilla Extract
When it comes to baking, pure vanilla extract is an absolute game-changer. Its complex aroma and flavor significantly enhance the butterscotch notes in blondies. While pure vanilla extract can be a bit pricier than imitation vanilla, the difference in taste is undeniable and well worth the investment. Many avid bakers find that warehouse clubs like Costco often offer the best value on large bottles of pure vanilla extract, making it more accessible for regular baking. If you bake often, stocking up here is a smart move!
Do Not Over-Mix the Batter
Once you add the flour, mix the batter on medium speed only until the ingredients are just combined. Over-mixing develops the gluten in the flour, which can lead to tough, dense blondies instead of the desired soft, chewy texture. A few streaks of flour are better than a rubbery blondie!
The Right Baking Dish Matters
An 8×8 inch baking dish is ideal for this recipe, yielding blondies of perfect thickness. If you use a larger pan, your blondies will be thinner and may bake faster, so adjust your baking time accordingly. Conversely, a smaller pan might require a longer baking time.
Checking for Doneness
Blondies are typically baked for 23-25 minutes. To test for doneness, insert a toothpick into the center of the pan. It should come out with moist crumbs attached, but not wet batter. A completely clean toothpick might indicate overbaking, which can result in dry blondies. Remember, blondies continue to cook slightly as they cool.
Patience is a Virtue (Especially with Chocolate)
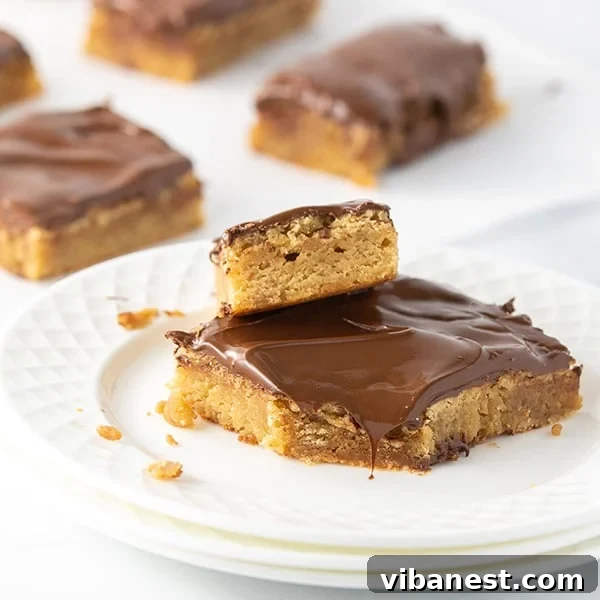
Allowing the blondies to rest for about 10 minutes after baking is important for them to set slightly before you add the melted chocolate. After spreading the chocolate, let it set completely before cutting. You can speed this up by placing the pan in the refrigerator for 20-30 minutes. This ensures clean cuts and prevents the chocolate from smearing.
Serving Suggestions and Delicious Variations for Your Blondie Bars
These Easy Blondie Bars with Melted Chocolate Chips are absolutely fantastic on their own, but they’re also wonderfully versatile! Here are a few ideas to make them even more special:
Elevate Your Serving Experience:
- Classic & Simple: Serve them at room temperature for a perfect grab-and-go treat.
- Warm & Indulgent: Gently warm a slice in the microwave for a few seconds until the chocolate is slightly gooey. Top with a scoop of vanilla bean ice cream and a drizzle of caramel sauce for an extraordinary dessert.
- Dessert Platter Star: Cut them into smaller squares and arrange them on a dessert platter with fresh berries or a dusting of powdered sugar.
Creative Add-Ins and Toppings:
While the melted chocolate topping is a signature of this recipe, you can also experiment with other additions to the blondie batter before baking or modify the topping:
- Nuts: Fold in a half cup of chopped walnuts, pecans, or almonds into the batter for an extra crunch and nutty flavor.
- Toffee Bits: Add a sprinkle of toffee bits to the batter for a delightful buttery, caramel crunch.
- Pretzels: For a sweet and salty twist, crush some pretzels and mix them into the batter, or sprinkle them on top of the melted chocolate.
- Sea Salt Flakes: A light sprinkle of flaky sea salt over the still-wet melted chocolate topping enhances the flavors beautifully.
- White Chocolate Swirl: After spreading the milk or semi-sweet chocolate, drizzle melted white chocolate over it and swirl with a toothpick for an elegant marbled effect.
Storage Tips to Keep Your Blondies Fresh
If by some miracle you have any leftover blondies, proper storage will keep them fresh and delicious:
- Room Temperature: Store blondie bars in an airtight container at room temperature for up to 3-4 days. Placing a piece of parchment paper between layers can prevent sticking if stacking.
- Refrigerator: For extended freshness, especially in warmer climates, you can store them in an airtight container in the refrigerator for up to a week. Let them come to room temperature or warm slightly before serving for the best texture.
- Freezing: Blondies freeze beautifully! Once completely cooled and the chocolate topping is set, cut them into individual squares. Wrap each square tightly in plastic wrap, then place them in a freezer-safe bag or container. They can be frozen for up to 2-3 months. Thaw at room temperature or gently warm in the microwave.
Explore More Delicious Bar Recipes
If you’re captivated by the versatility and deliciousness of blondies and brownies as much as we are, you’ll be thrilled to discover more tempting recipes from our collection. Expand your baking repertoire with these incredible bar desserts:
More Blondie Creations:
- For an utterly decadent twist, you simply must try these Chocolate Dipped Reese’s Blondie Bars. Imagine chewy blondies loaded with Reese’s Pieces, then dipped in rich chocolate – need we say more?
- Experience a sophisticated flavor combination with these unique Cherry Cheesecake Blondies. They masterfully blend the nutty depth of brown butter, the sweet-tart chewiness of cherries, and the creamy tang of cheesecake for a truly unforgettable blondie experience.
- When autumn calls, answer with these delightful Pumpkin Blondie Fingers. These seasonal bars feature a pumpkin-spiced blondie base, studded with white chocolate chips, and crowned with a luscious white chocolate topping. They’re the perfect cozy fall treat!
For the Ultimate Brownie Lover:
If your heart truly lies with the classic brownie, don’t worry, we’ve got you more than covered!
- You absolutely must try our recipe for The Best Brownies – a timeless classic guaranteed to satisfy your chocolate cravings with their rich, fudgy texture.
- And for those who believe there’s no such thing as too much chocolate, these Triple Chocolate Chewy Brownies are an absolute dream. Packed with three kinds of chocolate, they are the epitome of fudgy indulgence.
Ultimately, when it comes to the delicious dilemma of blondies vs. brownies, you don’t have to pick just one. This inventive recipe for Easy Chewy Blondie Bars with Melted Chocolate Chips offers a glorious fusion, delivering a classic blondie base topped with a beloved chocolate layer. It’s the perfect compromise and a surefire crowd-pleaser.
We genuinely hope you enjoy creating and devouring this exceptional recipe! If you make these blondie bars – and we truly hope you do – please take a moment to snap a photo and share your delicious creations with us on social media. We love seeing your baking triumphs. Happy baking and enjoy every single bite!
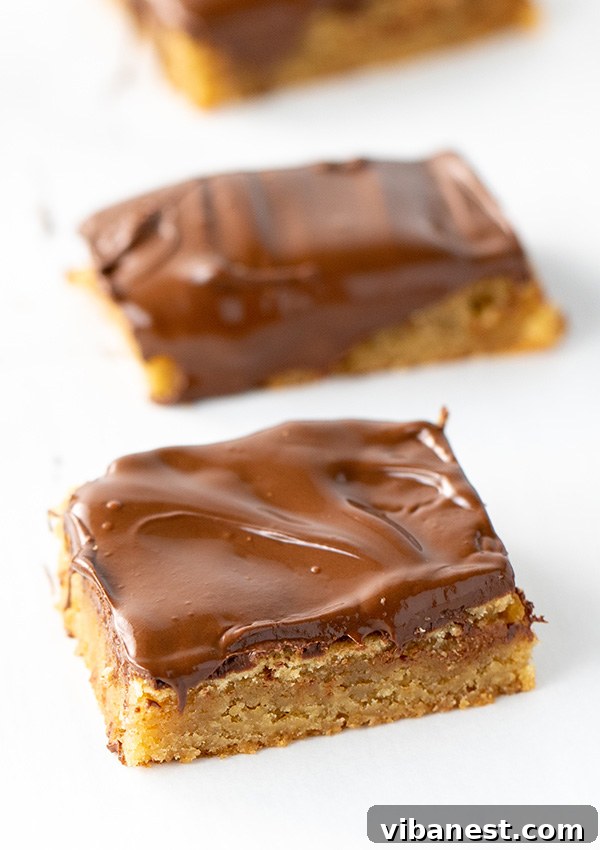
Recipe: Easy Chewy Blondie Bars with Melted Chocolate Chips
INGREDIENTS
- 8 tablespoons (1 stick) butter, melted
- 1 cup brown sugar (light or dark)
- 1 large egg
- 1 1/2 teaspoons pure vanilla extract
- 1/8 teaspoon salt
- 1 cup all-purpose flour
- 1 heaping cup milk chocolate chips or semi-sweet chocolate chips (for topping)
DIRECTIONS
- Preheat your oven to 350°F (175°C). Lightly grease an 8×8 inch baking dish to prevent sticking.
- In a large mixing bowl, combine the melted butter and brown sugar. Mix thoroughly until well combined and smooth.
- Add the large egg to the butter-sugar mixture and mix vigorously for about 1 minute until well incorporated and slightly lighter in color.
- Next, add the vanilla extract, salt, and all-purpose flour. Mix on medium speed only until all ingredients are just blended together. Be careful not to over-mix, as this can lead to tough blondies.
- Pour the batter evenly into your prepared 8×8 inch baking dish.
- Bake for 23-25 minutes, or until a toothpick inserted into the center comes out with moist crumbs attached, but no wet batter. The edges should be lightly golden.
- Remove the blondies from the oven and allow them to rest in the pan for about 10 minutes. This helps them set.
- While the blondies are resting, melt the heaping cup of chocolate chips. You can do this in the microwave in 30-second intervals, stirring well after each, until smooth, or use a double boiler method.
- Once the chocolate is melted and smooth, spread it evenly over the warm blondies, creating a beautiful, glossy layer.
- Allow the chocolate topping to set completely before cutting and serving. For quicker setting, you can place the pan in the refrigerator for 20-30 minutes. Once set, cut into squares and enjoy!