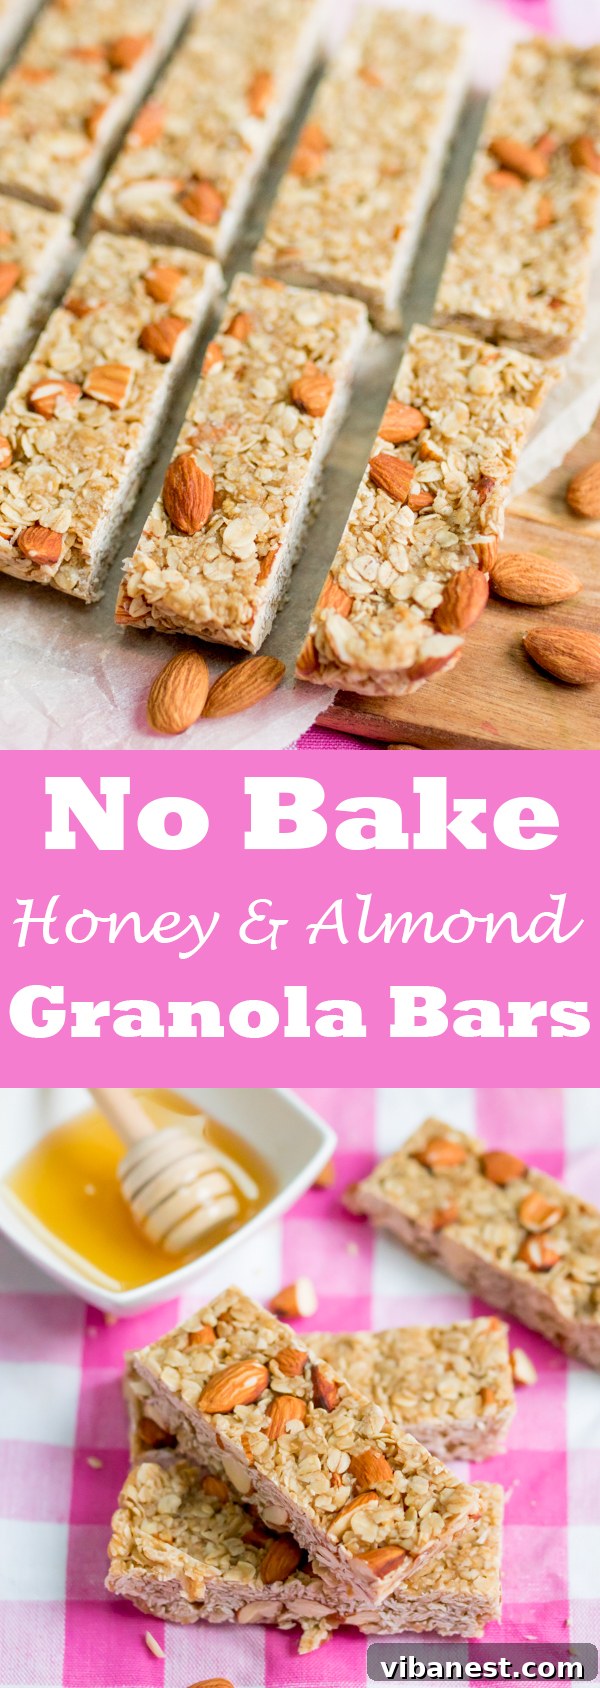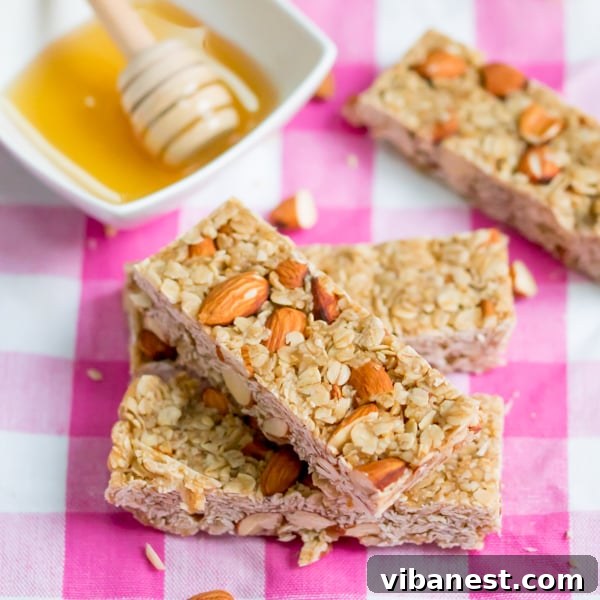
Easy & Healthy No-Bake Honey Granola Bars: Your Ultimate Homemade Snack!
In a world bustling with activity, finding a convenient, nutritious, and delicious snack can often feel like a quest. But what if we told you the perfect solution lies right in your kitchen, requiring no oven and minimal effort? Enter the magnificent No-Bake Honey Granola Bars – a game-changer for anyone craving a wholesome treat that’s far superior to anything store-bought.
Homemade granola bars offer an unparalleled sense of satisfaction. Not only are they incredibly rewarding to make, but they also bring a host of benefits that pre-packaged alternatives simply can’t match. From significant cost savings to complete control over ingredients, making your own granola bars means saying goodbye to unnecessary additives and hello to pure, natural goodness.
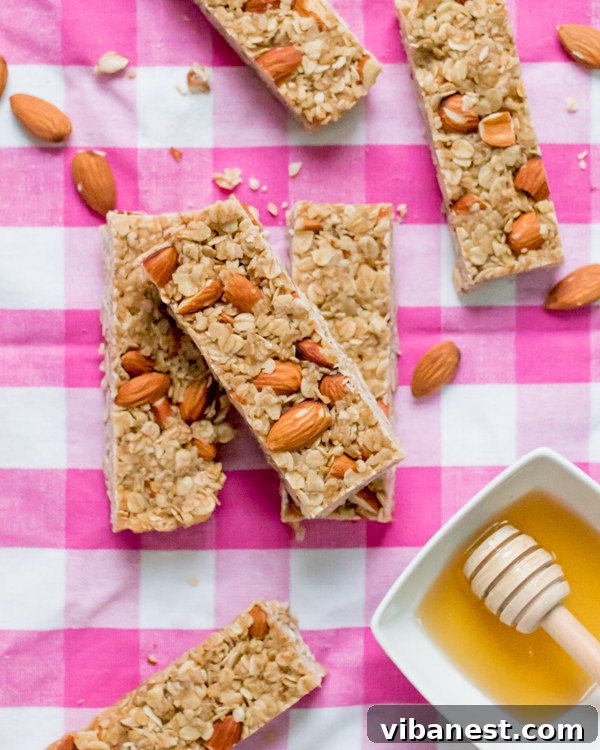
Why Choose Homemade No-Bake Granola Bars?
The allure of homemade snacks is undeniable, and no-bake granola bars stand out as a shining example. Here’s why they should become a staple in your kitchen:
- Cost-Effective: Buying individual granola bars can quickly add up. Making a batch at home drastically reduces your per-serving cost, stretching your budget further.
- Healthier Choices: Store-bought granola bars often hide excessive sugars, unhealthy fats, and preservatives. With homemade versions, you dictate every ingredient, ensuring a truly nourishing snack.
- Endless Customization: This is where the real fun begins! You’re not limited to a few flavors. Whether you’re in the mood for sweet, savory, or something in between, the possibilities for personalization are truly infinite.
- Effortless & Energy-Saving: The “no-bake” aspect is a massive perk. No oven means less energy consumption, a cooler kitchen, and a super-quick preparation time, making them ideal for busy schedules or hot summer days.
- Freshness Guaranteed: Enjoy bars made with the freshest ingredients, free from the stale taste of processed snacks that have sat on a shelf for weeks.
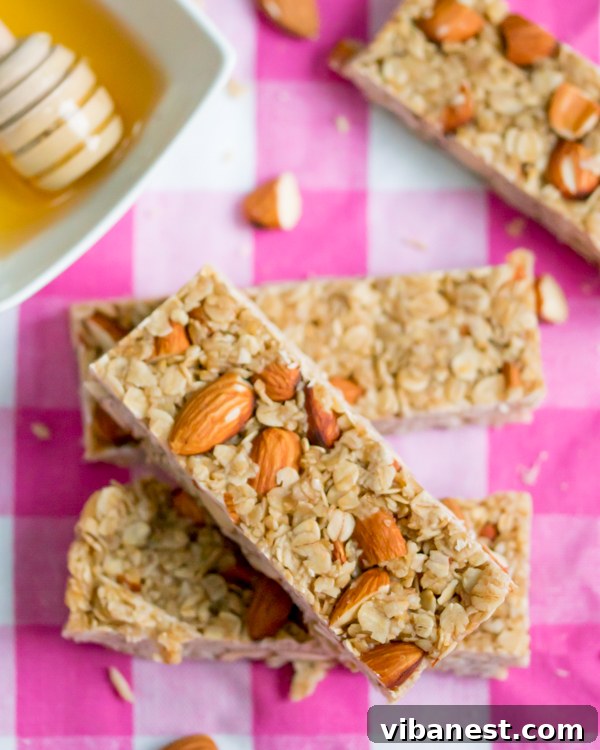
Imagine a delicious, chewy bar packed with wholesome oats, crunchy nuts, and natural sweetness, all crafted by your own hands in minutes. That’s the promise of these easy no-bake honey granola bars.
The Magic of Wholesome Ingredients
Our recipe for no-bake honey granola bars harnesses the power of simple, natural ingredients that come together to create a nutritious powerhouse. Each component plays a vital role:
- Quick Cook Oats: The foundation of our bars. Oats are renowned for their high fiber content, providing sustained energy and supporting digestive health. Using quick-cook oats ensures a tender, chewy texture that binds beautifully. For those with dietary restrictions, simply opt for certified gluten-free oats.
- Almonds: These provide a delightful crunch and a wealth of healthy fats, protein, and essential vitamins like Vitamin E. Roughly chopping them ensures they integrate well into the mixture while still offering textural interest. You can also experiment with other nuts like walnuts, pecans, or cashews for different flavor profiles.
- Honey: Not just a natural sweetener, honey acts as a crucial binding agent, helping to hold the bars together without the need for baking. Its unique flavor complements the oats and nuts perfectly, adding a touch of natural richness and antioxidants.
- Coconut Oil: Another essential binder, melted coconut oil contributes healthy medium-chain triglycerides (MCTs) and a subtle tropical aroma that enhances the overall taste. When chilled, it solidifies, further firming up the bars.
- Soft Light-Brown Sugar: A touch of brown sugar adds depth to the sweetness and helps achieve that classic chewy texture, perfectly balancing the flavors.
- Almond Extract: This small addition makes a big difference, enhancing the nutty notes and adding a warm, inviting aroma to your granola bars.
- Pinch of Salt: Often overlooked, salt is a flavor enhancer, balancing the sweetness and bringing out the best in all the other ingredients.
Unleashing Your Creativity: Customization Ideas for Your Granola Bars
One of the most exciting aspects of making your own granola bars is the freedom to customize them. Once you master the basic recipe for no-bake honey granola bars, you can let your imagination run wild. Here are some fantastic ideas to get you started:
- Dried Fruit Delights:
- Cherries: Tart and sweet, they add a vibrant burst of flavor.
- Raisins: A classic choice for natural sweetness and chewiness.
- Cranberries: Offer a lovely tartness that balances the sweet honey.
- Apricots or Figs: Chopped dried apricots or figs provide a rich, chewy texture and unique flavor.
- Dates: Pitted and chopped, dates add a caramel-like sweetness and extra binding power.
- Seed Powerhouses:
- Chia Seeds: Packed with omega-3s and fiber, they also help absorb moisture, aiding in binding.
- Flax Seeds: Ground flax seeds offer similar nutritional benefits and can add a subtle nutty flavor.
- Sunflower Seeds: A great source of Vitamin E and healthy fats, adding a mild, nutty taste.
- Pumpkin Seeds: Rich in zinc and magnesium, these add a delightful crunch and earthy flavor.
- Nutty Variations:
- Walnuts or Pecans: Provide a richer, more complex nutty flavor.
- Cashews: Offer a buttery texture and mild sweetness.
- Peanut Butter or Almond Butter: A tablespoon or two can be added with the wet ingredients for extra flavor and binding, just adjust the other liquids slightly if needed.
- Chocolate Indulgences:
- Chocolate Chips: Mini or regular, dark, milk, or white chocolate chips are always a crowd-pleaser.
- Cacao Nibs: For a bitter-sweet, antioxidant boost.
- Added Crunch & Texture:
- Puffed Rice: Adds a wonderfully light and airy crunch.
- Pretzels: Crushed pretzels offer a salty-sweet contrast and an interesting texture.
- Spice & Flavor Boosters:
- Cinnamon or Nutmeg: A pinch adds warmth and aromatic spice.
- Vanilla Extract: Another dash can elevate the overall flavor profile.
- Orange or Lemon Zest: For a bright, citrusy note.
With these ideas, your homemade granola bars will never be boring. Experiment, mix and match, and discover your signature combination!
Mastering the No-Bake Technique: The Secret to Perfect Granola Bars
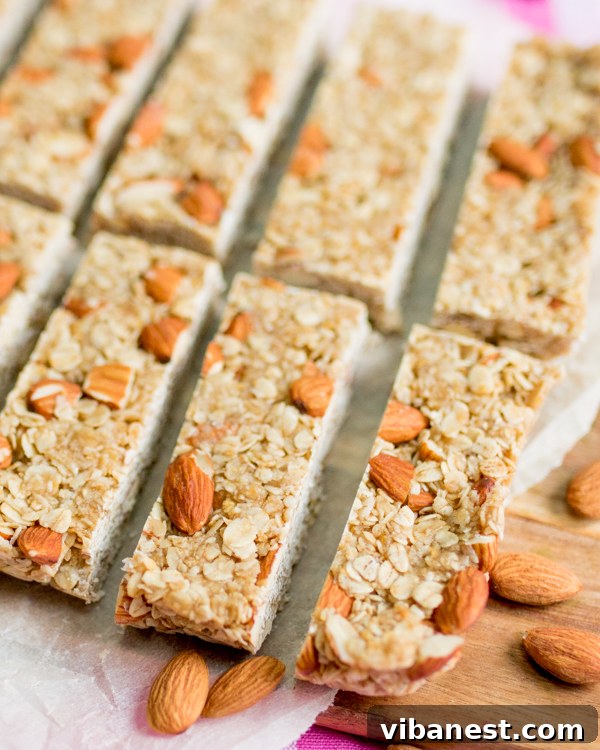
The beauty of no-bake honey granola bars lies in their simplicity, but there’s one crucial step that ensures success: proper compaction. Many find their homemade bars crumbling, but our secret technique guarantees a firm, sliceable bar every time.
The “Squishing” Secret Revealed
Once you’ve mixed all your ingredients and spooned them into the prepared baking tin, the real magic happens. To ensure the mixture is incredibly well-compacted and binds perfectly, try this method:
- Spoon the entire mixture into your parchment-lined baking tin.
- Place a piece of non-stick baking parchment directly on top of the granola mixture.
- Find another baking tin of the same size (or slightly smaller) and place it on top of the parchment.
- For extra leverage and firmness, place a clean cloth or towel on top of the second tin, then carefully stand on it! Yes, it sounds unusual, but the even, heavy pressure from your body weight works wonders to press the mixture together far more effectively than hands or a spatula ever could.
This intense compression is key. It eliminates air pockets and forces the honey and coconut oil to fully coat and bind the oats and other ingredients, creating a dense, cohesive slab.
Setting for Success: Refrigeration vs. Freezing
Once your bars are pressed, patience is a virtue. Refrigeration is essential for the honey and coconut oil to properly set, binding everything together into a solid form. Aim for at least 2 hours in the refrigerator.
However, sometimes, depending on the type of oats or the specific add-ins you’ve used, your bars might still feel a little fragile. If you find they’re on the verge of crumbling when you try to cut them, don’t despair! A quick trip to the freezer can save the day. Place the entire tin in the freezer for 30-60 minutes before cutting. This flash-chilling will firm them up sufficiently for clean, precise slices.
Following these simple tips will ensure your no-bake honey granola bars are perfectly firm, delightfully chewy, and never crumbly.
INGREDIENTS
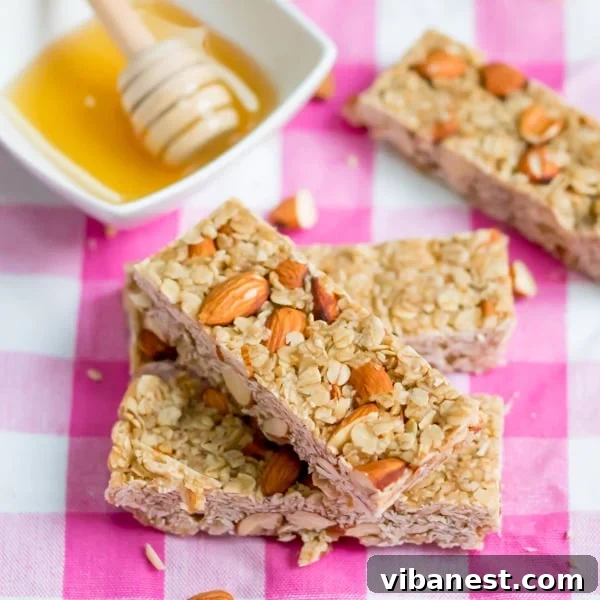
- 3 cups quick cook oats (use gluten-free if desired for gluten-free granola bars)
- 1 cup almonds, roughly chopped
- Pinch of salt
- 1/3 cup coconut oil, melted
- 1/3 cup honey
- 1/4 cup soft light-brown sugar
- 1/4 tsp almond extract
- Optional Add-ins: 1/2 cup of your choice of chocolate chips, dried fruit (cherries, raisins, cranberries), seeds (chia, flax, pumpkin, sunflower), or puffed rice.
DIRECTIONS
- Line an 8×8 inch baking tin (a square pan) with non-stick baking parchment, ensuring the paper overhangs the sides. This “sling” will help you easily remove the slab later.
- In a large mixing bowl, combine all of the ingredients: quick cook oats, chopped almonds, salt, melted coconut oil, honey, soft light-brown sugar, and almond extract. If using optional add-ins, stir them in now. Mix thoroughly until all the dry ingredients are well coated and everything is evenly combined.
- Spoon the mixture into your prepared baking tin. This is the crucial step for firm bars: flatten out the mixture and press it down as firmly as you possibly can. To achieve maximum compaction, place another piece of non-stick baking parchment on top of the mixture. Then, place a same-sized empty tin on top of the parchment. For ultimate firmness, place a cloth over the top tin and carefully stand on it for 30-60 seconds, distributing your weight evenly. This “squishing” technique is vital for preventing crumbling.
- Once pressed, place the tin in the refrigerator to set for at least 2 hours. This chilling time allows the honey and coconut oil to solidify and bind all the ingredients together.
- After chilling, remove the tin from the refrigerator. Use the overhanging parchment paper as handles to lift the entire granola bar slab out of the tin. Carefully peel away the parchment paper from all sides.
- Place the hardened granola bar slab on a cutting board. Using a sharp knife, cut it into 10-12 uniform slices. Serve immediately and enjoy your delicious homemade honey granola bars!
- Any leftover granola bars can be stored in an airtight container at room temperature for up to 3-4 days, or in the refrigerator for up to 1-2 weeks. For longer storage, wrap individually and freeze for up to 3 months.
Frequently Asked Questions About No-Bake Granola Bars
Q: Can I make these no-bake granola bars gluten-free?
A: Absolutely! Simply ensure you use certified gluten-free quick-cook oats. All other ingredients in this recipe are naturally gluten-free.
Q: Can I substitute maple syrup for honey?
A: Yes, you can use maple syrup instead of honey for a vegan option or a different flavor profile. However, maple syrup is generally thinner than honey, so the bars might be slightly less firm. You may need to increase the chill time or add an extra tablespoon of chia seeds or peanut butter to help with binding.
Q: How long do these no-bake honey granola bars last?
A: When stored in an airtight container, they will last about 3-4 days at room temperature, up to 1-2 weeks in the refrigerator, and up to 3 months in the freezer. If freezing, wrap individual bars tightly in plastic wrap before placing them in an airtight freezer bag.
Q: Why are my granola bars crumbling?
A: Crumbling is usually due to insufficient pressing or not enough chill time. Make sure you press the mixture down very firmly (using the “standing on the tin” method works wonders!) and allow at least 2 hours of refrigeration. If they still feel soft, pop them in the freezer for 30-60 minutes before cutting.
Q: Can I add protein powder to these bars?
A: Yes, you can! Start by adding 1-2 tablespoons of your favorite protein powder along with the dry ingredients. Be aware that some protein powders can absorb moisture, potentially making the mixture a bit dry. You might need to add an extra teaspoon of honey or coconut oil to maintain the right consistency.
Q: What’s the best way to cut the bars cleanly?
A: For clean cuts, ensure your bars are thoroughly chilled. Use a very sharp knife. If the knife starts to stick, wipe it clean with a damp cloth between cuts. You can also lightly oil the knife blade.
Whip Up Your Own Batch of No-Bake Granola Bars Today!
There you have it – a comprehensive guide to crafting the most delicious, healthy, and incredibly easy no-bake honey granola bars right in your own kitchen. This recipe is more than just a snack; it’s an opportunity to create something wholesome and satisfying for yourself and your loved ones, with the added bonus of endless customization.
Forget the expense and questionable ingredients of store-bought alternatives. Embrace the simplicity and joy of homemade. These homemade granola bars are perfect for a quick breakfast on the go, a post-workout refuel, a healthy lunchbox treat, or simply a guilt-free indulgence.
So, gather your ingredients, follow our expert tips, and get ready to experience the pure delight of your very own easy no-bake granola bars. We’re confident they’ll become a beloved staple in your snack repertoire!