
The Ultimate Dutch Apple Pie with Irresistible Crumb Topping
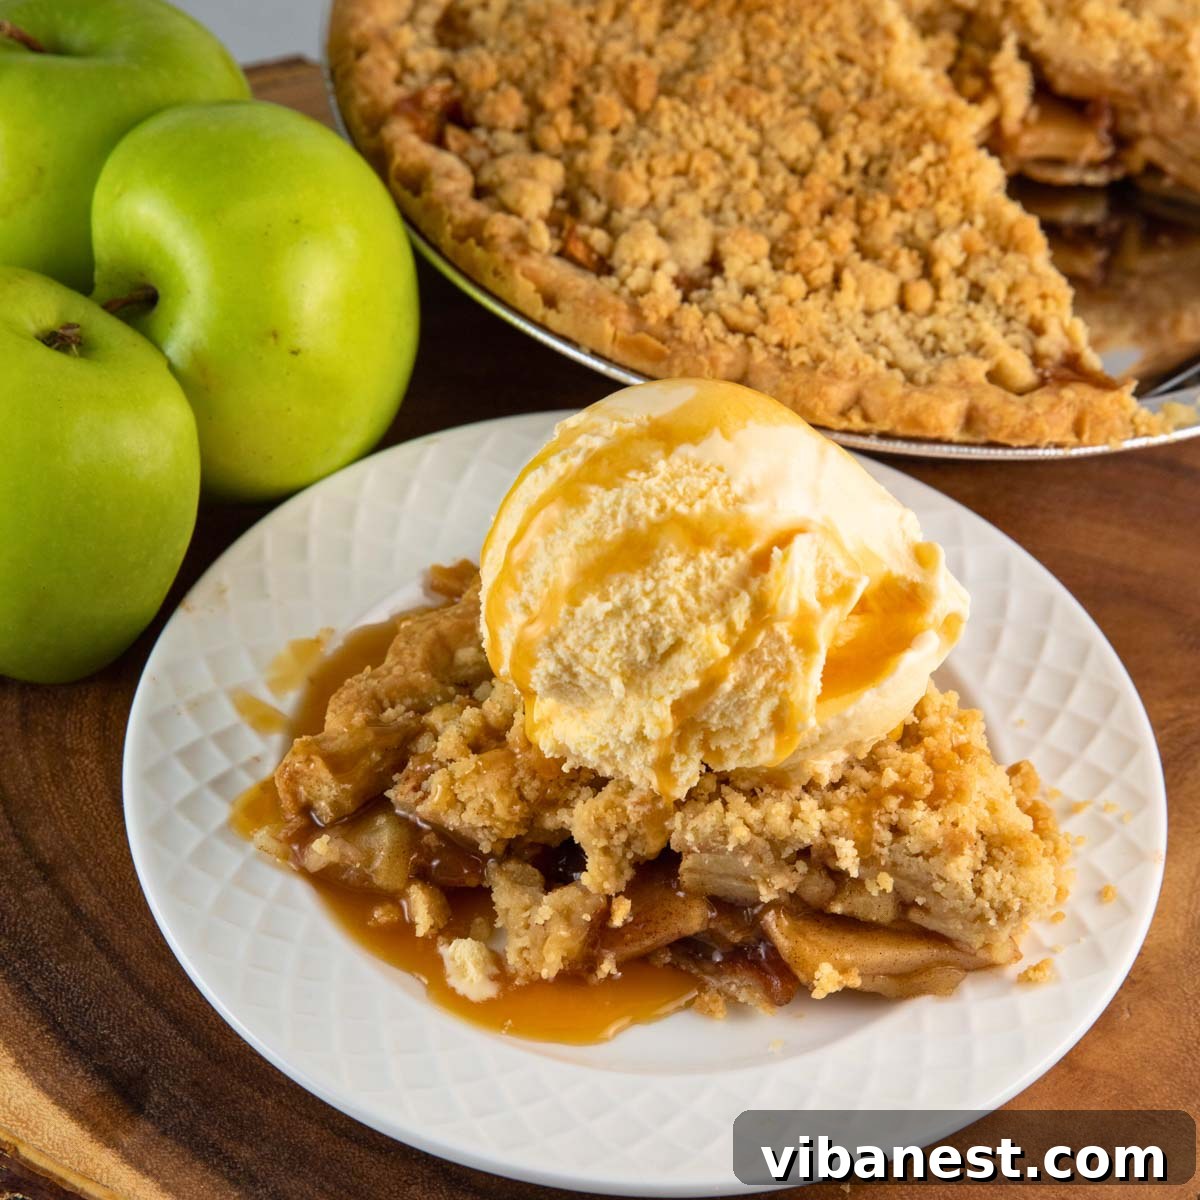
There’s something truly magical about a classic apple pie, especially when it’s crowned with a golden, buttery crumb topping. This isn’t just any apple pie; it’s a celebration of crisp, juicy apples nestled in a perfectly flaky crust, all blanketed by an irresistible streusel. This recipe promises the very best apple pie experience you’ve ever had, a dessert that brings comfort and joy with every single bite.

Imagine the delightful aroma of cinnamon and apples wafting through your home on a crisp autumn day. It’s an experience that instantly evokes feelings of warmth, nostalgia, and pure comfort. A generous slice of this Apple Pie with Crumb Topping does more than just satisfy a sweet tooth; it truly puts a smile on your face, creating cherished memories around the table. Whether it’s the grand finale for a festive Thanksgiving dinner, a comforting treat for a cozy Sunday family meal, or simply an impromptu indulgence, this easy apple pie is designed to be the highlight of any gathering. Its charm lies in its perfect balance of sweet and tart, with a captivating texture contrast that makes it utterly unforgettable.
You might recognize this delectable dessert by another name: Dutch Apple Pie. This term simply refers to any apple pie that proudly features a cinnamon-infused crumb or streusel topping instead of a traditional, solid double crust. And honestly, if given the choice, I will happily choose a rich, buttery crumb topping over an extra layer of plain pastry crust any day of the week! The streusel adds a dynamic texture and an extra layer of flavor that truly elevates the pie from good to extraordinary. It’s a game-changer, providing that delightful, slightly crunchy crumble in every forkful that complements the soft, warmly spiced apple filling so beautifully.
While this pie shines brightest during the fall season, especially when crafted with crisp, freshly picked apples from your local orchard – those you’ve twisted and pulled from the branches with your very own hands – its appeal isn’t limited by the calendar. Thanks to modern agriculture, fresh apples are readily available in grocery stores all year round, making this magnificent dessert accessible whenever the craving strikes. So, don’t hesitate to whip up this comforting classic even in the height of summer; its timeless flavor profile is always in season and always welcome.
Let’s embark on this delightful baking journey together. You’re about to discover how simple it is to create an apple pie that will earn rave reviews, impress your guests, and become a cherished family recipe for years to come.
Warmly,
Ashley ❤️
Pin this delicious apple pie recipe for later!
Pin It Now
Choosing the Best Apples for Your Apple Pie
The secret to an exceptional apple pie truly starts with selecting the right apples. When baking, the ideal apple should possess two key characteristics: it must be firm enough to hold its shape during the long bake time, preventing a mushy filling, and it should offer a delightful tartness that beautifully balances the sweetness of the sugar and the rich, buttery crumb topping. A pie that’s overwhelmingly sweet or has an unappealing texture simply won’t deliver that coveted perfection we’re aiming for.
My absolute go-to choice for this recipe, and indeed for most baked apple desserts, is the **Granny Smith**. These iconic bright green, beautifully crisp apples are a staple in nearly every grocery store, and for very good reason. Their distinct, zesty tartness provides a fantastic counterpoint to the sugary filling, cutting through the richness and adding depth of flavor. Crucially, they maintain their structure wonderfully even after an hour or more in the oven. As they bake, their tart edge mellows into a beautifully sweet and complex flavor, making them utterly delicious and the backbone of a great apple pie.
While Granny Smith apples are my preferred selection, there’s a world of fantastic baking apples to explore, each contributing its own unique characteristics. You can certainly use a single variety for simplicity, but for a more complex and nuanced flavor profile, I highly recommend combining two or three different types. This approach allows you to achieve a unique blend of sweet, tart, and firm textures that will elevate your pie to new heights. Here’s a list of other excellent options that will make your apple pie truly shine:
- **Granny Smith:** The quintessential baking apple, offering firm texture and robust tartness that softens beautifully when baked.
- **Honeycrisp:** Known for its incredible crispness and balanced sweet-tart flavor, it holds its shape exceptionally well and adds a pleasant snap.
- **Braeburn:** A fantastic all-purpose apple, offering a delightful sweet-tart taste with subtle hints of spice, and a reliably firm texture.
- **Golden Delicious:** A sweeter, softer apple that becomes tender when baked. It’s perfect for mixing with tarter varieties like Granny Smith to add sweetness and a more yielding texture to the filling.
- **Fuji:** Crisp, very sweet, and wonderfully juicy, Fuji apples maintain a good texture and their sweetness makes them a great addition to a balanced apple pie blend.
- **Pink Lady (Cripps Pink):** Offers a lovely balance of sweet and tart with a firm, crisp flesh that holds up well to baking, providing a vibrant flavor.
- **Northern Spy:** A traditional pie apple, highly celebrated by bakers for its intense tartness and remarkable ability to stay firm and flavorful, without turning to mush.
Crafting the Flaky Foundation: The Perfect Pie Crust
While the star of our show is undoubtedly the luscious, crunchy crumb topping, we must never overlook the critical role of the pie crust. A truly outstanding homemade apple pie begins with a foundation that is buttery, tender, and wonderfully flaky. Baking an apple pie completely from scratch, including the crust, is an incredibly rewarding experience that every home baker should savor at least once. It’s an integral part of the pie-making tradition and adds an unparalleled depth of flavor and texture that simply cannot be replicated by store-bought alternatives.
Of course, for those times when you’re short on time or simply prefer a shortcut, a good quality pre-made pie crust can be a lifesaver, and it won’t compromise the deliciousness of the final product too much. Many commercial brands offer excellent pastry pie shells that work wonderfully for this easy Apple Pie with Crumb Topping. However, for the ultimate, most gratifying baking experience, I wholeheartedly recommend making your own crust. The effort is truly minimal compared to the incredible results, and the taste difference is undeniably worth it. In the recipe section below, you’ll find detailed, step-by-step instructions for creating a homemade pie crust that’s guaranteed to impress. To ensure your success and achieve that coveted flakiness, here are a few essential tips to remember:
Essential Tips for a Flaky Homemade Pie Crust:
- **Embrace the Cold:** This is arguably the most crucial rule for a perfectly flaky crust. Ensure that all your pie crust ingredients – especially the butter and water – are as cold as possible. Cold ingredients are vital because they prevent the butter from melting too quickly into the flour, which is key to creating those desirable pockets of steam during baking, ultimately leading to that wonderful flakiness. Don’t take anything out of the refrigerator until the very moment you need it.
- **Pre-Freeze Your Butter:** Start by cutting your unsalted butter into small, uniform cubes. Then, place these butter cubes in the freezer for at least 30 minutes before you begin mixing. This extra chilling step further ensures the butter remains solid and distinct as you work it into the flour. If your kitchen is particularly warm, I also highly recommend measuring out your flour and chilling it in the freezer for about 15-20 minutes as well.
- **Use Chilled Tools:** Even your baking tools can make a difference! Lightly coat your rolling pin with chilled flour to prevent sticking without warming the dough. For an even better outcome, place your rolling pin in the refrigerator or freezer for about 5-10 minutes before you start rolling out the dough. Cold tools help maintain the temperature of your dough, contributing to flakiness.
- **Don’t Overwork the Dough:** Mix the dough just until it comes together. Overworking the dough develops the gluten too much, resulting in a tough, rather than tender and flaky, crust. Stop mixing as soon as the dough holds together.
- **Chill Again:** After you’ve gently rolled out the dough and carefully placed it into your pie tin, pop the entire tin back into the freezer. Keep it there while you prepare the apple filling and crumb topping. This final chill helps prevent the crust from shrinking in the oven and maintains its beautiful structure and flakiness.
Are you seeing the recurring theme here? **Cold, cold, cold!** Adhering to these principles of cold ingredients and chilling stages is your golden ticket to achieving that coveted, incredibly flaky, and tender pie crust every single time. It’s a small effort that yields monumental deliciousness!
A Note on Pre-Made Pie Crusts
For convenience, you absolutely can use your favorite store-bought pre-made pie crust. Many brands offer excellent quality pastry pie shells that work wonderfully for this easy Apple Pie with Crumb Topping. Using a pre-made crust will not alter the baking time significantly, so you can follow the rest of the recipe instructions as written. It’s a fantastic option for cutting down on prep time without sacrificing much of the deliciousness, allowing you to enjoy homemade taste with less effort!
The Star of the Show: Our Buttery Crumb Topping (Streusel)
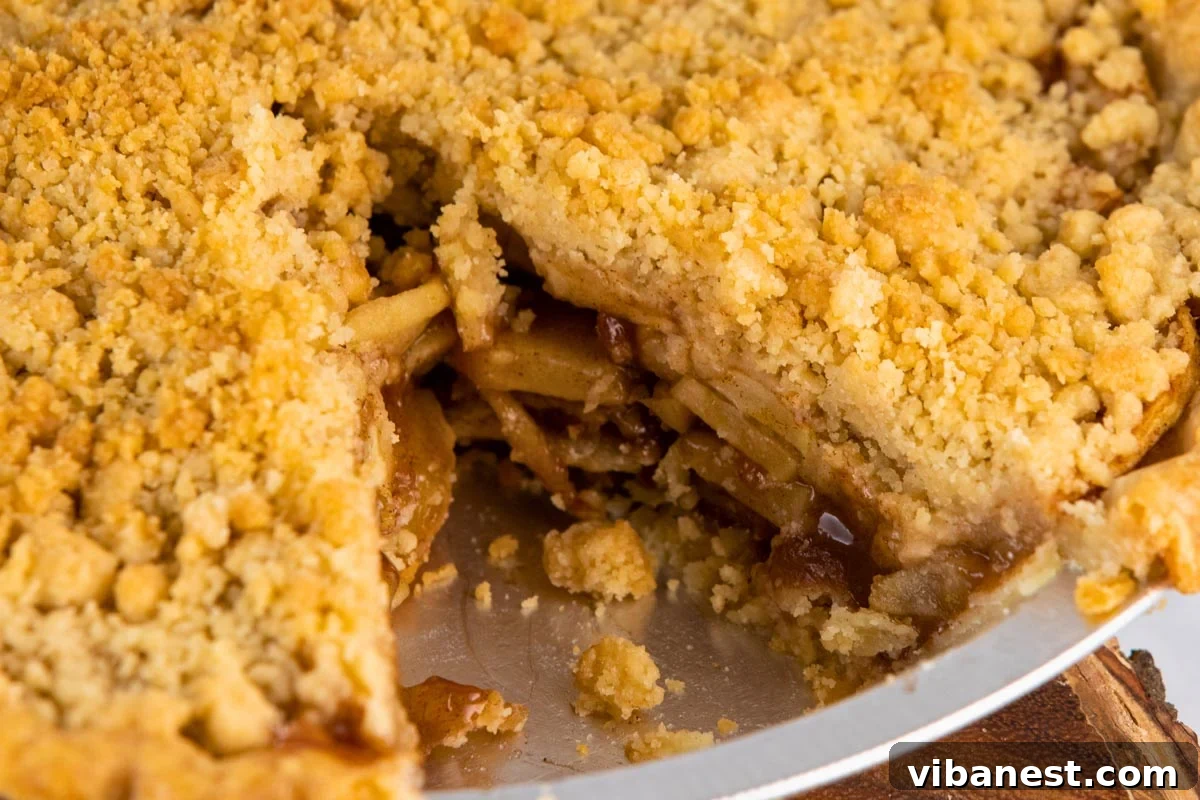
Ah, the crumb topping! This cinnamon-infused streusel is truly the crowning glory of our apple pie, transforming a simple fruit dessert into a rich, textural masterpiece. It’s incredibly easy to prepare and adds layers of buttery sweetness, a delightful crunch, and an aromatic spice that perfectly complements the soft, tender apple filling. This streusel is what defines our “Dutch” apple pie and makes it stand out from a traditional double-crust version, adding an extra dimension of flavor and texture that is utterly addictive.
To create this irresistible crumb topping, you’ll need just a few simple ingredients, which you likely already have in your pantry:
- **All-purpose flour:** Provides the necessary structure for the crumbs.
- **Unsalted butter:** Crucially, cut into small cubes and frozen prior to mixing. Just like with the pie crust, keeping the butter cold is key here for forming distinct, separate crumbs rather than a pasty dough.
- **Brown Sugar:** Adds deep, molasses-rich sweetness and contributes to that desirable golden-brown, slightly caramelized crust that forms on top during baking.
- **Salt:** A tiny pinch of salt is essential; it enhances all the other flavors and prevents the topping from being overly sweet, creating a perfect balance.
**Pro Tip for Perfect Crumbs:** When you’re combining the flour, butter, brown sugar, and salt, don’t feel obligated to pull out a food processor (though it certainly works!). Your clean fingers are often the best tools for this job. Gently rub the butter into the dry ingredients using your fingertips until the mixture resembles coarse crumbs, ranging in size from small peas to lentils. This hands-on approach allows you to feel the texture and ensures you don’t overmix, which could lead to a tougher, less crumbly topping. The goal is distinct little pockets of buttery goodness!
Serving and Reheating Your Delicious Apple Pie
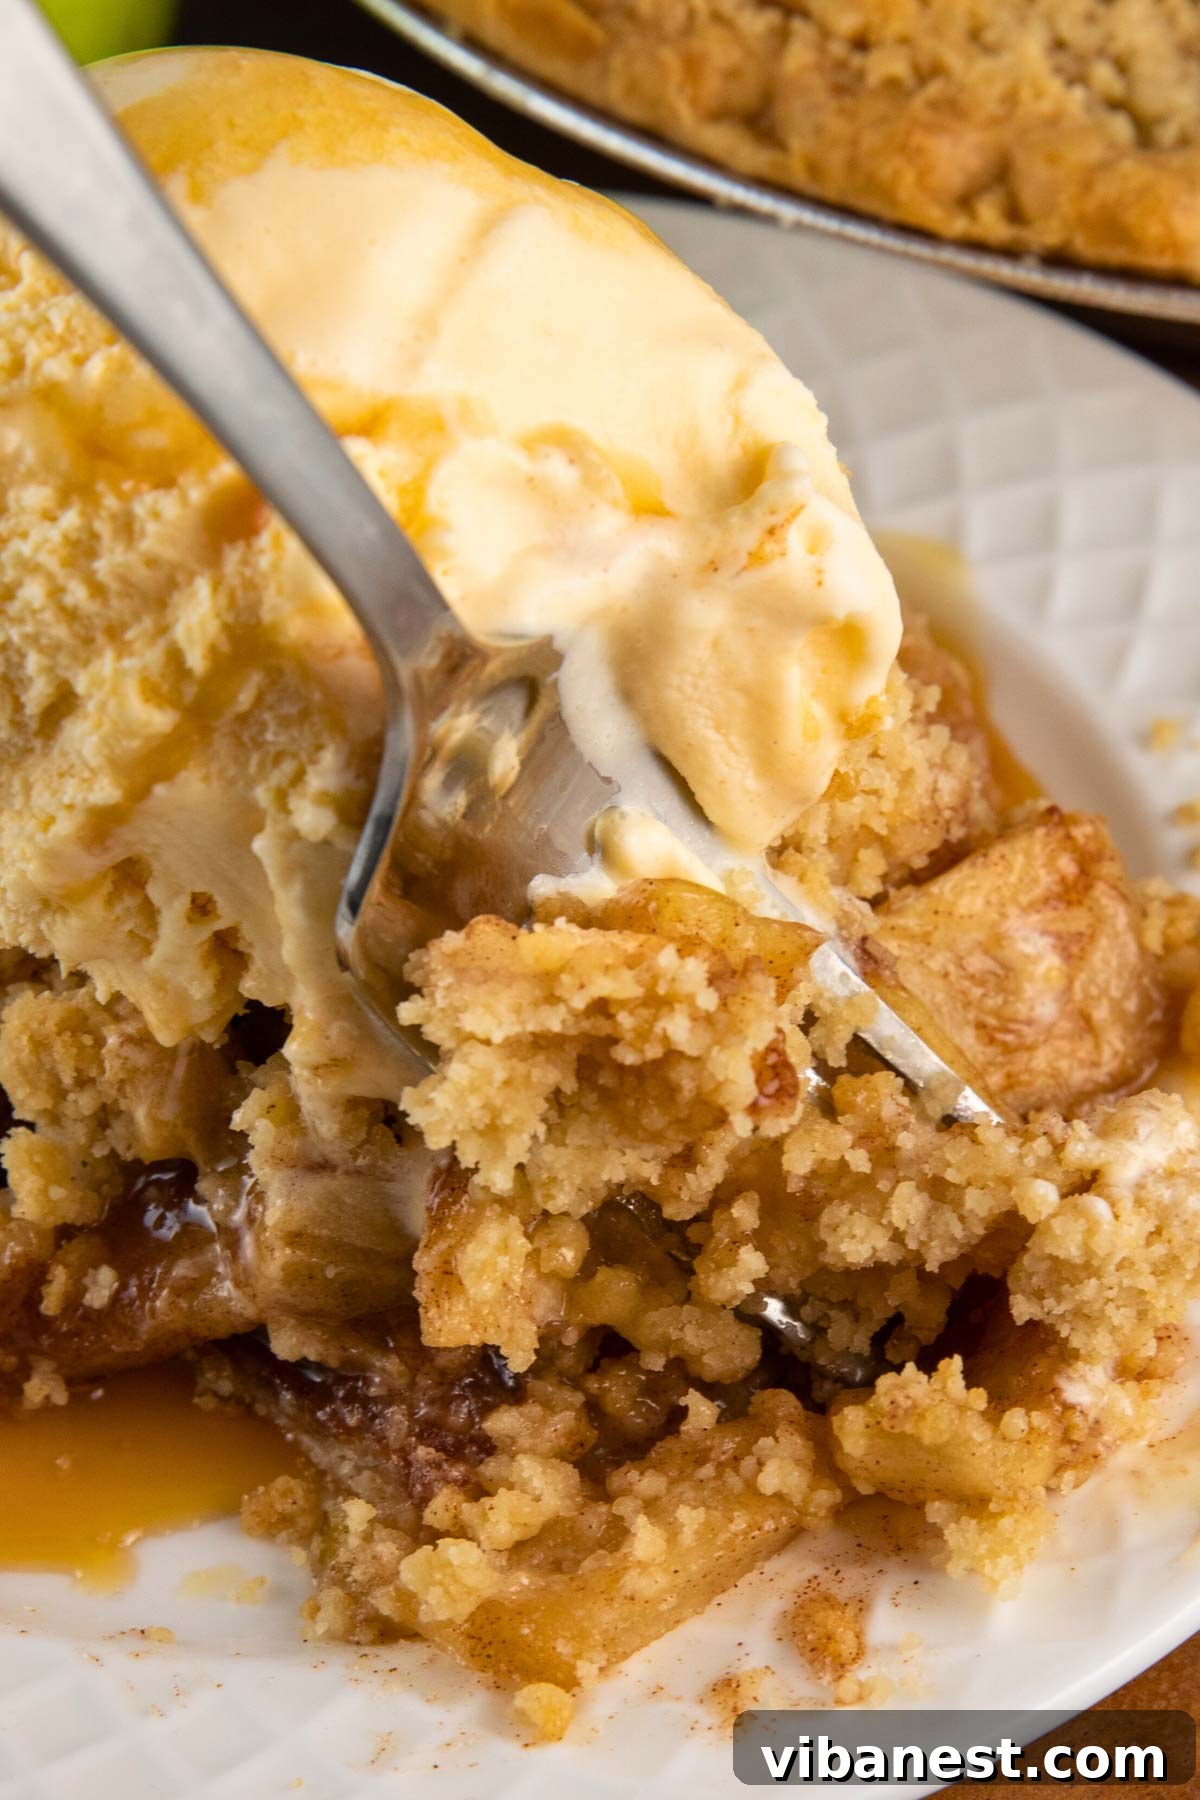
There’s no doubt that apple pie reaches its peak deliciousness when it’s served fresh out of the oven, still wonderfully warm and fragrant. For an absolutely heavenly experience, I highly recommend topping each generous slice with a scoop of creamy vanilla ice cream. The delightful contrast of the cold, melting ice cream against the warm, tender spiced apples and the buttery, crunchy crumb topping is a classic pairing that simply can’t be beaten. For an even more indulgent twist, consider drizzling a swirl of my homemade caramel sauce over the top – it takes this dessert to an entirely new level of decadence!
Should you be lucky enough to have leftover pie – or if you wisely choose to bake your Apple Pie ahead of time for a special occasion – it will maintain its incredible flavor and texture for up to three days when stored properly at room temperature (covered) or in the refrigerator. To ensure your pie remains as delightful as when it first came out of the oven, here’s how to perfectly reheat it for optimal enjoyment:
Reheating Instructions:
- **Preheat Your Oven:** Set your oven to 300 degrees Fahrenheit (approximately 150 degrees Celsius). A lower temperature is key here, as it allows the filling to warm through evenly without over-browning or burning the delicate crust and topping.
- **For an Entire Pie:** If you’re reheating a whole pie, gently cover the entire pie with aluminum foil. This helps to protect the crumb topping from over-browning while trapping moisture, ensuring the apples remain juicy and tender. Bake for 15-20 minutes, or until the filling is warm and bubbling gently at the center.
- **For Individual Slices:** For single slices, place them on a baking sheet, cover loosely with foil, and bake for about 10 minutes, or until thoroughly warmed through. Alternatively, a quick zap in the microwave (30-60 seconds, depending on your microwave’s power) will warm a slice, though it may make the crust and topping less crisp than oven reheating.
This pie is a true delight, and I sincerely hope you enjoy this recipe for Apple Pie with Crumb Topping as much as my family and I do! We love hearing from you and seeing your wonderful creations. If you savored the recipe, please consider returning here to leave a comment and share your thoughts. Or, better yet, tag us on social media with your beautiful baked masterpieces – we can’t wait to see them!
Apple Pie with Crumb Topping Recipe
This classic apple pie, featuring a rich, buttery crumb topping, delivers an unparalleled dessert experience. Enjoy juicy, perfectly spiced apples nestled in a flaky homemade crust, all crowned with an irresistible streusel. It’s truly the best apple pie!
Prep Time: 40 minutes
Cook Time: 1 hour
Yields: 8 servings
Ingredients
PIE CRUST INGREDIENTS
- 1 1/4 cups all-purpose flour
- 1/2 teaspoon salt
- 1/2 teaspoon granulated sugar
- 8 tablespoons unsalted butter, cut into 1/2-inch cubes and frozen
- 2 tablespoons ice water, plus more if needed (1 tablespoon at a time)
FILLING INGREDIENTS
- 5 large apples (Granny Smith recommended), peeled, cored, and sliced 1/4-inch thick
- 1/4 cup cornstarch
- 3 tablespoons lemon juice (freshly squeezed preferred)
- 2 teaspoons ground cinnamon
- 1/4 teaspoon ground nutmeg
- 1/2 cup packed light brown sugar
- 1 tablespoon vanilla extract
CRUMB TOPPING INGREDIENTS
- 1 cup all-purpose flour
- 6 tablespoons unsalted butter, cut into 1/2-inch cubes and frozen
- 1/4 cup packed light brown sugar
- 1/4 teaspoon salt
Instructions
- **Prepare the Pie Crust:** In a food processor, combine 1 1/4 cups all-purpose flour, 1/2 teaspoon salt, and 1/2 teaspoon granulated sugar. Add the frozen, cubed butter and pulse about 10-12 times, until the mixture resembles coarse crumbs, similar in size to small lentils.
- Pour 2 tablespoons of ice water around the flour mixture. Pulse another 3-4 times. Test the dough by gently pressing a small amount between your fingers; if it sticks together, it’s ready. If it’s too dry, add another tablespoon of ice water and pulse 1-2 more times until just combined. Be careful not to overmix.
- Turn the dough out onto a piece of plastic wrap and gently shape it into a flat disc. Wrap tightly and chill in the refrigerator for at least 1 hour (or up to 2 days).
- Once chilled, lightly flour your work surface and rolling pin. Roll out the dough into a 12-inch circle. Carefully transfer the dough to a 9-inch pie tin. Trim the edges and crimp decoratively as desired. Place the pie tin with the dough into the freezer while you prepare the filling.
- **Prepare the Apple Filling:** In a large bowl, combine the peeled, cored, and sliced apples with cornstarch, lemon juice, ground cinnamon, ground nutmeg, brown sugar, and vanilla extract. Toss gently with a spatula or your hands until the apples are evenly coated. Set aside at room temperature.
- **Prepare the Crumb Topping:** In the same food processor (no need to wash if you used it for the crust), or in a bowl using your clean fingers or two forks, combine 1 cup all-purpose flour, 6 tablespoons frozen cubed butter, 1/4 cup brown sugar, and 1/4 teaspoon salt. Pulse or mix until the mixture resembles large, coarse crumbs.
- **Assemble the Pie:** Remove the pie crust from the freezer. Pour the apple filling evenly into the chilled crust, mounding it slightly in the center. Then, generously sprinkle the prepared crumb topping evenly over the apples.
- Place the assembled pie back into the freezer while your oven preheats to 375 degrees F (190 degrees C). This helps the crust set and prevents shrinkage during baking.
- **Bake the Pie:** Bake the pie for 20 minutes at 375°F (190°C). After 20 minutes, carefully cover the edges of the pie with aluminum foil (or use a pie shield) to prevent the crust from over-browning. Reduce the oven temperature to 350°F (175°C) and continue baking for another 30-40 minutes, or until the apple filling is bubbling thickly in the center and the crumb topping is beautifully golden brown.
- Remove the pie from the oven and place it on a wire rack to cool completely for at least 2-3 hours before slicing and serving. This crucial cooling time allows the filling to set properly, ensuring perfect slices.
Tried this recipe?
Mention @CenterCutCook and tag #CenterCutCook!
More Delicious Apple Desserts to Try
If you’ve fallen in love with the comforting flavors of apples and cinnamon, you’re in luck! There’s a wide array of apple-centric treats perfect for autumn and beyond, offering something for every craving. Expand your baking repertoire and explore these other fantastic apple recipes:
- For a charming, individual-sized treat perfect for parties or lunchboxes, try these Mini Apple Pies with Streusel Topping.
- If you prefer a more traditional, double-crust option that evokes classic Americana, don’t miss this beloved Homemade Apple Pie.
- Looking for a delightful spread or a unique gift from your kitchen? This Easy Stovetop Apple Butter is incredibly flavorful and simple to make.
- And for a unique flavor combination that truly captures the essence of autumn, indulge in this Pumpkin Apple Spice Cake – a true taste of fall with every bite!
You might also love these recipes:
- Caramel Apple Dump Cake
- Homemade Apple Pie
- Mini Apple Pies with Streusel Topping
- Instant Pot Apple Crisp
- Easy Stovetop Apple Butter
- Baked Apple Cider Donut Holes
Pie Crust Recipe inspiration from Martha Stewart.