
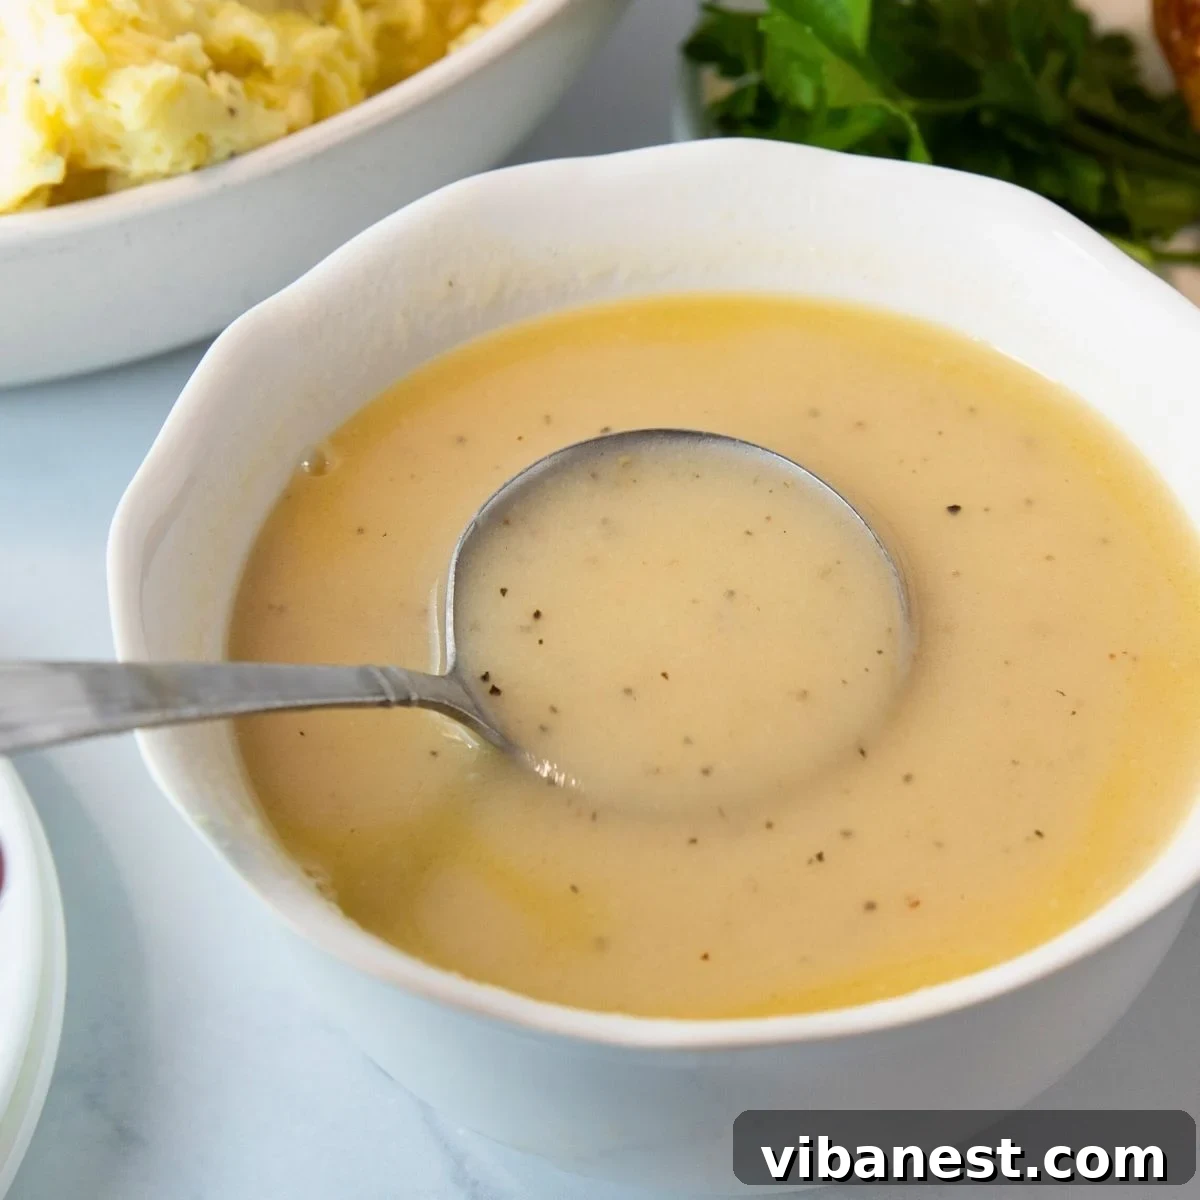
There’s something inherently comforting and incredibly delicious about a rich, savory chicken gravy. Whether it’s generously poured over a mound of creamy mashed potatoes, complementing a perfectly roasted chicken, or adding that essential touch to your Thanksgiving turkey, homemade gravy elevates any meal. This ultimate guide unveils an incredibly easy chicken gravy recipe that promises to be both quick and foolproof, whether you have those precious pan drippings from a freshly roasted bird or are starting from scratch with chicken broth. Prepare to master the art of gravy making and delight your family and guests with this essential, versatile condiment.
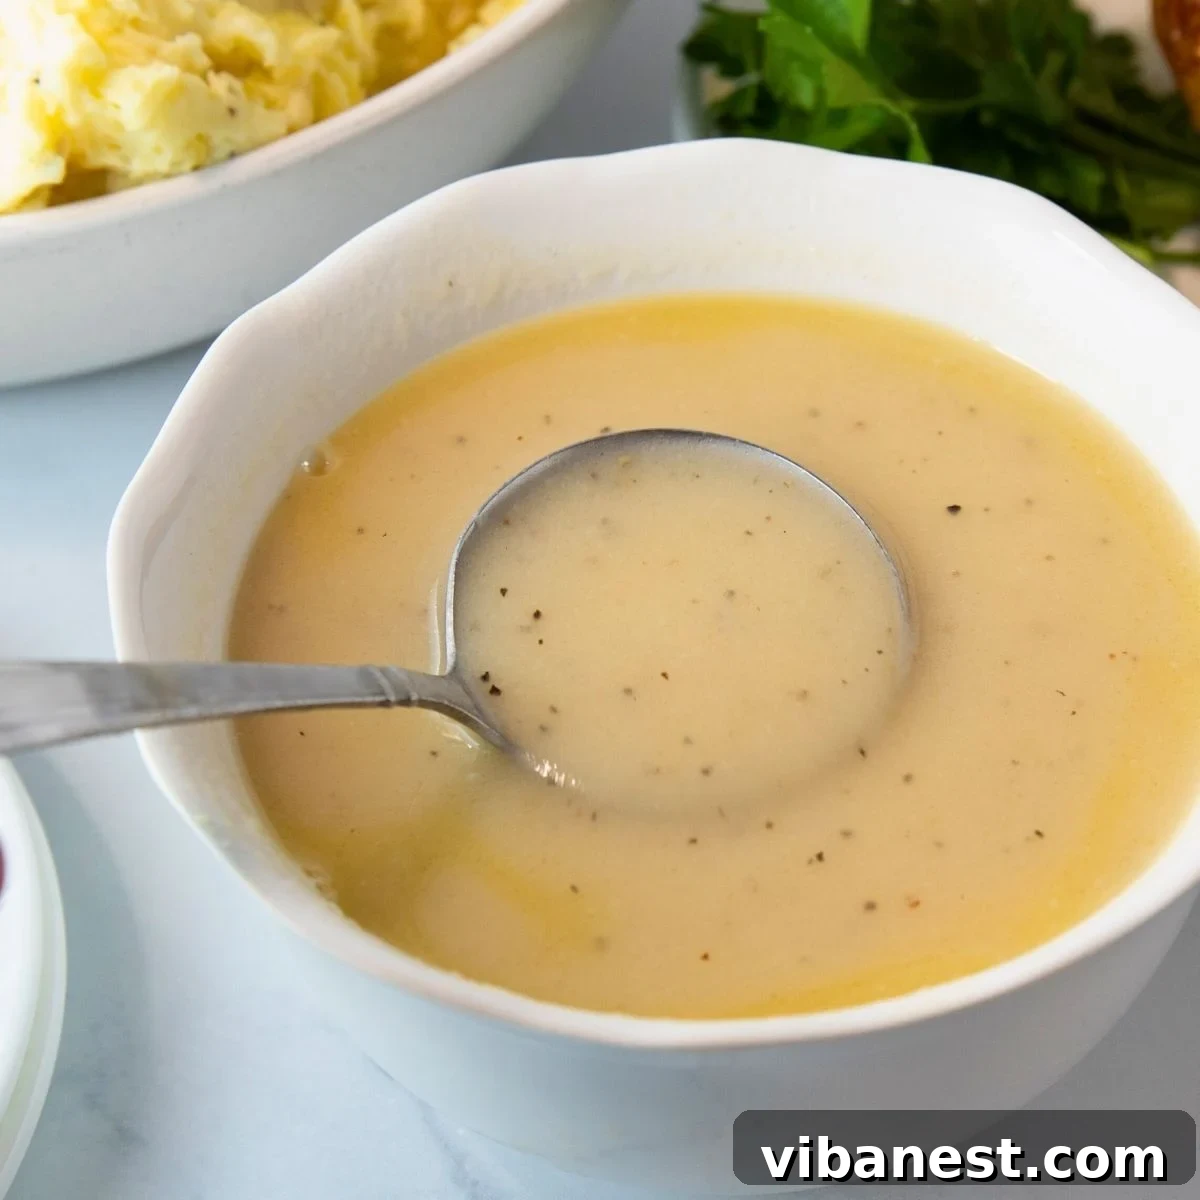
The Ultimate Easy Chicken Gravy Recipe: With or Without Drippings
Are you yearning for a velvety, flavorful chicken gravy that comes together in mere minutes? Look no further! This comprehensive guide provides you with everything you need to create the perfect homemade chicken gravy. We’ll explore two primary methods: utilizing the rich, savory juices left behind after roasting a chicken (known as chicken drippings) for unparalleled depth of flavor, or crafting an equally delicious version using readily available chicken broth when time is short or drippings aren’t an option.

Why This Homemade Chicken Gravy Recipe Will Become Your Go-To
- Unbelievably Quick & Effortless: Say goodbye to complicated recipes! This gravy is ready to enjoy in under 10 minutes, making it ideal for busy weeknights or last-minute holiday preparations.
- Flexible & Adaptable: Whether you have a roast chicken cooling on the counter or just a carton of broth in the pantry, this recipe accommodates both scenarios, ensuring you can always make delicious gravy.
- Infinitely Customizable: This recipe provides a fantastic base for experimentation. Feel free to infuse it with your favorite fresh herbs like rosemary or thyme, or adjust seasonings to perfectly match your meal. We’ll share exciting variations below to spark your culinary creativity.
- Foolproof Results Every Time: Designed for success, this recipe minimizes common gravy-making pitfalls, ensuring a smooth, lump-free, and perfectly seasoned sauce every single time.
- Superior Flavor & Texture: Experience the difference of homemade! This gravy boasts a depth of flavor and a silky-smooth texture far superior to any store-bought alternative.
From a casual weeknight dinner of roasted chicken and mashed potatoes to an elaborate holiday feast, this versatile gravy recipe is an indispensable tool in any home cook’s arsenal. It’s so good, you might even consider making a double batch!
Remember, life is too short for bland food. Let’s make something amazing!
Best regards,
The Culinary Team
Understanding the Ingredients for Perfect Chicken Gravy
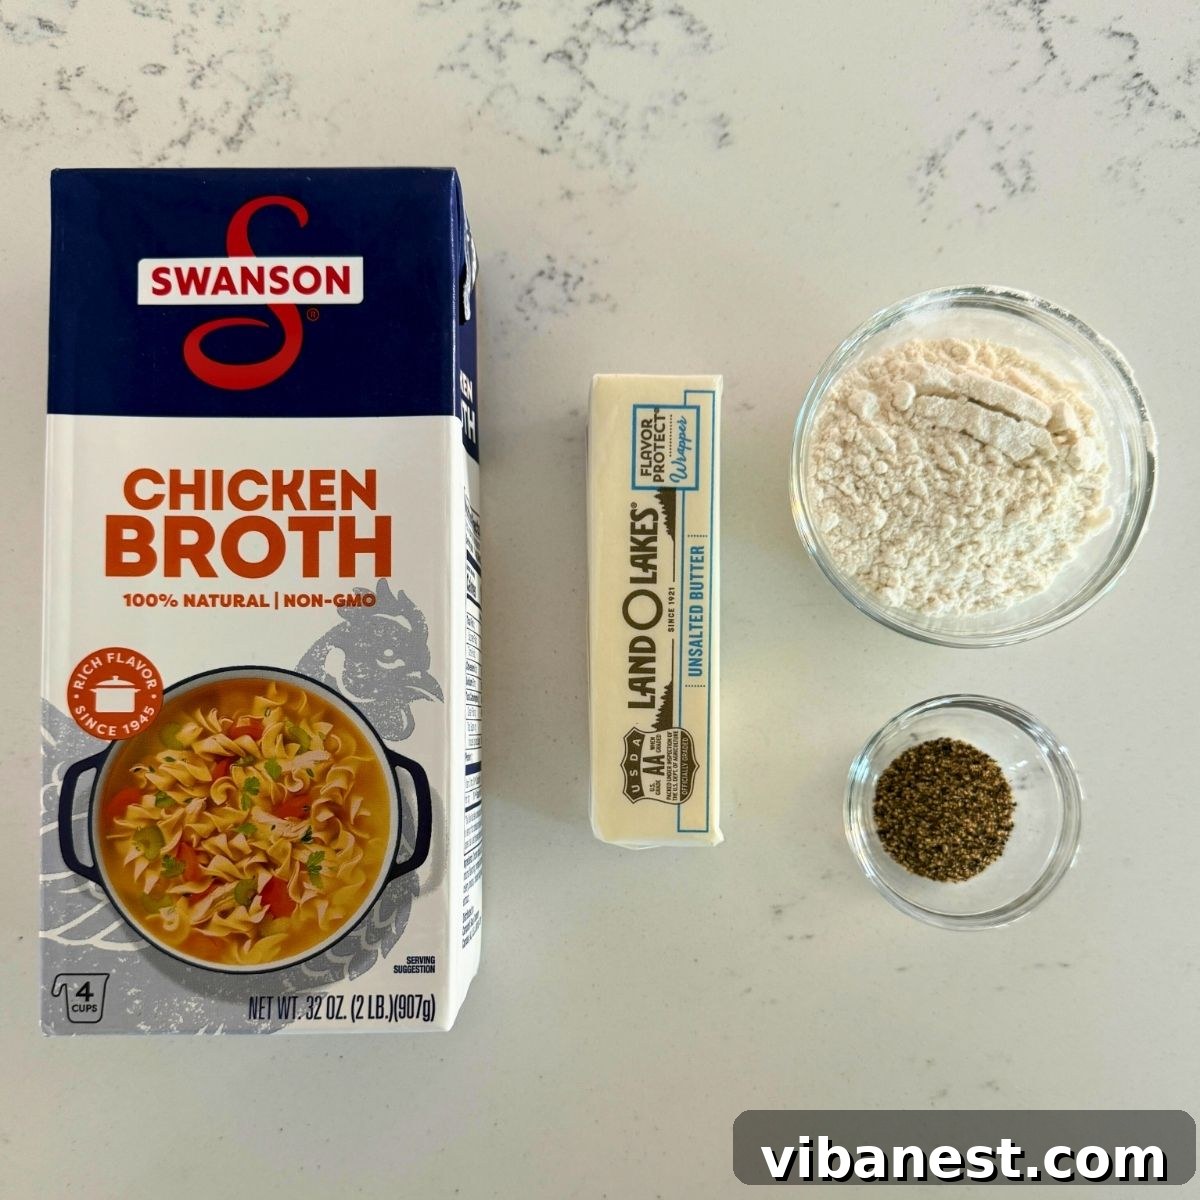
Crafting exquisite homemade chicken gravy doesn’t require a long list of exotic ingredients. In fact, you likely have most of these staples in your kitchen already! This recipe simplifies the process, focusing on quality components that deliver maximum flavor and perfect consistency with just a few core items.
Essential Ingredients:
- 4 tablespoons Unsalted Butter: Butter forms the foundation of our roux, providing rich flavor and a smooth base. Using unsalted butter allows you to control the overall saltiness of the gravy more precisely.
- ¼ cup All-Purpose Flour: This is our primary thickening agent. When cooked with butter, it creates a roux that gives the gravy its desirable body and texture.
- 2 cups Chicken Drippings OR Chicken Stock/Broth: This is the liquid backbone of your gravy.
- Chicken Drippings: These are the golden, flavorful juices and fat rendered from a roasted chicken. They provide an incredibly deep, authentic chicken flavor that store-bought broth simply cannot replicate. If you’ve just roasted a chicken, definitely use these!
- Chicken Stock/Broth: A fantastic alternative when drippings aren’t available. Opt for a high-quality, low-sodium chicken stock or broth to control seasoning. Homemade chicken stock will always yield superior results compared to store-bought.
- ½ teaspoon Coarse Black Pepper: Freshly ground black pepper adds a subtle kick and aromatic depth. Adjust to your preference.
- Salt to Taste: Essential for balancing and enhancing all the flavors. Start with a pinch and add more as needed after tasting.
- Optional Seasonings (especially when using broth):
- ½ teaspoon Garlic Powder: Adds a savory, aromatic layer without the sharpness of fresh garlic.
- ½ teaspoon Onion Powder: Contributes a mild, sweet onion flavor that rounds out the savory profile.
- Fresh Herbs (e.g., thyme, rosemary, sage): For an elevated, aromatic gravy, a sprig or two of fresh herbs can be added during simmering and removed before serving.
The Secret to Rich Flavor: Utilizing Chicken Drippings
If you’ve just roasted a whole chicken, you’re sitting on a goldmine of flavor: the pan drippings. These are the concentrated juices and rendered fat that collect at the bottom of your roasting pan. They are the key to the most authentic and deeply flavored chicken gravy you can make. Here’s how to prepare them:
- Collect: Carefully pour all the contents of your roasting pan into a heatproof measuring cup or a fat separator.
- Settle: Allow the drippings to sit for a few minutes. The fat will rise to the top, while the flavorful meat juices will settle at the bottom.
- Skim: Using a spoon, skim off most of the rendered fat from the surface. You want to leave some fat, as it contributes to flavor and texture, but remove the excess. If using a fat separator, simply pour the defatted drippings from the bottom spout.
- Measure & Supplement: Measure out 2 cups of the defatted chicken drippings. If you don’t have enough to reach 2 cups, simply top it off with store-bought or homemade chicken stock to meet the required volume. This ensures you have enough liquid for a perfect gravy consistency.
Pro Tips for the Best Homemade Chicken Gravy!
- Embrace the Drippings: For unparalleled depth of flavor, always prioritize using chicken drippings from a freshly roasted chicken. They bring an authentic richness that broth alone can’t replicate.
- Mastering Consistency: Gravy consistency is a matter of personal preference.
- Too Thick? Simply whisk in a little more warm chicken broth, water, or even a splash of milk or heavy cream until it reaches your desired pourable texture.
- Too Thin? Allow the gravy to simmer gently for a few more minutes. As it reduces, the water content evaporates, and it will naturally thicken. For a quicker fix, you can make a small slurry of 1 teaspoon cornstarch mixed with 1 tablespoon cold water, then whisk it into the simmering gravy until thickened.
- Preventing Lumps: The key to a smooth gravy is gradual addition of liquid and constant whisking, especially when adding the broth or drippings to the roux. Start with a small amount of liquid, whisk until smooth, then add the rest gradually.
- Taste and Adjust: Always taste your gravy before serving. Gravy often needs a final touch of salt and pepper, or perhaps a hint of your optional seasonings (garlic powder, onion powder) to truly shine. Remember, you can always add more, but you can’t take it away!
- Strain for Silky Smoothness: If you desire an ultra-smooth gravy and are concerned about any small lumps or herb pieces, pass the finished gravy through a fine-mesh sieve before serving.
How to Make the Perfect Chicken Gravy: Step-by-Step Guide
This recipe is designed for efficiency and exceptional results. Follow these straightforward steps to create a luscious chicken gravy that will impress everyone at your table.
- Prepare Your Liquid Base: If you’re using chicken drippings, collect them from your roasting pan as described above, skimming off the excess fat. Top up to 2 cups with chicken broth if necessary. If you’re starting from scratch, simply have 2 cups of chicken broth (store-bought or homemade) ready. Ensure your liquid is warm for the smoothest results, as cold liquid can sometimes encourage lumps when added to a hot roux.
- Craft the Roux (The Flavor Foundation): In a medium-sized saucepan, melt the 4 tablespoons of unsalted butter over medium heat. Once the butter is fully melted and shimmering, slowly sprinkle in the ¼ cup of all-purpose flour. Immediately begin whisking vigorously and continuously. Cook the roux for 2-3 minutes, ensuring it turns a light golden-brown color. This cooking process removes the raw flour taste and develops a nutty flavor, which is crucial for a delicious gravy.
- Gradually Add Liquid: This is a critical step for preventing lumps. Slowly pour in about a quarter of your prepared chicken drippings or broth into the roux, whisking constantly until completely smooth and combined. Once incorporated, gradually add the remaining liquid, whisking continuously until the mixture is uniform and smooth. The gravy will start to look thin at this stage, but don’t worry, it will thicken as it heats.
- Simmer to Thicken and Develop Flavor: Bring the gravy to a gentle simmer over medium heat, continuing to whisk occasionally. As it heats up, you’ll notice it beginning to thicken to a lovely, pourable consistency. This usually takes about 3-5 minutes. If it becomes too thick, simply whisk in a tablespoon or two of additional broth or milk until it reaches your desired consistency.
- Season to Perfection: Remove the saucepan from the heat. Whisk in the ½ teaspoon of coarse black pepper. Now, taste the gravy. Add salt to your liking, starting with a pinch and adding more as needed. If you’re using chicken broth instead of drippings, this is the ideal time to add the optional ½ teaspoon each of garlic powder and onion powder to boost the savory profile. Taste again and adjust any seasonings as necessary.
- Serve Immediately: Once your gravy has reached its perfect consistency and seasoning, pour it into a warm gravy boat or serving bowl. Serve immediately to enjoy its optimal texture and flavor.
Elevate Your Meal: Creative Chicken Gravy Variations
While the classic chicken gravy is a masterpiece on its own, don’t hesitate to experiment and make it uniquely yours. These simple variations can transform your gravy into something truly special, perfectly tailored to your meal or mood.
- Luxurious Creamy Chicken Gravy: For an extra-rich and decadent gravy, whisk in a splash (about ¼ to ½ cup) of heavy cream or half-and-half during the final simmering stage. This adds a silky texture and a touch of sweetness that pairs wonderfully with many dishes.
- Earthy Mushroom Chicken Gravy: Elevate your gravy with the umami goodness of mushrooms. While the butter is melting for the roux, sauté 6 ounces of thinly sliced mushrooms (cremini or button work well) until they are tender and lightly browned. Remove them, make your roux, then add the cooked mushrooms back into the gravy during the simmering stage.
- Sweet & Savory Onion or Shallot Chicken Gravy: Add another layer of aromatic flavor by sautéing finely diced onions or shallots. Sauté ¼ cup of finely diced yellow onion or shallots in the melted butter for 3-5 minutes until softened and translucent before adding the flour to make the roux. This adds a subtle sweetness and depth.
- Herb-Infused Chicken Gravy: For an aromatic twist, add a sprig or two of fresh herbs like rosemary, thyme, or sage to the gravy during the simmering stage. Remove the sprigs before serving. Alternatively, a teaspoon of dried poultry seasoning or a pinch of rubbed sage can be whisked in with the other seasonings.
- Spicy Kick Gravy: If you enjoy a bit of heat, whisk in a pinch of cayenne pepper or a dash of your favorite hot sauce during the final seasoning step. This adds an unexpected and exciting dimension to the classic flavor.
Delicious Serving Suggestions
This homemade chicken gravy is incredibly versatile and can enhance a wide array of dishes. While it’s a natural partner for roasted chicken and the creamiest mashed potatoes, don’t limit its potential!
- Classic Pairings:
- Roasted or Fried Chicken: The most obvious and satisfying pairing. The gravy perfectly complements the crispy skin and tender meat.
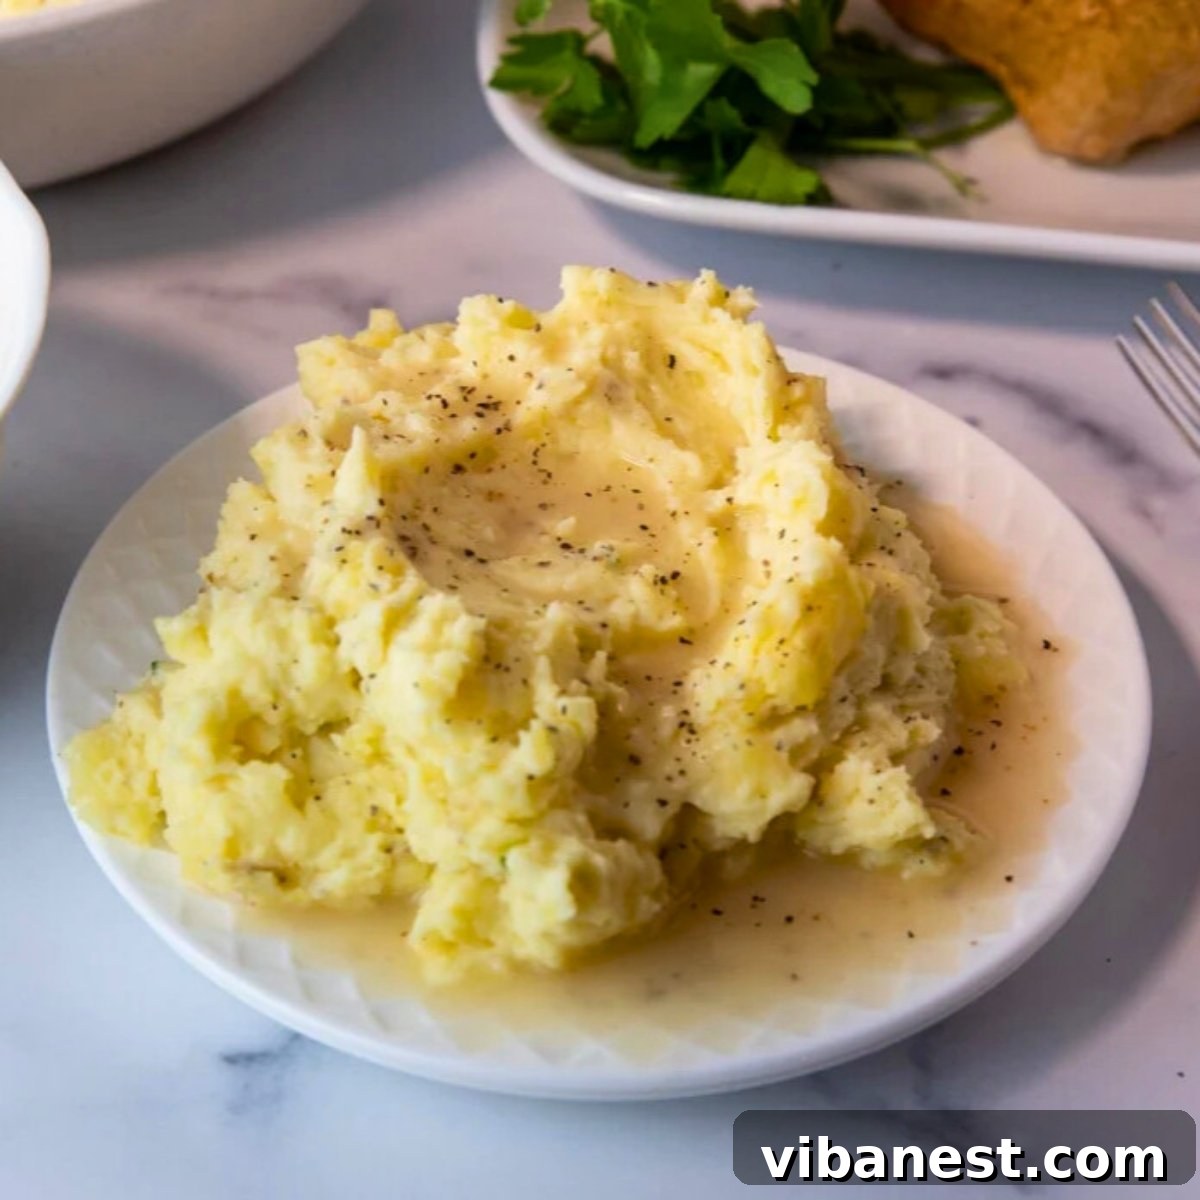
- Mashed Potatoes: A match made in heaven! A generous ladle of warm gravy over fluffy mashed potatoes is pure comfort.
- Thanksgiving Turkey: While we have a dedicated turkey gravy recipe, this chicken gravy is an excellent stand-in or a delightful addition to your holiday spread.
- Stuffing or Dressing: Moistens and enriches your favorite holiday side dish.
- Unexpected Delights:
- Biscuits and Gravy: Move over, breakfast sausage gravy! This chicken gravy poured over warm, fluffy homemade buttermilk biscuits is a surprisingly delicious and comforting meal.
- Meatloaf: A perfect sauce to pour over a hearty slice of meatloaf.
- Hot Open-Faced Sandwiches: Layer sliced roast chicken or turkey on bread, top with gravy, and serve with mashed potatoes for a diner-style classic.
- Vegetables: A drizzle of gravy can transform plain steamed or roasted vegetables like green beans, corn, or Brussels sprouts into something special.
- French Fries or Poutine: For a decadent treat, use this gravy as a base for homemade poutine by pouring it over fries and cheese curds.
- Pasta or Noodles: A unique twist! Use it as a light sauce for egg noodles or a simple pasta dish.
Frequently Asked Questions About Homemade Chicken Gravy
Can I make this gravy ahead of time?
Absolutely! Chicken gravy can be prepared 2-3 days in advance and stored in an airtight container in the refrigerator. Reheat gently on the stovetop over low heat, whisking constantly. You may need to add a splash of chicken broth or water to thin it out to your desired consistency, as it tends to thicken more upon cooling.
Can I freeze chicken gravy?
Yes, homemade chicken gravy freezes well! Allow it to cool completely, then transfer it to freezer-safe containers or heavy-duty freezer bags. It can be stored for up to 3 months. Thaw overnight in the refrigerator and reheat as described above, adding liquid as needed. Note that the texture might be slightly thinner after thawing, but a quick whisk and re-simmer usually remedies this.
Why is my gravy lumpy, and how can I fix it?
Lumps typically occur when the flour isn’t fully incorporated into the butter to form a smooth roux, or when liquid is added too quickly to the roux without constant whisking. To fix lumpy gravy, you can whisk it vigorously over heat, or for stubborn lumps, pass the gravy through a fine-mesh sieve or even blend it briefly with an immersion blender until smooth. Remember to add liquid gradually and whisk constantly in the future!
What if my gravy is too greasy?
If your gravy tastes too greasy, it’s likely that too much fat was left in the drippings or added. You can try to skim some of the excess fat off the surface after the gravy has simmered. Another trick is to place a paper towel lightly on the surface of the warm gravy to absorb some of the oil, then quickly remove it. In the future, ensure you skim the drippings thoroughly before incorporating them into the gravy.
Can I use gluten-free flour?
Yes, you can! A good all-purpose gluten-free flour blend will typically work well as a thickener in a roux. The ratio might need slight adjustment, and you may find that some gluten-free flours absorb liquid differently, so keep an eye on the consistency and adjust liquid as needed. Cornstarch or arrowroot powder slurries are also excellent gluten-free thickening alternatives (mixed with cold water, then whisked into simmering liquid).
How can I make my gravy darker?
The color of your gravy comes primarily from the roux and the liquid base. For a darker gravy, cook your roux a little longer until it’s a medium golden-brown, being careful not to burn it. If using chicken broth, a richer, darker stock will yield a deeper color. You can also add a tiny dash of kitchen bouquet (browning sauce) or a bit of soy sauce for color and an extra savory kick, but add these sparingly as they can impact flavor significantly.
We hope this detailed guide empowers you to create the most delicious and comforting chicken gravy with ease. It’s a fundamental skill that brings warmth and flavor to countless meals. Enjoy every savory drop!
Happy Cooking!