
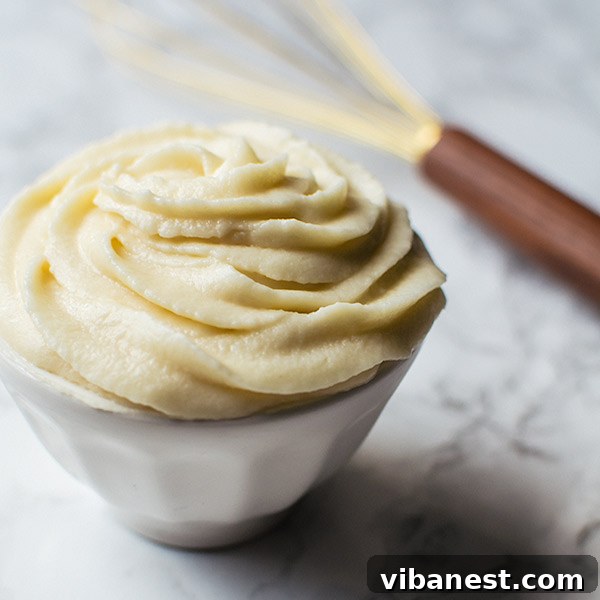
The Ultimate Guide to Making Perfect Homemade Vanilla Frosting
In the culinary world, while adventurous flavors and innovative combinations often steal the spotlight, there’s an undeniable charm and timeless appeal to the classics. Among these, homemade vanilla frosting stands out as a true crowd-pleaser, a comforting staple that evokes nostalgia and pure delight. It’s the essential finishing touch for countless cakes, cupcakes, and cookies, transforming simple baked goods into irresistible treats. This guide will walk you through creating the absolute best vanilla frosting, ensuring every bite is a smooth, creamy, and wonderfully flavorful experience.
What makes a classic truly exceptional? It’s often the simplicity, allowing each component to shine. Vanilla frosting, at its heart, is a testament to this principle. Its universal appeal lies in its delicate sweetness, rich texture, and the comforting aroma of pure vanilla. Whether you’re decorating a majestic layer cake for a special occasion or simply topping a batch of cupcakes for an everyday indulgence, a well-made vanilla frosting elevates the entire dessert. Forget bland, overly sweet store-bought options; once you master this recipe, you’ll never look back. Prepare to create a frosting that is not just a topping, but an integral part of your cherished desserts.
The Secret to Superior Frosting: Quality Ingredients
Given the straightforward nature of vanilla frosting, the quality of your ingredients isn’t just important—it’s paramount. With so few components, each one plays a starring role in the final flavor and texture. Investing in high-quality ingredients will truly make a discernible difference, transforming a good frosting into an extraordinary one.
Butter: The Foundation of Flavor and Texture
Start with excellent butter. Unsalted butter is typically preferred, as it gives you complete control over the salt content in your frosting. Opt for a brand you trust and enjoy the taste of on its own. High-quality butter often has a richer, creamier flavor and a desirable pale yellow hue. Ensure your butter is at perfect room temperature—soft enough to yield to a gentle press but not melted or greasy. This crucial detail allows it to cream properly with the sugar, creating a light, airy base for your frosting. If your butter is too cold, your frosting will be lumpy; too warm, and it will be greasy and runny.
Vanilla Extract: The Heart of the Flavor
This is where your frosting truly gets its name. Do not skimp on vanilla extract! A good quality pure vanilla extract will infuse your frosting with a warm, complex, and inviting aroma and taste. Avoid artificial vanilla flavorings, as they can leave an alcohol-like or less authentic aftertaste. For an even more intense and visually appealing vanilla presence, consider using vanilla bean paste, which adds tiny specks of vanilla bean for a gourmet touch. The depth of flavor from a premium vanilla extract is incomparable and essential for that classic taste.
Powdered Sugar: Smoothness and Sweetness
Also known as confectioners’ sugar or icing sugar, powdered sugar provides the smooth texture and sweetness. It’s finely milled, often with a small amount of cornstarch to prevent caking. For the silkiest frosting, consider sifting your powdered sugar before adding it to the butter. This step removes any lumps and ensures a flawlessly smooth final product, preventing a grainy mouthfeel. The amount of sugar can be adjusted slightly to your preferred level of sweetness and consistency.
Salt: The Unsung Hero
A tiny pinch of salt might seem counterintuitive in a sweet recipe, but it’s a game-changer. Salt doesn’t just make things salty; it enhances and balances flavors. In vanilla frosting, it cuts through the sweetness, prevents the frosting from tasting cloyingly sugary, and brings out the nuanced notes of the butter and vanilla. Don’t skip it!
Heavy Cream or Milk: Achieving Perfect Consistency
Heavy cream, or whole milk, adds richness and helps achieve the desired consistency. Heavy cream will result in a richer, slightly thicker frosting, while whole milk will yield a slightly lighter texture. The amount needed can vary based on the humidity in your kitchen and the initial consistency of your butter, so add it gradually until your frosting reaches that perfect, spreadable, or pipeable state.
The Magic of Mixing: Equipment and Techniques
While you can certainly make vanilla frosting with a hand mixer, a stand mixer makes the process incredibly efficient and yields consistently excellent results. The key is understanding how different mixer attachments influence the final texture of your frosting.
The Stand Mixer Advantage
A stand mixer with a powerful motor allows you to beat the butter and sugar for extended periods, incorporating air and developing a wonderfully light and fluffy consistency without tiring your arm. The continuous, steady mixing ensures all ingredients are thoroughly combined.
Paddle Attachment: For a Dense and Smooth Buttercream
The paddle attachment is the traditional choice for buttercream frosting. It excels at creaming butter and sugar together, effectively removing air bubbles and creating a smooth, dense, and remarkably stable frosting. This texture is ideal for frosting cakes, especially for achieving sharp edges, creating a solid base for fondant, or for intricate piping work that requires a firmer hold. The paddle works the ingredients without incorporating too much air, resulting in a rich, velvety consistency that melts beautifully in your mouth.
Whisk Attachment: For an Airier, Cloud-Like Frosting
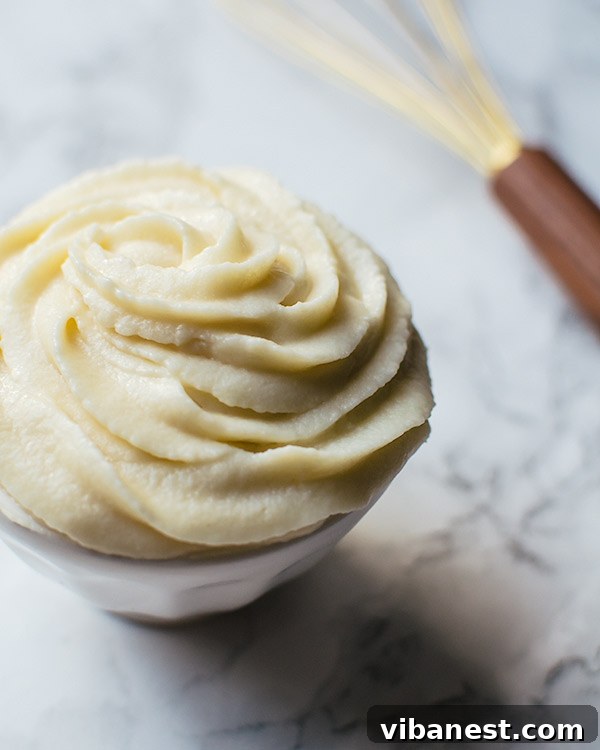
Lately, many bakers, myself included, have fallen in love with the whisk attachment for certain frosting applications. Unlike the paddle, the whisk attachment is designed to incorporate a significant amount of air into the mixture. This results in a much lighter, fluffier, and almost cloud-like frosting. While this whipped texture might not be ideal for structurally frosting an entire cake (it’s simply too airy to hold shape as well as a dense buttercream), it is absolutely divine for piping billowy decorations, swirling high mounds on cupcakes, or creating a more delicate topping. The whisk attachment yields a frosting that feels much less heavy on the palate, offering a delightful contrast to richer cakes.
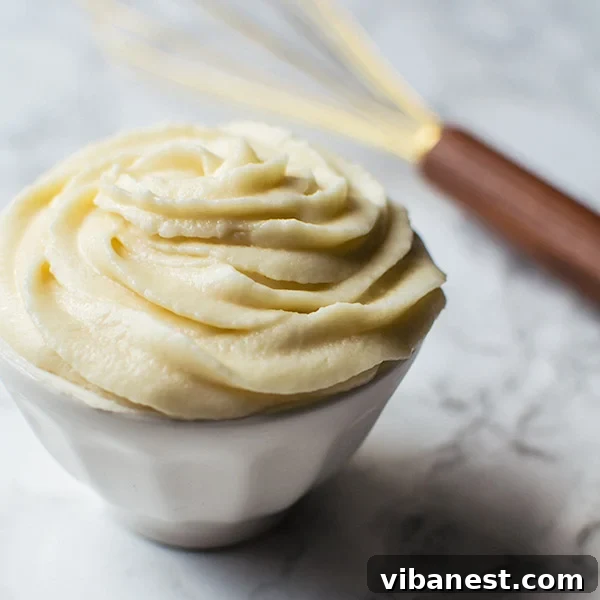
Classic Homemade Vanilla Frosting Recipe
INGREDIENTS
- 1 cup (2 sticks) unsalted butter, softened to room temperature
- 6 – 7 cups powdered sugar, sifted (plus more if needed)
- 1/4 teaspoon fine sea salt
- 1 tablespoon pure vanilla extract (or vanilla bean paste for richer flavor)
- 2 – 4 tablespoons heavy cream (or whole milk), adjusted for desired consistency
DIRECTIONS
- Cream the Butter: In the bowl of a stand mixer fitted with your desired attachment (paddle for dense, smooth frosting; whisk for light, fluffy frosting), beat the room temperature butter on medium speed for 3-5 minutes. Continue until the butter is pale in color, light, and wonderfully creamy. This step is crucial for incorporating air and creating a smooth base.
- Gradually Add Powdered Sugar: With the mixer on low speed, begin adding the sifted powdered sugar, one cup at a time. Beat very well between each addition, allowing the sugar to fully incorporate into the butter. This prevents a “sugar cloud” in your kitchen and ensures a smooth, lump-free frosting. Stop the mixer occasionally to scrape down the sides and bottom of the bowl with a rubber spatula, ensuring all ingredients are evenly mixed. Continue until all 6-7 cups of sugar have been added and the mixture is thick.
- Add Salt and Vanilla: Once the sugar is fully incorporated, add the salt and vanilla extract to the mixture. Beat on medium speed for another 1-2 minutes until everything is well combined and the vanilla aroma is fragrant. This helps to deepen the flavor profile and ensure even distribution.
- Adjust Consistency with Cream: With the mixer on low speed, slowly drizzle in 2 tablespoons of heavy cream. Increase the speed to medium-high and beat for 2-3 minutes until the frosting becomes smooth, light, and fluffy. If the frosting is too thick, add the remaining heavy cream, one teaspoon at a time, until it reaches your desired consistency. For a thinner frosting (e.g., for flooding cookies), you may need a bit more. For a stiffer frosting (e.g., for intricate piping), you might use slightly less cream or a tiny bit more powdered sugar.
- Final Beat (Optional for Whisk): If using a whisk attachment and aiming for maximum fluffiness, you can beat the frosting on high speed for an additional minute or two after achieving consistency. This incorporates even more air, resulting in an incredibly light texture.
Troubleshooting Common Vanilla Frosting Problems
Even with the best intentions, sometimes frosting can present challenges. Here are solutions to common issues:
- Too Thin/Runny: This usually means too much liquid was added. Gradually add 1/4 cup of sifted powdered sugar at a time, beating well after each addition, until the desired thickness is achieved.
- Too Thick/Stiff: Add heavy cream or milk, 1 teaspoon at a time, beating until smooth and spreadable.
- Grainy Texture: This can be due to unsifted powdered sugar or insufficient beating time. If the former, unfortunately, it’s hard to fix completely, but beating longer might help somewhat. If the latter, continue beating on medium-high speed for another few minutes to dissolve more sugar crystals.
- Curdled Appearance: This often happens when butter is too cold, or ingredients aren’t emulsifying properly. Warm the bowl slightly with your hands or a warm towel for a few seconds, then continue beating. The warmth can help the fats and liquids come together.
- Greasy Frosting: If your butter was too warm or melted, your frosting might turn greasy. Chill the entire bowl (with frosting) in the refrigerator for 15-20 minutes, then re-beat it until it smooths out.
Storage and Make-Ahead Tips
Homemade vanilla frosting is wonderfully versatile and can be made in advance, saving you time on baking day.
- Room Temperature: If your kitchen is cool (below 70°F/21°C), you can store vanilla frosting in an airtight container at room temperature for up to 2 days.
- Refrigerator: For longer storage, transfer the frosting to an airtight container and refrigerate for up to 1 week. Before using, let it come to room temperature for at least an hour, then re-whip it with a mixer for a few minutes until it’s light and fluffy again. You might need to add a teaspoon of cream or milk to restore its perfect consistency.
- Freezer: Vanilla frosting freezes beautifully! Store it in an airtight, freezer-safe container for up to 2-3 months. Thaw overnight in the refrigerator, then bring to room temperature and re-whip as described above before using.
Creative Uses and Flavor Enhancements
While classic vanilla frosting is perfect as is, it’s also a fantastic canvas for experimentation:
- Citrus Zest: Add finely grated lemon, orange, or lime zest for a bright, refreshing twist.
- Other Extracts: Incorporate almond extract, peppermint extract, or a hint of coconut extract for different flavor profiles.
- Coloring: Use gel food coloring to tint your frosting for festive occasions. Start with a tiny amount and add more until you achieve the desired shade.
- Coffee/Espresso: Dissolve 1-2 teaspoons of instant espresso powder in the heavy cream before adding it for a subtle coffee flavor.
- Spices: A pinch of cinnamon, nutmeg, or cardamom can add warmth and complexity, especially for autumnal or holiday desserts.
Whether you’re decorating a celebratory cake, adding a sweet flourish to everyday cupcakes, or even just enjoying a spoonful straight from the bowl, this homemade vanilla frosting recipe will become a cherished favorite. Its rich flavor, smooth texture, and customizable consistency make it the ultimate companion to almost any baked good. Mastering this basic recipe opens up a world of decorating possibilities and ensures every dessert you create is met with smiles and requests for seconds. So, gather your high-quality ingredients, fire up your mixer, and prepare to create the most delicious vanilla frosting you’ve ever tasted!