
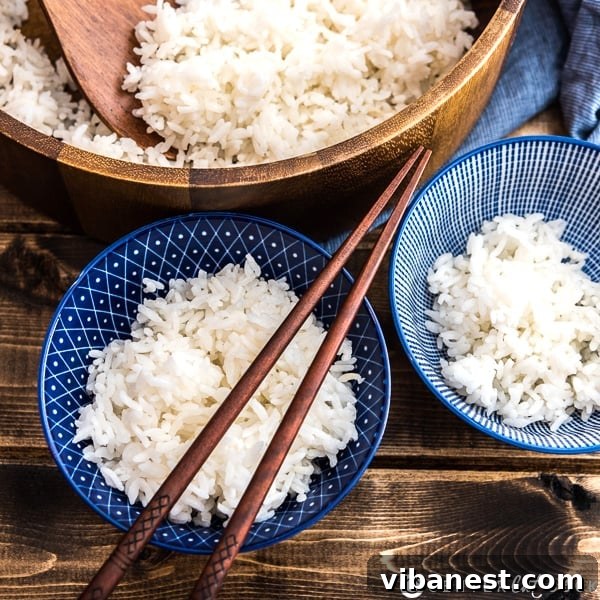
For many cultures, especially across Asia, rice isn’t just a side dish; it’s the heart of the meal, a foundational element that completes every plate. Achieving consistently fluffy, perfectly cooked white rice – grains separate yet tender, never mushy or undercooked – might seem like a culinary challenge. Indeed, countless home cooks and even seasoned chefs have struggled with this seemingly simple task. However, the truth is, mastering the art of cooking perfect rice is surprisingly straightforward once you understand a few fundamental principles and adhere to a meticulous process. Forget sticky clumps or crunchy grains; with these expert tips, you’ll elevate your rice cooking from a gamble to a guaranteed success every single time.
Unlock the Secret to Fluffy, Non-Sticky Rice: Essential Techniques
The journey to perfect rice begins with understanding that it’s more than just boiling grains in water. It’s about precision, patience, and respecting the natural properties of the rice itself. By following these key guidelines, you’ll transform your rice cooking experience and consistently produce results that will impress.
- Prioritize Freshness: Select Quality Rice
The foundation of a great dish is always its ingredients. For rice, this means choosing newer grains. Rice that has been stored for extended periods (over a year) can dry out, affecting its moisture absorption capabilities and ultimately, the final texture. Opt for rice that’s recently harvested for optimal results. - Rinse and Soak for Superior Texture
This step is non-negotiable for achieving separate, fluffy grains. Thoroughly rinsing removes excess starch from the surface of the rice, which is the primary culprit behind sticky, clumpy rice. Soaking, on the other hand, allows the grains to absorb water evenly before cooking, ensuring a more consistent cook and reducing cooking time. - Choose the Right Vessel: Heavy-Duty Pot with a Tight Lid
The pot you cook your rice in plays a critical role. A heavy-bottomed pot or a Dutch oven ensures even heat distribution, preventing scorching at the bottom while the top remains undercooked. A tight-fitting lid is equally important to trap steam, which is essential for the rice to cook properly and fully absorb the water. - Master the Heat: Gentle Simmer, Uninterrupted Cooking
Once your rice comes to a boil, reducing the heat to a gentle simmer and resisting the urge to lift the lid are crucial. The steam trapped inside the pot does most of the work, cooking the rice evenly and allowing it to swell. Opening the lid releases this vital steam, interrupting the cooking process and potentially leading to unevenly cooked rice. - The Power of Rest: Let Your Rice Relax
After the cooking time is complete, remove the pot from the heat but keep the lid on. This resting period is just as important as the cooking itself. It allows the remaining steam and heat to evenly distribute throughout the grains, ensuring they firm up, become perfectly tender, and reach their ultimate fluffy texture without becoming mushy. - Embrace Simplicity: Consistency is Key
While these steps might seem detailed, they are incredibly simple to integrate into your cooking routine. Once you’ve practiced them a few times, they’ll become second nature, making perfect rice an effortless achievement rather than a daunting task.
The Golden Ratio: Achieving the Perfect Rice-to-Water Balance
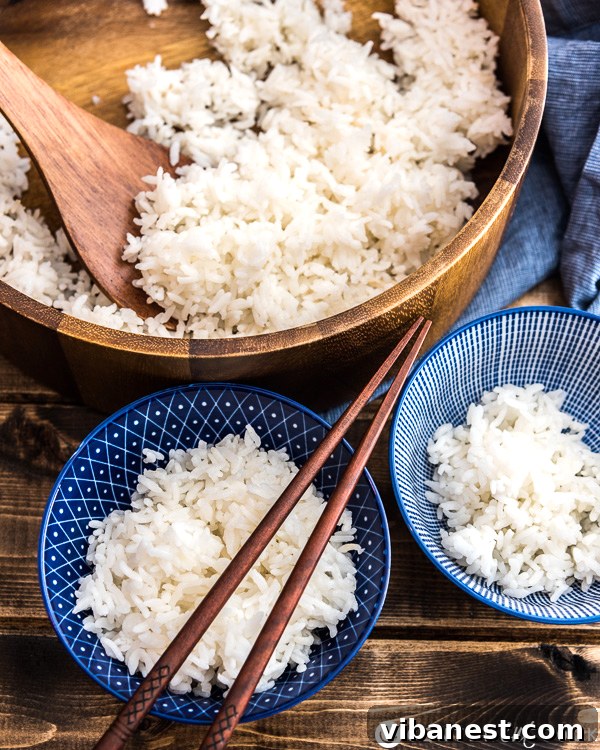
Beyond technique, the most critical factor for perfectly cooked rice is the precise rice-to-water ratio. This ratio dictates how much moisture the rice absorbs, directly influencing its final texture. Too little water, and your rice will be hard, dry, and potentially undercooked, with some grains remaining stubbornly firm. Conversely, using too much water will result in overly soft, mushy rice, reminiscent of an oatmeal-like consistency, far from the light and fluffy ideal.
It’s important to note that a universal “one-size-fits-all” ratio is difficult to pinpoint definitively. The optimal amount of water can vary slightly based on several factors: the specific type of rice (short-grain, medium-grain, long-grain), its age (fresher rice may require slightly less water), and even environmental factors like altitude. For instance, short-grain rice, with its higher starch content, often requires less water than long-grain varieties to achieve the desired texture. That’s why this guide provides distinct ratios for both common types.
While we offer an excellent starting point, consider your first few attempts as an opportunity to find your personal “golden ratio” for your preferred brand and type of rice. You might find you need to adjust the water by a tablespoon or two more or less after your initial cook. Don’t be discouraged; experimentation is part of the culinary journey. Once discovered, this personalized ratio will be your secret weapon for consistently flawless rice.
Troubleshooting Common Rice Cooking Problems
Even with the best intentions, things can sometimes go awry. Here’s a quick guide to common rice cooking issues and how to fix or avoid them in the future:
- Mushy or Sticky Rice: This is almost always due to too much water, insufficient rinsing, or lifting the lid too often during cooking. Ensure you measure precisely, rinse until the water runs clear, and resist peeking!
- Hard or Undercooked Rice: The opposite problem, typically caused by not enough water or not enough soaking time. Make sure your measurements are accurate and give the rice its full 30-minute soak. Cooking on too high heat can also evaporate water too quickly.
- Rice Burned at the Bottom: Usually a result of the heat being too high for too long, especially after reducing to a simmer. Ensure your heat is truly on “low” and that your pot has a heavy bottom for even heat distribution.
- Unevenly Cooked Rice (some soft, some hard): This can happen if the heat isn’t distributed evenly (use a heavy pot!), if the lid isn’t tight, or if you’ve opened the lid multiple times during cooking, letting the steam escape.
Beyond the Basics: Pairing Your Perfect Rice
Once you’ve mastered the art of fluffy white rice, a world of culinary possibilities opens up. Perfect rice is the ideal accompaniment to a vast array of dishes. Imagine serving your flawlessly cooked grains with a vibrant Bang Bang Shrimp, where the rice delicately balances the rich, spicy flavors. Or perhaps alongside a savory Stir-Fried Beef with Vegetables, soaking up all the delicious sauces. It’s also fantastic with aromatic curries, hearty stews, grilled fish, roasted chicken, or as the base for nourishing Buddha bowls. Bookmark this recipe now, and let perfectly cooked white rice become a staple in your culinary repertoire, ready to complement any meal you create.
INGREDIENTS
- 1 cup long-grain white rice (e.g., Jasmine, Basmati) or short-grain white rice (e.g., Sushi rice)
- 1-3/4 cups cold water (for long-grain rice) or 1-1/4 cups cold water (for short-grain rice)
DIRECTIONS: Step-by-Step Guide to Fluffy Rice
- Rinse the Rice Thoroughly: Place the rice in a medium bowl and cover with cold tap water. Gently swirl and massage the rice with your hands for about 30 seconds. You’ll notice the water becoming cloudy, indicating the release of excess starch. Carefully drain this cloudy water. Repeat this rinsing process at least 3 to 4 times, or until the water runs mostly clear. This crucial step is key to preventing sticky, clumpy rice.
- Soak for Even Cooking: After rinsing, cover the clean rice with fresh cold water (ensure about an inch of water above the rice level). Let the rice soak undisturbed for a minimum of 30 minutes. Soaking allows the grains to hydrate internally, promoting even cooking and a tender, non-gummy texture.
- Drain Well: Transfer the soaked rice into a fine-mesh sieve and allow it to drain completely for a few minutes. This ensures no excess water is carried into the cooking pot, which could disrupt your precise rice-to-water ratio.
- Combine and Bring to a Boil: Transfer the drained rice into a medium-sized Dutch oven or a heavy-bottomed pot with a tight-fitting lid. Add the measured amount of cold water according to your rice type (1-3/4 cups for long-grain, 1-1/4 cups for short-grain). Cover the pot with its lid. Place the pot over medium-high heat and bring the water to a rolling boil. Keep an eye on it to avoid boiling over.
- Simmer to Perfection: As soon as the water reaches a full boil (you’ll see steam escaping and the rice bubbling actively), immediately reduce the heat to the lowest possible setting. Do not lift the lid! Allow the rice to simmer, undisturbed, for 12 minutes. This low and slow cooking allows the rice to absorb the water gradually through steam.
- Quick Check (Optional, but useful for beginners): After 12 minutes, you may briefly and quickly lift the lid to check if all the water has been absorbed. If you still see a small amount of water remaining on the surface, quickly replace the lid and continue simmering for an additional 1 to 2 minutes. Avoid prolonged peeking, as it releases precious steam.
- The Essential Resting Phase: Once the cooking time is complete and the water is fully absorbed, remove the pot from the heat source. Crucially, keep the lid on! Let the rice rest, covered, for an additional 10 to 20 minutes. This resting period allows the steam to redistribute and the grains to firm up, resulting in perfectly tender, separate, and fluffy rice.
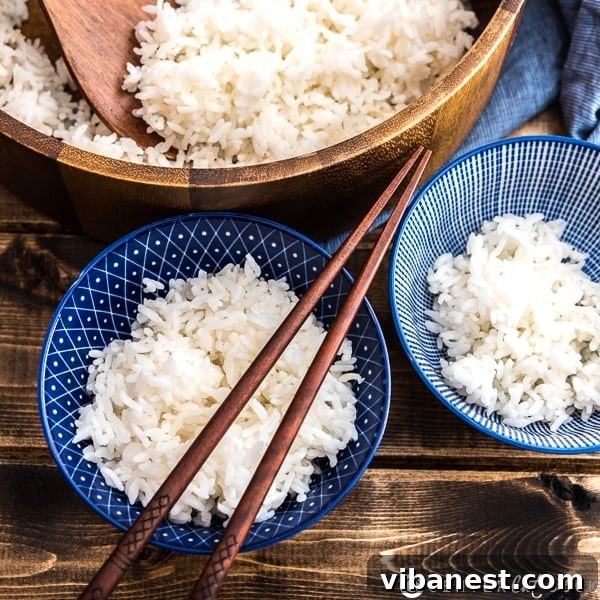
- Fluff and Serve: After resting, remove the lid. Using a rice paddle or a fork, gently fluff the rice by separating the grains. Serve your perfectly cooked, fluffy white rice warm as a delicious accompaniment to your favorite dishes. Enjoy!