
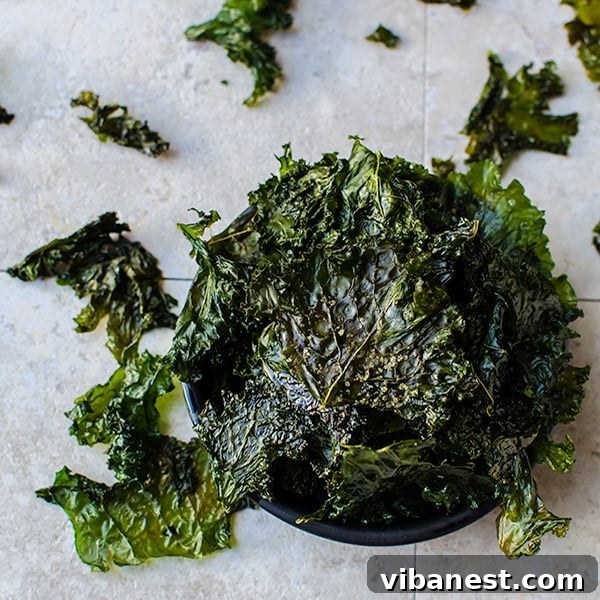
How to Make Perfect Crispy Kale Chips: Your Ultimate Guide to a Healthy Snack
In recent years, kale has soared to stardom, firmly establishing itself as a nutritional powerhouse and a true superfood. While its health benefits are widely celebrated, many are still on the quest to discover truly delicious and appealing ways to incorporate this leafy green into their daily diet. If you’ve ever wondered how to transform a simple bunch of kale into an irresistibly crunchy, savory, and surprisingly addictive snack, you’ve arrived at the perfect destination. This comprehensive guide will reveal the secrets to crafting the ultimate batch of homemade crispy kale chips – a snack so delightful, it might just become your family’s new favorite.
My personal journey with kale chips began years ago, and I quickly became an ardent enthusiast. The moment I mastered the art of making them perfectly crispy, I was completely hooked. It’s a rare day when a batch of these delectable greens lasts more than a few minutes in my home. We often find ourselves playfully squabbling over the last few golden-green crisps! On movie nights, I frequently prepare a double or even triple batch to ensure everyone gets their fill, sometimes even crumbling a portion into our popcorn for an unexpected burst of flavor and a healthy dose of crunch. Their addictive quality is a testament to how simple and incredibly satisfying a healthy snack can be!
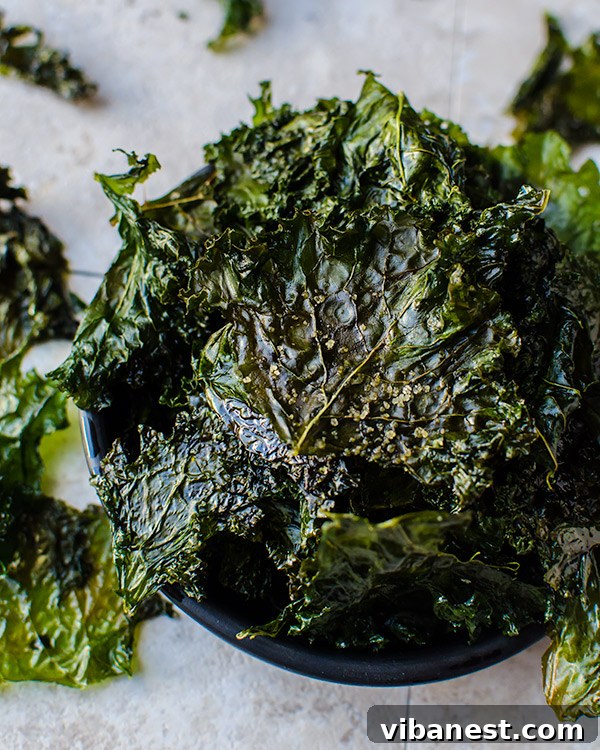
Why Crispy Kale Chips Are Your Next Go-To Healthy Snack
Beyond their delightful texture and savory taste, homemade kale chips are a nutritional goldmine. They offer a fantastic alternative to traditional processed snacks, delivering a powerhouse of vitamins, minerals, and antioxidants in every crunchy bite. Here’s a glimpse into the incredible health benefits that make kale chips a must-have in your snack rotation:
- Rich in Vitamins K, A, and C: Kale is an exceptional source of Vitamin K, crucial for blood clotting and strong bones. It also provides a significant amount of Vitamin A, vital for vision and immune function, and Vitamin C, a powerful antioxidant that supports skin health and boosts immunity.
- Packed with Essential Minerals: Beyond vitamins, kale contributes important minerals like manganese, calcium (for bone health), and iron, all playing key roles in various bodily functions.
- High in Antioxidants: Kale contains potent antioxidants such as beta-carotene, flavonoids, and polyphenols, which help combat oxidative stress and may reduce the risk of chronic diseases.
- Excellent Source of Fiber: The fiber content in kale aids in healthy digestion, promotes gut health, and helps you feel fuller for longer, making it an excellent snack for weight management.
- Low in Calories and Fat: Enjoy a satisfying snack without the guilt! Kale chips are remarkably low in calories and can be prepared with minimal healthy fats, making them an ideal choice for a balanced diet.
Choosing homemade kale chips means opting for a snack free from artificial flavors, preservatives, and excessive sodium often found in store-bought alternatives. It’s a simple, delicious way to nourish your body and satisfy those snack cravings mindfully.
The Art of Achieving Unwaveringly Crispy Kale Chips: Essential Tips
While the concept of making kale chips is straightforward, achieving that perfect, shatteringly crisp texture consistently requires a few key techniques. These aren’t just minor suggestions; they are crucial steps that will elevate your kale chips from merely good to absolutely extraordinary. Master these tips, and you’ll be guaranteed a perfectly crunchy batch every single time.
1. The Absolute Importance of Bone-Dry Kale
This cannot be emphasized enough: moisture is the arch-nemesis of crispy kale chips. Any water left on the leaves will cause them to steam in the oven rather than bake to a crisp. After washing your kale thoroughly, use a salad spinner to remove as much excess water as possible. Follow this by laying the leaves out on clean paper towels or a kitchen towel and patting them completely dry. Take your time with this step – it’s the most critical factor in preventing soggy chips.
2. Proper De-Stemming and Tearing
The thick, fibrous stems of kale can be tough and unpleasantly chewy after baking. Always remove the leaves from these stems before you begin preparation. Once de-stemmed, tear the kale into pieces that are roughly bite-sized. Remember, kale shrinks considerably during baking, so aim for pieces slightly larger than what you’d ideally want to eat. Uniformity in size will also help ensure even cooking and crispness across the entire batch.
3. The Perfect Light and Even Oil Coating
When it comes to oil, less is often more. Too much oil will lead to greasy, rather than crispy, chips. The goal is a light, even coating on each leaf. Drizzle the specified amount of extra virgin olive oil over the dried kale in a large mixing bowl. Then, using your clean hands, gently massage the oil into every nook and cranny of the kale leaves. Ensure each piece has a thin, uniform layer of oil – this not only aids in crisping but also helps your seasonings adhere beautifully.
4. The Golden Rule: Single Layer Baking
This is another non-negotiable rule for perfectly crispy kale chips. The kale leaves must be arranged in a single layer on your baking sheets, with absolutely no overlapping. If pieces touch or are piled on top of each other, they will create steam, trapping moisture and resulting in soft, soggy spots. Depending on the size of your kale batch, this usually means utilizing two, or even three, large baking sheets. Ample air circulation around each leaf is the key to achieving that desired crispness.
5. Vigilant Monitoring During Baking
Kale chips can transition from perfectly crisp to sadly burnt in a matter of seconds. Keep a very close eye on them, especially during the final minutes of baking. They are ready when they are dry, brittle to the touch, and slightly darker green, but crucially, not browned or blackened. They should feel incredibly light and airy when done. Trust your senses – the look and feel are better indicators than a strict timer.
Elevate Your Snack: Creative Kale Chip Flavor Variations
While a simple sprinkle of sea salt yields a delightfully classic result, the beauty of homemade kale chips lies in their incredible versatility. Don’t hesitate to experiment with different seasonings to create flavors that perfectly match your cravings. Here are some fantastic ideas to get you started:
- Savory & “Cheesy”: For a delicious, dairy-free cheesy flavor, nutritional yeast is your secret weapon. After oiling, generously sprinkle with nutritional yeast, a pinch of garlic powder, and salt.
- Garlic & Herb Medley: Combine garlic powder, onion powder, and a blend of your favorite dried herbs such as oregano, thyme, or a hint of rosemary for an aromatic and savory profile.
- Spicy Kick: If you enjoy a bit of heat, a dash of cayenne pepper, chili powder, or smoked paprika will add a wonderful warmth and depth. Adjust the amount to suit your spice preference.
- Tangy Balsamic: For a sophisticated twist, lightly drizzle a high-quality balsamic vinegar or glaze over the oiled kale before baking. This adds a subtle tang and a hint of sweetness.
- Everything Bagel Seasoning: This popular blend, featuring sesame seeds, poppy seeds, dried garlic, and dried onion, is absolutely phenomenal on kale chips, offering a complex and satisfying flavor.
- Ranch Dressing Powder: As previously mentioned, a light dusting of your favorite store-bought or homemade ranch dressing powder delivers a familiar and utterly irresistible taste that kids and adults alike adore.
Remember to always apply dry seasonings after the kale has been oiled but before baking, ensuring they adhere well to the leaves. When using liquid seasonings like balsamic vinegar, do so sparingly to avoid reintroducing moisture that could hinder crisping.
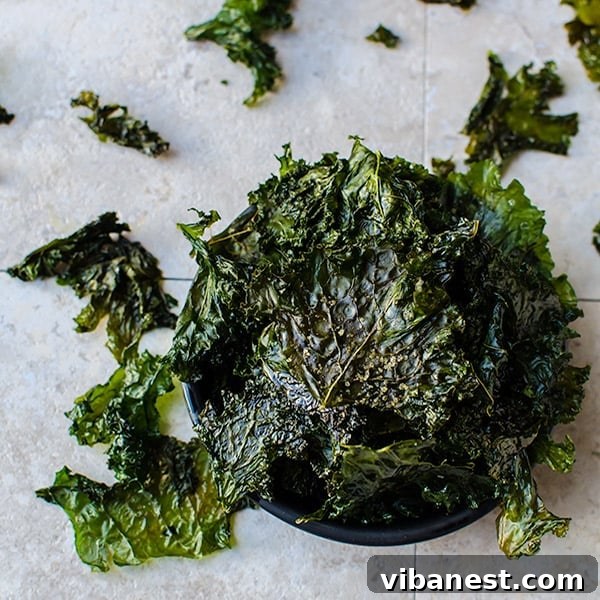
INGREDIENTS
- 1 large bunch (approximately 1 lb) curly kale, thoroughly washed, de-stemmed, and torn into bite-sized pieces
- 2 tablespoons extra virgin olive oil
- 1/2 teaspoon fine sea salt (or adjust to your taste preference)
- Optional Seasonings: 1/2 teaspoon garlic powder, 2 tablespoons nutritional yeast (for a cheesy flavor), a pinch of cayenne pepper for heat
DIRECTIONS
- Preheat your oven to 350 degrees F (175 degrees C). Prepare two large baking sheets by lining them with parchment paper. This aids in easy cleanup and prevents the kale from sticking.
- This step is absolutely critical: thoroughly wash and dry the kale. Use a salad spinner to remove most of the water, then spread the kale leaves on paper towels or a clean kitchen towel and gently pat them until they are completely dry. No moisture should remain!
- Place the dried, de-stemmed, and torn kale pieces into a large mixing bowl.
- Drizzle the olive oil over the kale. Using your clean hands, gently massage the oil into the kale, ensuring every single piece is lightly and evenly coated. This step is crucial for even crisping and for the seasonings to adhere.
- Sprinkle the salt (and any other desired optional seasonings like garlic powder, nutritional yeast, or cayenne pepper) over the oiled kale. Toss again gently to ensure the seasonings are distributed uniformly.
- Arrange the seasoned kale in a single layer across the two prepared baking sheets. It is essential not to overcrowd the sheets; ensure there is no overlapping whatsoever. This allows for proper air circulation, which is key to achieving maximum crispness.
- Bake for 10 to 15 minutes. Begin checking around the 10-minute mark, as ovens vary. The kale chips are done when they are dry to the touch, brittle, and slightly darker green but have not turned brown or burnt. They should feel incredibly light and airy.
- Remove the baking sheets from the oven and let the kale chips cool completely on the sheets. They will continue to crisp up as they cool down. Serve immediately and enjoy!
Troubleshooting Common Kale Chip Challenges
Even with the best intentions and careful adherence to the recipe, sometimes kale chips don’t turn out exactly as expected. Don’t fret! Here are common issues and how to troubleshoot them:
- Soggy Chips: The most frequent culprit is insufficient drying of the kale or overcrowding the baking sheets. Always ensure your kale is bone dry before oiling, and strictly adhere to the single-layer rule. Too much oil can also contribute to a greasy, soggy texture.
- Burnt Chips: This usually means your oven temperature is too high, or the chips were baked for too long. Monitor them closely, especially towards the end of the baking time. Consider slightly lowering your oven temperature and extending the baking duration if you frequently encounter burnt edges.
- Lack of Flavor: If your chips taste bland, you likely didn’t use enough seasoning, or it wasn’t distributed evenly. Make sure to thoroughly massage both the oil and seasonings into every piece of kale before baking.
Creative Serving Suggestions & Storage Tips
Once you’ve mastered the art of making perfectly crispy kale chips, you’ll discover countless delightful ways to enjoy them:
- As a Standalone Snack: They are utterly delicious on their own, a perfect guilt-free munchie any time of day.
- With Dips: Pair them with your favorite healthy dips like hummus, guacamole, or a creamy Greek yogurt dip for an added layer of flavor.
- Salad Crunch: Crumble them over your salads instead of traditional croutons for a nutrient-rich, satisfying crunch.
- Soup Garnish: A fantastic and flavorful garnish for creamy vegetable soups or hearty stews.
- Popcorn Booster: Mix them with freshly popped popcorn for a savory, textured, and incredibly healthy movie night upgrade.
Storing Your Crispy Creations
Kale chips are undeniably best enjoyed fresh from the oven, as their crispness is at its peak. However, if you do have leftovers, you can store them in an airtight container at room temperature for up to 2-3 days. To help revive their crispiness, you can briefly reheat them in a preheated oven (around 250°F or 120°C) for about 5-7 minutes, keeping a very close watch to prevent burning.
The Ultimate Healthy Snack Awaits You!
Transforming a simple bunch of kale into a crispy, flavorful, and incredibly healthy snack is not only easy but also immensely rewarding. With just a few basic ingredients and a mindful approach to preparation, you can effortlessly create a guilt-free treat that satisfies your savory cravings and simultaneously nourishes your body. It’s time to say goodbye to unhealthy, processed snacks and embrace the vibrant goodness of homemade crispy kale chips.
Don’t be afraid to experiment with different seasonings, share your delicious creations with family and friends, and make this versatile superfood snack a staple in your kitchen. Ready to ditch the deep fryer and discover the magic of oven-baked goodness? Follow this detailed recipe, apply our expert tips, and embark on your journey to perfect crispy kale chips today. Your taste buds, and your overall well-being, will undoubtedly thank you for it!