
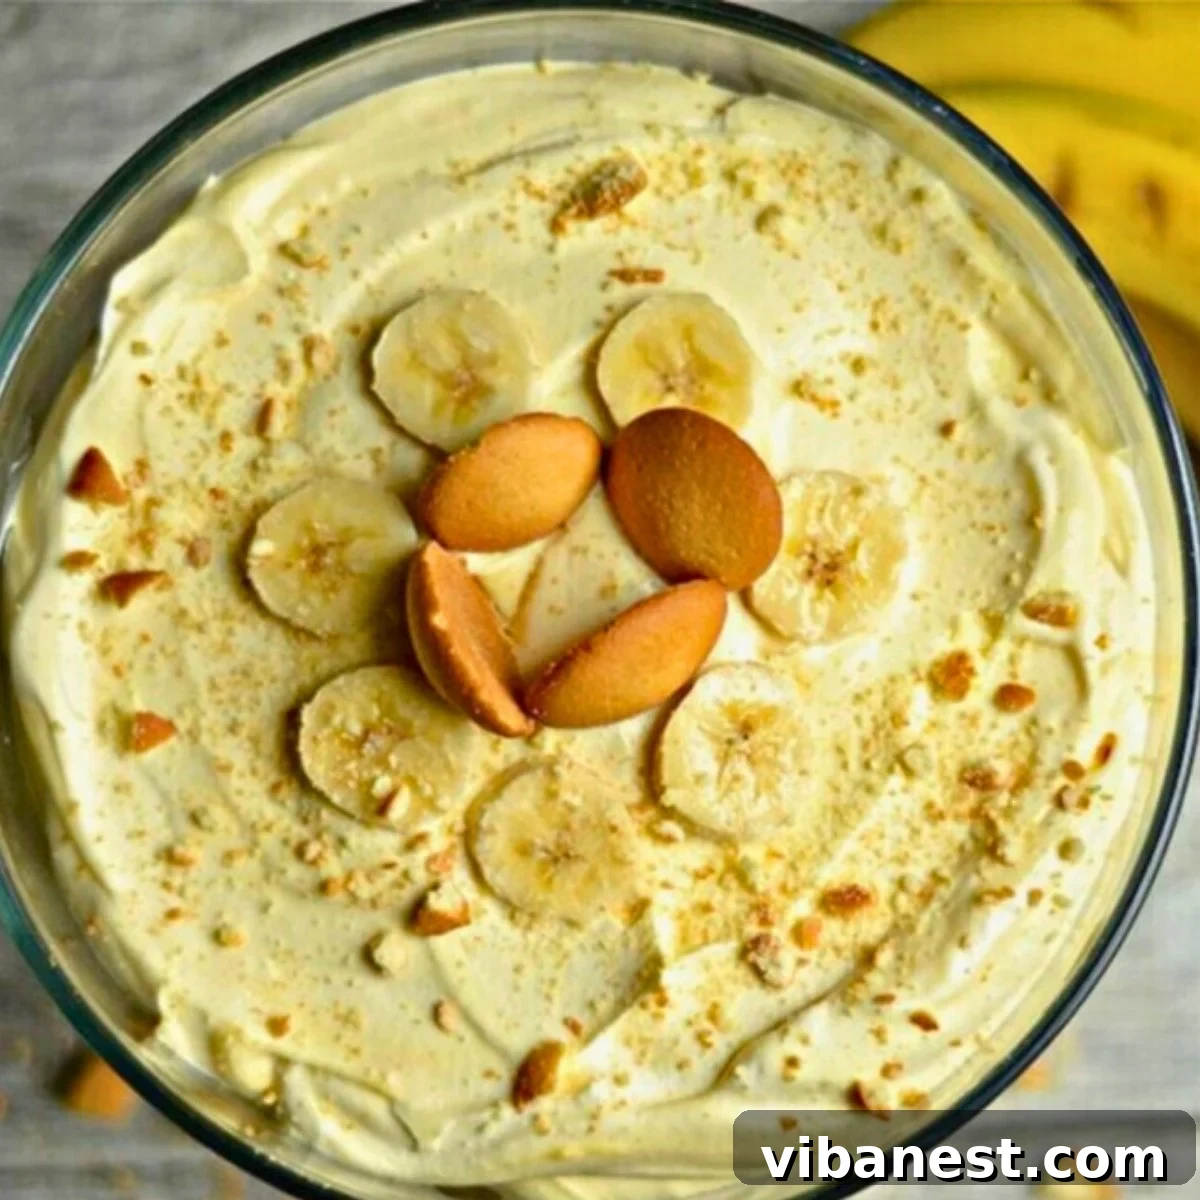
Experience the ultimate comfort dessert with this classic no-bake banana pudding. Layered with sweet vanilla wafers, fresh ripe bananas, and a rich, creamy pudding, it’s an effortlessly delicious treat perfect for any occasion!
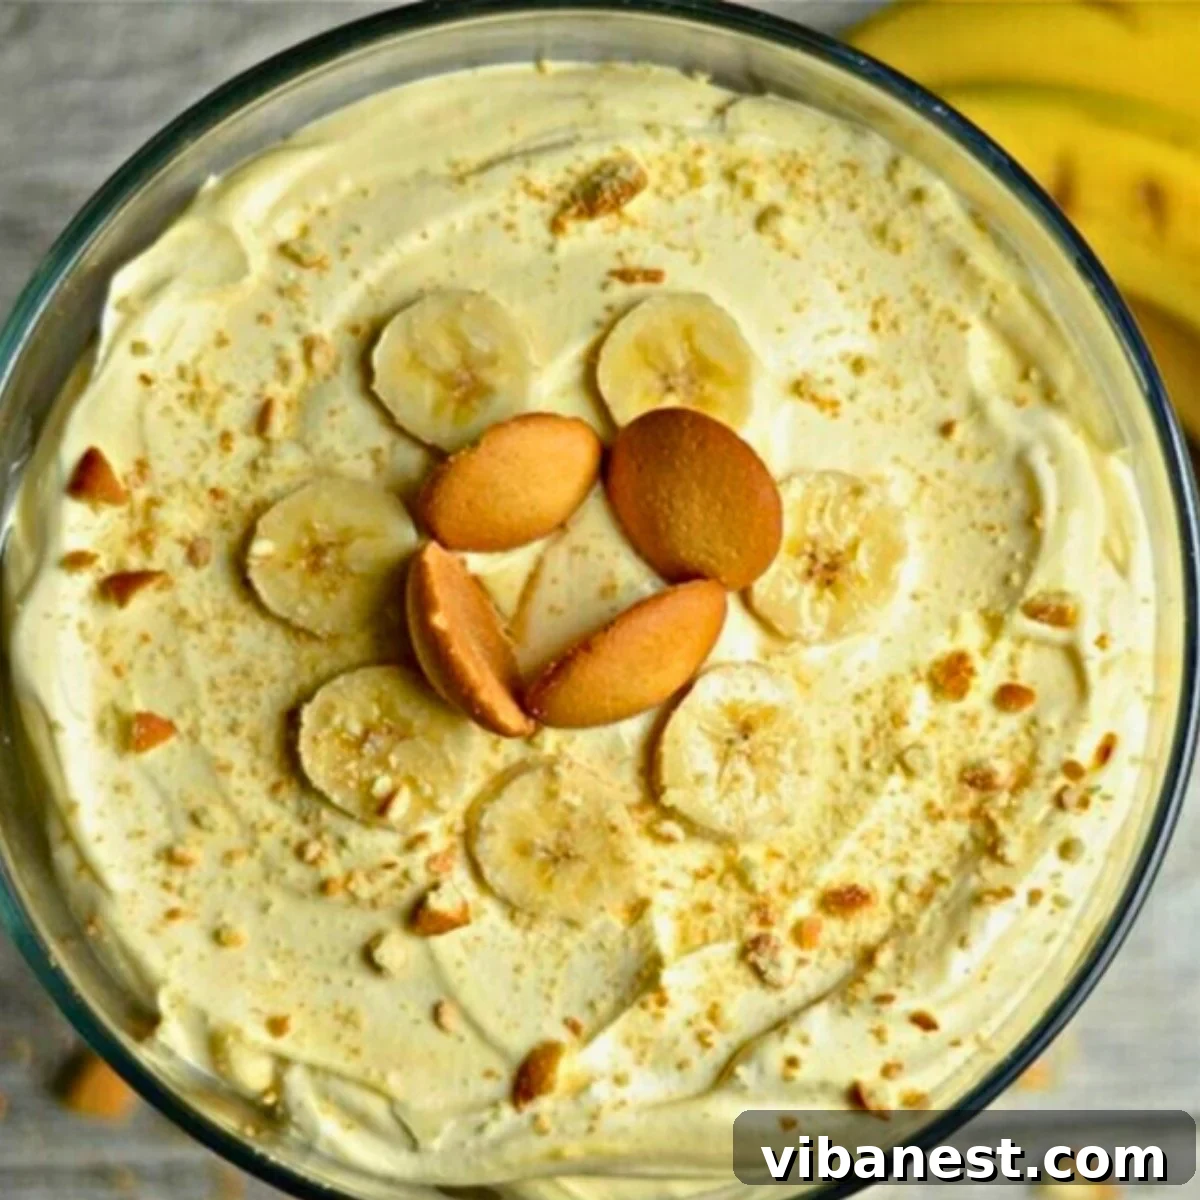
Pin this now to save it for later
Pin It Now
Classic Banana Pudding with Vanilla Wafers: The Ultimate No-Bake Dessert!

If you’re searching for a banana pudding recipe that embodies richness, creamy texture, and a comforting touch of nostalgia, your search ends here! This exquisite no-bake dessert masterfully layers perfectly ripe bananas, a luxuriously sweet vanilla pudding and whipped cream mixture, and crisp vanilla wafers. It’s a timeless Southern classic that has charmed taste buds for generations.
Whether you’re recreating a cherished childhood memory or inspired by the famous banana pudding from New York City’s Magnolia Bakery, this recipe delivers an authentic, homemade experience. It has become an undisputed favorite in my household, and I am confident it will soon earn a special place in yours too. The simplicity of its preparation combined with its profound flavor makes it a go-to dessert for family gatherings, potlucks, or simply a sweet indulgence on any day.
The beauty of this recipe lies in its elegant simplicity. No baking is required, making it an ideal dessert for warm weather or when you need a show-stopping treat without the fuss of an oven. Each spoonful offers a delightful medley of textures – the soft, sweet banana, the melt-in-your-mouth pudding, and the tender, cake-like vanilla wafers that soak up all the delicious flavors. It’s more than just a dessert; it’s an experience.
So, let’s embark on a delightful culinary journey to create the best classic banana pudding with vanilla wafers you’ll ever taste!
❤️ Ashley
Why This No-Bake Banana Pudding is a Must-Try
Beyond its delicious taste, this classic no-bake banana pudding offers several advantages that make it a standout dessert:
- Effortless Preparation: No need to turn on your oven! This recipe comes together quickly with minimal fuss, perfect for busy schedules or hot summer days.
- Crowd-Pleaser: Banana pudding is a universally loved dessert. Its comforting flavors and creamy texture appeal to all ages, making it ideal for parties, family dinners, or holiday gatherings.
- Simple Ingredients: You only need a handful of readily available ingredients, most of which you might already have in your pantry.
- Make-Ahead Friendly: This pudding requires chilling time, which means you can prepare it hours, or even a day, in advance, freeing up your time closer to serving.
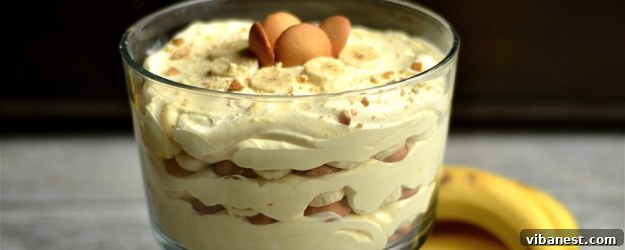
- Visually Stunning: When assembled in a trifle bowl or clear individual cups, the beautiful layers of wafers, bananas, and creamy pudding create an impressive presentation.
Essential Ingredients for Your Banana Pudding Masterpiece
To craft this decadent layered banana pudding dessert, you’ll need a collection of simple yet essential ingredients. Each component plays a vital role in achieving that classic, comforting flavor and irresistible texture. While not always pictured, remember that cold heavy whipping cream is absolutely crucial for the homemade whipped topping!
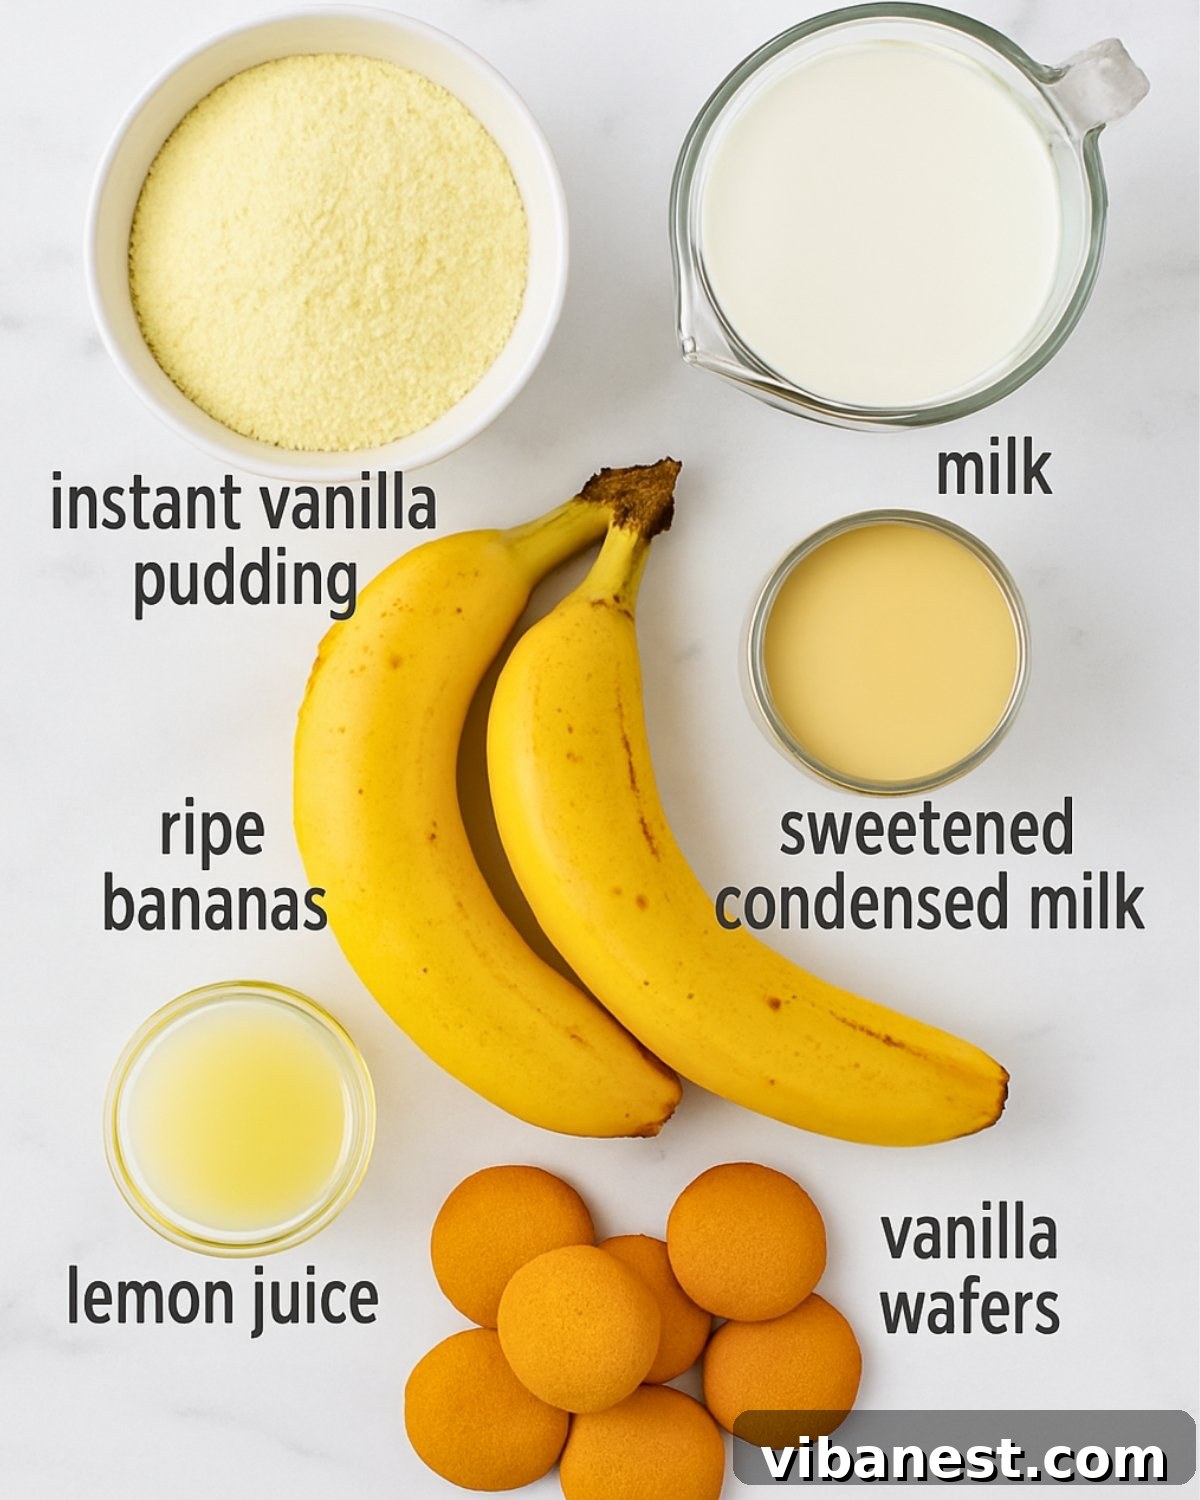
- Instant Vanilla Pudding Mix: This is the backbone of our creamy pudding layer. Ensure you use an *instant* variety, as cooked pudding will yield a different texture.
- Sweetened Condensed Milk: A magic ingredient that adds incredible sweetness, richness, and helps create that silky-smooth pudding consistency without cooking.
- Cold Milk (2% or Whole Milk): The colder the milk, the better it will combine with the pudding mix and condensed milk, ensuring a thick, smooth base. Whole milk offers the richest flavor.
- Heavy Whipping Cream: When whipped to stiff peaks and gently folded into the pudding, it transforms the texture into a light, airy, and incredibly luxurious cloud. Make sure it’s very cold!
- Ripe Bananas: The star of the show! Choose bananas that are ripe (yellow with a few brown spots) but still firm. Overripe bananas will become too mushy, while underripe ones lack sweetness.
- Lemon Juice: A small but mighty ingredient. Tossing your sliced bananas in lemon juice prevents them from browning, keeping your pudding looking fresh and appealing.
- Vanilla Wafers (Nilla Wafers): The classic choice for a reason. These crisp, buttery cookies soften beautifully as they absorb the pudding’s moisture, creating a cake-like texture that’s simply divine.
How to Assemble Your Irresistible Banana Pudding
A no-bake dessert is truly my favorite kind of treat! This recipe is incredibly straightforward, allowing you to achieve a gourmet-tasting dessert with minimal effort. Here’s a detailed overview of each step. The precise ingredient amounts can be found in the complete printable recipe card below.
- Prepare the Pudding Base: In a large mixing bowl, whisk together the instant vanilla pudding mix, sweetened condensed milk, and cold milk. Continue whisking vigorously for about 2-3 minutes until the mixture is smooth and begins to thicken. It won’t be fully set yet, but it should be uniform and slightly denser. Set this aside to allow it to firm up a little while you prepare the whipped cream.
- Whip the Cream to Perfection: For the best results, ensure your heavy whipping cream, mixing bowl, and beaters (or whisk attachment) are all thoroughly chilled. You can place the bowl and beaters in the fridge or freezer for 10-15 minutes prior to whipping. Pour the very cold heavy whipping cream into the chilled bowl and beat on high speed until stiff peaks form. This means the cream will hold its shape firmly when you lift the beaters. Once whipped, gently fold this airy cream into your prepared pudding mixture. Use a spatula to combine them with a light hand, preserving the volume of the whipped cream, until the mixture is light, fluffy, and perfectly blended.
- Prep the Bananas: You will need approximately four ripe, but still firm, bananas. Slice them into even, thin rounds. Immediately after slicing, gently toss them in a bowl with two tablespoons of fresh lemon juice. This essential step helps prevent the bananas from browning, keeping them looking fresh and appealing within your pudding layers.
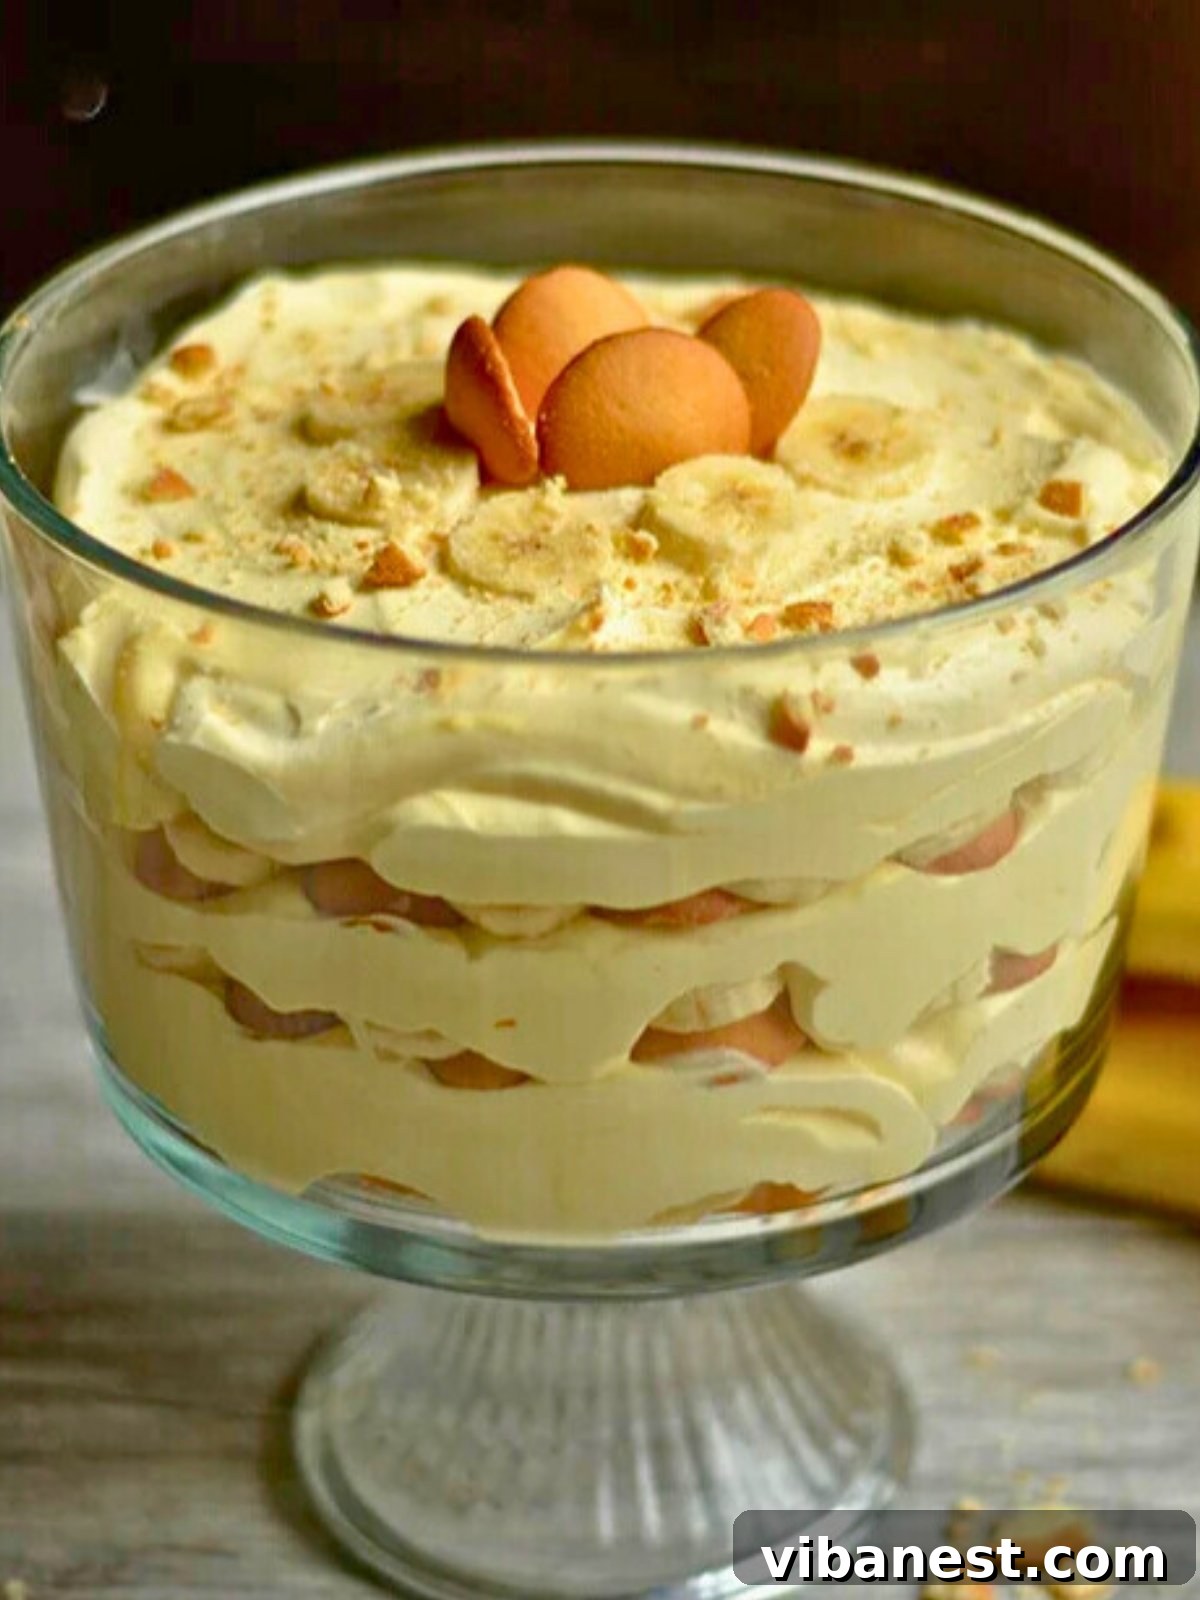
- Master the Assembly: Now for the fun part – layering! You can use a beautiful clear trifle bowl for a stunning presentation, a practical 9×13 inch baking pan for family-style serving, or even individual cups or mason jars for grab-and-go portions. The traditional layering order begins with a base of vanilla wafers. Arrange them snugly to cover the bottom of your dish. Next, place an even layer of your lemon-tossed sliced bananas over the wafers. Finish this layer sequence with a generous dollop and even spread of your creamy pudding mixture. Repeat these layers two to three more times, depending on the depth of your dish, ensuring you finish with a smooth, inviting layer of the pudding mixture on top.
- Garnish for Elegance: To enhance the visual appeal, consider garnishing the top of your banana pudding. A few whole vanilla wafers, carefully placed banana slices (again, tossed in lemon juice to prevent browning), or a sprinkle of crushed vanilla wafers all make for a beautiful presentation.
- Chill and Serve: Once assembled and garnished, cover your banana pudding tightly with plastic wrap to prevent a skin from forming and to keep it fresh. Refrigerate for at least 3-4 hours to allow the pudding to set completely, the flavors to meld beautifully, and the vanilla wafers to soften to that delightful, cake-like consistency. For the absolute best texture and flavor, chilling overnight is highly recommended. Always serve this delightful dessert cold.
Pro Tips for Perfect Banana Pudding
- Bananas are Key: Always use ripe but firm bananas. They should be bright yellow with a few small brown specks, indicating sweetness without being mushy. Green bananas lack flavor, while overly soft ones will turn to liquid in the pudding.
- Don’t Skip the Lemon Juice: This step is non-negotiable! Tossing your banana slices with lemon juice is the most effective way to prevent them from oxidizing and turning brown, ensuring your pudding looks as good as it tastes.
- Shortcut Option (Cool Whip): If you’re short on time or prefer a lighter consistency, you can swap the homemade whipped cream for an equal amount of thawed Cool Whip. While it won’t have the same rich flavor and texture as fresh whipped cream, it’s a convenient alternative that still delivers delicious results.
- Chilled Tools for Whipped Cream: For super fluffy whipped cream that holds its shape, place your mixing bowl and beaters in the freezer for 10-15 minutes before whipping the heavy cream.
- Gentle Folding: When combining the whipped cream with the pudding base, use a gentle folding technique to incorporate them without deflating the airy whipped cream. This ensures your pudding remains light and cloud-like.
- Adequate Chilling Time: Resist the urge to serve too soon! A minimum of 3-4 hours chilling is necessary for the pudding to set, the flavors to meld, and the wafers to soften. Overnight chilling yields the best results.
Serving and Storing Your Delicious Banana Pudding
I genuinely hope this classic banana pudding with vanilla wafers brings a wonderful sense of comfort and nostalgia to your home, just as it consistently does for me! It’s wonderfully simple, incredibly creamy, requires no baking, and is always a beloved favorite.
- Proper Storage: Leftover banana pudding should be covered tightly with plastic wrap or stored in an airtight container and kept refrigerated. It will remain delicious for up to 3 days. It’s important to note that the bananas will continue to soften over time, and a slight browning may occur even with lemon juice, but this will not detract from its delightful taste.
- Serving Suggestions: For optimal enjoyment, always serve banana pudding chilled. It tastes best after it’s had at least a few hours (or preferably overnight) to chill thoroughly, allowing all the flavors to deepen and the textures to meld. I particularly love using a clear trifle dish because it beautifully showcases the inviting layers of wafers, bananas, and creamy pudding. For a special touch, consider garnishing with a few extra vanilla wafers or a sprinkle of cinnamon just before serving.
For versatile and convenient servings, you can also opt for individual portions. Layer the pudding into charming mason jars or clear plastic cups. These are perfect for parties, picnics, or simply as easy grab-and-go treats for lunchboxes or afternoon snacks. They also make for an adorable presentation!
If you decide to try this delightful recipe, please don’t hesitate to let me know your thoughts. I truly cherish hearing from you and seeing your creations! Enjoy every creamy, dreamy bite!
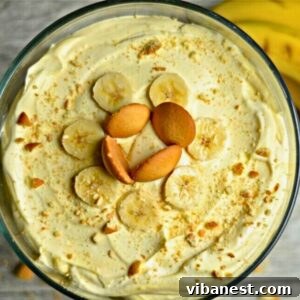
Classic No-Bake Banana Pudding
This layered Banana Pudding dessert is the ULTIMATE crowd pleaser! So delicious and so easy to make, perfect for any occasion, reminding you of a Southern classic.
Prep Time: 10 minutes
Total Time: 10 minutes (plus minimum 3-4 hours chilling time)
Servings: 12
Pin for Later
Ingredients
- 1 (3.4oz) box instant vanilla pudding mix
- 1 (14oz) can sweetened condensed milk
- 1 ½ cups cold milk (2% or whole milk recommended)
- 3 cups heavy whipping cream, very cold
- 4 ripe but firm bananas
- 2 tablespoons fresh lemon juice
- 12 ounces vanilla wafers (such as Nilla Wafers)
Instructions
- Make the pudding base: In a large mixing bowl, whisk together the instant vanilla pudding mix, sweetened condensed milk, and cold milk until smooth and slightly thickened. This should take about 2-3 minutes of vigorous whisking. Set aside.
- Whip the cream: In a separate, very cold mixing bowl, using chilled beaters, beat the heavy whipping cream on high speed until stiff peaks form. The cream should hold its shape when you lift the beaters. Gently fold this whipped cream into the chilled pudding mixture until it’s light, airy, and evenly combined. Be careful not to deflate the whipped cream.
- Prepare the bananas: Slice the 4 ripe bananas into thin, even rounds. Immediately toss the banana slices with the 2 tablespoons of lemon juice in a separate bowl. This crucial step helps prevent the bananas from browning prematurely.
- Assemble the pudding: In a trifle bowl, a 9×13 inch baking pan, or individual serving cups, begin layering the ingredients. Start with a single layer of vanilla wafers at the bottom of your dish. Next, add an even layer of the lemon-tossed banana slices. Follow this with a generous layer of the pudding-whipped cream mixture, spreading it evenly. Repeat these layers two more times, or until all ingredients are used, ensuring the final layer on top is the creamy pudding mixture.
- Garnish and chill: For an appealing finish, you can garnish the top with a few extra whole vanilla wafers or additional banana slices (tossed in lemon juice). Cover the assembled pudding tightly with plastic wrap and refrigerate for at least 3-4 hours before serving. For the best texture and appearance, ideally chill overnight.
- Serve Cold: Always serve the banana pudding cold for the most refreshing and delightful experience. The pudding will last 2-3 days in the fridge, but bananas may soften and brown slightly over time.
Mention @CenterCutCook and tag #CenterCutCook!
Frequently Asked Questions (FAQ)
- Can I use regular cooked pudding instead of instant?
No, for this no-bake recipe, instant pudding is crucial. Cooked pudding will have a different consistency and won’t set up properly without baking, which defeats the purpose of a “no-bake” dessert. - How do I ensure my bananas don’t brown?
Tossing your sliced bananas immediately with lemon juice is the most effective method. The acidity of the lemon juice acts as a natural preservative, slowing down the oxidation process. While they might still show slight browning after a day or two, it will be significantly minimized. - Can I make this banana pudding ahead of time?
Absolutely! In fact, this dessert benefits from chilling for at least 3-4 hours, and ideally overnight. This allows the flavors to fully develop and the vanilla wafers to soften, creating that wonderful cake-like texture. However, for the freshest appearance of bananas, consuming within 24-48 hours is best. - Can I freeze banana pudding?
Freezing banana pudding is generally not recommended. The texture of the bananas can become watery and mushy upon thawing, and the creamy pudding might separate. It’s best enjoyed fresh from the refrigerator. - What if my pudding mixture is too thin?
Ensure you’re using cold milk and that your instant pudding mix hasn’t expired. Whisking vigorously for the full 2-3 minutes is also important. If after folding in the whipped cream it still seems a bit thin, you can try chilling the mixture alone for 30 minutes before assembling. - Can I use other types of cookies?
While vanilla wafers are traditional and highly recommended for their specific texture when softened, you can experiment with other plain, crisp cookies like shortbread cookies or even graham crackers for a different flavor profile. - Are there any variations I can try?
Certainly! For a chocolate banana pudding, you could use instant chocolate pudding mix and add chocolate chips. A sprinkle of cinnamon or nutmeg can enhance the warm, comforting flavors. Some people like to add a drizzle of caramel sauce or toasted pecans for extra decadence.
Recipe adapted from: Magnolia Bakery Cookbook