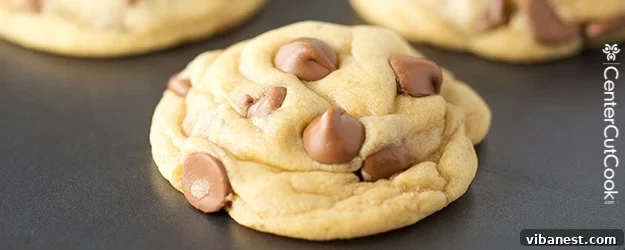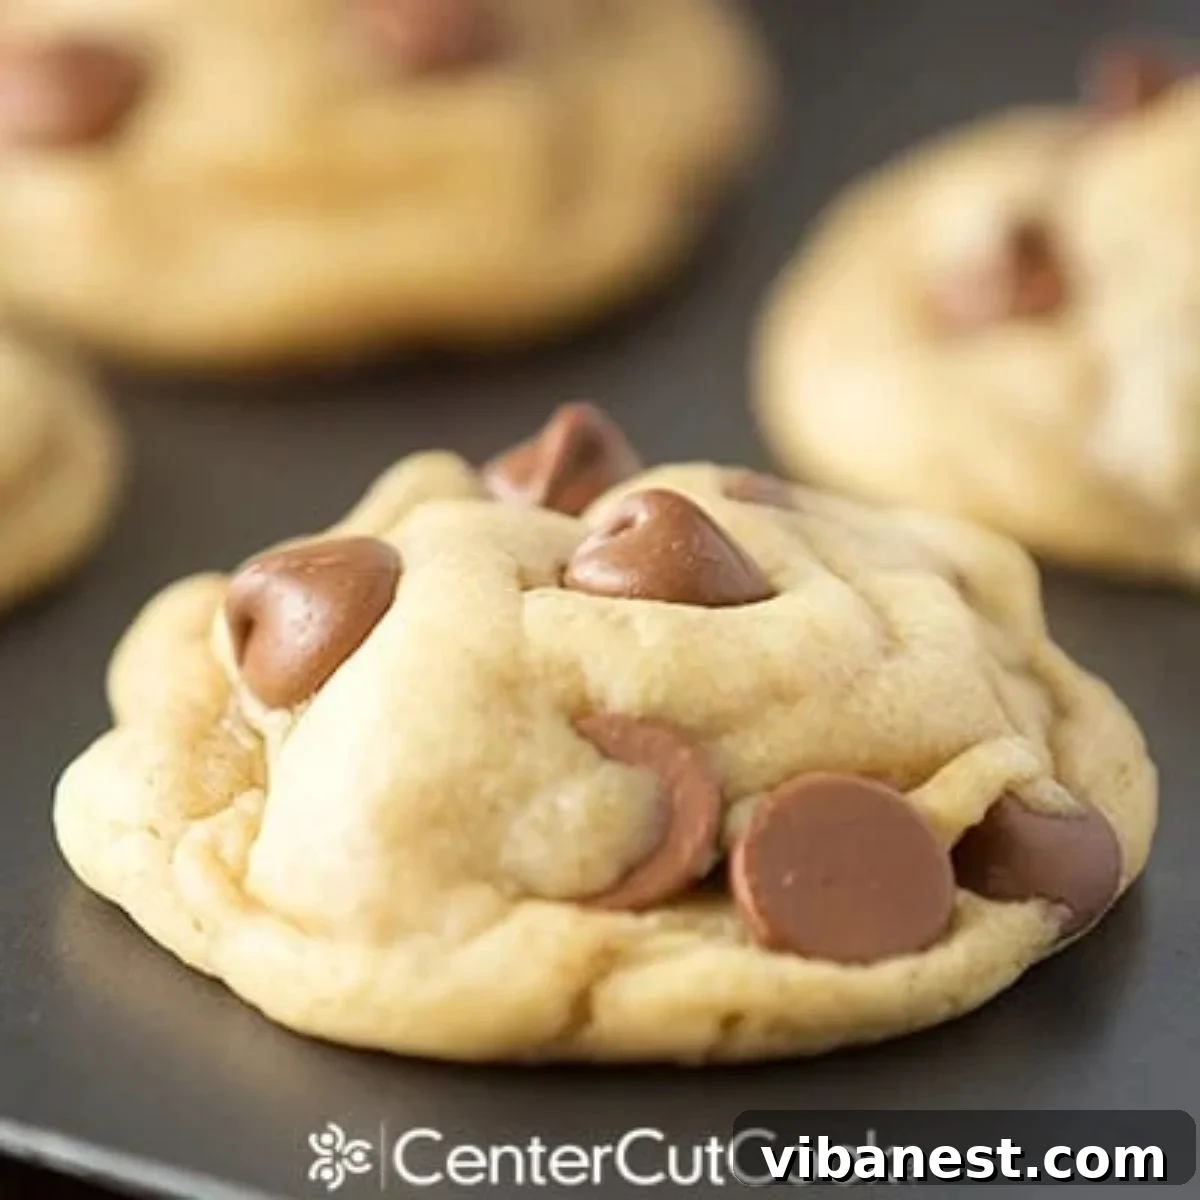
Are you on an endless quest for the perfect chocolate chip cookie? The kind you find in charming cafes and artisan bakeries – thick, wonderfully soft, and delightfully chewy, seemingly impossible to recreate in your home kitchen? Your search ends here. After years of testing countless recipes, I’ve finally uncovered the secret to truly outstanding chocolate chip cookies, and I’m thrilled to share it with you. Prepare to bake the cookies of your dreams!
The Quest for the Ultimate Chocolate Chip Cookie
For far too long, achieving that coveted bakery-style chocolate chip cookie seemed like a distant dream. Many homemade versions fall short, often ending up too thin, too crispy, or lacking that signature gooey center. I’ve spent countless hours sifting through recipes, experimenting with different ratios, and tweaking techniques, always chasing that elusive perfect texture. There were moments of despair when I thought it was an unattainable goal, a culinary myth reserved only for professional bakers. But then, a breakthrough! I stumbled upon a method that consistently delivers cookies that are not just good, but truly phenomenal. This isn’t just another cookie recipe; it’s the culmination of a dedicated pursuit for buttery, chocolatey perfection that you can now enjoy anytime.
The Secret to Perfection: Key Ingredients and Techniques
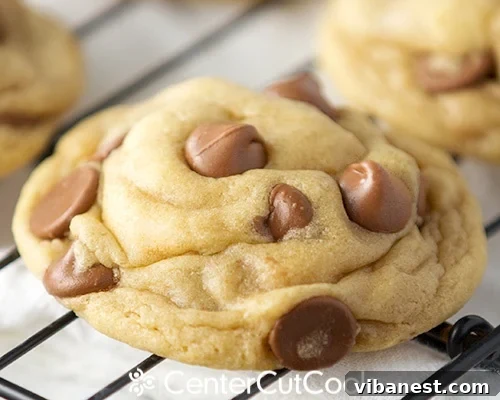
What makes these chocolate chip cookies stand head and shoulders above the rest? It boils down to a few critical ingredients and techniques that fundamentally alter the dough’s structure and the final cookie’s texture. Forget everything you thought you knew about traditional cookie baking; we’re breaking some rules for a truly superior result.
The Magic of Melted Butter
Unlike most cookie recipes that call for softened butter, this recipe insists on melted butter. This subtle change makes a world of difference. Softened butter typically creates air pockets when creamed with sugar, resulting in a lighter, sometimes cakier cookie. Melted butter, however, saturates the sugars more completely, leading to a denser, chewier texture. It also helps to prevent the cookies from spreading too rapidly in the oven, contributing to that desirable thick profile. Using melted butter is a foundational step that sets these cookies apart, ensuring they achieve that rich, almost caramel-like depth of flavor and a wonderfully fudgy interior.
The Indispensable Chill Time
I know, I know. Waiting for cookie dough to chill can feel like an eternity, especially when the craving strikes. But in this recipe, chilling the dough is not merely a suggestion; it’s an absolute requirement. This crucial step serves multiple purposes: it solidifies the melted butter, preventing excessive spreading during baking, and it allows the flour to fully hydrate, resulting in a more tender and cohesive dough. More importantly, chilling gives the flavors time to meld and deepen, transforming simple ingredients into a complex, nuanced treat. Skipping this step will compromise the texture, leading to thinner, less chewy cookies. Trust the process – patience truly pays off here, yielding cookies with unparalleled depth and chewiness.
Unlocking Chewiness with Cornstarch
Have you heard about the rising star in the world of chewy cookie secrets? It’s cornstarch! Just a teaspoon and a half of this unassuming pantry staple works wonders, transforming ordinary cookie dough into something magically chewy and tender. Cornstarch is a thickening agent that, when added to cookie dough, helps to create a softer crumb and prevents the formation of excessive gluten, which can make cookies tough. It also helps to absorb moisture, leading to that coveted moist, melt-in-your-mouth texture that defines truly exceptional chocolate chip cookies. I first experimented with this method while developing these delightful Chewy Butterfinger Cookies, and the results were so impressive, it immediately became a staple in my chocolate chip cookie arsenal.
Crafting Bakery-Style Cookies at Home
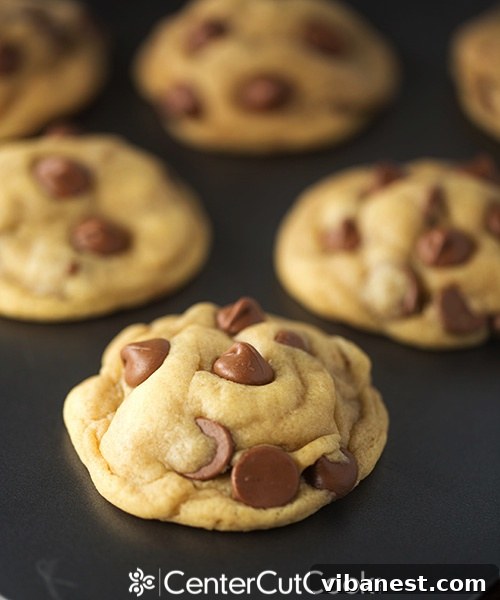
Beyond the ingredients and chilling, there are specific techniques in forming and baking these cookies that are essential to replicating that professional, artisanal look and feel.
Sizing Up: Creating Generously Portioned Cookies
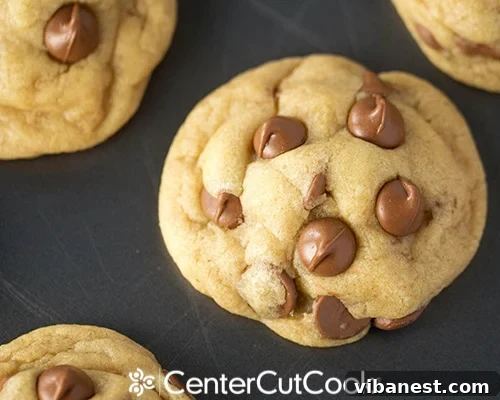
These aren’t your average bite-sized cookies; they are gloriously, wonderfully HUGE. While my trusty one-tablespoon cookie scoop is a go-to for most recipes, it simply won’t do for these giants. Each cookie requires a generous three tablespoons of dough. You’ll notice the dough has a much firmer consistency than what you might be accustomed to. After its extended chill in the refrigerator, it will be quite solid. Even after letting it soften slightly at room temperature, it will remain firm and not scoopable. Don’t be discouraged if it feels challenging to work with initially; you absolutely can form it into perfect balls with your hands. This extra effort in shaping is an integral part of their thick, substantial final form.
The Art of Perfect Placement
Given their impressive size, adequate spacing on your baking sheets is paramount. These cookies need plenty of room to expand without merging into one giant, delicious blob. I typically fit only about six cookies on each of my large baking sheets. Giving them ample space ensures even baking and prevents them from melding together, allowing each cookie to develop its perfect, individual shape and crispy edges.

The Finishing Touch: Extra Chocolate Chips
Want to elevate your cookies from homemade delicious to professional masterpiece? Before baking, gently press a few additional chocolate chips onto the top and sides of each dough ball. As the cookies bake, these strategically placed chips will melt beautifully, creating those iconic pools of chocolate on the surface that make bakery cookies so visually appealing and irresistible. This simple trick makes all the difference in their presentation.
Baking to Golden Perfection (and Beyond!)
The baking process for these cookies is just as unique as their preparation. You don’t need fancy equipment; these cookies come together beautifully without a stand mixer or a hand mixer. Simple whisking and a wooden spoon are all you require, making them accessible to any home baker.
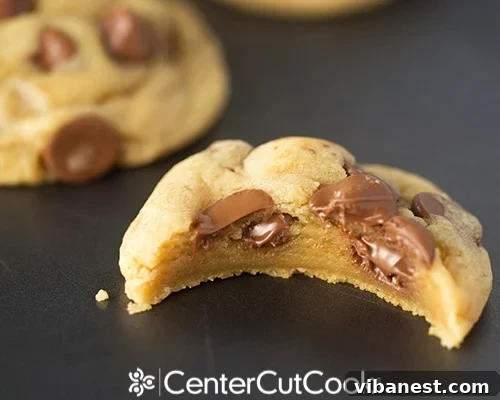
When it comes to oven time, be prepared to embrace the art of “under-baking.” These cookies are designed to be pulled from the oven when they still look slightly undone, appearing super soft and perhaps even a bit gooey in the center. This is exactly what you want! The residual heat from the baking sheet will continue to cook them gently as they cool, a process known as “carry-over baking.” This ensures they remain incredibly soft, chewy, and moist, firming up just enough to hold their shape without becoming dry or brittle. If you bake them until they look fully golden and set in the oven, you’ll miss out on that ultimate soft-chewy texture.
Allow them to cool on the baking sheet for about 10 minutes before carefully transferring them to a wire rack to finish cooling completely. This initial cooling period on the warm sheet helps them set and prevents them from falling apart when moved.
Essential Tips for Chocolate Chip Cookie Success
- Quality Matters: Use good quality chocolate chips. Milk chocolate creates a classic sweet profile, but a mix of milk, semi-sweet, or even dark chocolate chunks can add complexity.
- Don’t Rush the Chill: As emphasized, the chill time is non-negotiable. For best results, consider chilling overnight.
- Parchment Paper is Your Friend: Always line your baking sheets with parchment paper. It prevents sticking and aids in even baking and easy removal.
- Even Baking Temperature: Ensure your oven is fully preheated to the correct temperature. An oven thermometer can be a valuable tool.
- Storage: Once completely cooled, store these cookies in an airtight container at room temperature for up to 7 days. They remain wonderfully fresh and soft, although good luck making them last that long!
- Freezing Dough: For future cravings, portion the chilled dough into balls, place them on a parchment-lined baking sheet, and freeze until solid. Transfer to a freezer-safe bag for up to 3 months. When ready to bake, place frozen dough balls on a baking sheet and add 2-3 minutes to the bake time.
From this recipe, you’ll yield approximately 16 generously sized, irresistibly soft, and perfectly chewy cookies. If you prefer smaller cookies, simply use two tablespoons of dough per cookie and adjust the baking time to about 10 minutes, still ensuring they appear slightly under-baked when removed from the oven. These cookies are not just a dessert; they’re an experience – a warm, comforting hug in edible form. Enjoy them with a cold glass of milk, alongside your morning coffee, or as a decadent treat with a scoop of vanilla ice cream. They are truly the best chocolate chip cookies you will ever make!
Perfect Chocolate Chip Cookies
Ingredients
- 2 1/4 cups all-purpose flour
- 1 tsp baking soda
- 1 1/2 tsp cornstarch
- 1/2 tsp salt
- 3/4 cup packed brown sugar
- 1/2 cup granulated sugar
- 3/4 cup unsalted butter melted
- 1 large egg
- 1 large egg yolk
- 1 tbsp vanilla extract
- 1 cup milk chocolate chips plus additional for garnish
Instructions
-
In a large bowl, sift together flour, baking soda, cornstarch, and salt.
-
In a medium bowl, whisk together brown sugar, granulated sugar, and melted butter until the sugars have dissolved into the butter. Add in the egg and egg yolk, and whisk well. Then add in vanilla extract.
-
Pour the wet ingredients into the dry. Use a large wooden spoon to combine the ingredients until just incorporated. Fold in milk chocolate chips.
-
Place the dough in a large bowl, cover tightly with plastic wrap, and chill in the refrigerator for at least 3 hours. For the best results, I recommend chilling the dough overnight.
-
When you’re ready to bake, pre-heat your oven to 325°F (160°C). Pull the dough out of the fridge and let it sit at room temperature for about 10 minutes to slightly soften.
-
Line baking sheets with parchment paper. The dough will be firm and a bit challenging to work with, but this is normal.
-
Use 3 tablespoons of dough for each cookie. Use your hands to firmly form the dough into uniform balls. Press a few additional chocolate chips onto the top of each dough ball for a professional appearance.
-
Place the cookie dough balls a good amount of space apart on the baking sheets. I typically fit about 6 cookies per large baking sheet to prevent them from spreading into each other.
-
Bake for 11-12 minutes. The cookies will appear visibly under-baked and very soft when you pull them from the oven. This is intentional and crucial for their soft, chewy texture.
-
Allow the cookies to cool on the baking sheets for about 10 minutes before carefully transferring them to wire cooling racks to finish cooling completely. They will firm up as they cool.
-
These cookies will stay fresh and delicious in an airtight container for about 7 days. This recipe yields approximately 16 large cookies. If you prefer to make them a bit smaller, use 2 tablespoons of dough per cookie and reduce the baking time to 10 minutes.
This recipe was inspired by this recipe from Annie’s Eats, and slightly adapted from Sally’s Baking Addiction with a similar version from America’s Test Kitchen.