
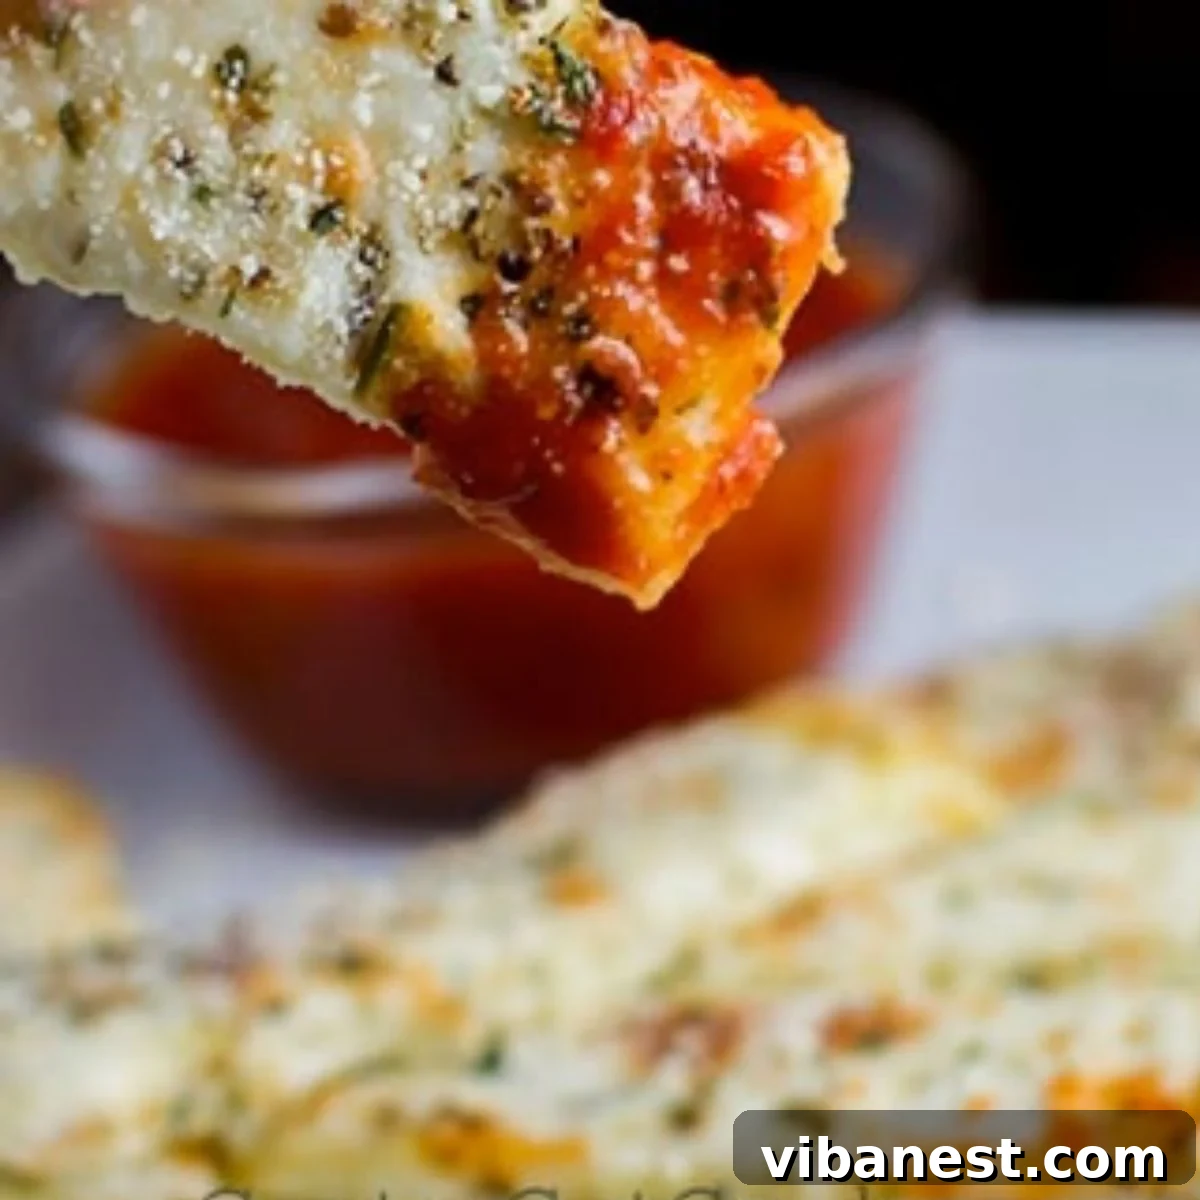
Irresistible Cheesy Cauliflower Breadsticks: Your New Low-Carb Obsession
Prepare to have your perception of healthy eating completely transformed as we introduce you to the truly remarkable Cheesy Cauliflower Breadsticks. If you’re currently navigating the exciting world of low-carb or ketogenic diets, or simply seeking delicious, gluten-free, and grain-free alternatives, these “bread” sticks are about to become your new favorite obsession. Forget everything you thought you knew about cauliflower; it’s about to step into the spotlight as a culinary superstar, proving that healthy eating can indeed be utterly delicious and profoundly satisfying.
Many of us have been skeptical about cauliflower-based dishes, especially when it comes to mimicking carb-heavy favorites like pizza crust or breadsticks. I confess, I was once a doubter myself. The idea that cauliflower could possibly pass as a decent crust, let alone a delectable one, seemed too good to be true. I even tried cauliflower pizza several months ago and initially dismissed it, fearing disappointment. However, a persistent curiosity eventually led me to experiment further, and the results were nothing short of astonishing. I discovered that cauliflower isn’t just a passable substitute; it’s an incredible ingredient in its own right, capable of creating textures and flavors that rival traditional options. These breadsticks are a testament to that revelation, and I’m confident you’ll adore them as much as I do.
The beauty of these Cheesy Cauliflower Breadsticks lies not only in their incredible taste and texture but also in their versatility and health benefits. They cater perfectly to a variety of dietary needs, making them an inclusive option for gatherings or a guilt-free treat for yourself. Get ready to embark on a culinary journey that redefines what low-carb can taste like – prepare to be genuinely impressed!
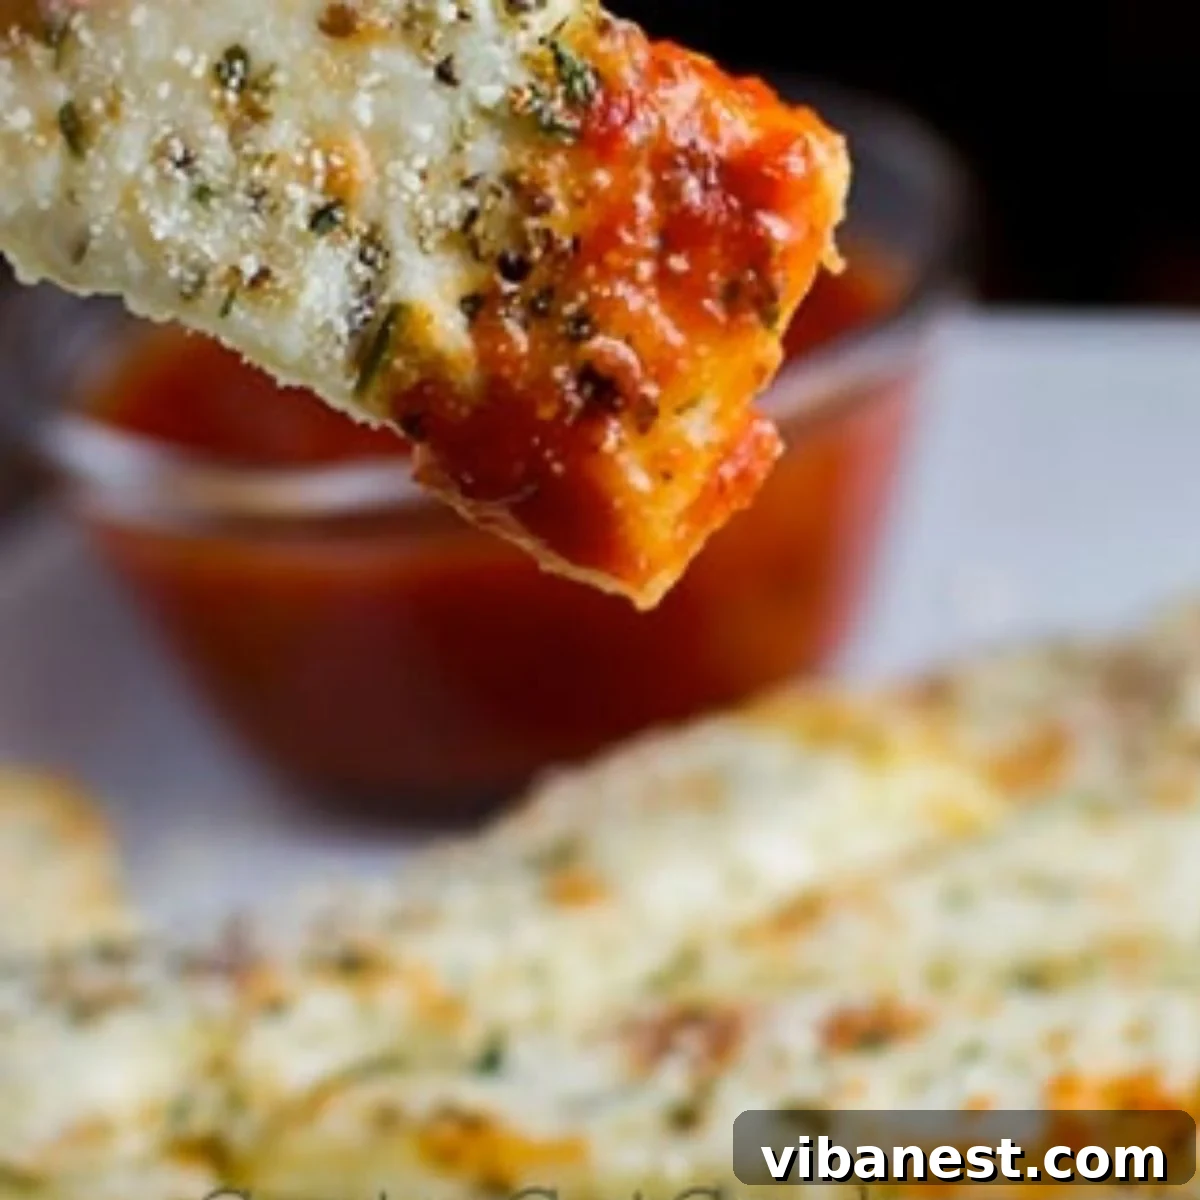
Why You’ll Love These Cauliflower Breadsticks
These Cheesy Cauliflower Breadsticks are more than just a recipe; they’re a revelation for anyone seeking flavorful and healthy alternatives. Here’s why they deserve a permanent spot in your recipe rotation:
Low-Carb and Keto-Friendly Perfection
For those committed to a low-carb or ketogenic lifestyle, finding satisfying, savory snacks can often be a challenge. These breadsticks are a game-changer. By cleverly utilizing cauliflower as the base, we eliminate the high carbohydrate content typically found in traditional bread, allowing you to enjoy a cheesy, garlicky treat without compromising your dietary goals. They fit perfectly within your daily macros, providing a delightful way to stay on track.
Gluten-Free and Grain-Free Delight
Whether you have celiac disease, gluten sensitivity, or simply prefer to avoid grains, these breadsticks offer a fantastic solution. Free from gluten and grains, they provide a safe and delicious option for everyone at the table. You no longer have to miss out on the joy of dipping a warm, cheesy breadstick into your favorite marinara sauce.
Incredibly Delicious and Satisfying
Don’t let the word “cauliflower” fool you – these breadsticks are packed with flavor. The mild taste of cauliflower provides a perfect canvas for savory seasonings and an abundance of melty mozzarella cheese. The result is a crispy exterior with a tender, cheesy interior that will surprise and delight your taste buds. They’re so good, you might even forget they’re made from a vegetable!
Versatile Snack or Side Dish
These cauliflower breadsticks are incredibly versatile. Serve them as an appetizer at your next party, a healthy snack for movie night, or a delicious side dish alongside a hearty low-carb soup or salad. They pair perfectly with warm marinara, but don’t hesitate to experiment with other dips like ranch dressing, garlic aioli, or even a spicy buffalo sauce.
The Magic Behind Cauliflower as a Bread Substitute
So, what makes cauliflower such a phenomenal stand-in for traditional bread? It’s all about its unique properties and how it transforms with the right preparation.
Firstly, when riced and cooked, cauliflower adopts a neutral flavor profile that readily absorbs the seasonings and cheese you add to it. This allows the savory Italian herbs and rich mozzarella to truly shine, creating a taste experience that is far from bland. Secondly, and perhaps most importantly, its texture is incredibly adaptable. When steamed and, critically, thoroughly drained, riced cauliflower can be pressed and baked to form a crust that is surprisingly sturdy, yet tender on the inside, with wonderfully crispy edges. The egg acts as a binder, while the cheese contributes to both flavor and structural integrity, giving you a cohesive “dough” that holds up beautifully.
Beyond its culinary versatility, cauliflower is also a nutritional powerhouse. It’s rich in vitamins C and K, a good source of fiber, and contains various antioxidants. Swapping traditional bread for cauliflower breadsticks means you’re not just cutting carbs; you’re also adding valuable nutrients to your diet, making this a truly winning combination for health and taste.
Essential Ingredients for Perfect Cheesy Cauliflower Breadsticks
Crafting these delectable low-carb breadsticks requires just a few simple ingredients, with cauliflower proudly taking center stage. Here’s a closer look at what you’ll need and why each component is essential:
The Star: Cauliflower
You’ll need one medium to large head of fresh cauliflower. While you can certainly buy pre-riced cauliflower in the frozen or produce section of most grocery stores, ricing it yourself ensures optimal freshness and control over consistency. If using frozen, make sure to thaw it completely and drain it exceptionally well, as frozen cauliflower tends to retain more moisture. For fresh cauliflower, aim for about 4 cups of “rice” from an average head.
Ricing Methods:
- Food Processor: Wash and dry the cauliflower, then cut it into florets, removing the core. Pulse the florets in a food processor until they resemble grains of rice. Be careful not to over-process, or you’ll end up with a puree.
- Box Grater: A simple box grater works wonderfully. Use the medium-sized holes to grate the cauliflower florets until you achieve a rice-like texture.
- Knife: For those without specialized equipment, a sharp knife can be used to finely chop the florets into small, rice-sized pieces. This method takes a bit more time but yields excellent results.
The Binder: Egg
A single, slightly beaten egg is crucial for binding the cauliflower “dough” together. It acts as a natural adhesive, ensuring that your breadsticks maintain their shape during baking and don’t crumble apart. Without the egg, the mixture would lack cohesion and result in a much looser, less satisfying texture.
The Flavor Factor: Mozzarella Cheese
Two cups of shredded mozzarella cheese are divided for this recipe. Mozzarella is chosen for its excellent melting properties, mild flavor, and delightful stretch when warm. Half of the cheese is mixed into the cauliflower dough, adding richness and helping with the binding, while the other half is sprinkled on top during the second bake to create that irresistible golden, bubbly, cheesy crust. Feel free to experiment with a blend of mozzarella and a touch of Parmesan for an extra depth of flavor.
Aromatic Seasonings
These simple seasonings elevate the flavor of your breadsticks from good to extraordinary:
- Dried Oregano (1 tsp): Provides a classic Italian herbaceous note.
- Dried Basil (1 tsp): Adds a sweet and savory aroma, complementing the oregano.
- Salt (¼ tsp): Enhances all the other flavors.
- Italian Seasoning (½ tsp): A blend of herbs that reinforces the authentic Italian taste, perfect for the final cheesy topping.
For an extra kick, consider adding a pinch of garlic powder or onion powder to the dough, or a tiny sprinkle of red pepper flakes for a subtle heat.
The Perfect Companion: Marinara Sauce
No breadstick is complete without a delicious dipping sauce! A warm marinara sauce is the traditional choice, offering a tangy, savory counterpoint to the cheesy breadsticks. You can use your favorite store-bought brand or prepare a simple homemade version. Just ensure it’s heated through for the best dipping experience.
Step-by-Step Guide: How to Craft Your Own Cauliflower Breadsticks
Making these cheesy cauliflower breadsticks is a straightforward process, but a few key steps are essential for achieving that perfect crispy texture. Follow these instructions carefully, and you’ll be enjoying a batch of irresistible low-carb delights in no time!
1. Preparing the Cauliflower (The Foundation)
Begin by ricing your cauliflower. As detailed above, you can use a food processor, box grater, or a knife to achieve a rice-like consistency. An average head of cauliflower should yield approximately 4 cups of cauliflower “rice.” Once riced, transfer it to a large saucepan with about an inch of water. Bring the water to a boil, then add the cauliflower rice, cover with a lid, and steam for 4-5 minutes until it’s tender but not mushy. This cooking step is crucial for softening the cauliflower and making it pliable for forming the dough.
2. The Critical Step: Moisture Removal
This is arguably the most important step for crispy breadsticks! If you skip or rush this, your breadsticks will turn out soggy, not crisp. After steaming, immediately drain the cooked cauliflower rice using a fine-mesh strainer. Allow it to cool for a few minutes until it’s safe to handle. Then, transfer the cauliflower to the center of a clean, thick kitchen towel or several layers of cheesecloth. Gather the edges of the towel and twist it tightly, squeezing out as much excess moisture as humanly possible. You’ll be amazed at how much water comes out! Repeat this squeezing process a few times until no more liquid can be extracted. The goal is to get the cauliflower as dry as possible; it should feel almost crumbly. This meticulous draining is the secret to achieving that coveted crispy texture.
3. Forming the “Dough” (Mixing & Seasoning)
Preheat your oven to 400°F (200°C). Once your cauliflower rice is thoroughly drained, transfer it to a large mixing bowl. Add 1 cup of the shredded mozzarella cheese, the slightly beaten egg, 1 teaspoon of dried oregano, 1 teaspoon of dried basil, and ¼ teaspoon of salt. Use your hands or a sturdy spoon to mix all the ingredients together thoroughly until well combined. The mixture should feel like a cohesive, moldable “dough.”
4. Shaping and First Bake (Achieving Structure)
Line a rimmed baking sheet with parchment paper and lightly spray it with cooking spray (this prevents sticking and helps with crisping). Spoon the cauliflower mixture onto the prepared baking sheet. Using your hands or a spatula, evenly spread and press the mixture into a rectangle, roughly 8.5 x 11 inches in size (think the size of a standard piece of paper). Ensure the thickness is uniform across the entire rectangle for even baking. Place the baking sheet in the preheated oven and bake for 35-40 minutes, or even a little longer, until the crust is beautifully golden brown around the edges and firm to the touch. This initial bake develops the structure and crispness of your breadsticks.
5. Adding the Cheesy Finish (Second Bake)
Carefully remove the partially baked crust from the oven and let it cool for about 10 minutes. This cooling period helps it firm up before adding the final toppings. Then, sprinkle the remaining 1 cup of shredded mozzarella cheese evenly over the crust. Dust the cheese with the remaining ½ teaspoon of Italian seasoning. Return the baking sheet to the oven and bake for an additional 7-10 minutes, or until the cheese is gloriously melted, bubbly, and slightly golden. The second bake ensures a perfectly cheesy top layer.
6. Slice and Serve (The Grand Finale)
Once the breadsticks are baked to cheesy perfection, remove them from the oven. Let them cool on the baking sheet for another 5 minutes before cutting. This cooling time allows the cheese to set slightly, making them easier to slice cleanly. Using a pizza cutter or a sharp knife, cut the large rectangle into individual “breadsticks” of your desired size. Serve immediately with warm marinara sauce for dipping. Enjoy the crispy, cheesy goodness!

Expert Tips for Extra Crispy Cauliflower Breadsticks
Achieving truly crispy cauliflower breadsticks is the ultimate goal, and it’s entirely attainable with a few key techniques. Beyond just following the recipe, keep these expert tips in mind to ensure every bite is perfectly crunchy:
Moisture is the Enemy
We cannot stress this enough: thoroughly draining the cooked cauliflower is the single most critical step. Any residual moisture will turn your breadsticks soggy and prevent them from crisping up. Squeeze, squeeze, and squeeze again until you think no more water could possibly come out. It should feel quite dry, almost like coarse crumbs, before you mix in the other ingredients.
Proper Oven Temperature and Preheat
Ensure your oven is fully preheated to 400°F (200°C) before you put the breadsticks in. A hot oven is essential for quickly evaporating any remaining surface moisture and promoting browning and crisping. Don’t rush this step by placing them in a cold oven.
Don’t Overcrowd the Pan
While this recipe makes one large rectangle, it’s a good general baking rule. If you were making multiple batches, ensure you’re not trying to squeeze too many breadsticks onto one sheet. Proper air circulation around the edges is vital for even baking and crispness. If using two sheets, rotate them halfway through.
Thin and Even Layer
When shaping the cauliflower mixture into a rectangle, aim for a thin and uniform thickness. Thicker spots will take longer to cook and might remain softer, while thinner areas might burn. An even layer ensures consistent crispiness across all your breadsticks.
Parchment Paper is Your Friend
Always use parchment paper. It not only prevents sticking but also helps the bottom of the breadsticks crisp up beautifully. A lightly greased parchment paper ensures easy removal and contributes to that desirable crispy base.
Delicious Variations & Customization Ideas
While the classic cheesy cauliflower breadsticks are fantastic as is, there’s plenty of room for creativity! Here are some ideas to customize your next batch:
Spice It Up
- Garlic & Onion Powder: Add ½ tsp each of garlic powder and onion powder to the dough mixture for an extra savory punch.
- Red Pepper Flakes: For a subtle heat, mix in ¼ to ½ tsp of red pepper flakes with the other seasonings.
- Smoked Paprika: A touch of smoked paprika can add a wonderful smoky depth of flavor.
Cheese Variations
While mozzarella is ideal for meltiness, you can experiment with other cheeses or blends:
- Parmesan: Mix in ¼ cup of grated Parmesan cheese with the mozzarella for a sharper, saltier flavor.
- Cheddar: A blend of mozzarella and sharp cheddar can offer a bolder, tangier cheese profile.
- Provolone: For a milder, slightly sweeter cheese flavor, try provolone.
Herb Additions
Enhance the herbaceous notes with fresh or dried herbs:
- Fresh Herbs: Finely chopped fresh parsley, chives, or rosemary can be folded into the dough.
- Dried Herbs: Consider adding a pinch of dried thyme or marjoram for a more complex Italian herb blend.
Topping Ideas
Get adventurous with your toppings for the second bake:
- Mini Pepperoni: Sprinkle mini pepperoni slices over the cheese for a fun, pizza-like twist.
- Sun-Dried Tomatoes & Olives: Chopped sun-dried tomatoes and Kalamata olives can add a Mediterranean flair.
- Pesto Swirl: After adding the second layer of mozzarella, dollop small amounts of pesto and swirl it lightly before the final bake.
- Everything Bagel Seasoning: For a unique savory crunch, sprinkle Everything Bagel seasoning over the cheese before the second bake.
Serving Suggestions Beyond Marinara
While warm marinara sauce is a classic companion, these versatile breadsticks can be paired with a variety of dips and dishes:
- Creamy Dips: Ranch dressing, blue cheese dip, or a homemade garlic aioli offer a rich, tangy contrast.
- Spicy Kicks: Buffalo sauce or a sriracha-mayo dip can add a fiery element.
- Mediterranean Flavors: Hummus or tzatziki sauce can provide a fresh, zesty pairing.
- Soup & Salad Companion: Serve them as a healthy side to a hearty bowl of low-carb chili, a refreshing Caesar salad, or a creamy tomato soup.
- Breakfast Twist: Believe it or not, these can be a savory side for eggs, especially if you added a touch of garlic powder to the mix!
Storage and Reheating Best Practices
Have leftovers? Lucky you! Here’s how to store and reheat your cheesy cauliflower breadsticks to maintain their deliciousness and crisp texture:
Refrigeration
Once completely cooled, store the breadsticks in an airtight container in the refrigerator for up to 3-4 days. Storing them in a single layer with parchment paper between layers can help prevent them from sticking together and getting too soft.
Freezing
Cauliflower breadsticks freeze surprisingly well! Once cooled, arrange them in a single layer on a baking sheet and flash freeze for about 30 minutes until solid. Then, transfer them to a freezer-safe bag or container, separating layers with parchment paper. They can be frozen for up to 1-2 months.
Reheating to Maintain Crispiness
The key to good reheating is to avoid the microwave, which will make them soggy. Instead, opt for methods that will crisp them up again:
- Oven: This is the best method for restoring crispiness. Preheat your oven to 375°F (190°C). Place the breadsticks on a baking sheet and bake for 8-12 minutes (longer if frozen) until heated through and crispy.
- Air Fryer: An air fryer works wonderfully for reheating! Place the breadsticks in a single layer in your air fryer basket. Air fry at 350°F (175°C) for 5-8 minutes, checking halfway, until hot and crispy.
Frequently Asked Questions (FAQ)
Here are answers to some common questions about making cheesy cauliflower breadsticks:
Can I use frozen riced cauliflower?
Yes, you can! However, it’s crucial to thaw it completely and then squeeze out as much moisture as possible. Frozen cauliflower tends to retain more water than fresh, so this step is even more critical. You might even want to gently heat it in a dry pan after thawing to evaporate extra moisture before squeezing.
Why are my breadsticks soggy?
Sogginess is almost always due to insufficient moisture removal from the cooked cauliflower. Ensure you squeeze out every last drop of water. An uneven baking thickness or not baking them long enough until golden brown can also contribute to a less crispy result.
Can I prepare the mixture ahead of time?
While the cauliflower “dough” is best used immediately after mixing for optimal texture, you can prepare the riced and steamed cauliflower ahead of time and store it in the refrigerator (well-drained, of course) for a day or two. Then, simply mix in the remaining ingredients when you’re ready to bake.
How do I know when they’re done?
Your breadsticks are done when the edges are deeply golden brown and the entire rectangle feels firm to the touch. The cheese on top should be melted, bubbly, and slightly browned in spots.
Can I make them spicier?
Absolutely! Incorporate more red pepper flakes into the dough, or add a pinch of cayenne pepper. You could also serve them with a spicy marinara or a fiery dipping sauce.
Cheesy Cauliflower Breadsticks Recipe
Here is the detailed recipe for your delightful low-carb, gluten-free, and grain-free Cheesy Cauliflower Breadsticks.
Prep Time: 15 minutes
Cook Time: 50 minutes
Ingredients
- 4 cups riced cauliflower
- 1 egg, slightly beaten
- 2 cups mozzarella cheese, shredded, divided
- 1 tsp dried oregano
- 1 tsp dried basil
- ¼ tsp salt
- ½ tsp Italian seasoning
- Marinara sauce for dipping
Instructions
- Begin by ricing your cauliflower. See the “Ricing Methods” section above for tips. You should have about 4 cups of cauliflower “rice” from one medium to large head of cauliflower.
- In a large saucepan, heat one inch of water until it boils. Add in the riced cauliflower, cover with a lid, and allow it to steam for 4-5 minutes until tender.
- Preheat your oven to 400°F (200°C).
- Use a fine mesh strainer to drain the cauliflower. Allow it to cool for a few minutes. Then, place the cauliflower “rice” in a clean kitchen towel and squeeze as hard as you can to remove any excess water. Repeat this step a few times to ensure as much moisture as possible is removed. This step is crucial for crispy breadsticks!
- Once the cauliflower rice is well-drained, transfer it to a large bowl. To the cauliflower rice, add 1 cup of the shredded mozzarella cheese, the slightly beaten egg, 1 teaspoon of dried oregano, 1 teaspoon of dried basil, and ¼ teaspoon of salt. Stir well until all ingredients are thoroughly combined and form a cohesive “dough.”
- Line a rimmed baking sheet with parchment paper and spray it lightly with cooking spray. Spoon the cauliflower mixture onto the pan and use your hands or a spatula to form it into an 8.5 x 11-inch rectangle (approximately the size of a piece of paper). Ensure the thickness is even throughout.
- Place the baking sheet in the preheated oven and bake for 35-40 minutes, or even longer, until the crust is golden brown and firm to the touch.
- Remove the crust from the oven and allow it to cool for about 10 minutes. Then, evenly top the crust with the remaining 1 cup of shredded mozzarella cheese and ½ teaspoon of Italian seasoning.
- Return the pan to the oven and bake for another 7-10 minutes, or until the cheese is melted, bubbly, and slightly golden.
- Remove from the oven, allow to cool for 5 minutes, then cut into “breadsticks” and serve immediately with warm marinara sauce for dipping.
More Delectable Low-Carb Recipes to Explore
If you’re looking to expand your repertoire of delicious low-carb meals, here are some of our favorites that you might enjoy:
- Low Carb Chili
- Philly Cheesesteak Stuffed Peppers
- Stuffed Mushrooms
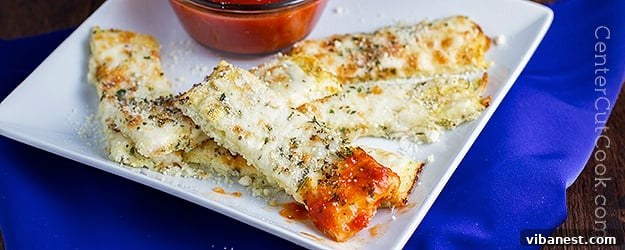
Share Your Creations!
We absolutely love to see your culinary adventures! If you try this recipe for Cheesy Cauliflower Breadsticks, please leave a comment below to let us know how they turned out. Don’t forget to snap a photo and tag us on social media using @CenterCutCook and #CenterCutCook. Your feedback and shared creations inspire us and our community!
Conclusion
These Cheesy Cauliflower Breadsticks are truly a revelation, offering a delicious, satisfying, and guilt-free way to enjoy a classic favorite. They stand as proof that low-carb, gluten-free, and grain-free eating doesn’t mean sacrificing flavor or enjoyment. So go ahead, give this recipe a try, and prepare to be amazed at how good “healthy” can taste. Enjoy every crispy, cheesy bite!
Recipe adapted from Detoxinista